We Love Cooking!:
Food
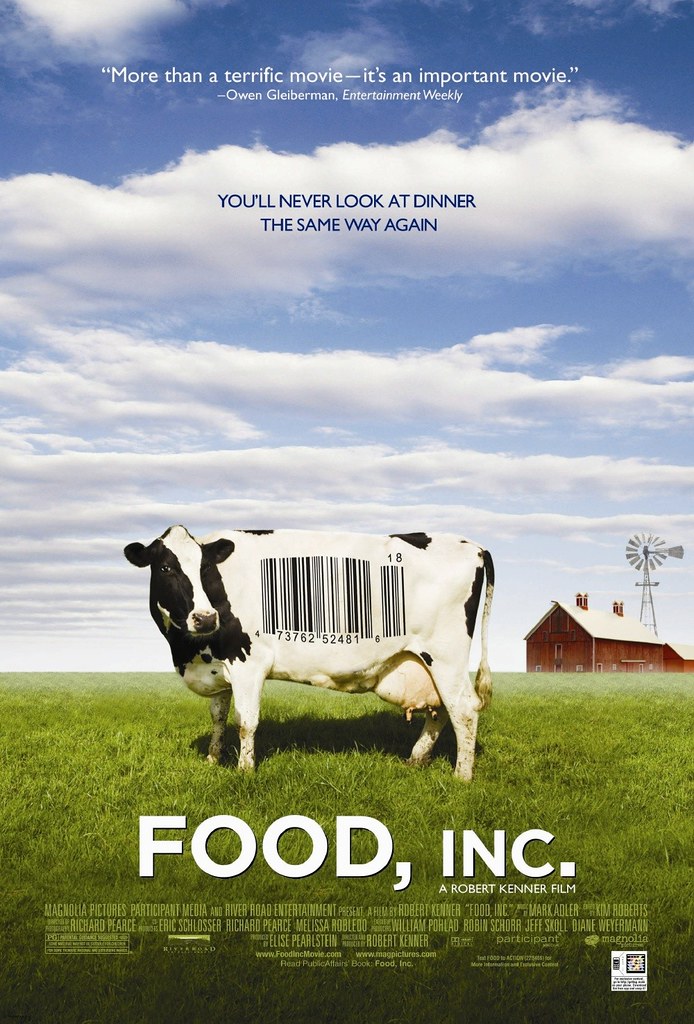
:: Food Inc
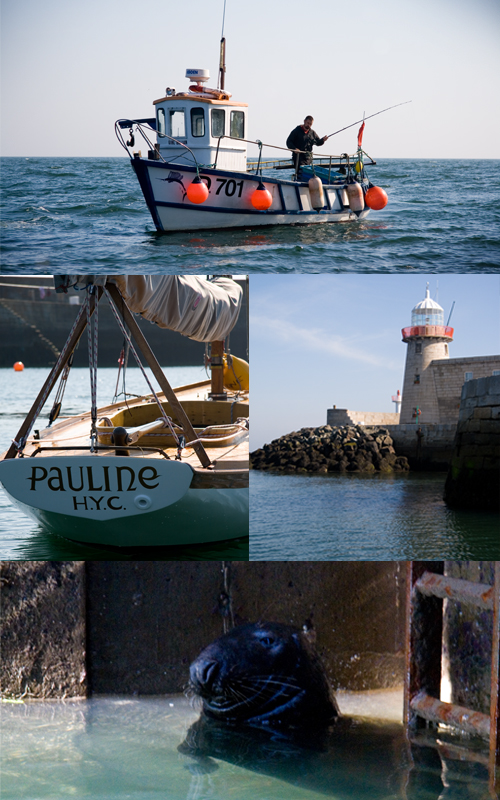
:: Farmers Market in Howth
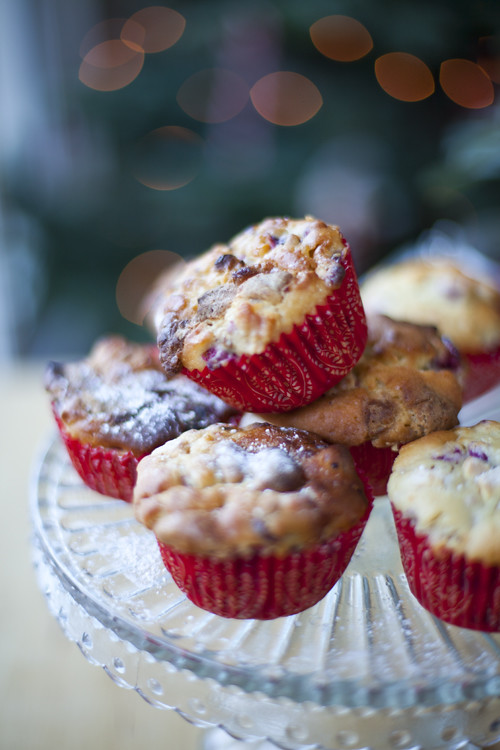
:: Cranberry and White Chocolate Muffins
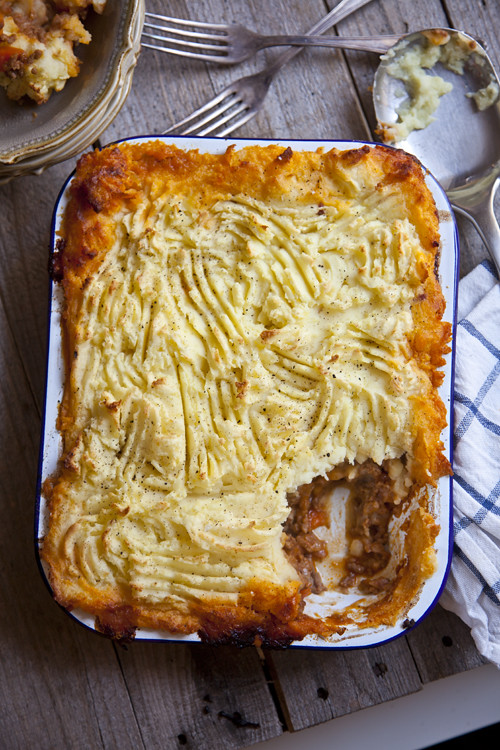
:: Roast Garlic Shepherd's Pie
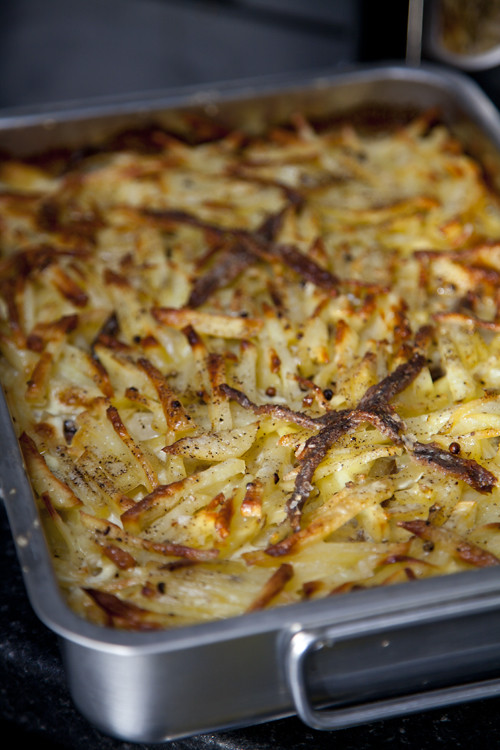
:: Janssons Temptation
:: Deep Dish Chocolate Chip Cookies!
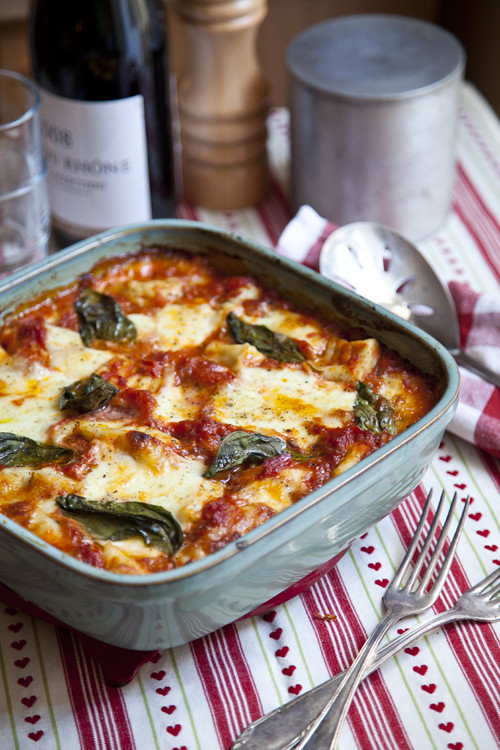
:: Mozzarella, tomato and gnocchi bake!
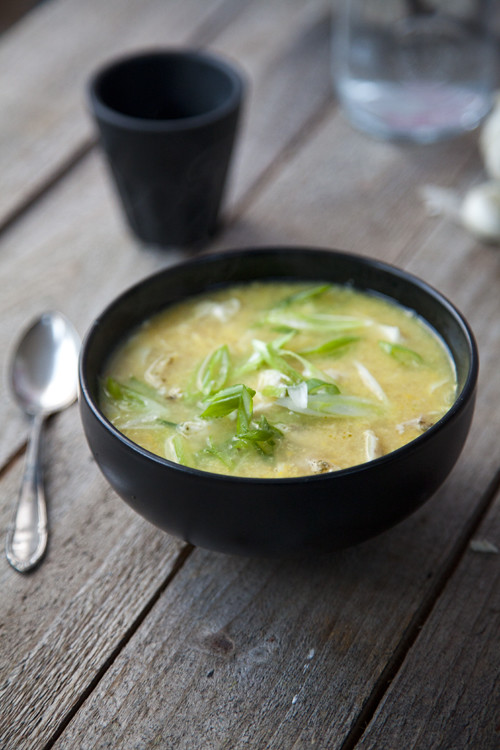
:: Stop Food Waste: Leftover Chicken & Sweetcorn Soup
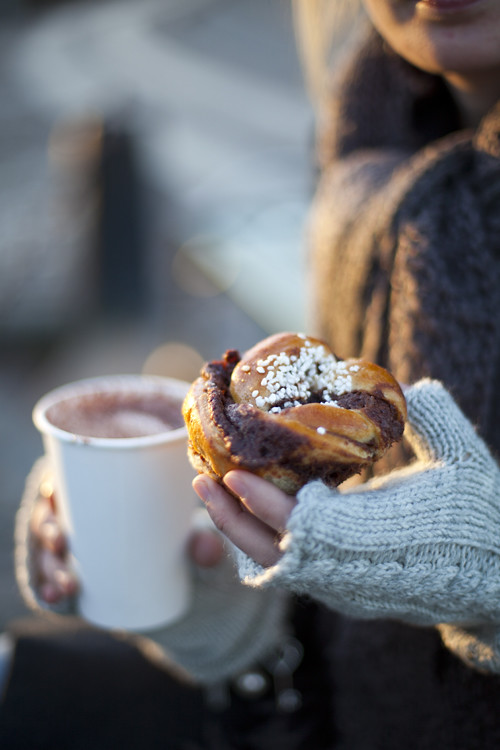
:: Swedish Cinnamon Buns
:: Mushy Roast Garlic and Cherry Tomato Pasta
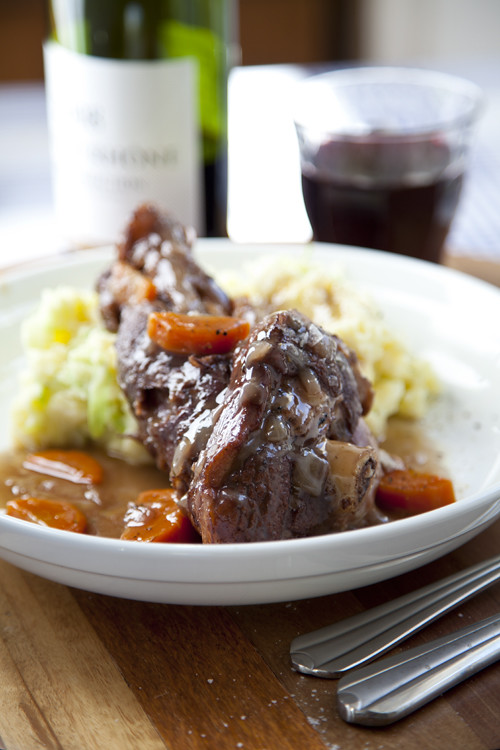
:: Lamb Shanks with Colcannon Mash
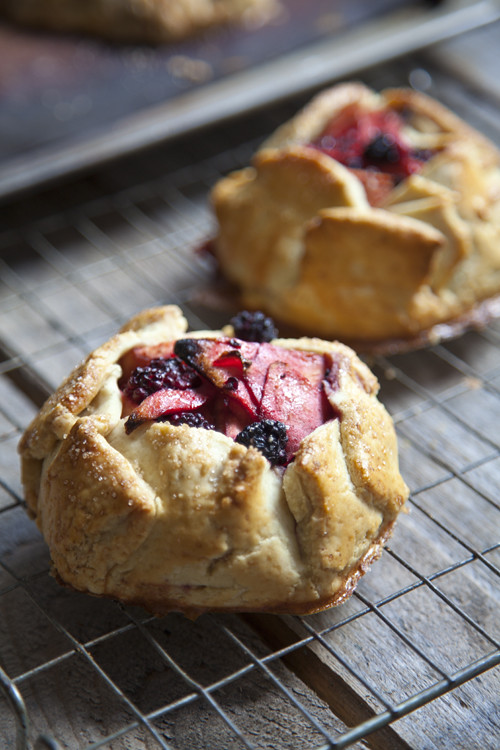
:: Rustic Apple and Blackberry Galettes
:: Whoohaa Chorizo Bean Pasta and a 60th Wedding Anniversary Dinner!
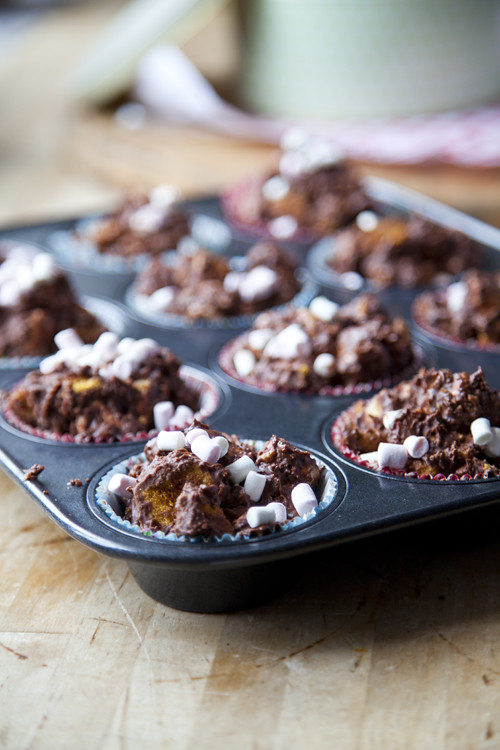
:: Crunchie Rocky Road Buns
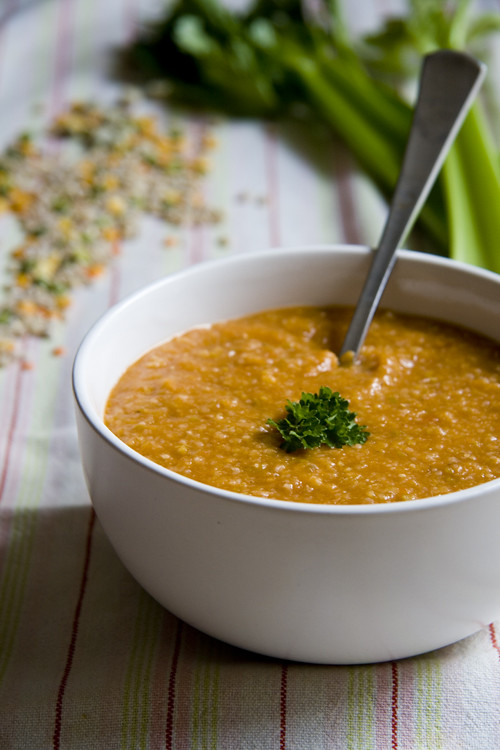
:: Boot Camp Soup and back to business!
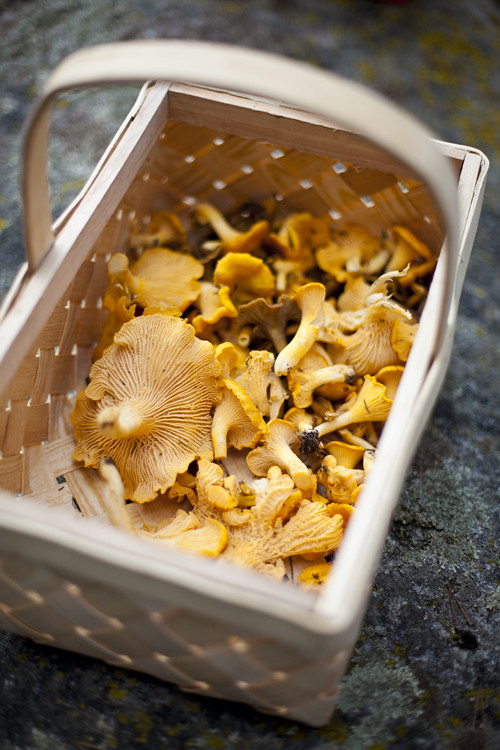
:: Swedish Mushroom Hunting and Simply Cooked Chanterelles with Garlic Toast!
:: Catherine Fulvio's Carpaccio Di Manzo & Win a Copy of Catherine's Italian Kitchen

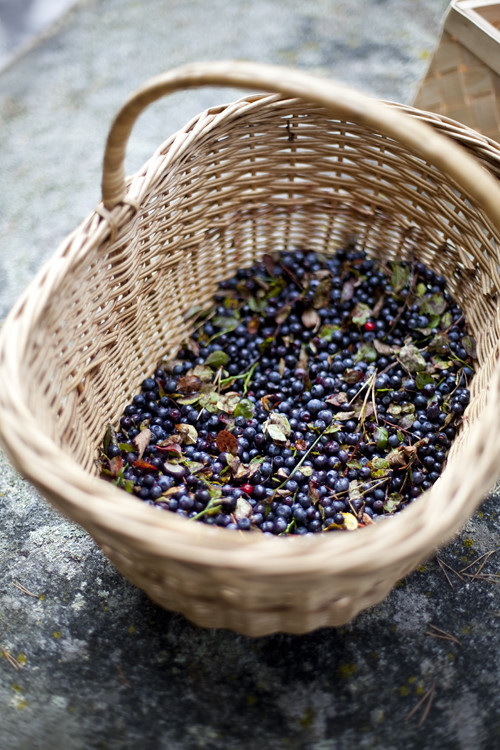
:: Wild Blueberry Picking and a Swedish Gooey Chocolate Cake
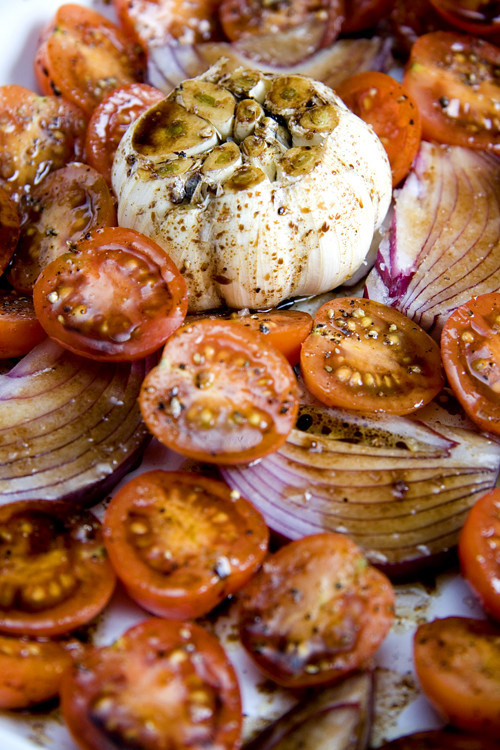
:: A Swedish Lunch: Roast Tomatoes with Mozzarella and Red Onion and Cucumber and Fennel Lentil Salad
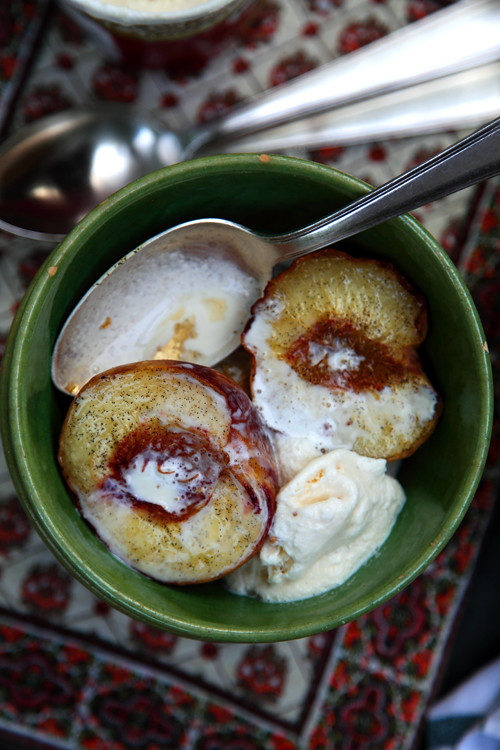
:: Baked Peaches with Vanilla Sugar