We Love Cooking!:
red onion
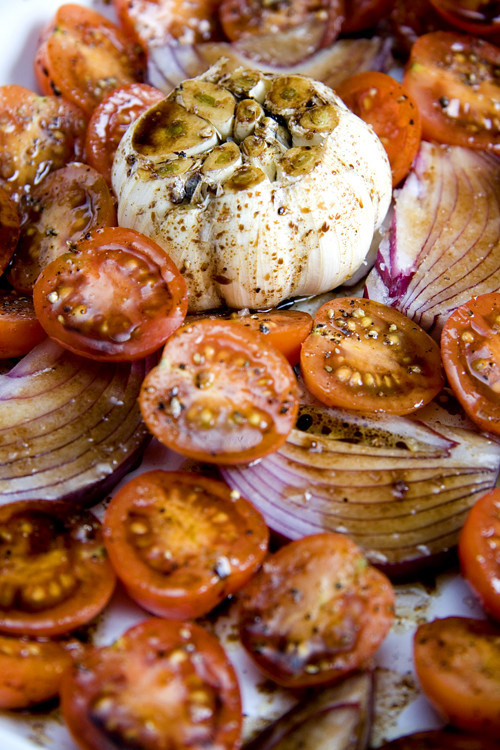
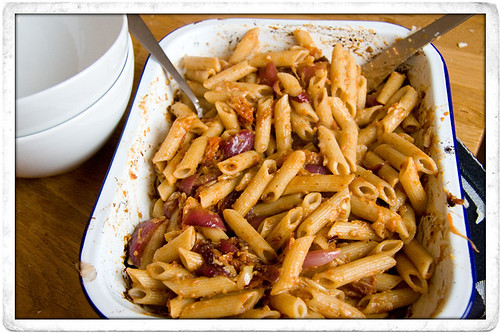
:: Mushy Roast Garlic and Cherry Tomato Pasta
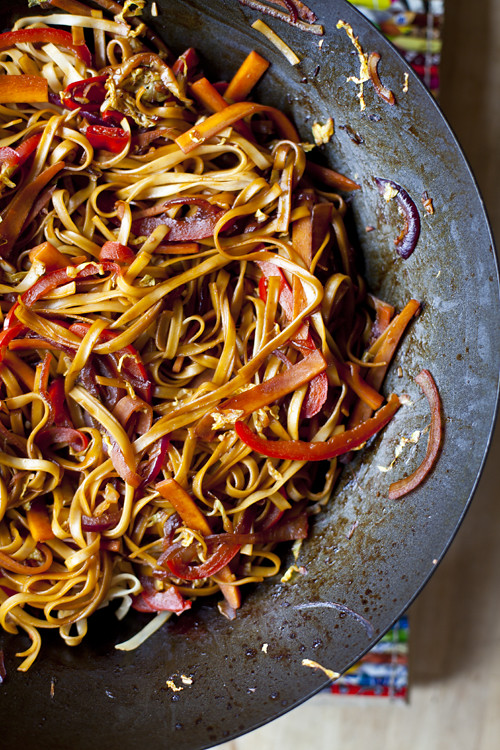
:: Zingy Quick and Tasty Stir-Fry
:: Whoohaa Chorizo Bean Pasta and a 60th Wedding Anniversary Dinner!
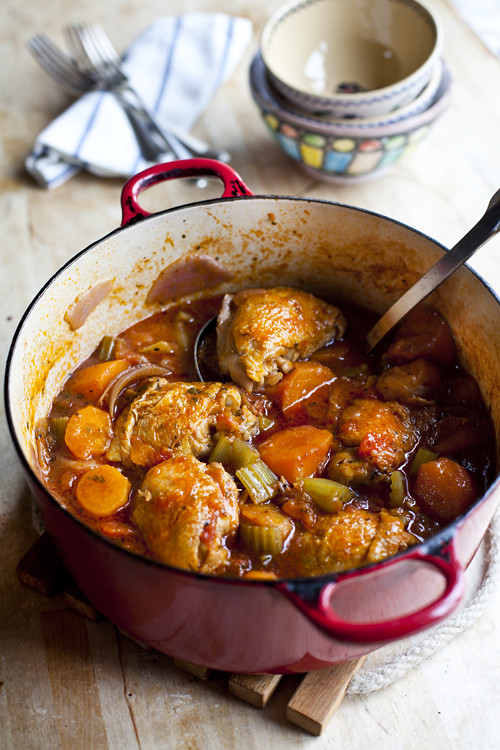
:: Tasty Chicken Hotpot
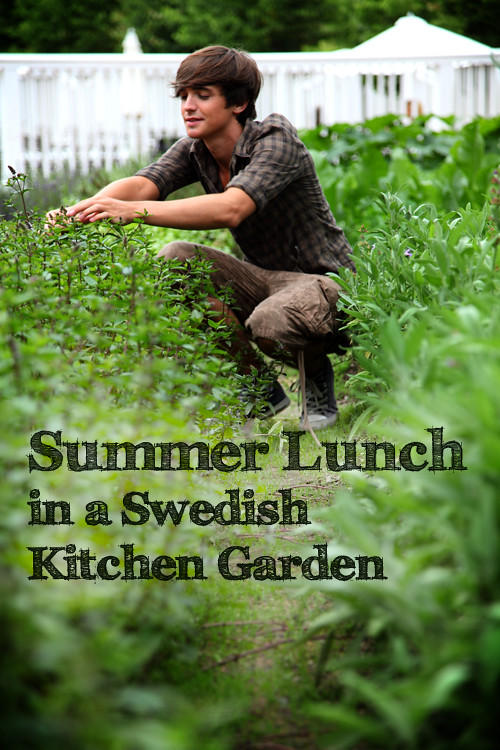
:: A Swedish Lunch: Roast Tomatoes with Mozzarella and Red Onion and Cucumber and Fennel Lentil Salad
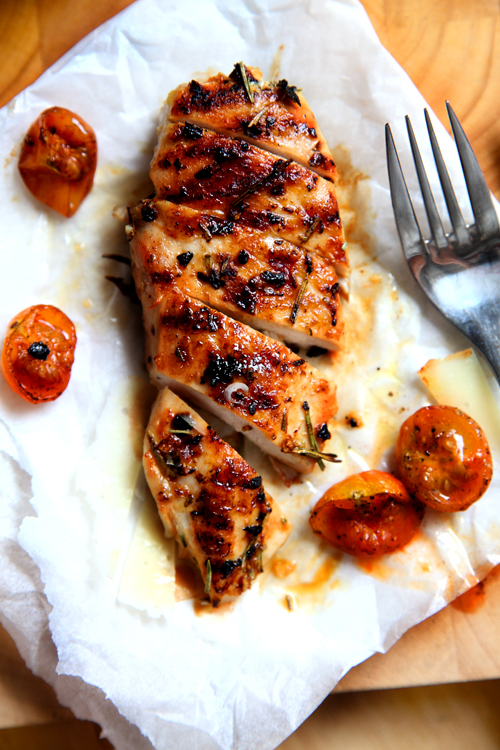
:: Garlic and Rosemary Chicken with Roast Cherry Tomato Salad
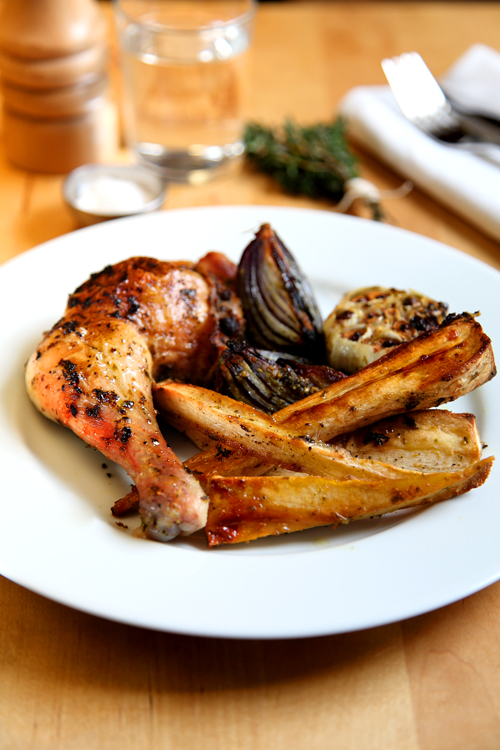
:: Herby Roast Chicken and Honey and Thyme Parsnips
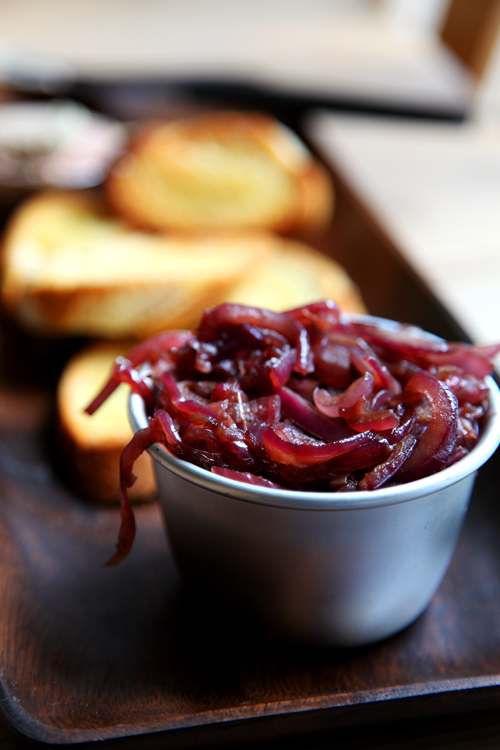
:: Caramelised Balsamic Red Onion
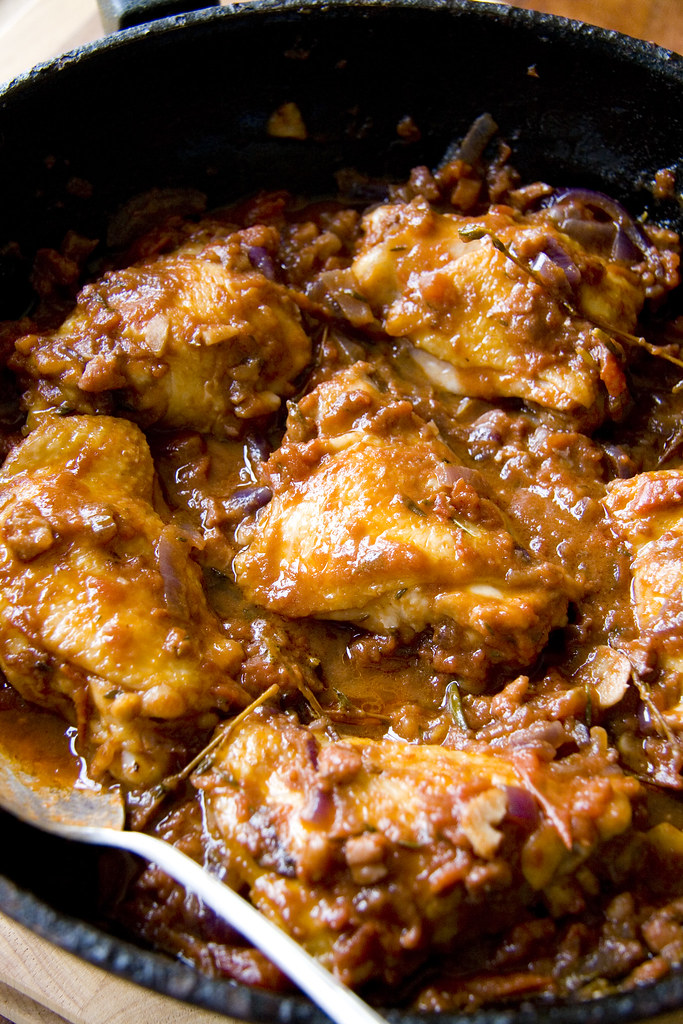
:: Chicken Thigh Supper
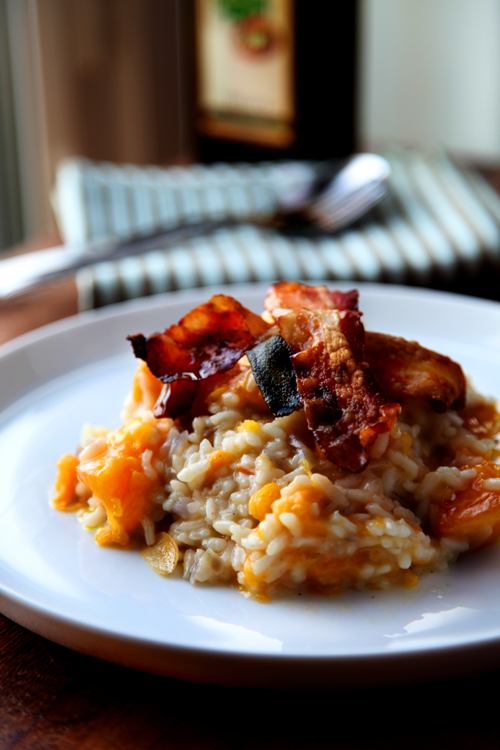
:: Pumpkin and Crispy Pancetta Risotto
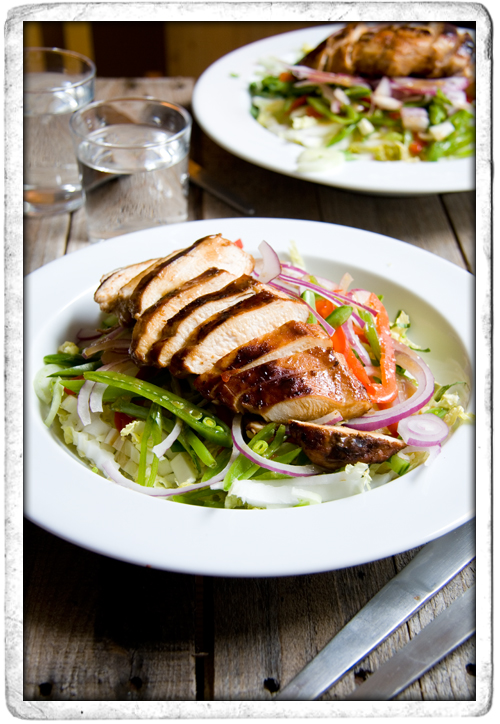
:: Asian Teriyaki Chicken Salad
:: Easy Quick Roast Chicken Dinner

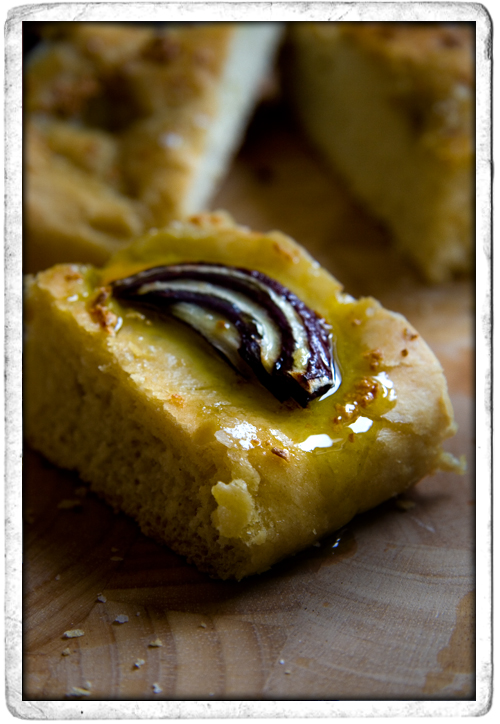
:: Red Onion and Garlic Focaccia
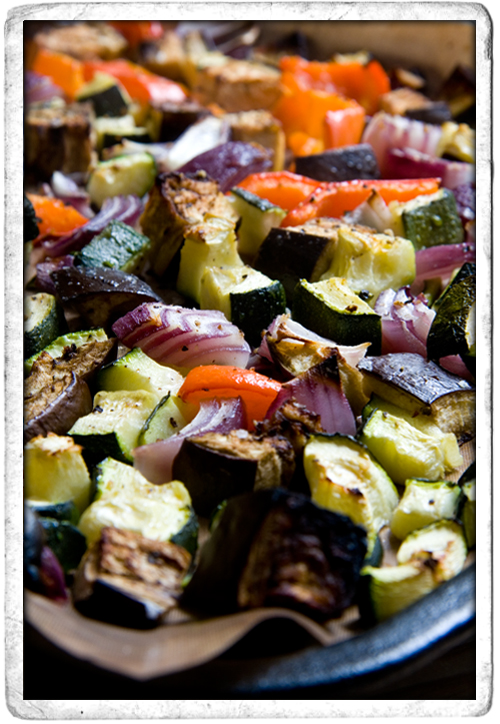
:: Mediterranean Roast Vegetables with Bulgar Wheat
:: Mushy Roast Garlic and Cherry Tomato Pasta
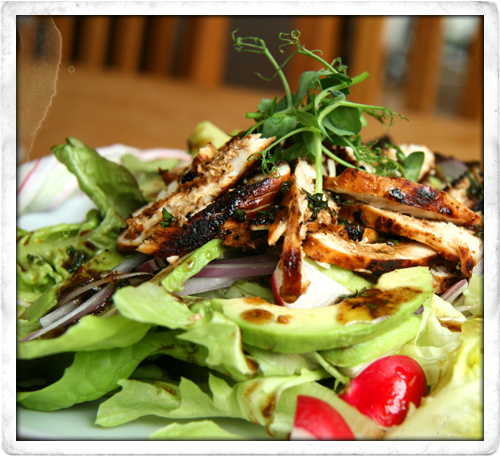
:: Balsamic Chicken with Avocado and Radish Salad
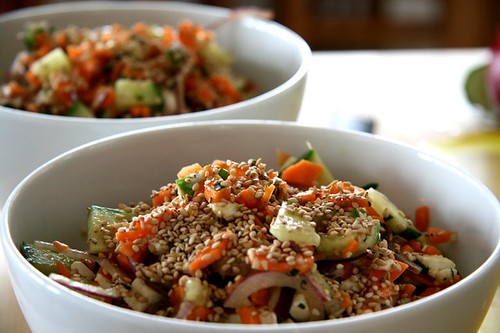
:: SESAME PASTA SALAD