We Love Cooking!:
butter
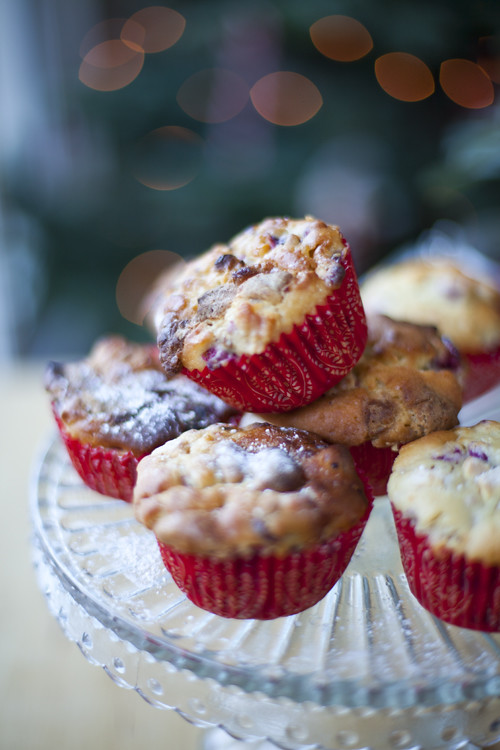
:: Cranberry and White Chocolate Muffins
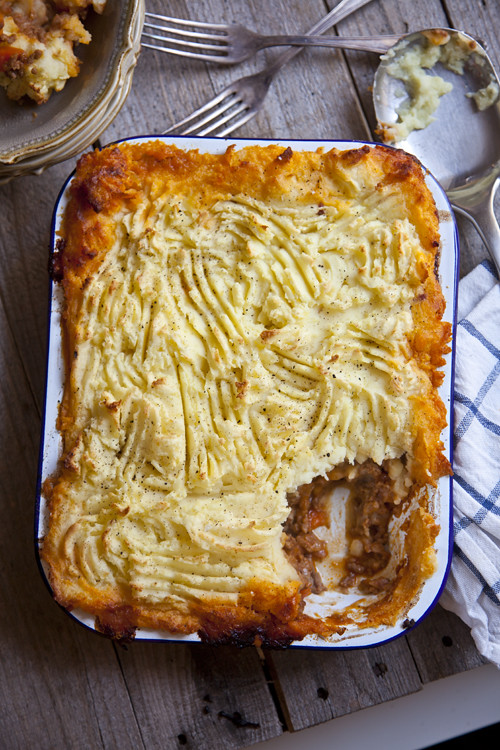
:: Roast Garlic Shepherd's Pie
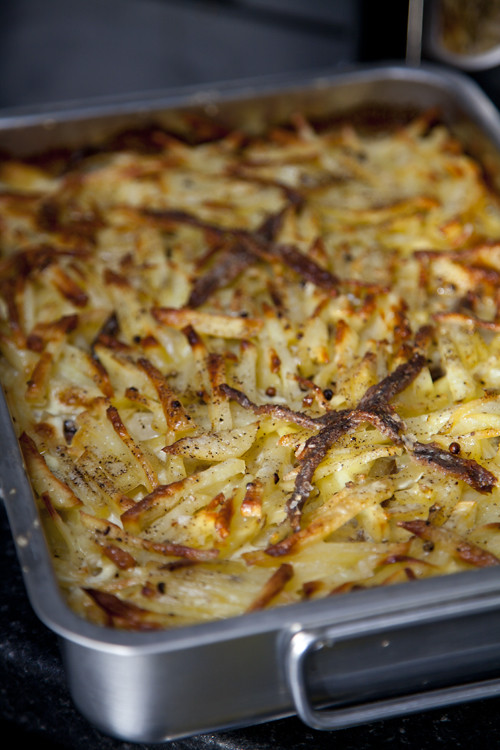
:: Janssons Temptation
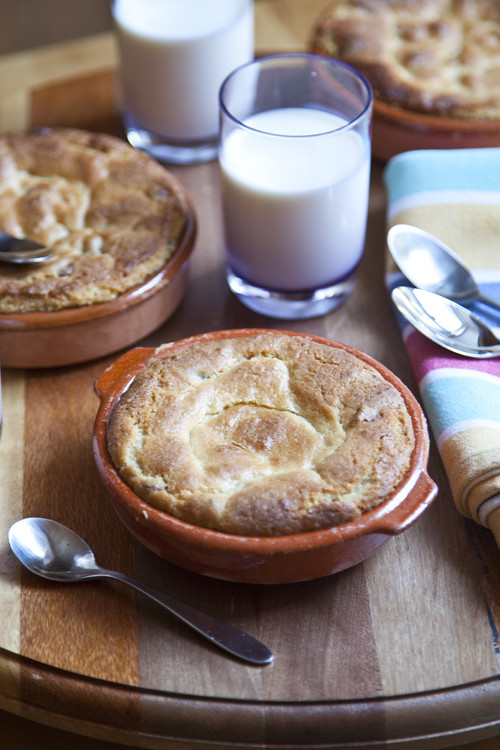
:: Deep Dish Chocolate Chip Cookies!
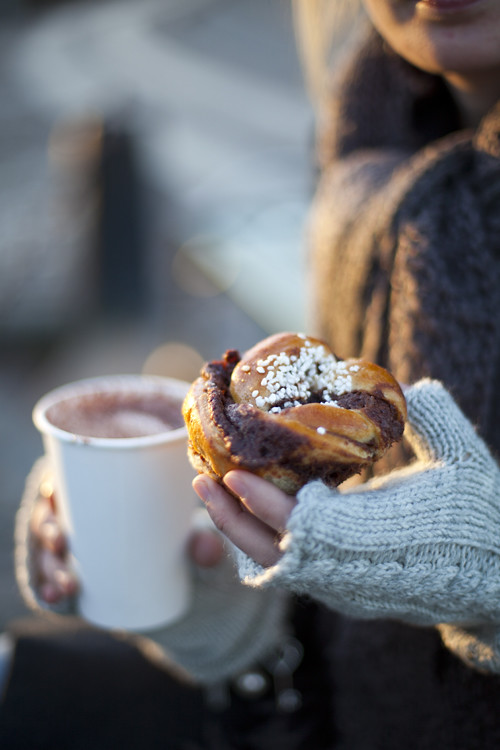
:: Swedish Cinnamon Buns
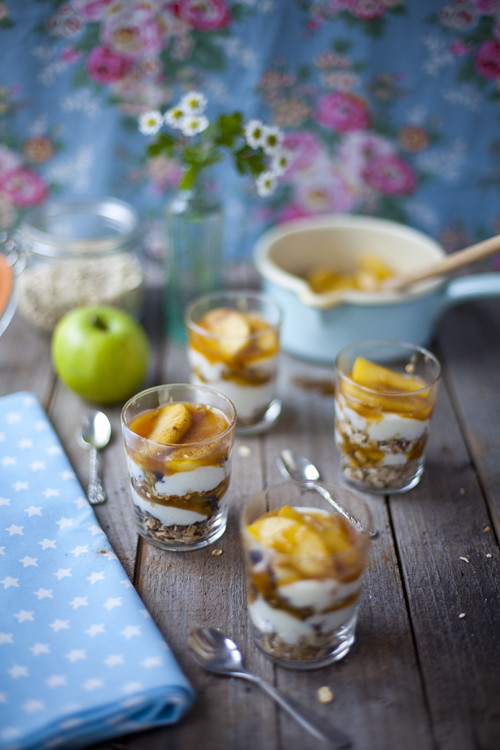
:: Caramel Apple Granola Pots
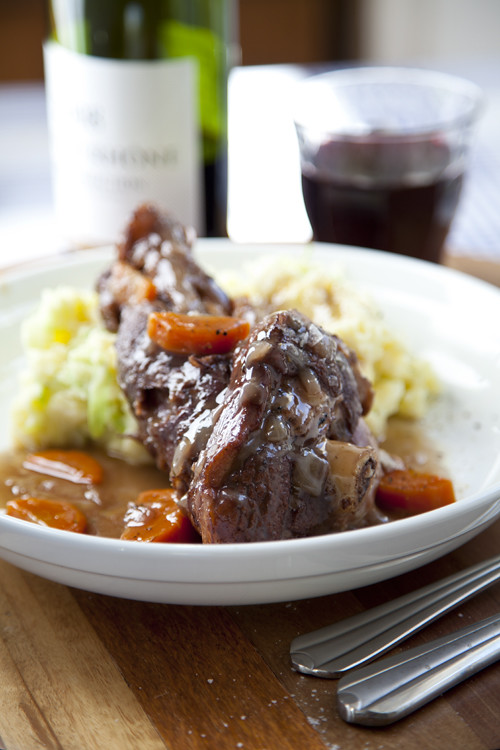
:: Lamb Shanks with Colcannon Mash
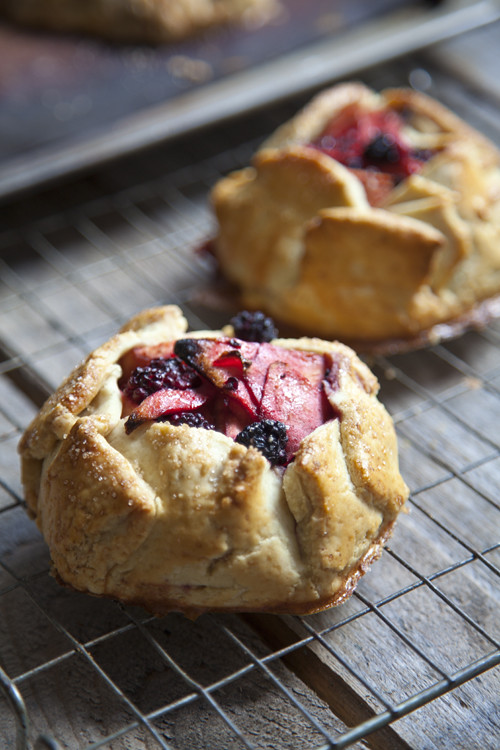
:: Rustic Apple and Blackberry Galettes
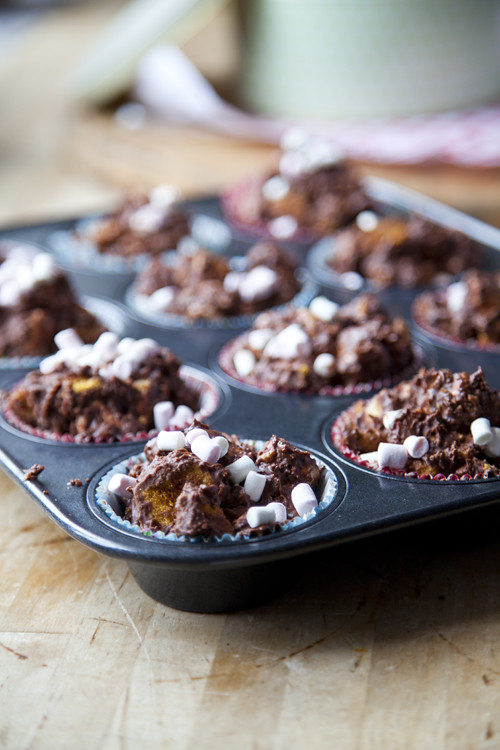
:: Crunchie Rocky Road Buns
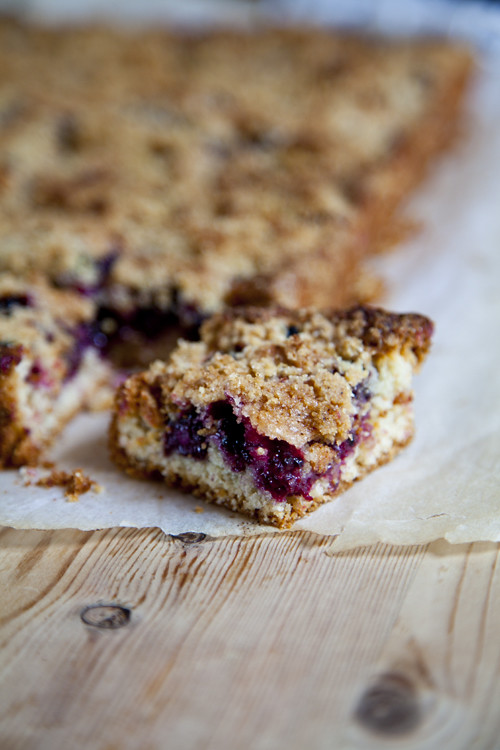
:: Blackberry Crumb Slices
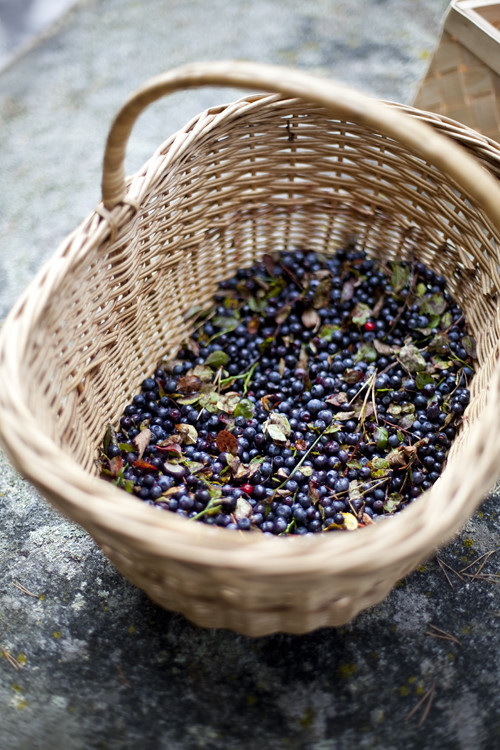
:: Wild Blueberry Picking and a Swedish Gooey Chocolate Cake
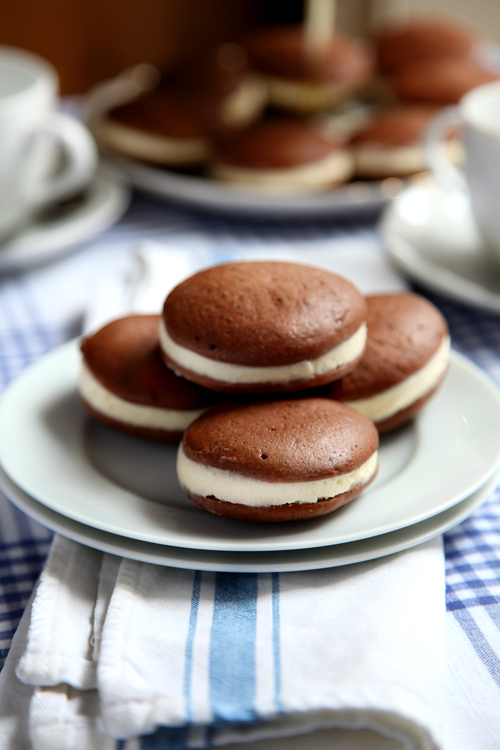
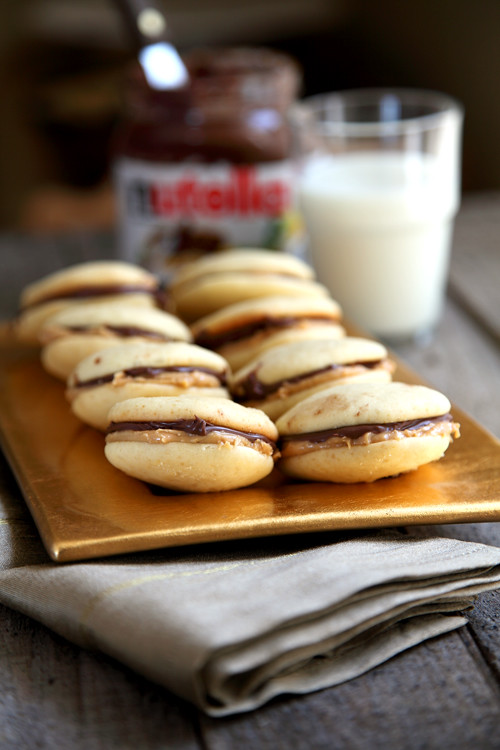
:: Go Nuts Nutella Whoopie Pies!
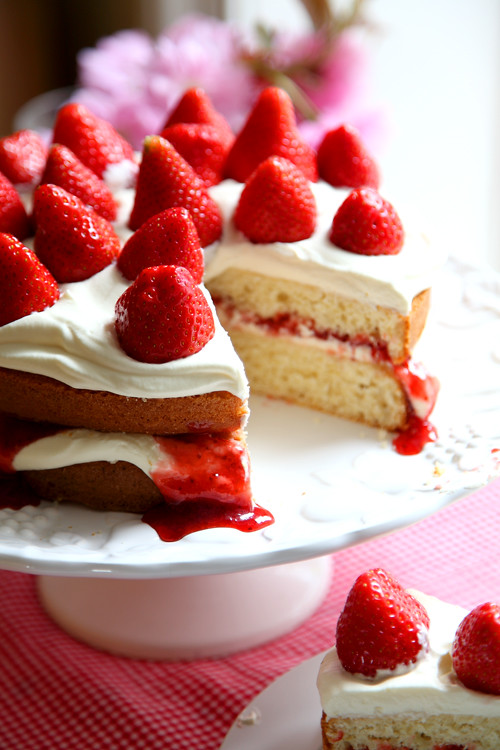
:: Mega Strawberry Summer Cake
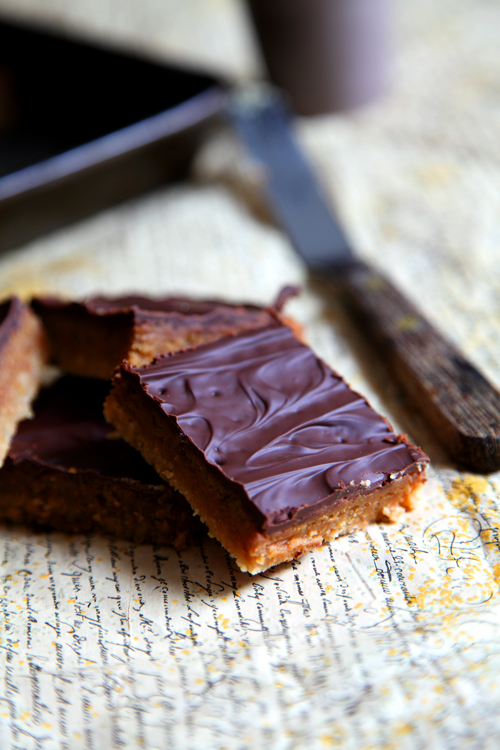
:: Bill Granger's Chocolate Caramel Slices
:: White Chocolate Cheesecake with Summer Fruit
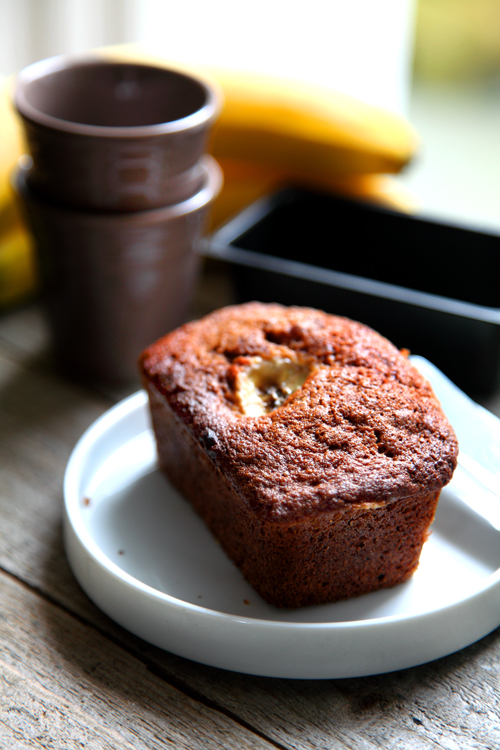
:: Auntie Ann's Banana Bread
:: Gizzi Erskine's Sticky Banoffee Pudding

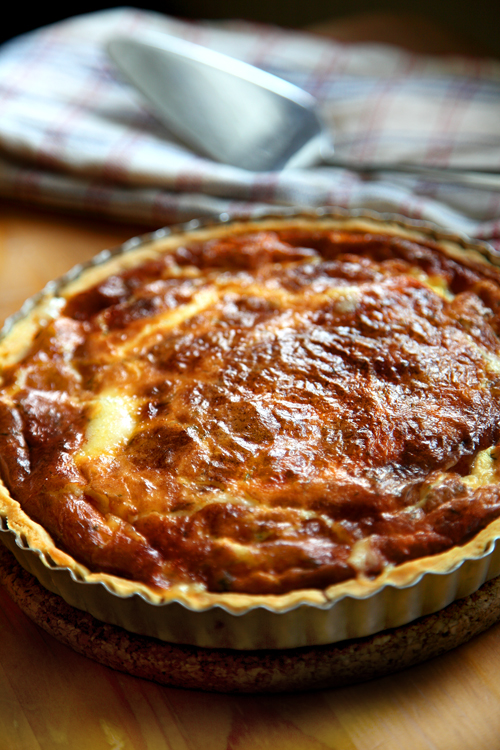
:: Västerbottensost Pie
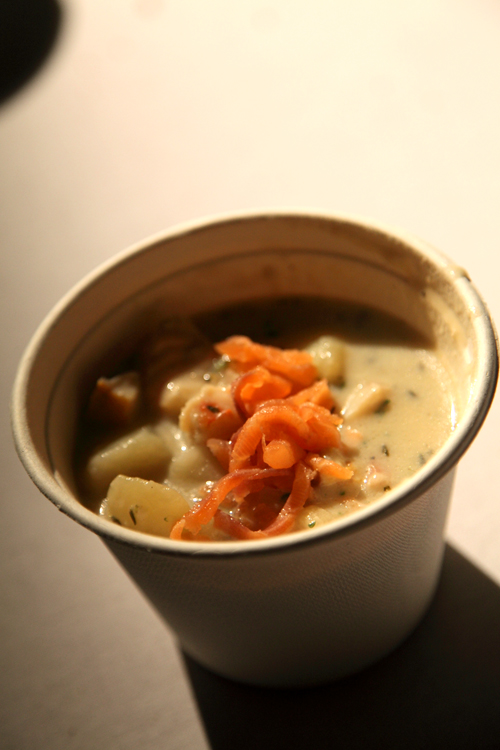
:: Irish Seafood Chowder
:: Whoopie Pies: The New Cupcake?