We Love Cooking!:
baking
:: Peanut Butter Snicker Squares!
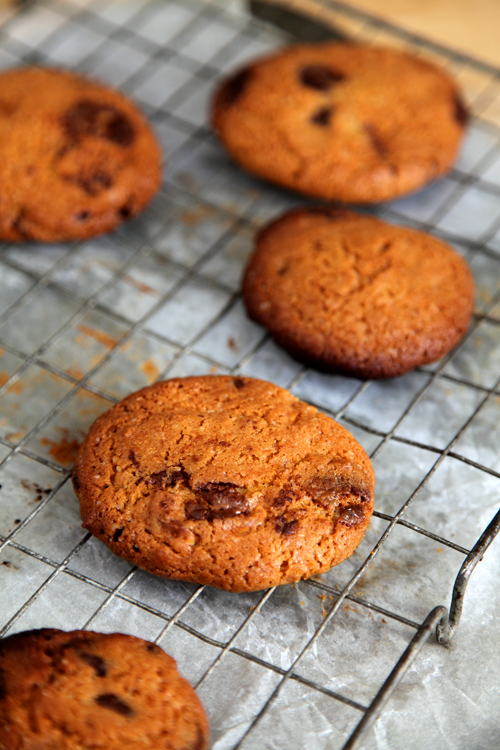
:: Deep Dish Chocolate Chip Cookies!
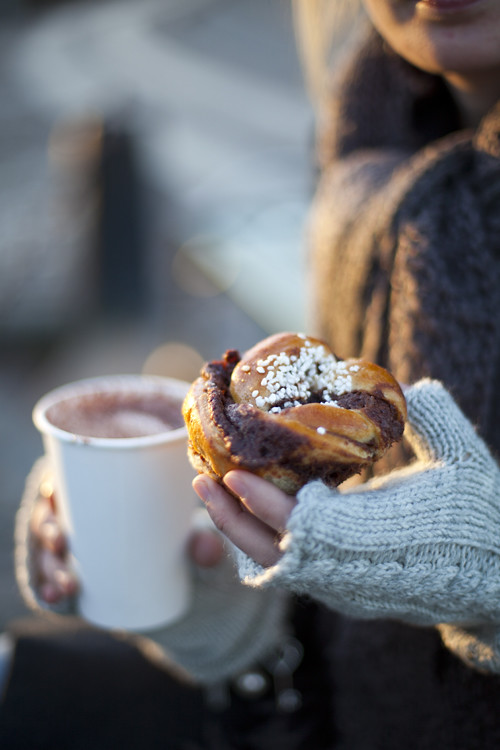
:: Swedish Cinnamon Buns
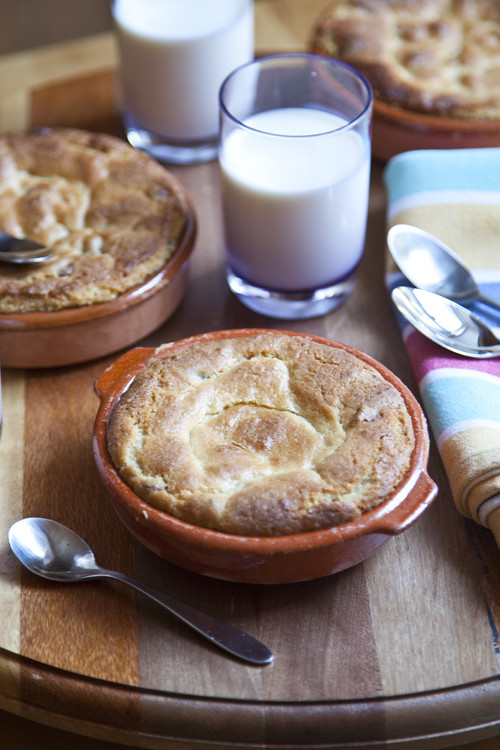
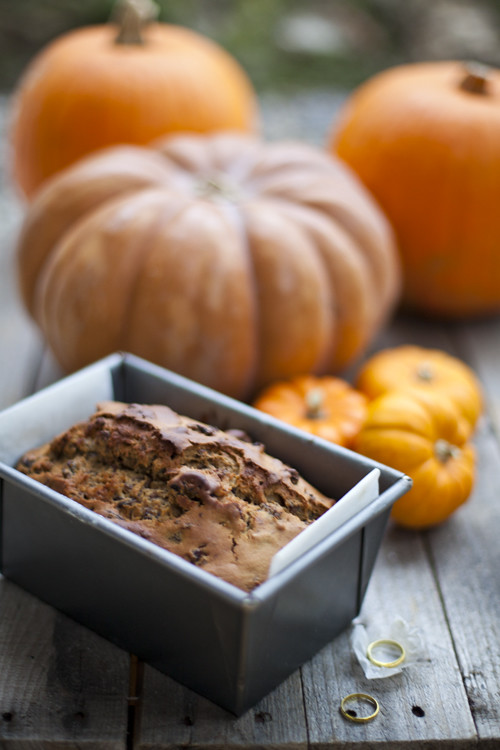
:: Halloween Barmbrack
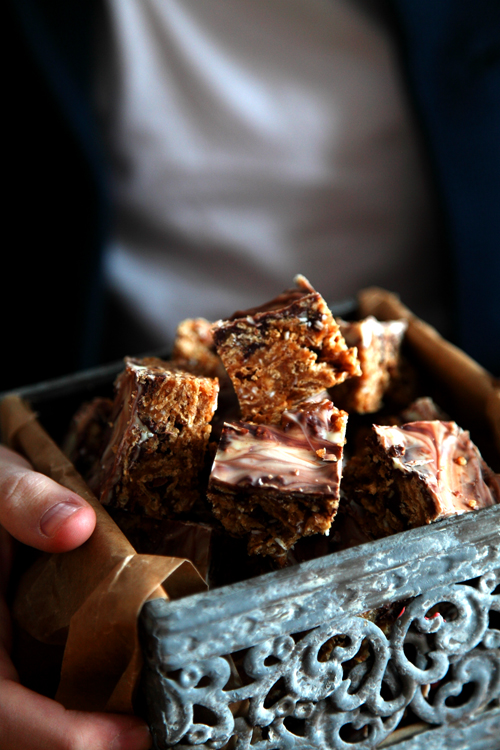
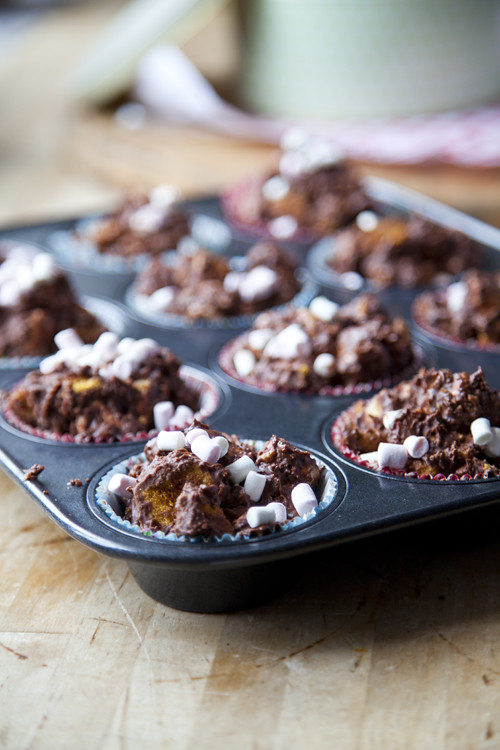
:: Crunchie Rocky Road Buns
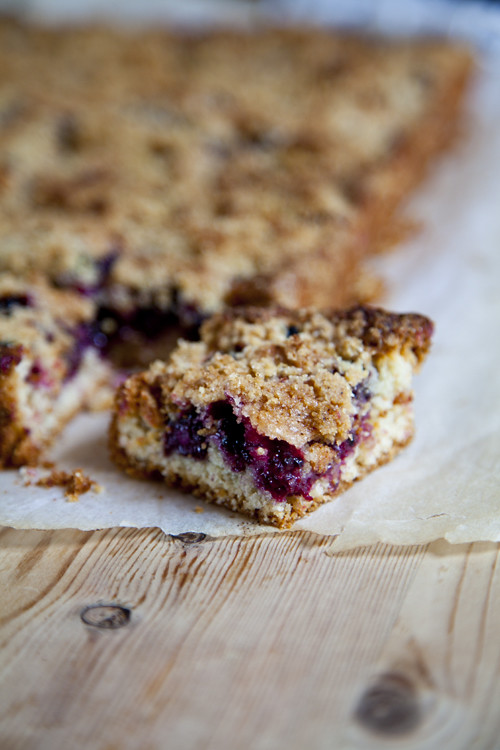
:: Blackberry Crumb Slices
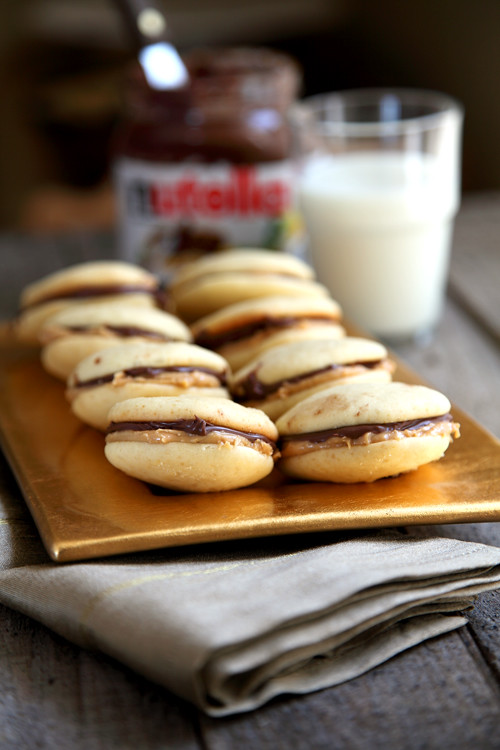
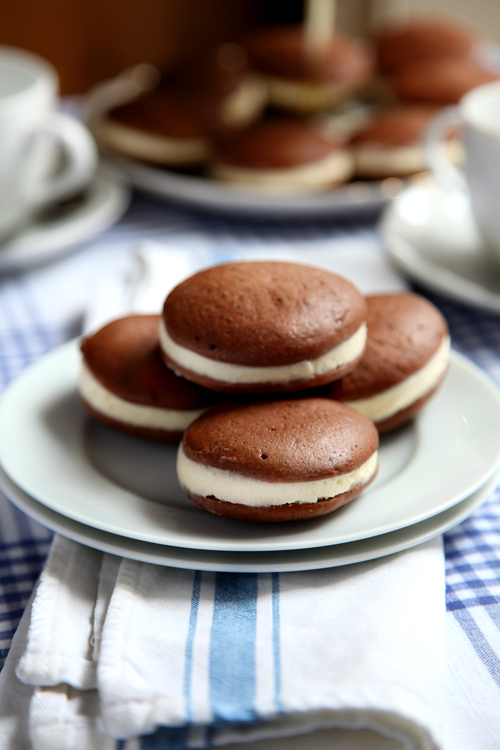
:: Go Nuts Nutella Whoopie Pies!
:: Whoopie Pies: The New Cupcake?
:: Sophie's Chocolate & Hazelnut Chip Cookies
:: Leila Lindholm's High Hat Cupcakes
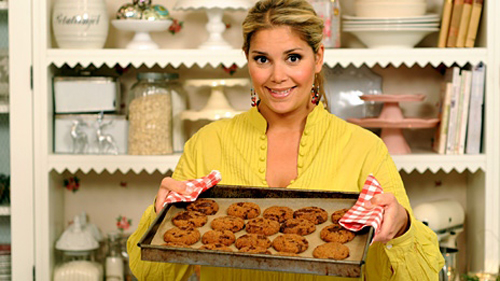
:: Leila Lindholm's Butterscotch Pecan Pie
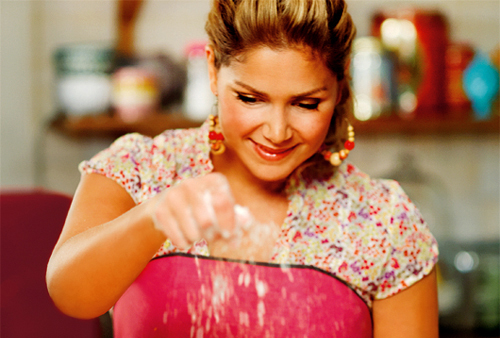
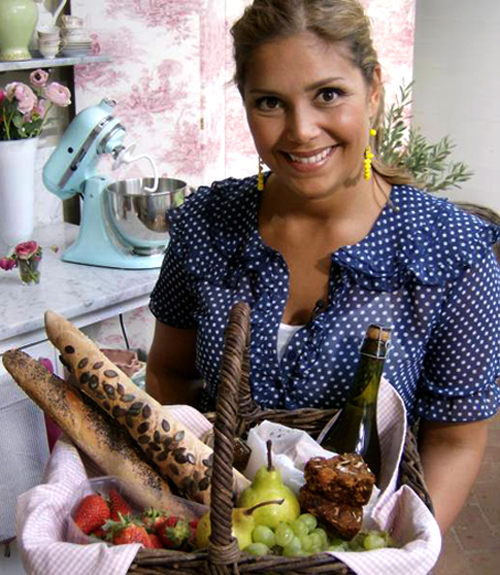
:: Leila Lindholm's Baguettes
:: Leila Lindholm's Peanut Butter Cupcakes
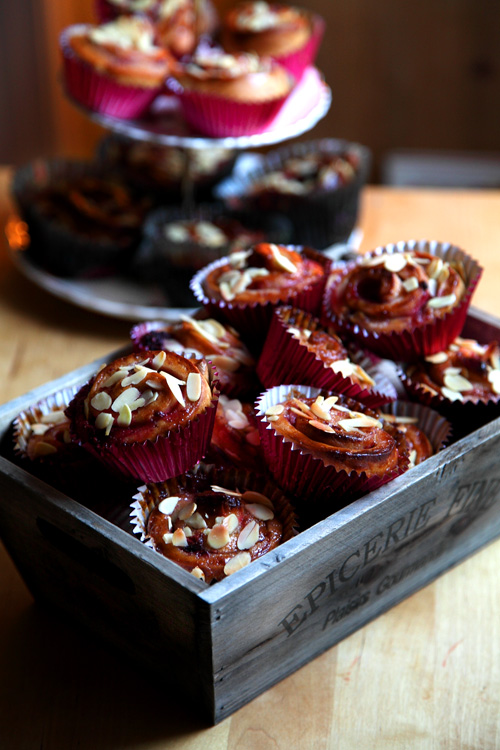
:: Pink Berry and Almond Swirly Buns!
:: Last Minute Christmas Baking!
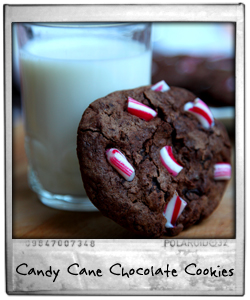
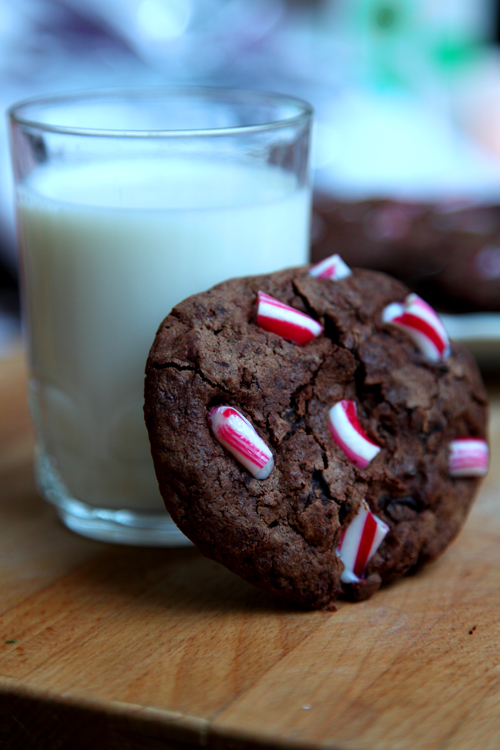
:: Chocolate Candy Cane Cookies
:: Christmas Mince Pie Star Slices

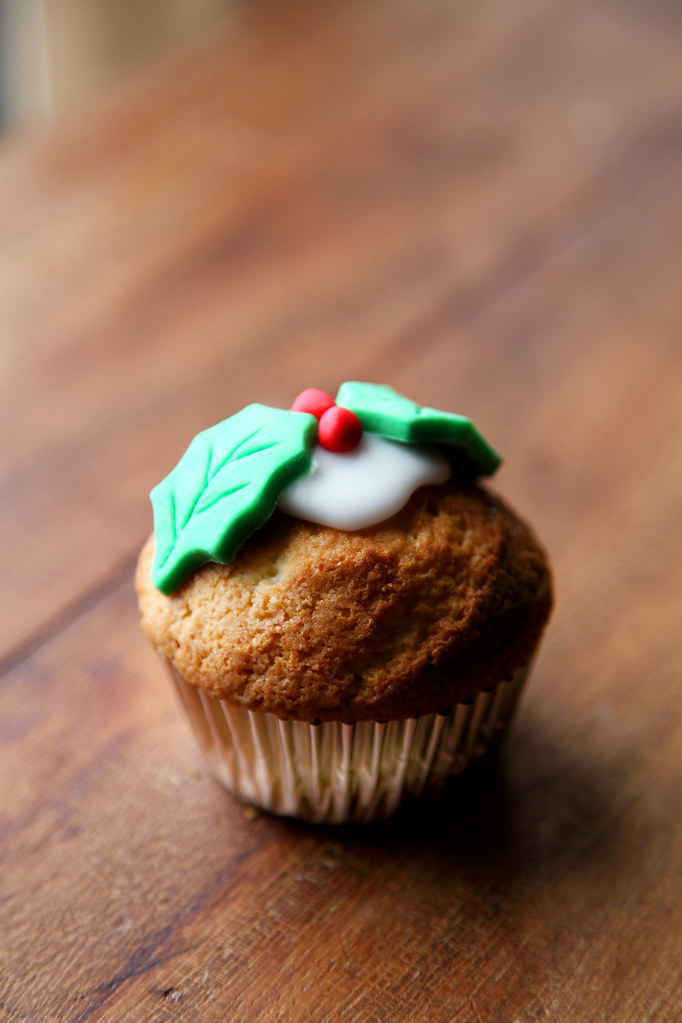
:: Christmas Cupcake Recipe from KISS Magazine!
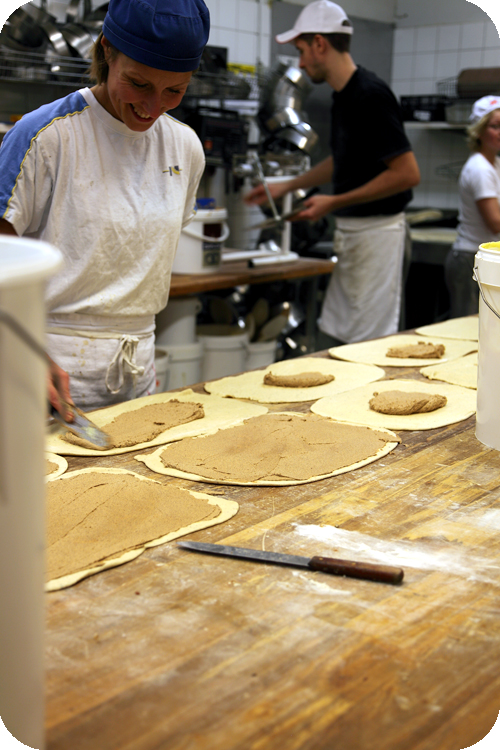
:: Visit To A Swedish Bakery!
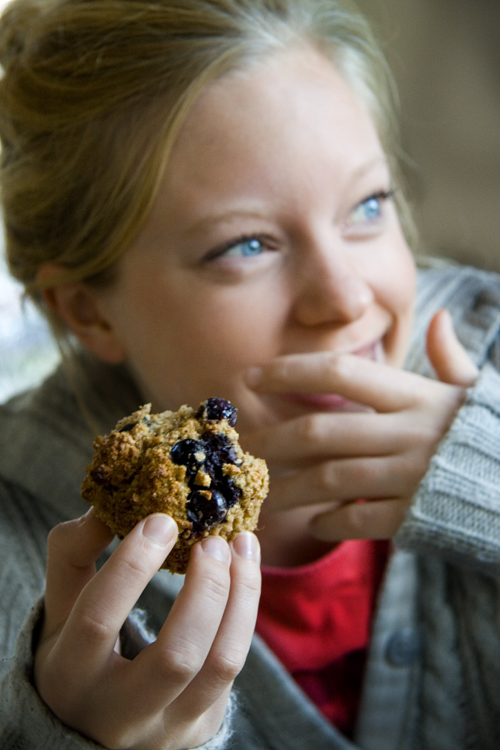
:: Blueberry and Banana Breakfast Muffins