We Love Cooking!:
rice
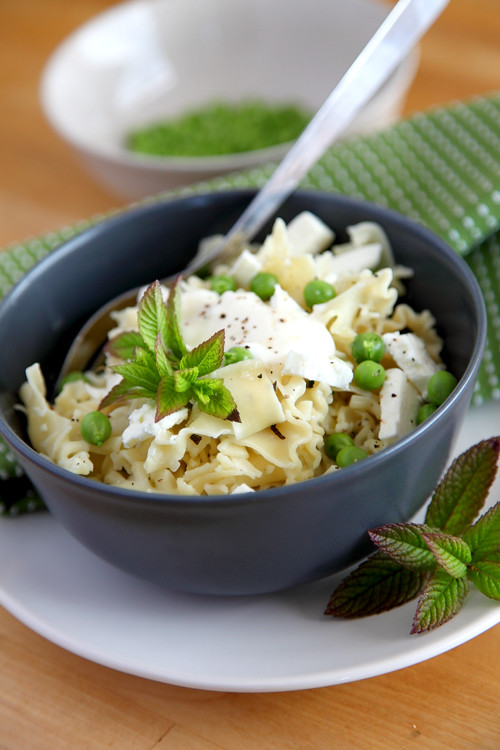
:: Pea Mint and Feta Pasta!
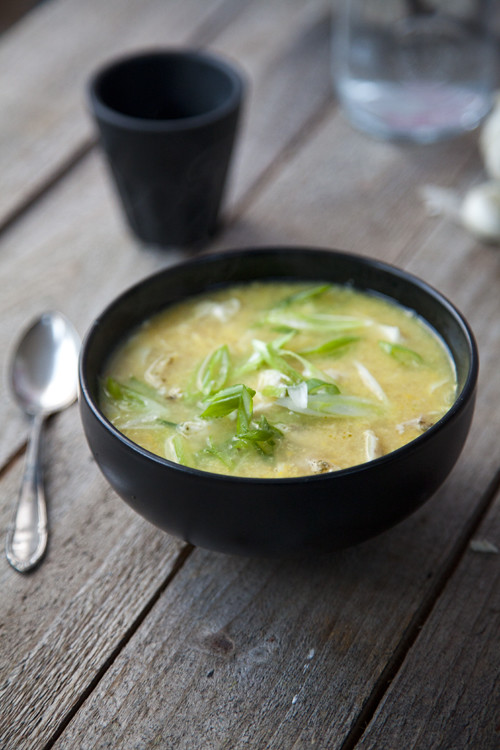
:: Stop Food Waste: Leftover Chicken & Sweetcorn Soup
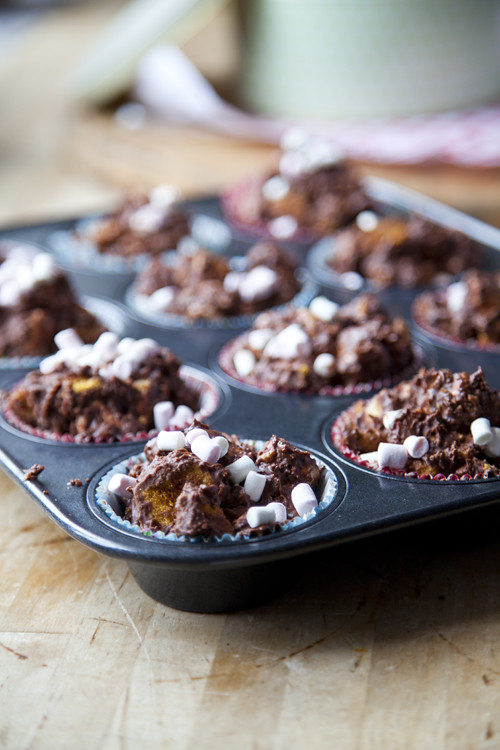
:: Crunchie Rocky Road Buns
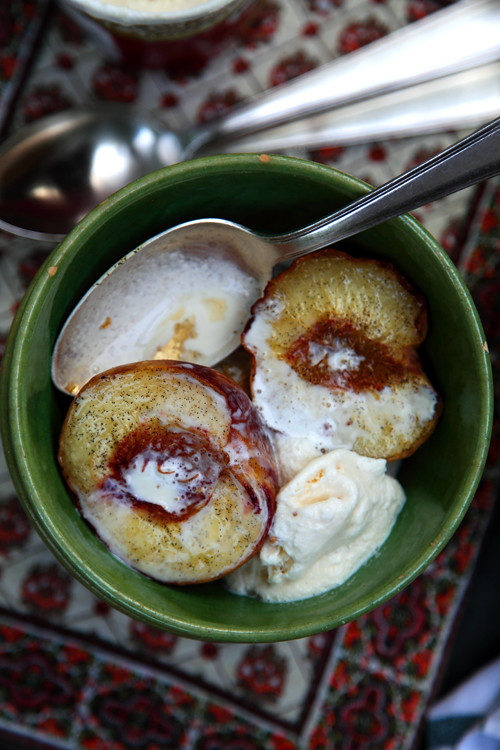
:: Baked Peaches with Vanilla Sugar
:: My Perfect Scrambled Eggs with Chilli Jam

:: Sadhbh's Cookclub- Delicious Beef Pho!

:: Gizzi Erskine's Sticky Banoffee Pudding

:: Gizzi Erskine's Creamy Smoked Salmon & Pea Spaghetti

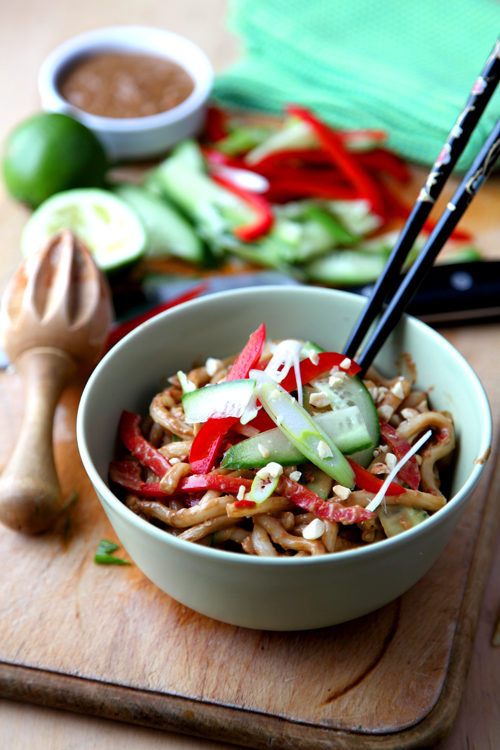
:: Crunchy Peanut Satay Noodles
:: Leila Lindholm's Baguettes

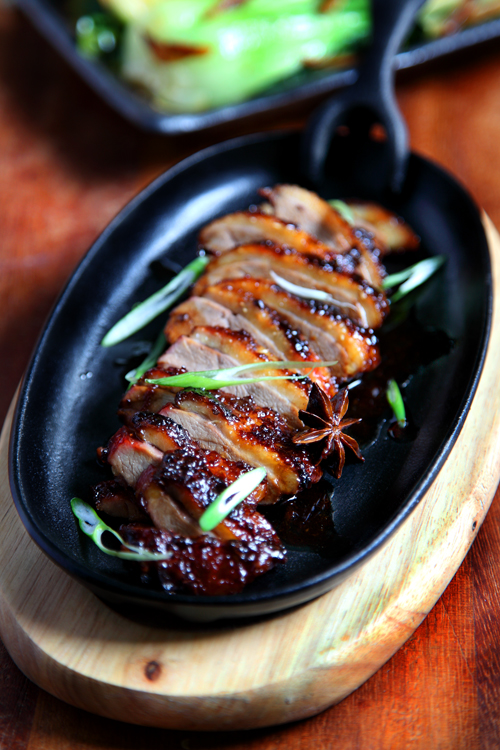
:: Sticky Star Anise Honey Duck
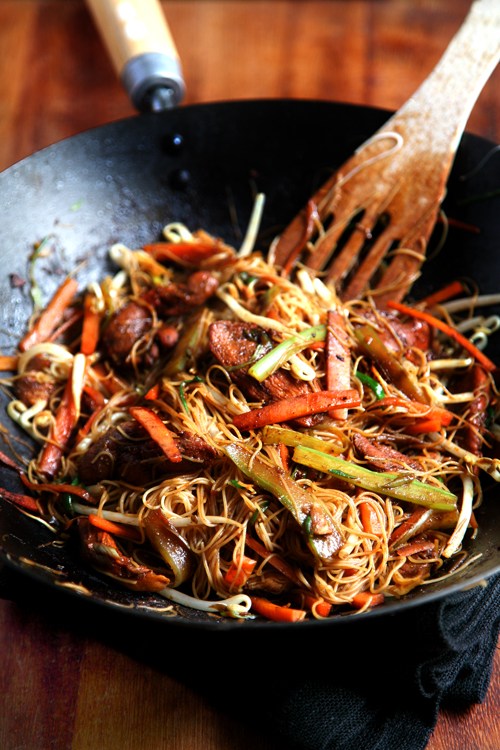
:: Healthy Singapore Noodles
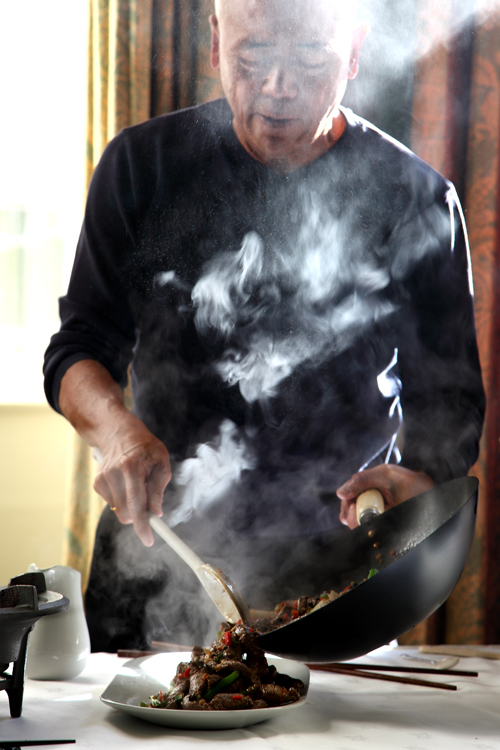
:: Ken Hom Demonstration In Dublin
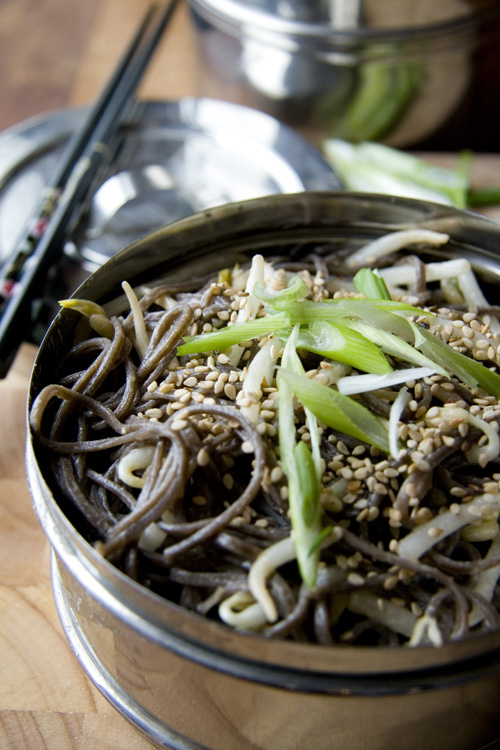
:: Tahini Noodle Toss
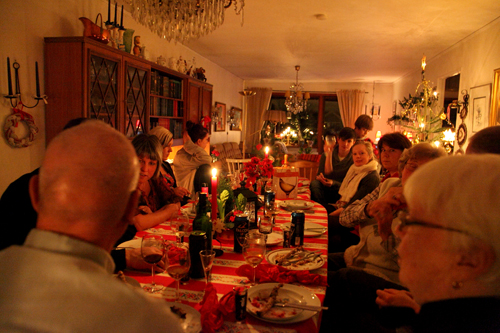
:: Swedish Christmas Recap!
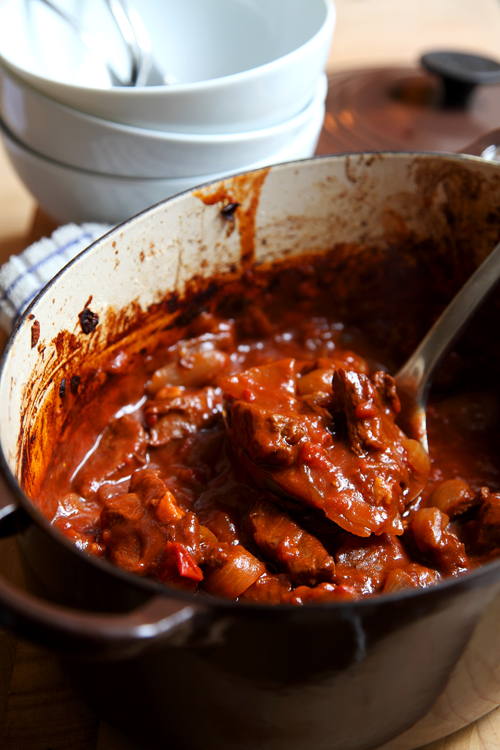
:: Hungarian Goulash
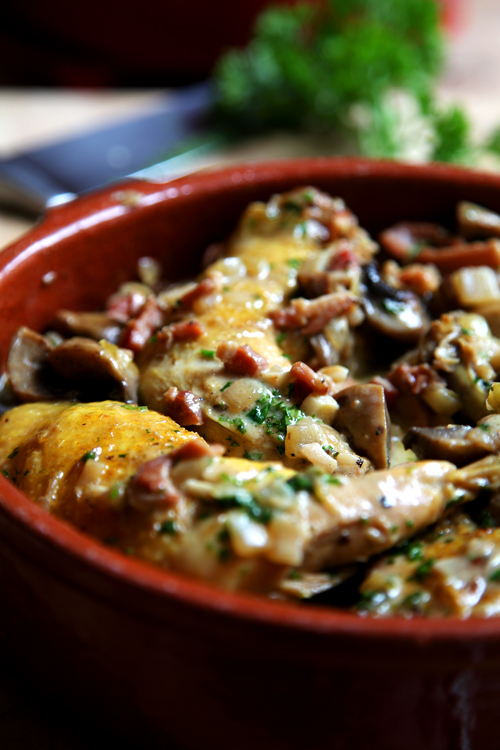
:: Coq Au Vin
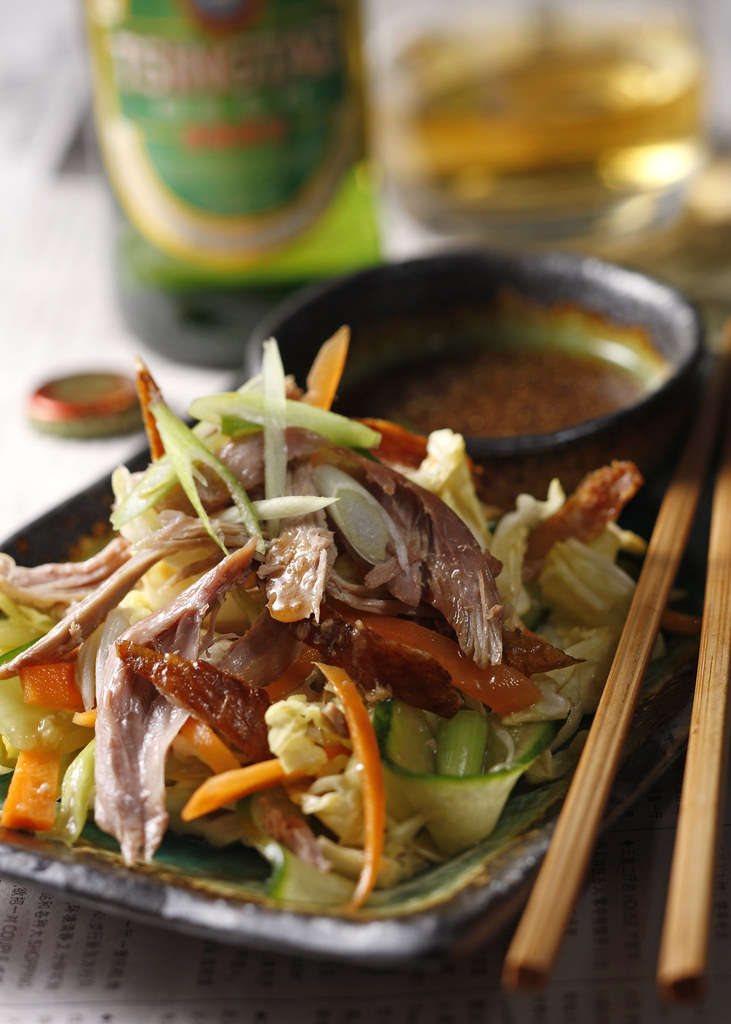
:: Open Aromatic Duck Salad
:: Harumi's Green Beans With A Sesame Dressing

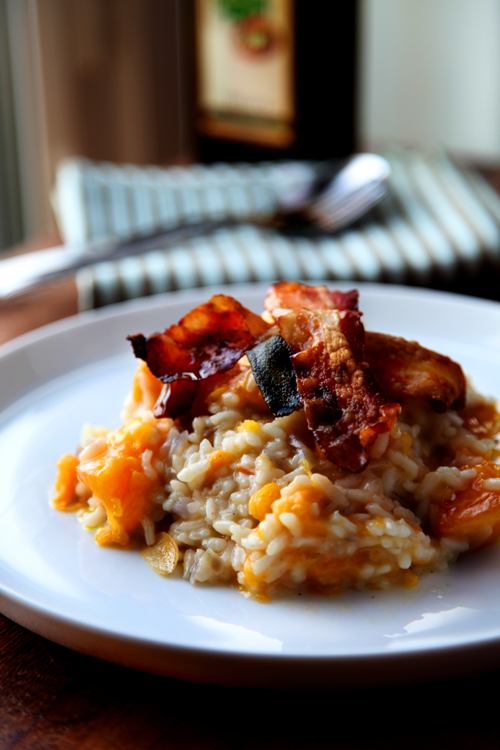
:: Pumpkin and Crispy Pancetta Risotto