We Love Cooking!:
sugar
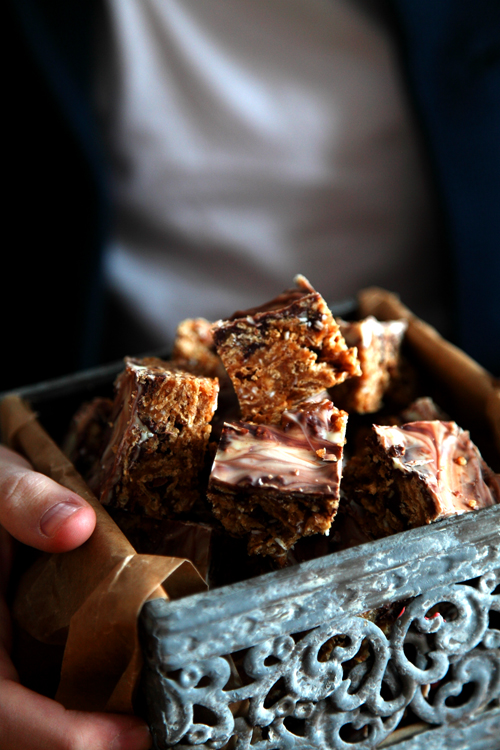
:: Peanut Butter Snicker Squares!
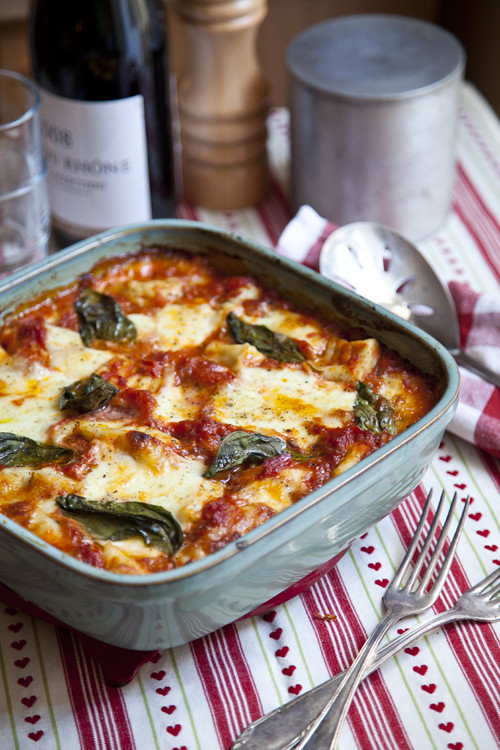
:: Mozzarella, tomato and gnocchi bake!
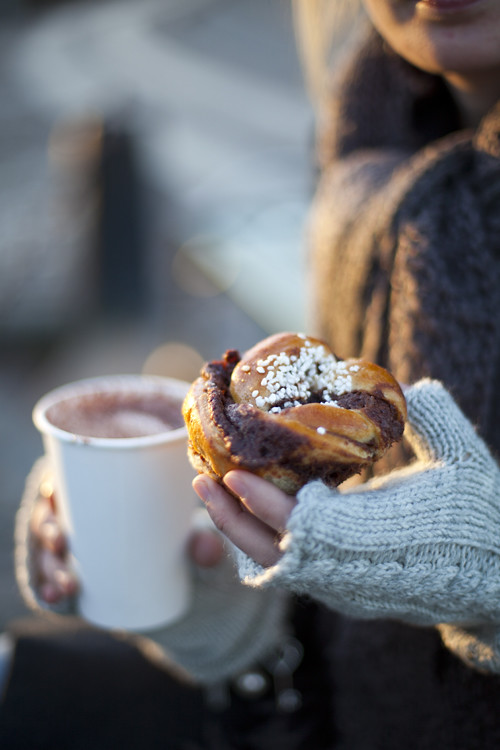
:: Swedish Cinnamon Buns
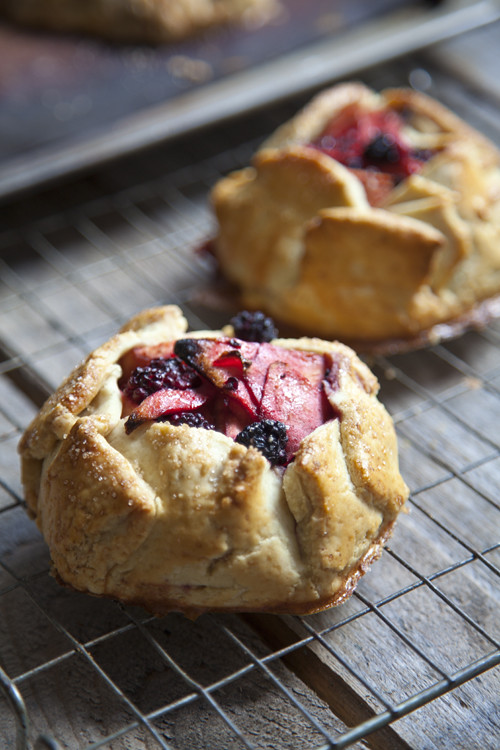
:: Rustic Apple and Blackberry Galettes
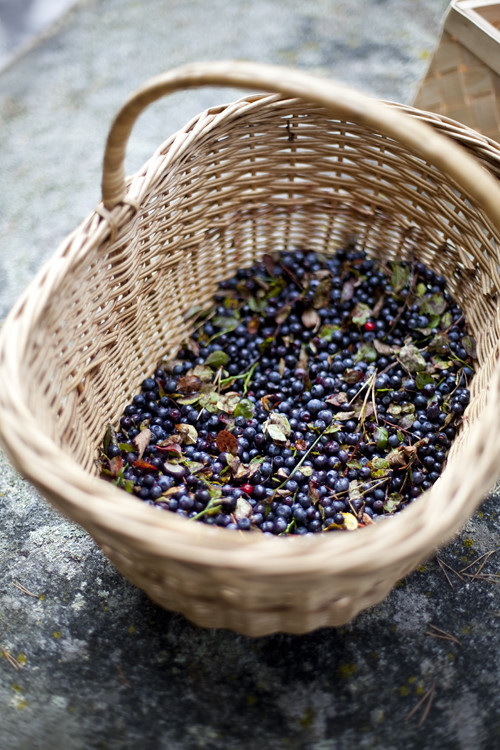
:: Wild Blueberry Picking and a Swedish Gooey Chocolate Cake
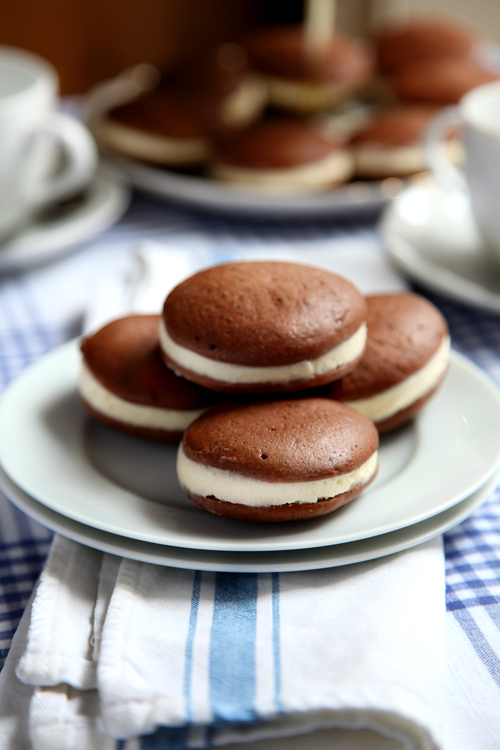
:: Whoopie Pies: The New Cupcake?
:: Leila Lindholm's High Hat Cupcakes
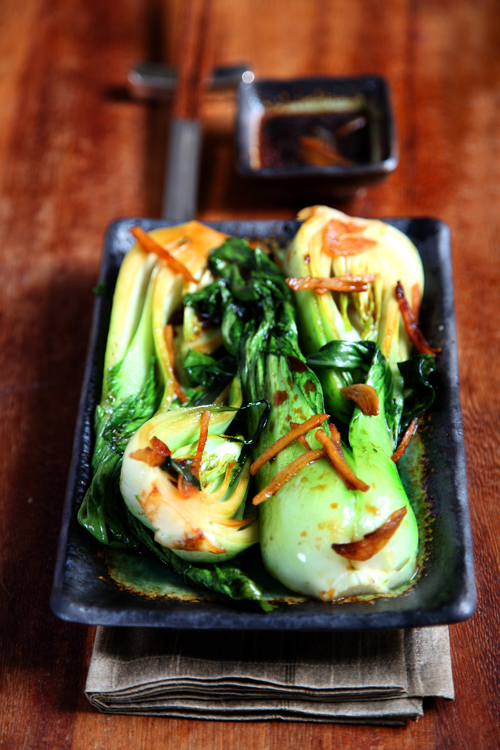
:: Ginger and Garlic Braised Bok Choy
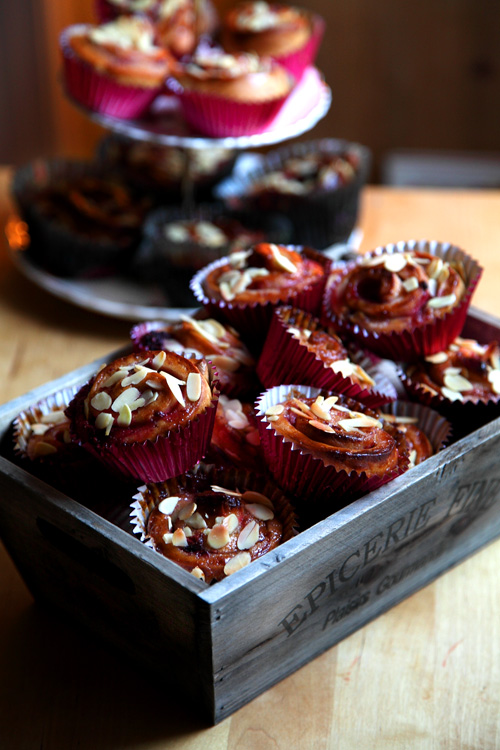
:: Pink Berry and Almond Swirly Buns!
:: Mini Mince Pies!

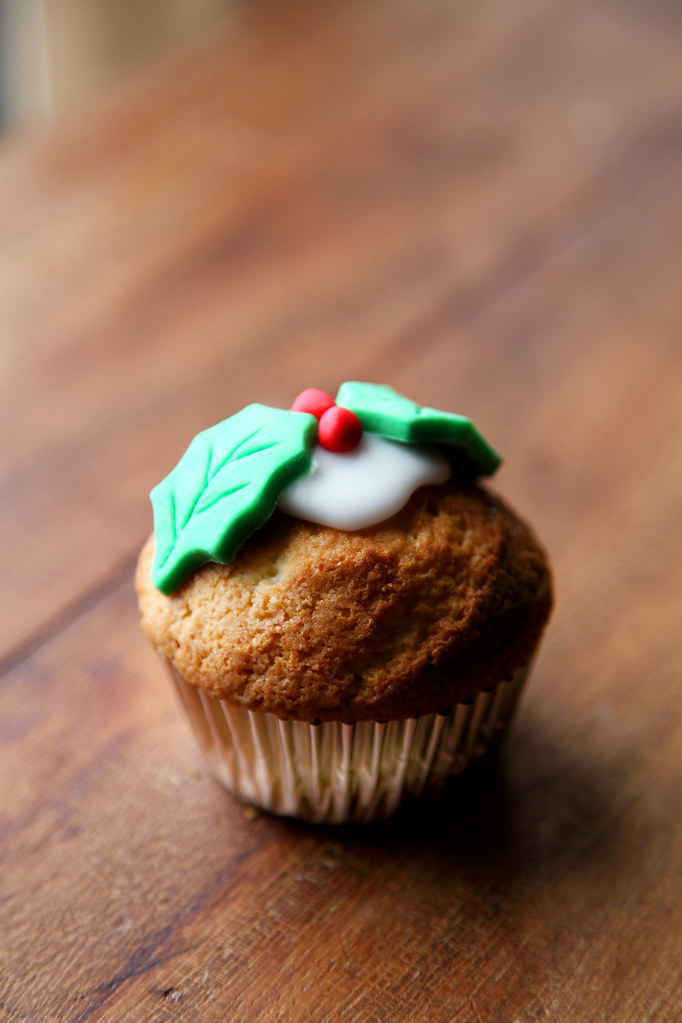
:: Christmas Cupcake Recipe from KISS Magazine!
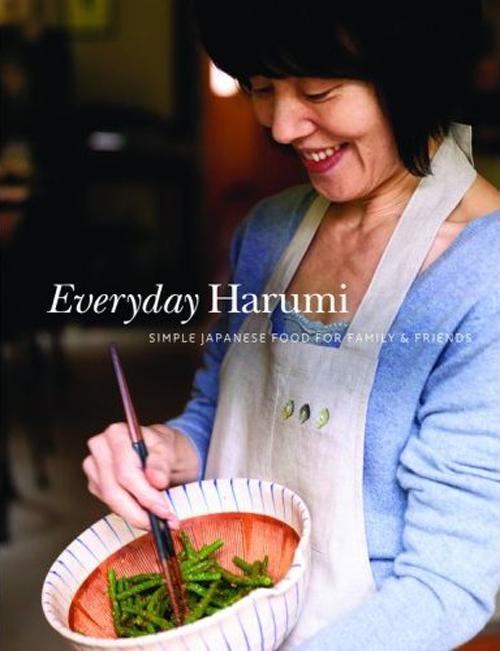
:: Harumi's Green Beans With A Sesame Dressing
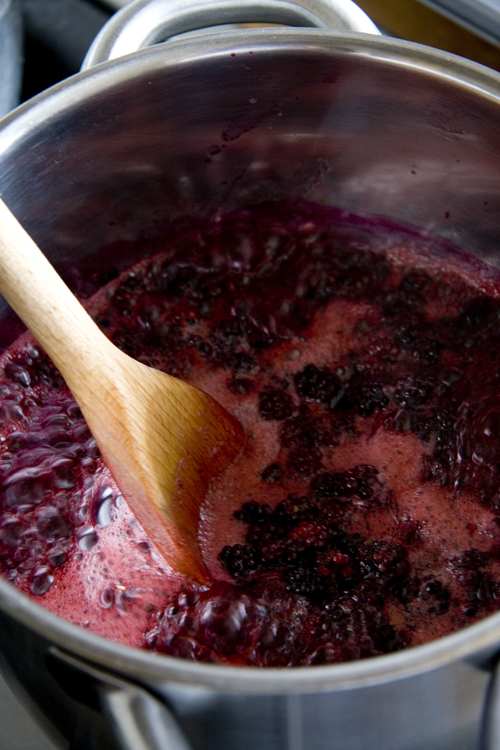
:: Blackberry Coulis
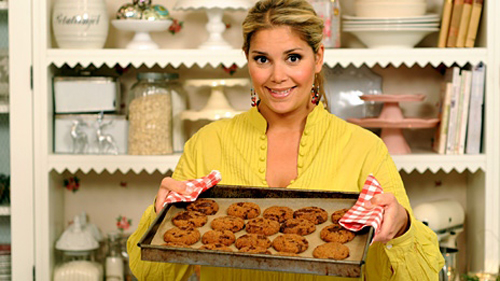
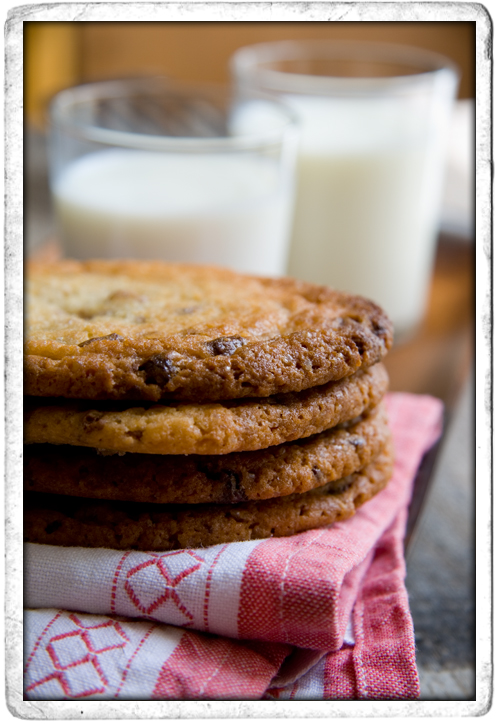
:: Chocolate Chip Cookies
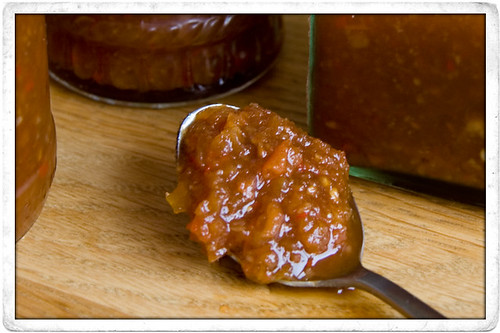
:: Chilli Jam