We Love Cooking! [Search results for sugar]
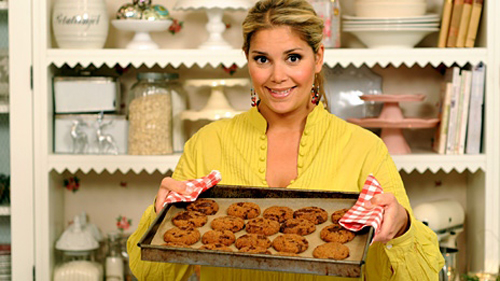
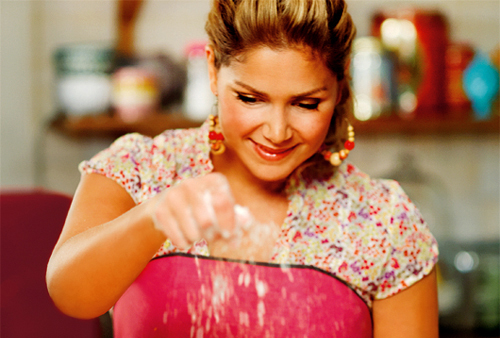
:: Leila Lindholm's High Hat Cupcakes
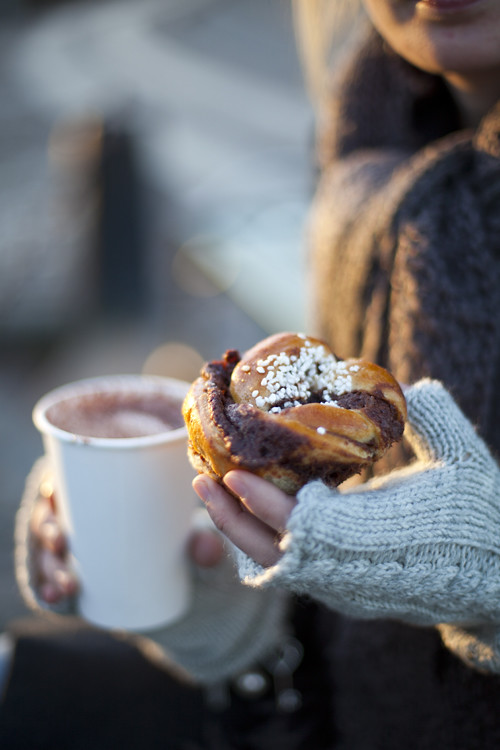
:: Kanel Bulle- Swedish Cinnamon Buns

:: Swedish Cinnamon Buns
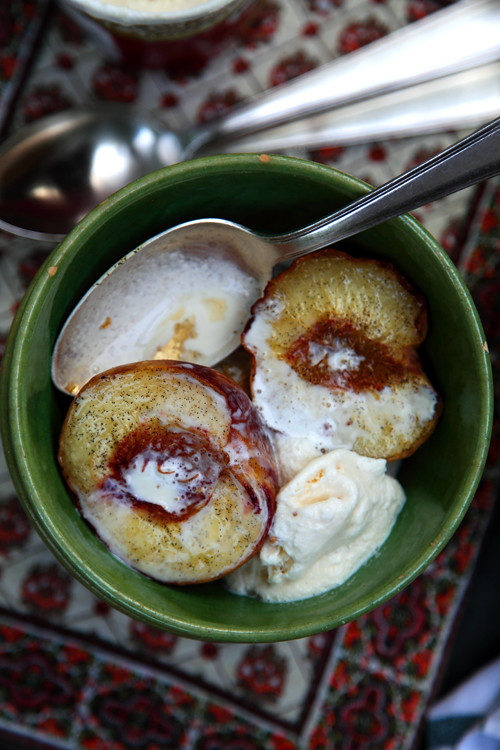
:: Baked Peaches with Vanilla Sugar
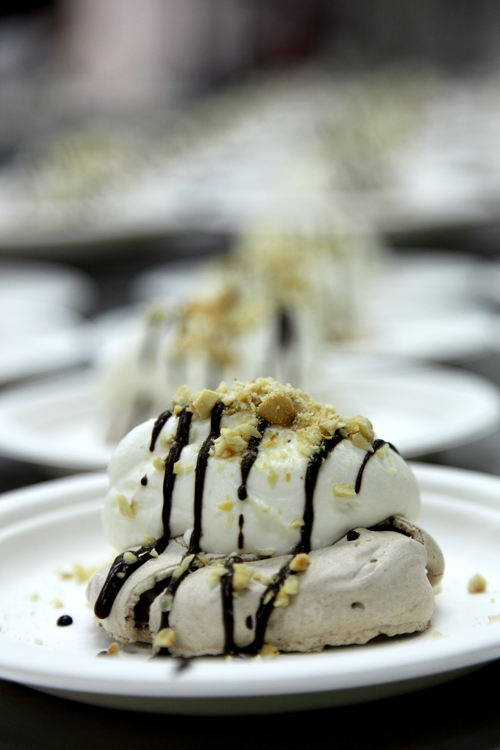
:: Meringues with Jameson Whiskey Cream, Chocolate Sauce and toasted Hazelnuts
:: Leila Lindholm's Peanut Butter Cupcakes
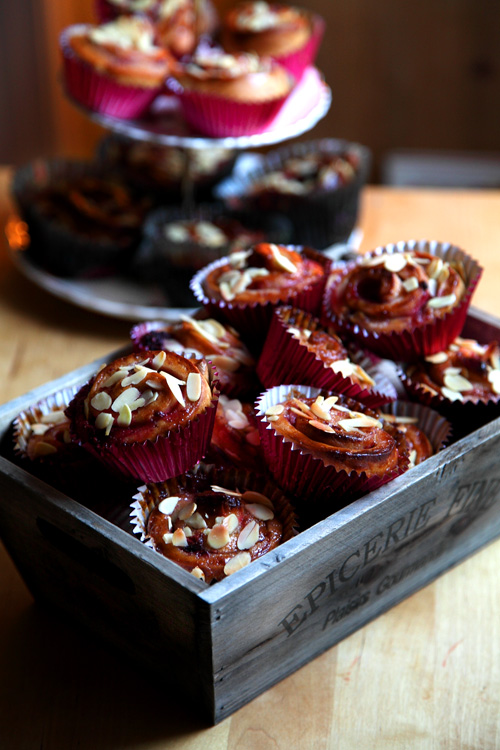
:: Pink Berry and Almond Swirly Buns!
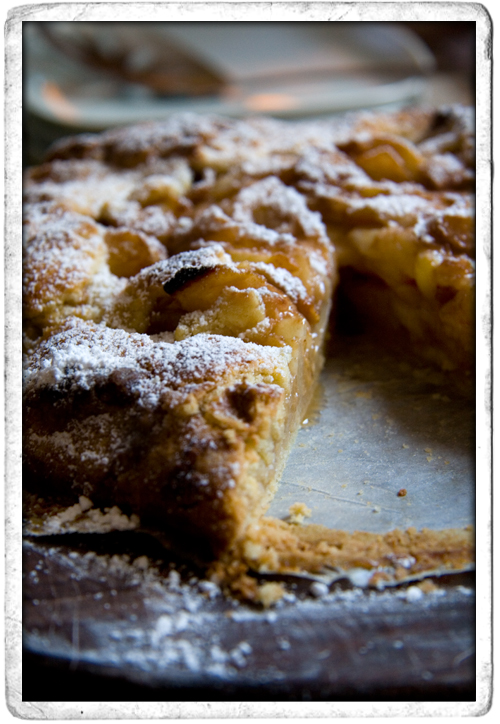
:: Rustic Pear Tart with Apricot Brandy
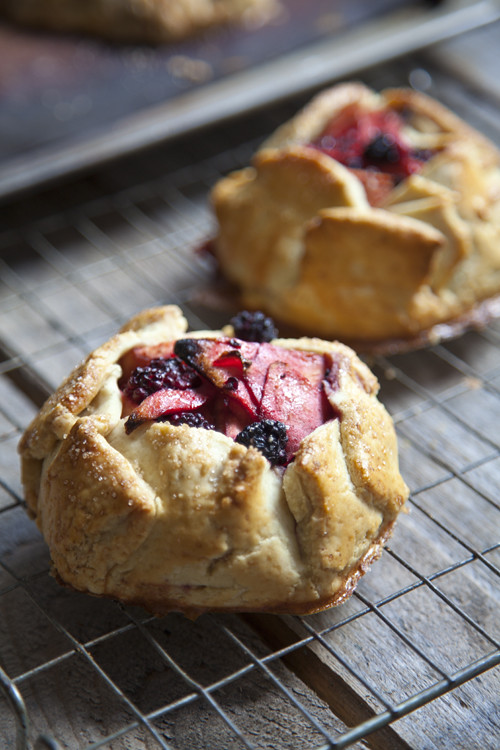
:: Rustic Apple and Blackberry Galettes
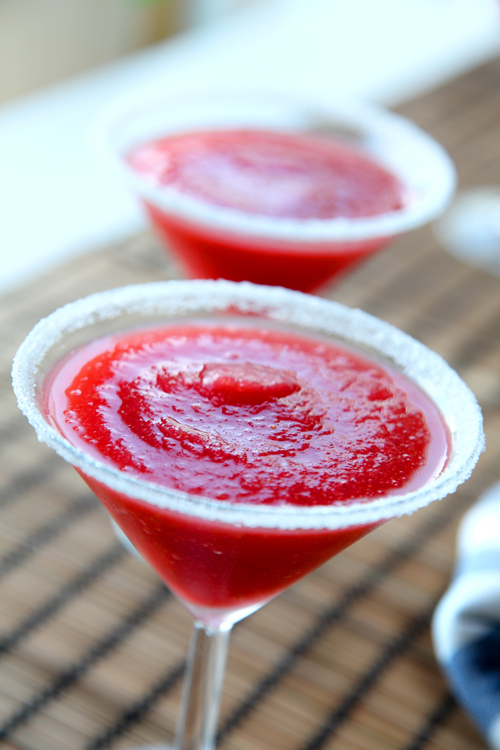
:: Simple Strawberry Daiquiris
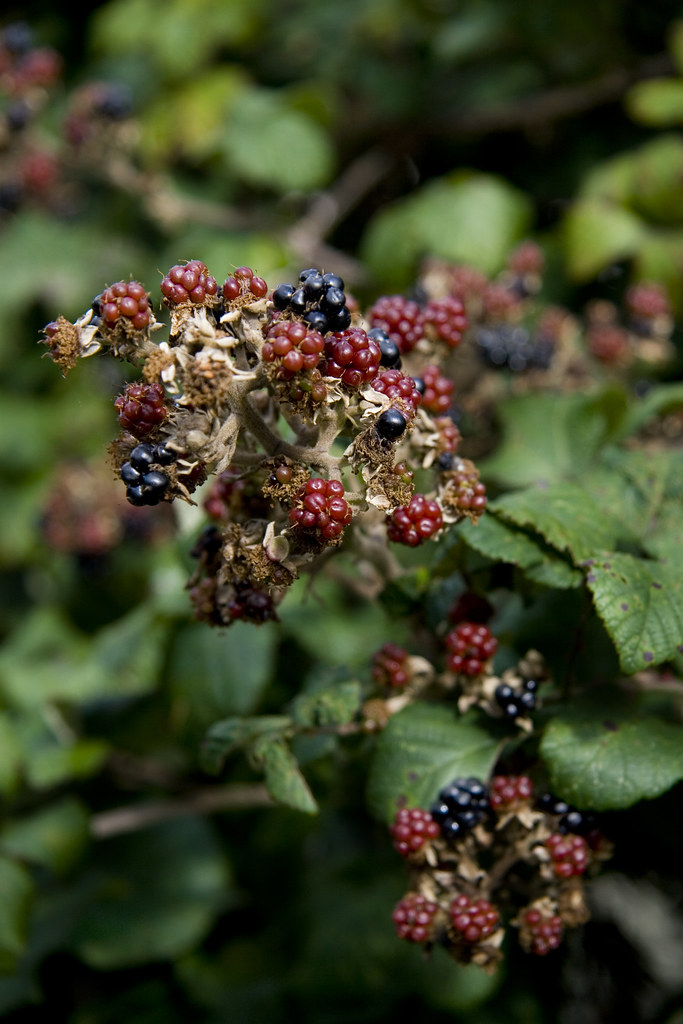
:: Homemade Blackberry and Apple Tart
:: Gizzi Erskine's Sticky Banoffee Pudding

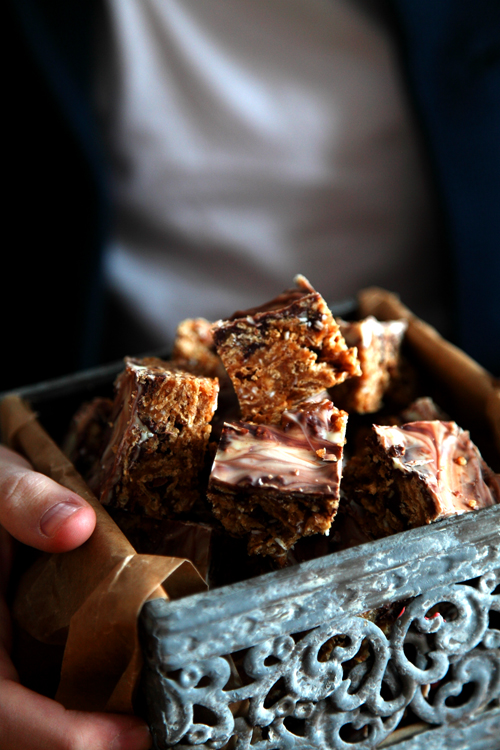
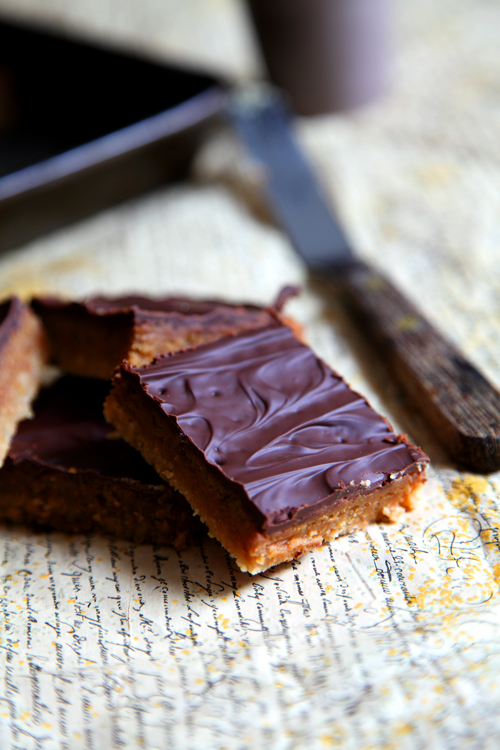
:: Bill Granger's Chocolate Caramel Slices
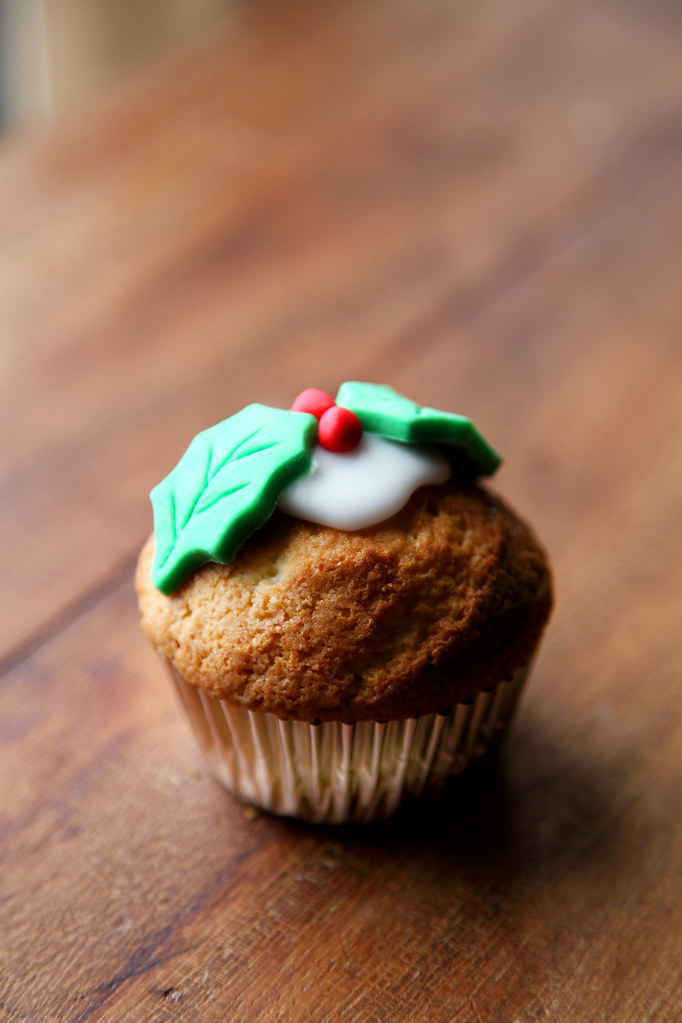
:: Christmas Cupcake Recipe from KISS Magazine!
:: Leila Lindholm's Butterscotch Pecan Pie
:: Cherry Clafoutis

:: Christmas Mince Pie Star Slices

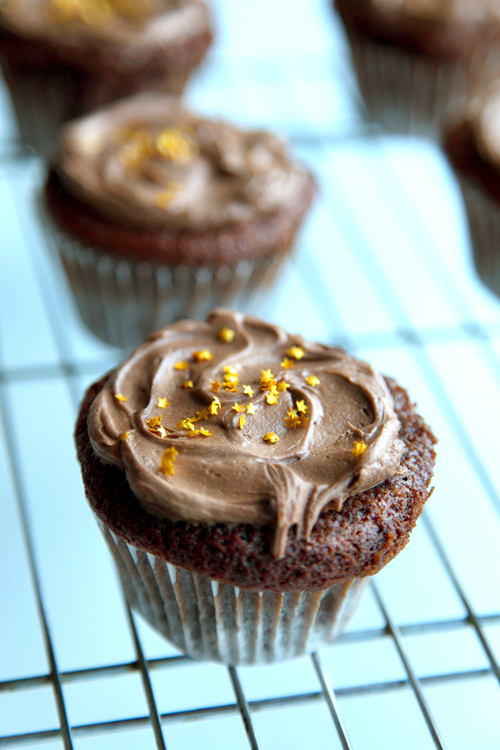
:: Chocolate Fudge Cupcakes and The Highs and Lows Of The Music Biz!
:: Naughty Chocolate Fudge Cake: Happy Birthday!

:: Peanut Butter Snicker Squares!