We Love Cooking!
:
entertaining
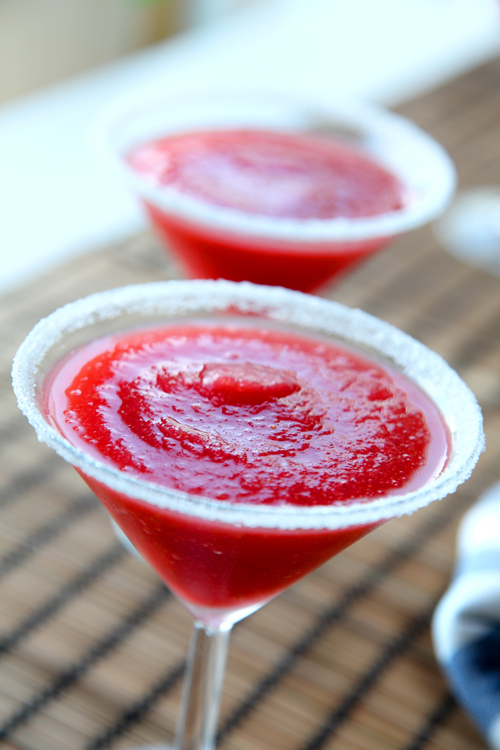
Frosting Cocktail Glasses In 3 Easy Steps!
:: Simple Strawberry Daiquiris
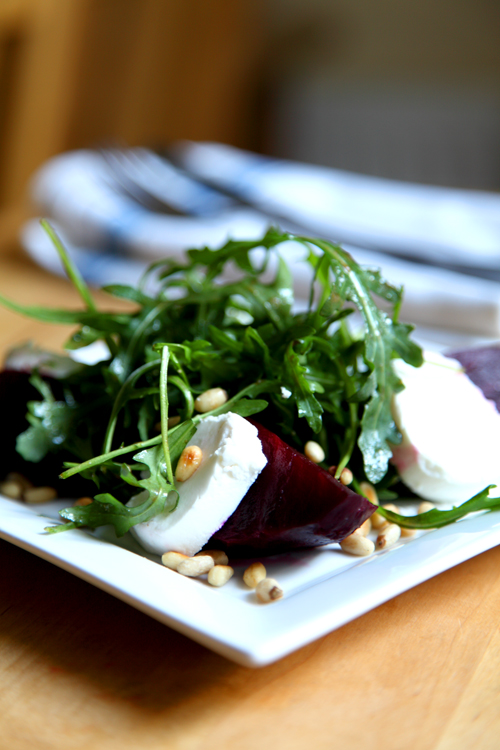
:: Beetroot, Goats Cheese, Pine Nut and Rocket Salad
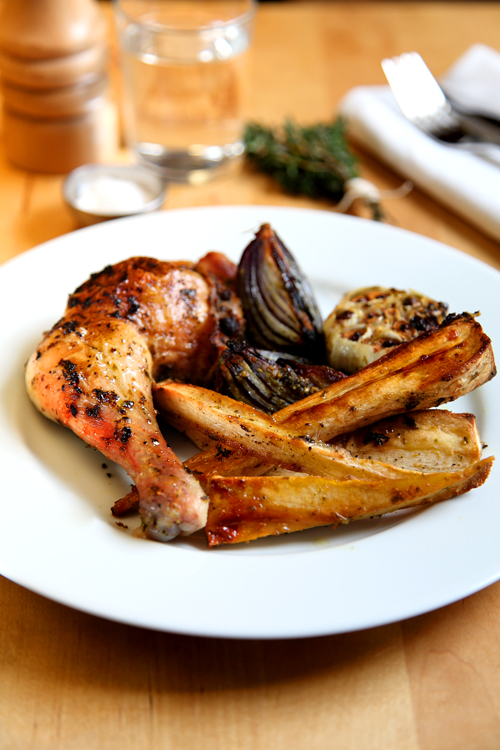
:: Herby Roast Chicken and Honey and Thyme Parsnips
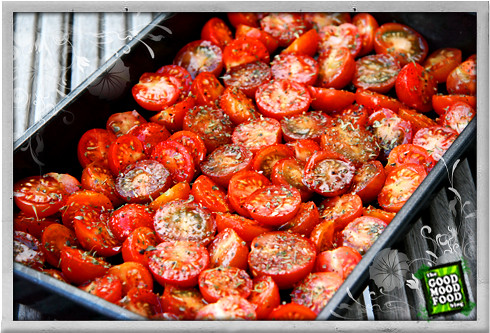
:: Basil Pesto and Roasted Balsamic Cherry Tomatoes
:: SUNDAY SUMMER PICNIC!
Random for
food
:
NEXT >>