We Love Cooking!:
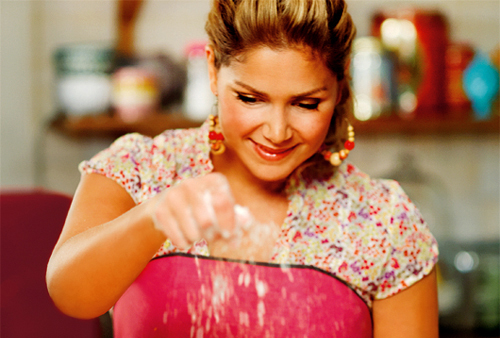
caster sugar
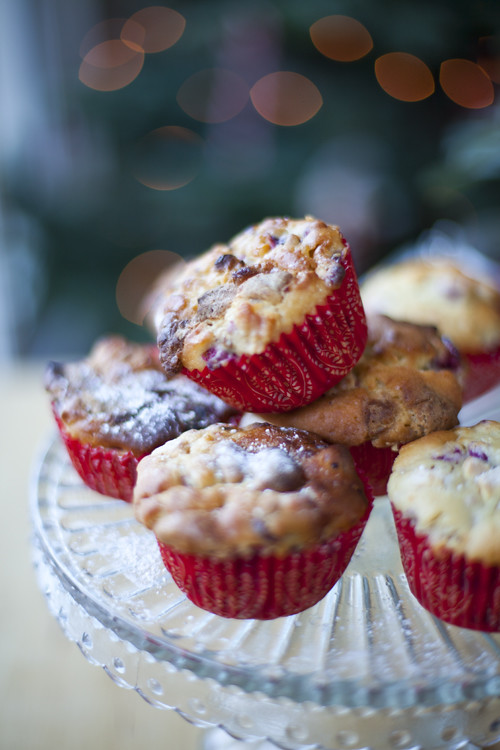
:: Cranberry and White Chocolate Muffins
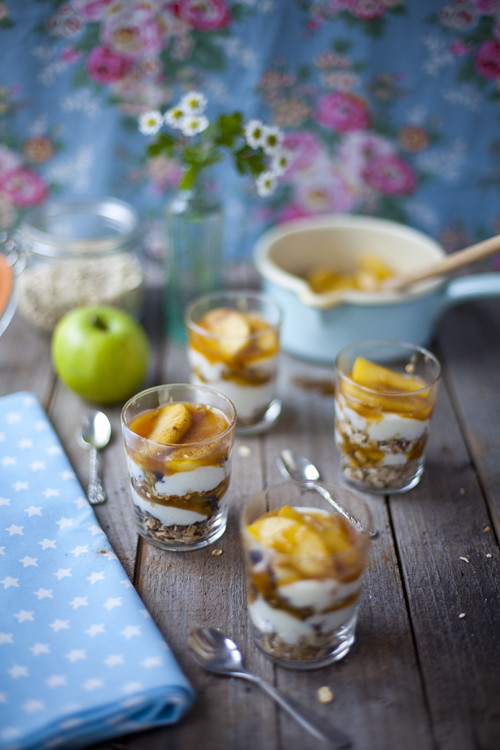
:: Caramel Apple Granola Pots
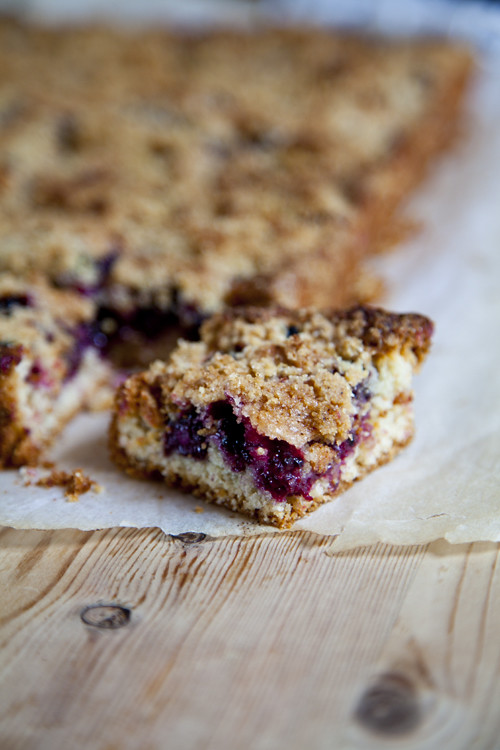
:: Blackberry Crumb Slices
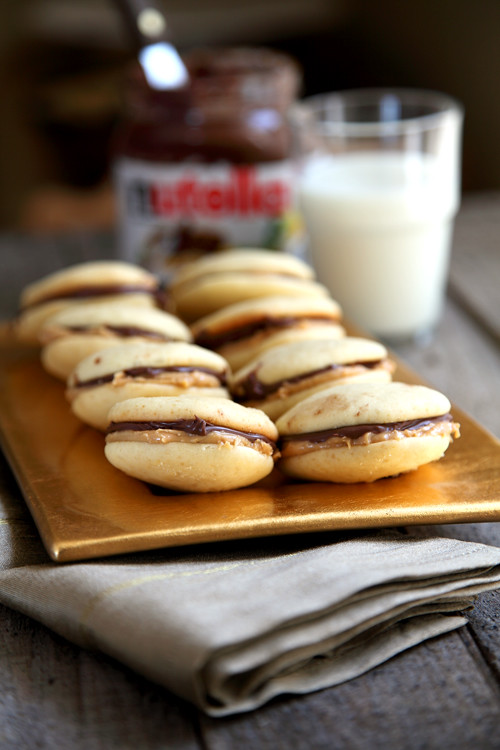
:: Go Nuts Nutella Whoopie Pies!
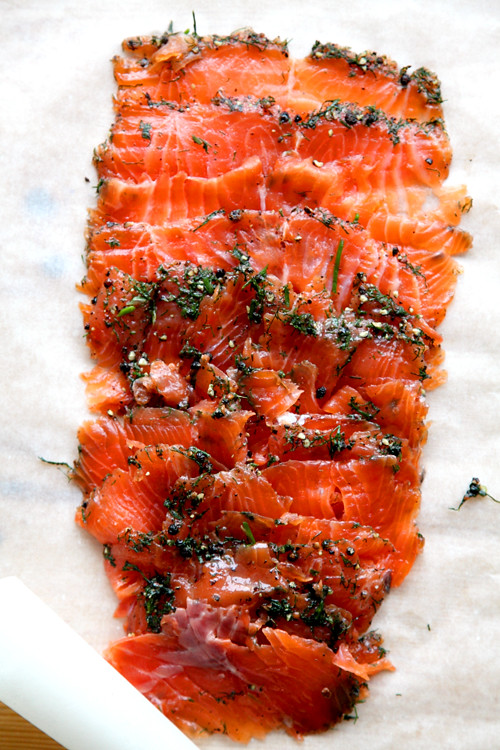
:: Swedish Gravadlax
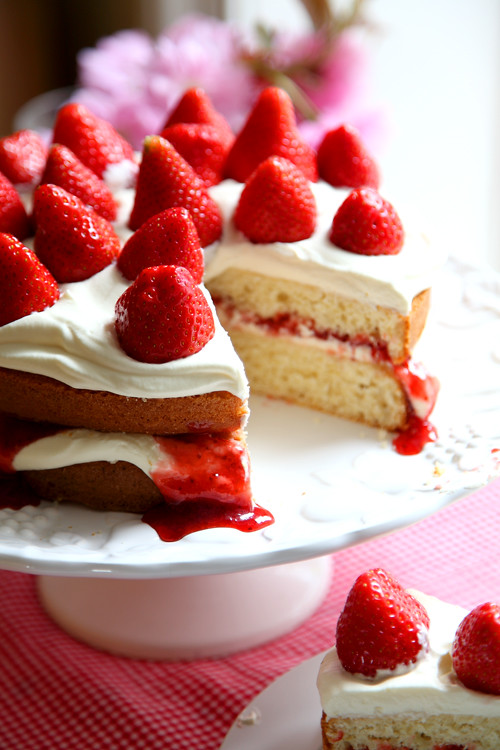
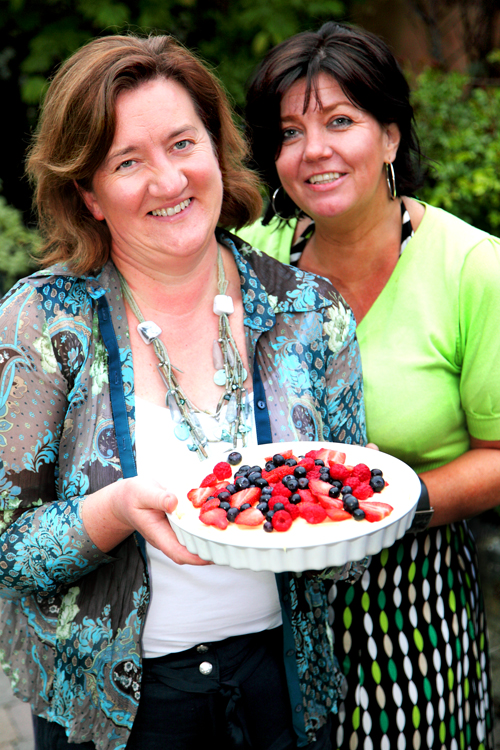
:: Mega Strawberry Summer Cake
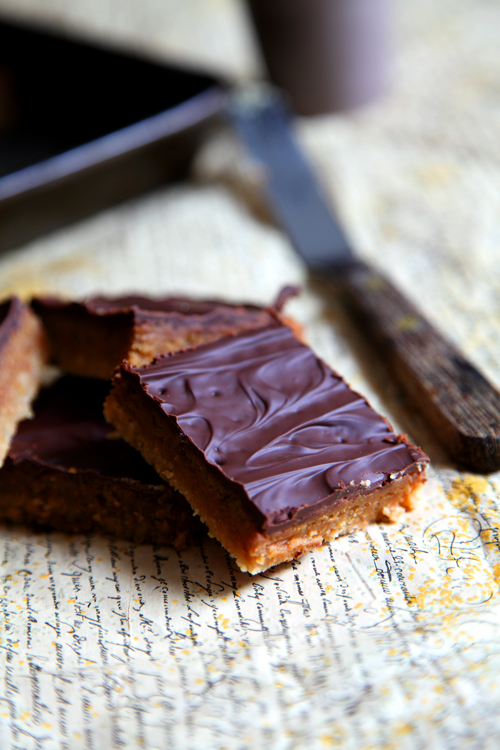
:: Bill Granger's Chocolate Caramel Slices
:: White Chocolate Cheesecake with Summer Fruit
:: Sadhbh's Cookclub- Delicious Beef Pho!

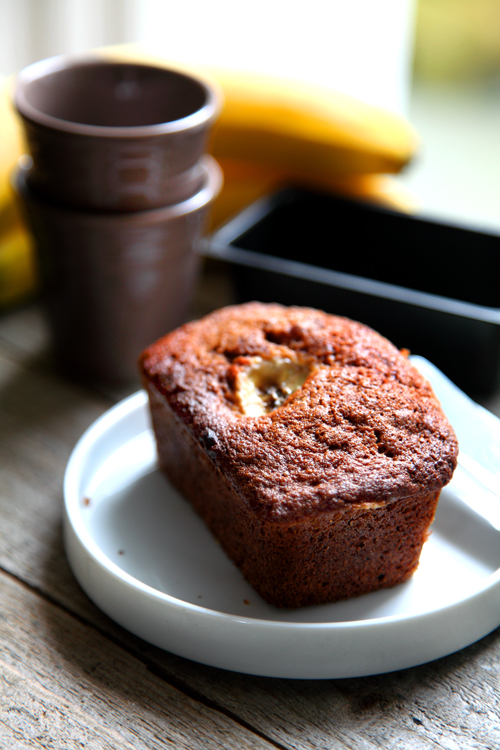
:: Auntie Ann's Banana Bread
:: Gizzi Erskine's Sticky Banoffee Pudding

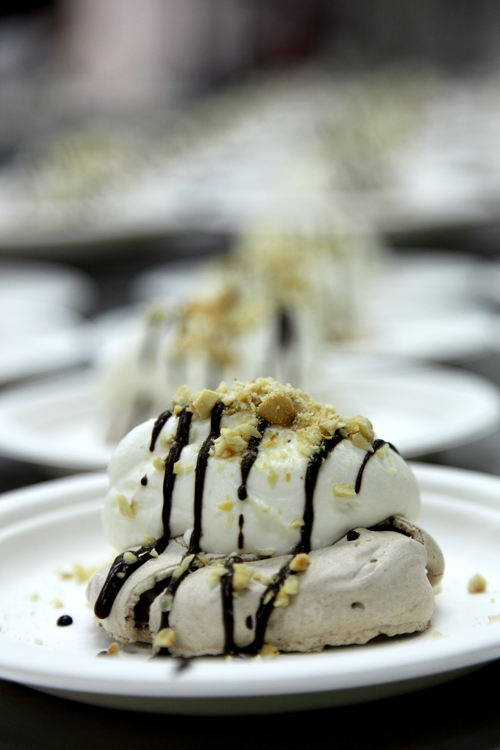
:: Meringues with Jameson Whiskey Cream, Chocolate Sauce and toasted Hazelnuts
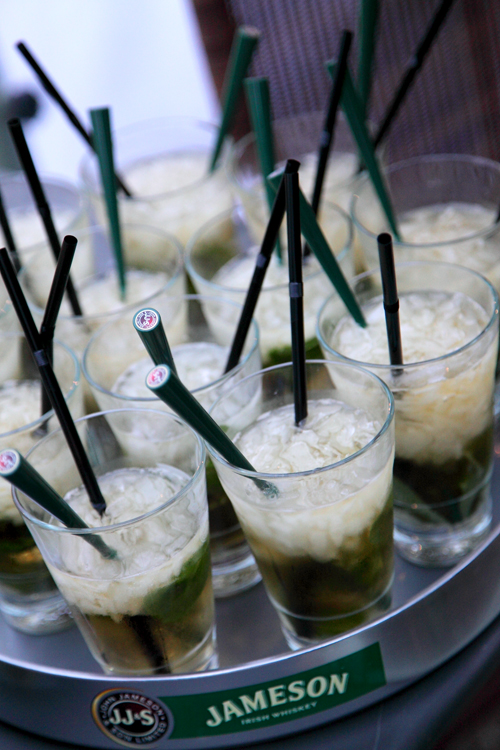
:: Jameson Iced Fire Ginger Mint Cocktail
:: Naughty Chocolate Fudge Cake: Happy Birthday!

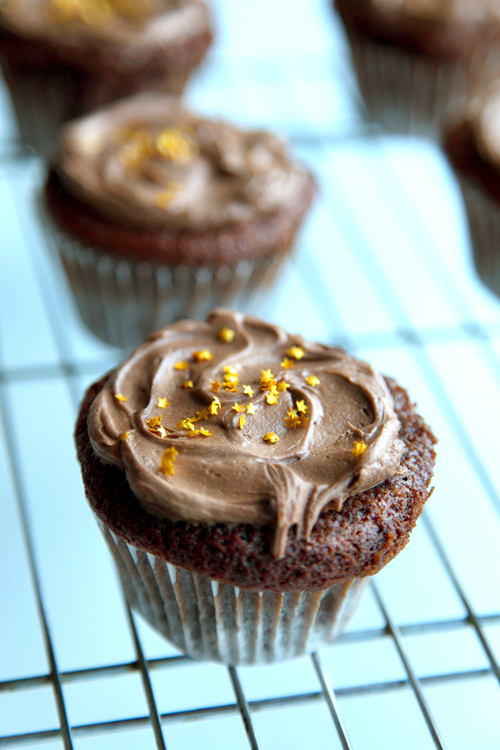
:: Chocolate Fudge Cupcakes and The Highs and Lows Of The Music Biz!
:: Leila Lindholm's Butterscotch Pecan Pie
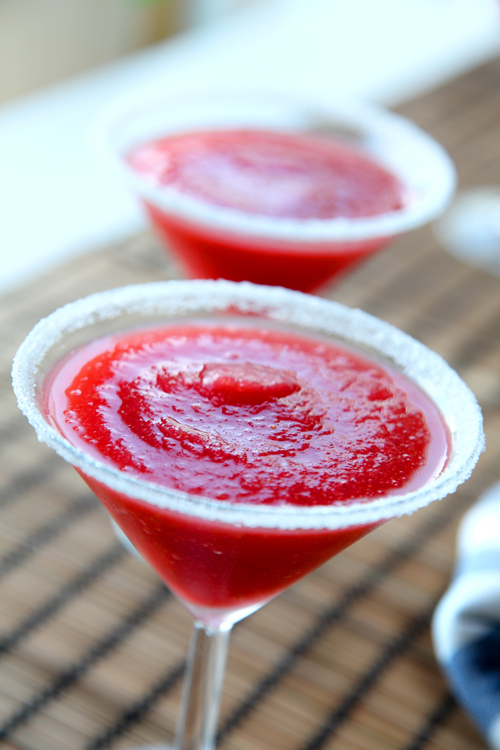
:: Simple Strawberry Daiquiris