We Love Cooking!:
main meal
:: Garlic Mushroom and Goats Cheese Pasta

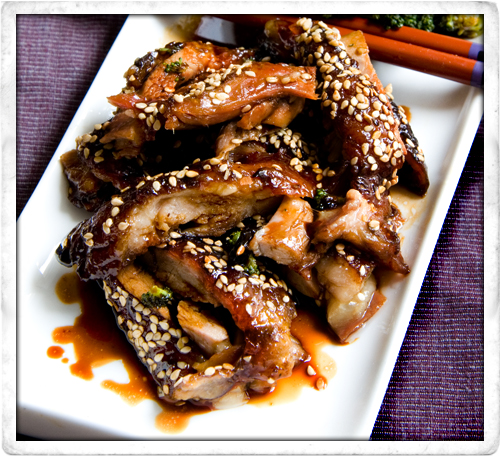
:: Honey and Sesame Duck
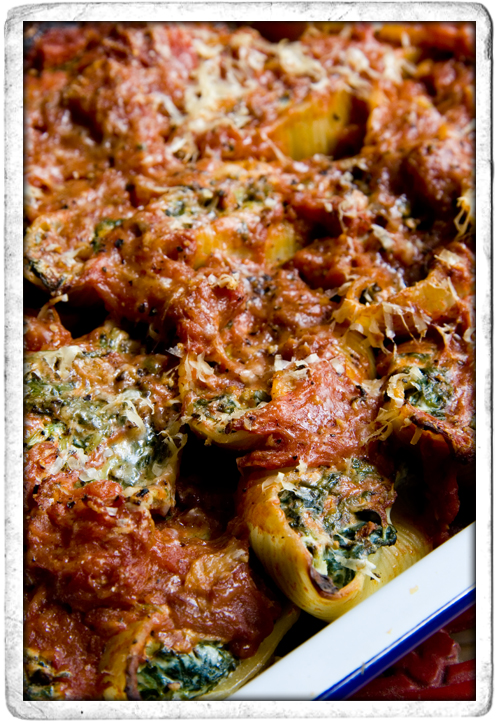
:: Spinach and Riccotta Stuffed Pasta Shells
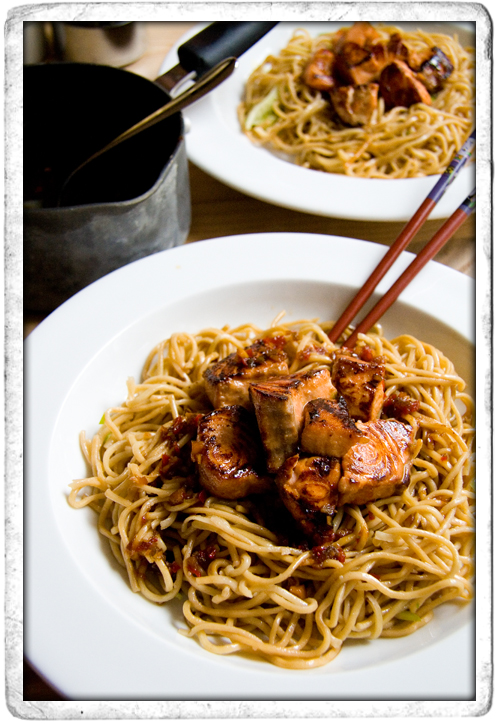
:: Teriyaki Salmon with Noodles
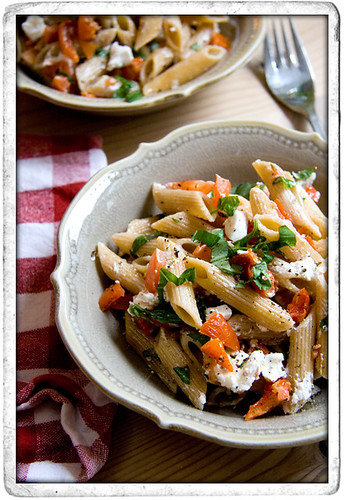
:: Sundried Tomato, Basil and Goats Cheese Pasta
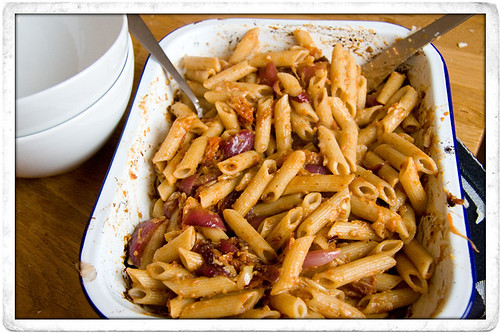
:: Mushy Roast Garlic and Cherry Tomato Pasta
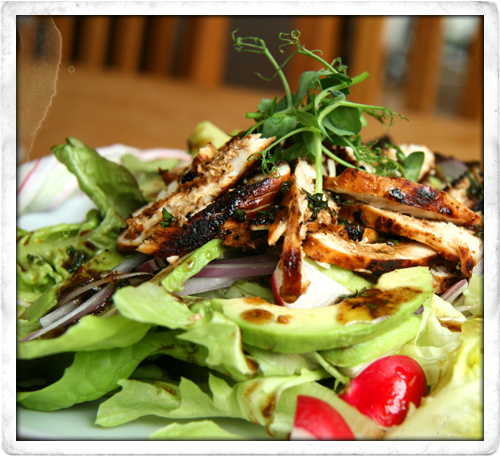
:: Balsamic Chicken with Avocado and Radish Salad
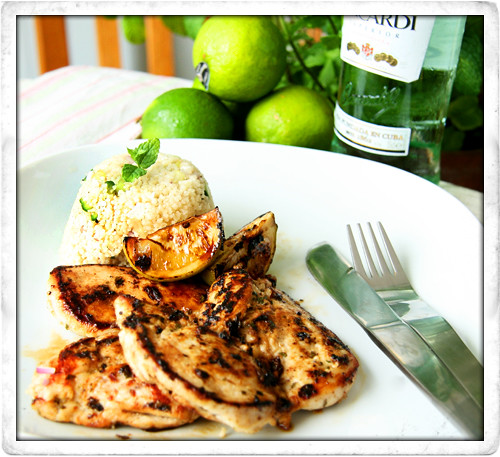
:: MOHITO LIME AND MINT CHICKEN!
:: Asparagus and Garlic Pasta

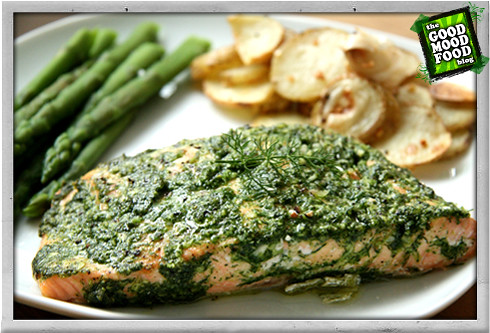
:: BAKED DILL AND GARLIC SALMON