We Love Cooking!:
dinner
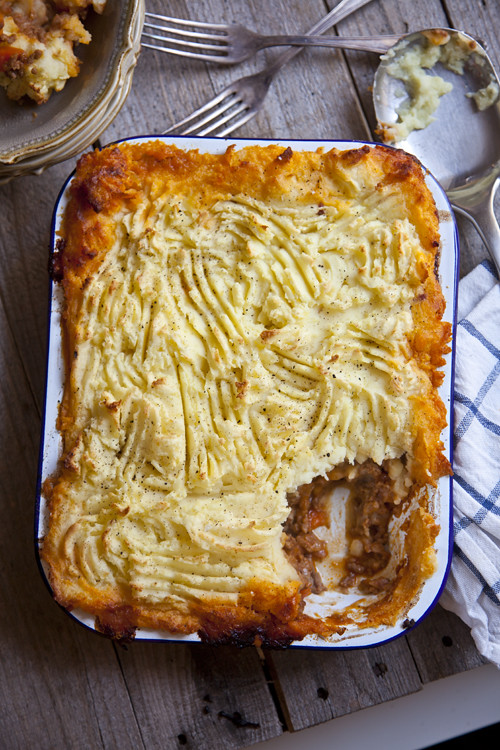
:: Roast Garlic Shepherd's Pie
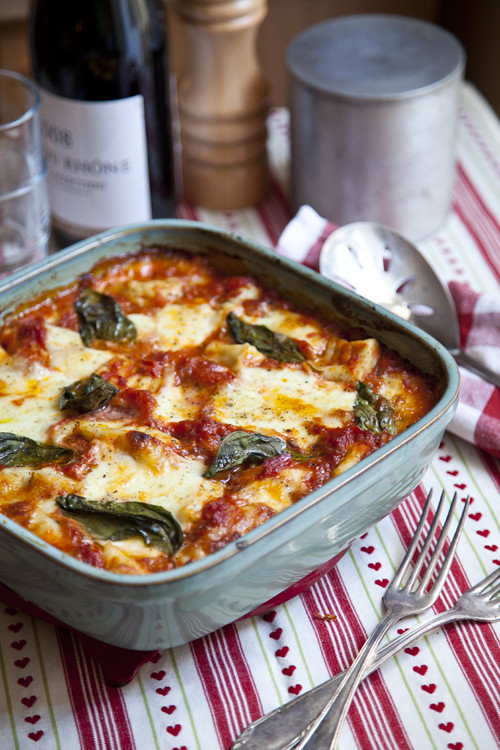
:: Mozzarella, tomato and gnocchi bake!
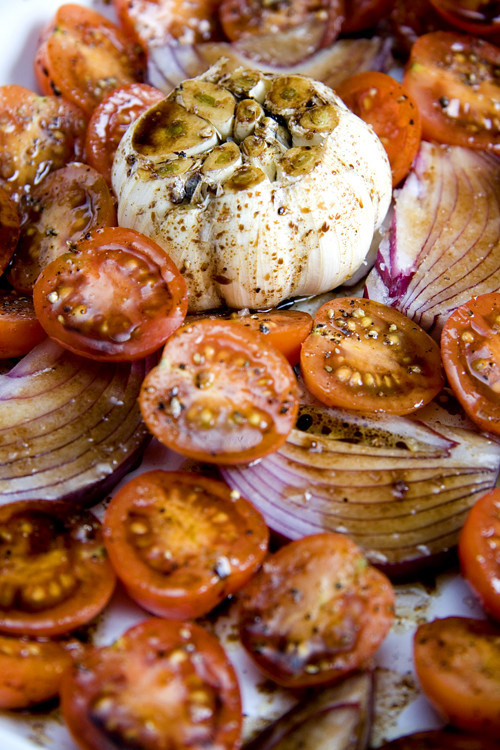
:: Mushy Roast Garlic and Cherry Tomato Pasta
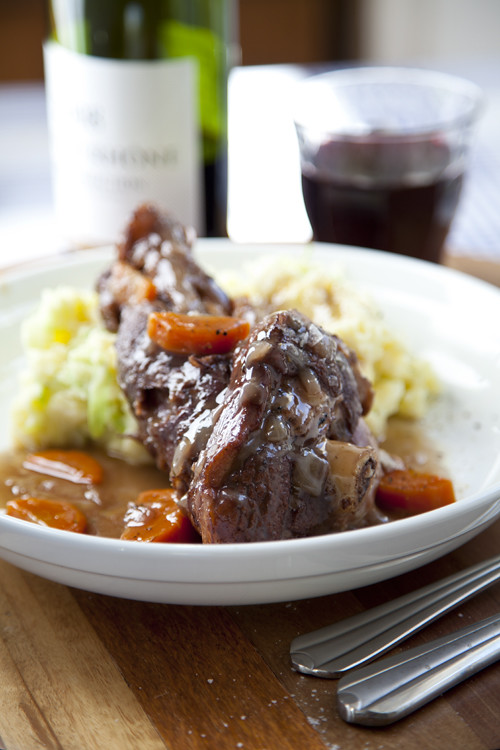
:: Lamb Shanks with Colcannon Mash
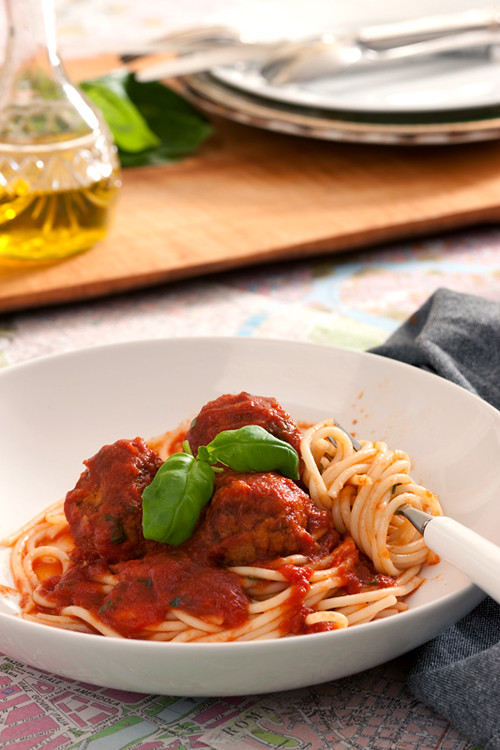
:: Catherine Fulvio's Meatballs in Spicy Tomato Sauce
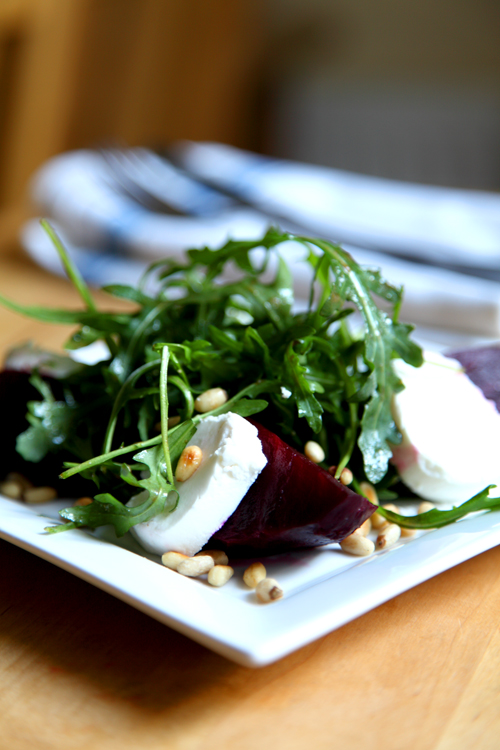
:: Beetroot, Goats Cheese, Pine Nut and Rocket Salad
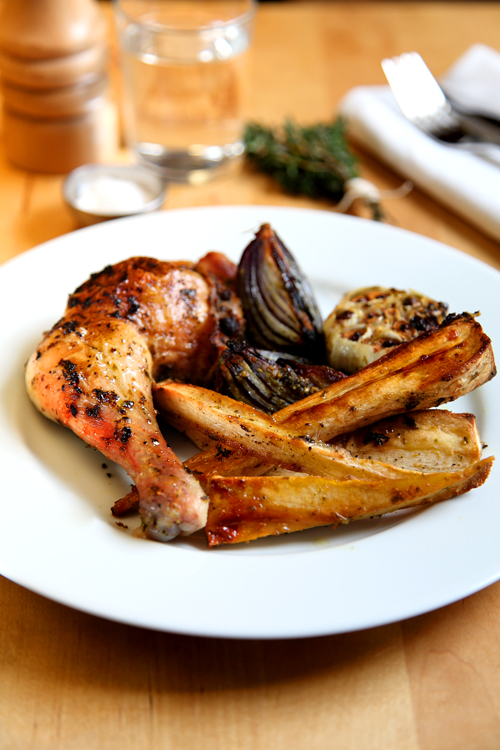
:: Herby Roast Chicken and Honey and Thyme Parsnips
:: It's here! The Twinnerparty Menu!

:: Irish Independent Cook Club!
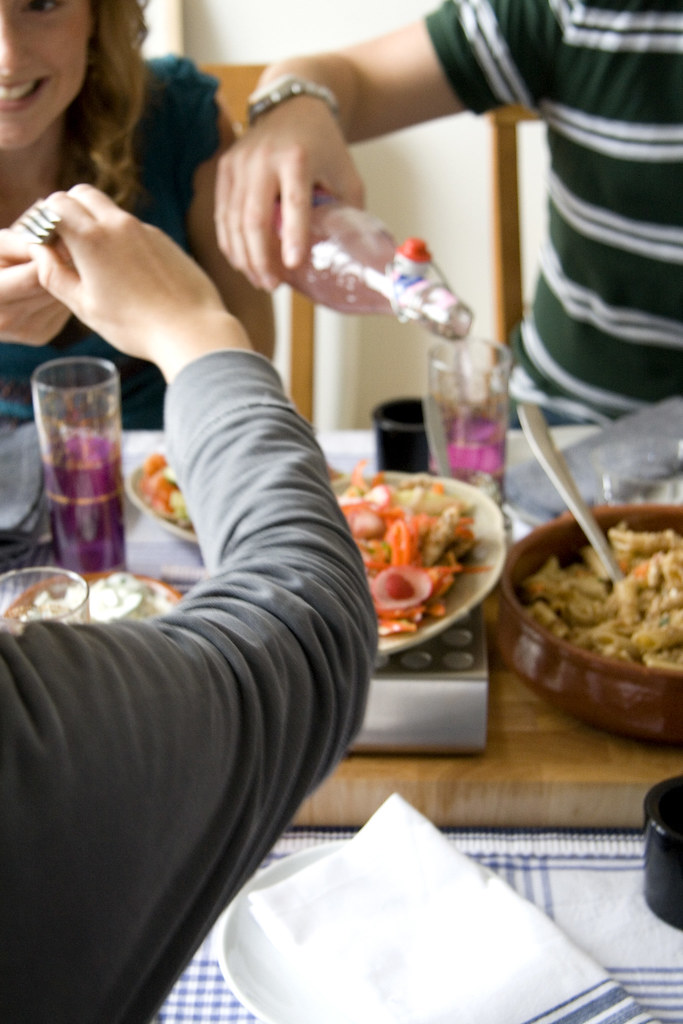
:: The World's First Twinner Party! (probably!)

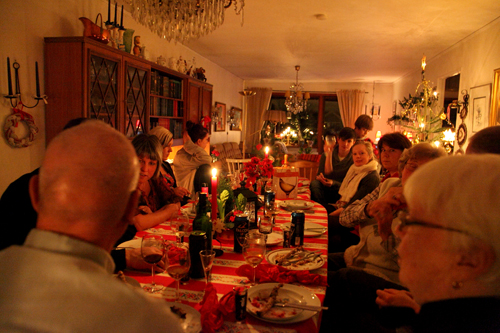
:: Swedish Christmas Recap!
:: Easy Quick Roast Chicken Dinner

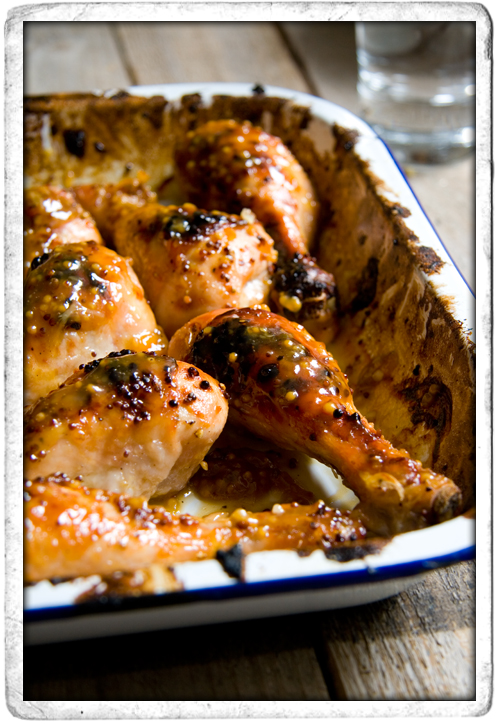
:: Sticky Mustard Chicken Drumsticks
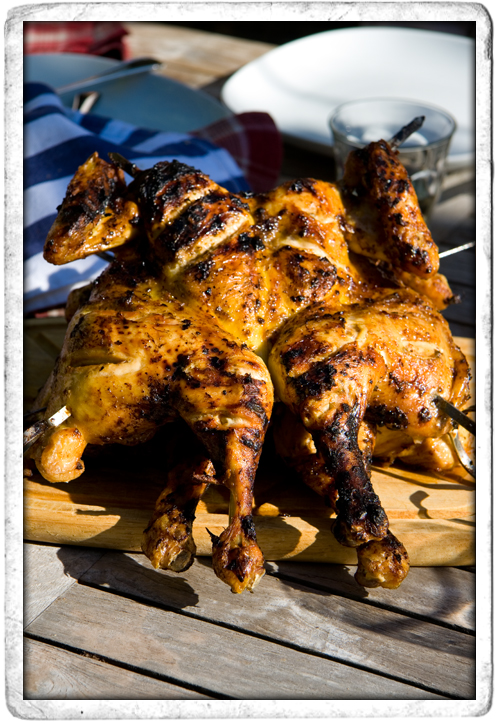
:: BBQ Cajun Spatchcock Chicken
:: Italian Meatballs Mood Food Style

:: ENTERTAINING MADE EASY!

:: AUBERGINE PARMIGIANA PASTABAKE


