We Love Cooking!:
egg
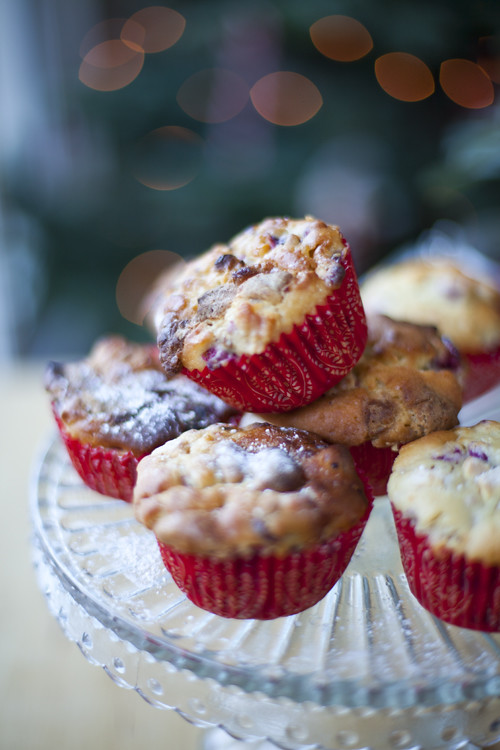
:: Cranberry and White Chocolate Muffins
:: Deep Dish Chocolate Chip Cookies!
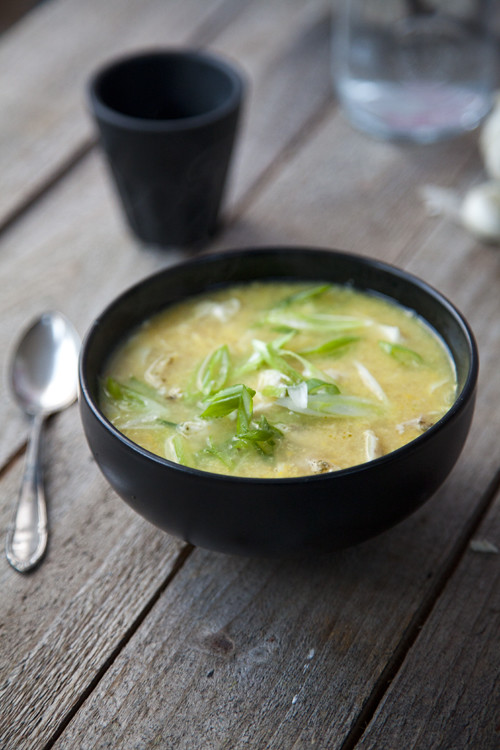
:: Stop Food Waste: Leftover Chicken & Sweetcorn Soup
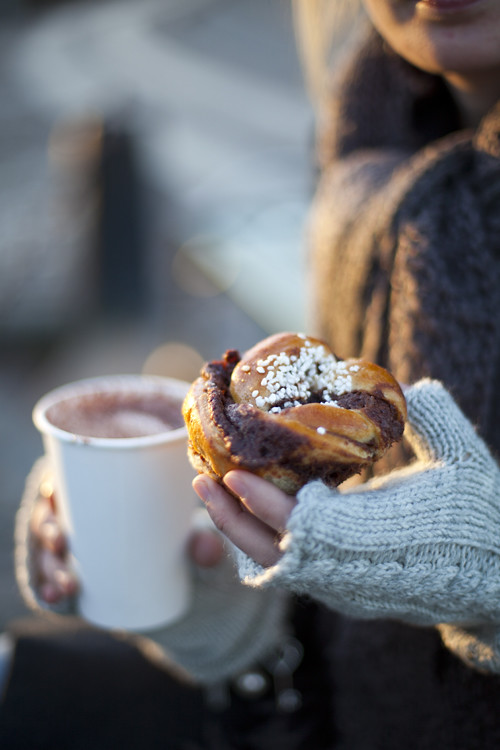
:: Swedish Cinnamon Buns
:: Halloween Barmbrack
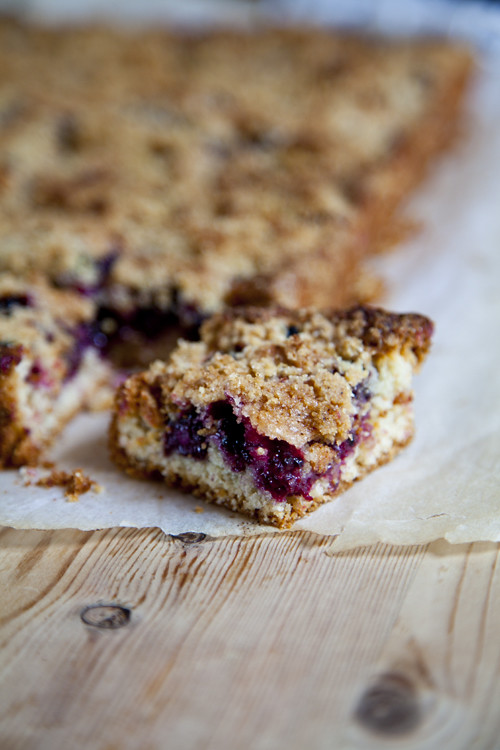
:: Blackberry Crumb Slices
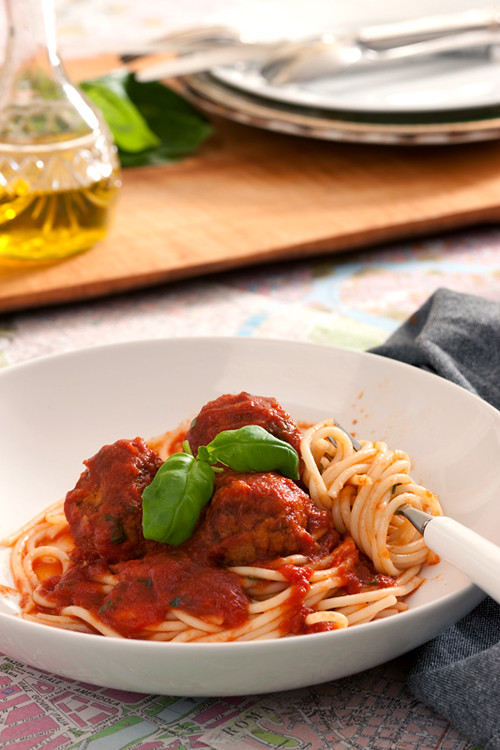
:: Catherine Fulvio's Meatballs in Spicy Tomato Sauce
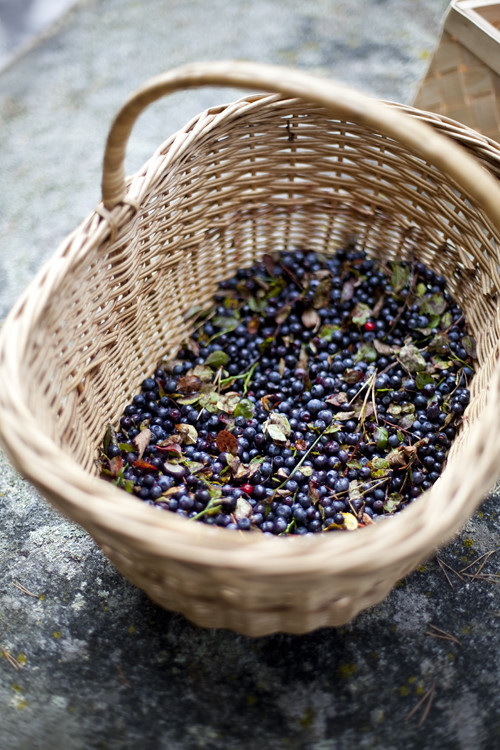
:: Wild Blueberry Picking and a Swedish Gooey Chocolate Cake
:: My Perfect Scrambled Eggs with Chilli Jam

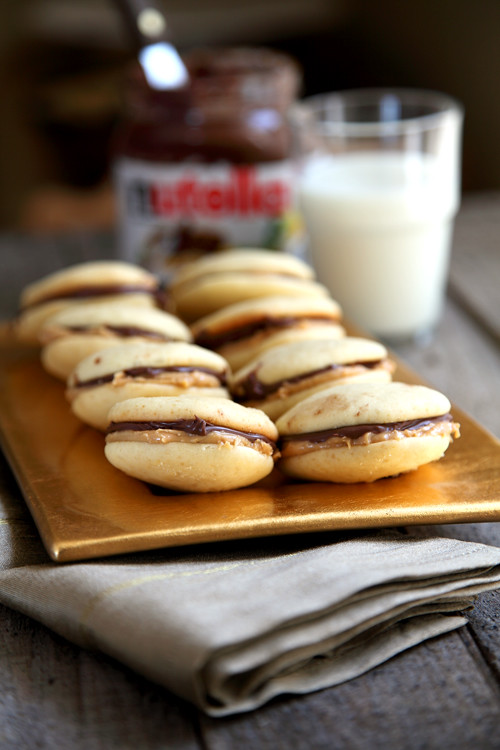
:: Go Nuts Nutella Whoopie Pies!
:: Spanish Fried Eggs with Chorizo and Potato Hash

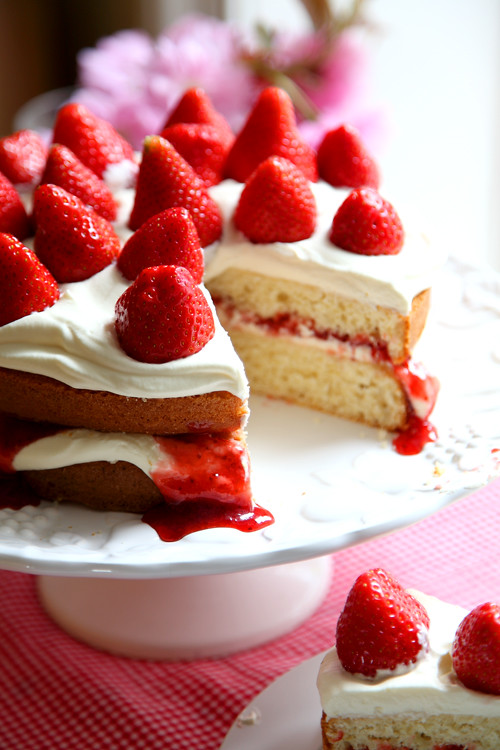
:: Mega Strawberry Summer Cake
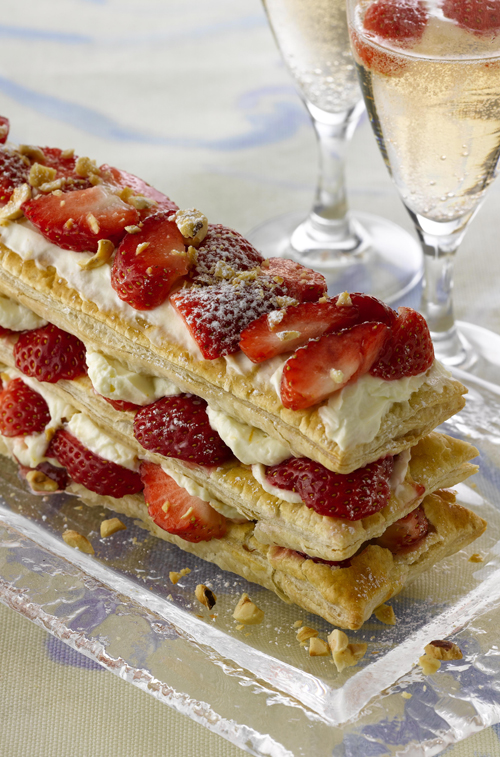
:: Quick Millefeuille with Toasted Hazelnuts, Cointreau and Strawberry Mascarpone Cream Filling
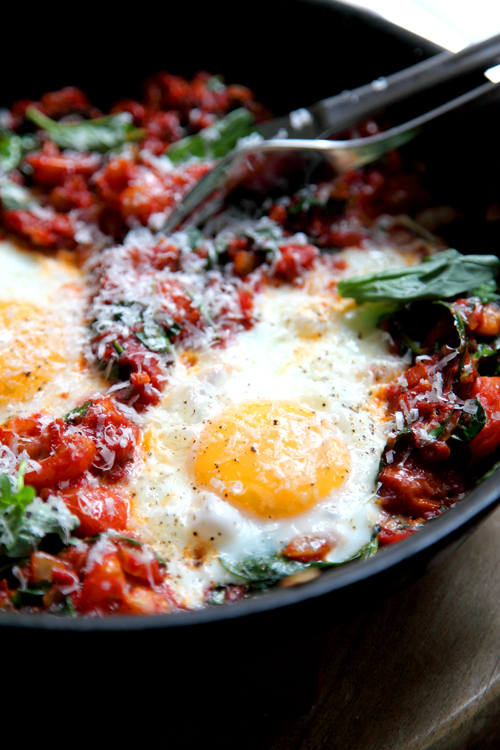
:: Big Brunch Tomato Eggs
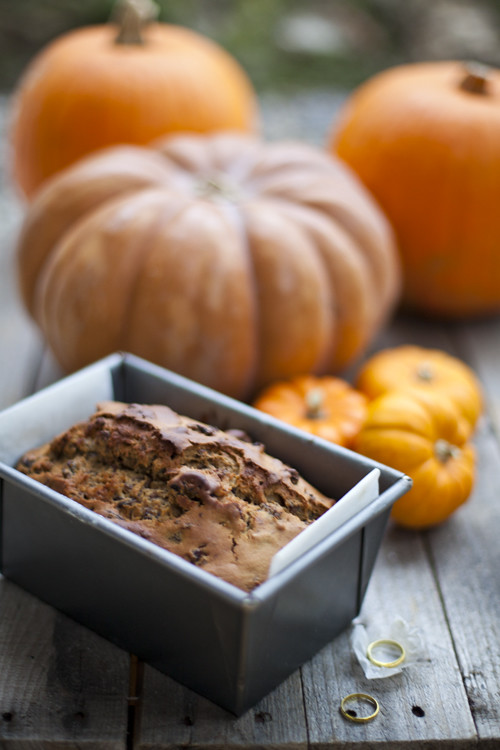
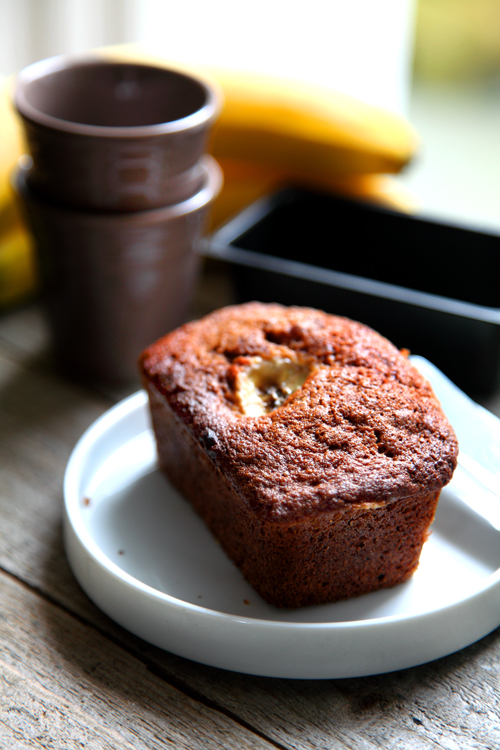
:: Auntie Ann's Banana Bread
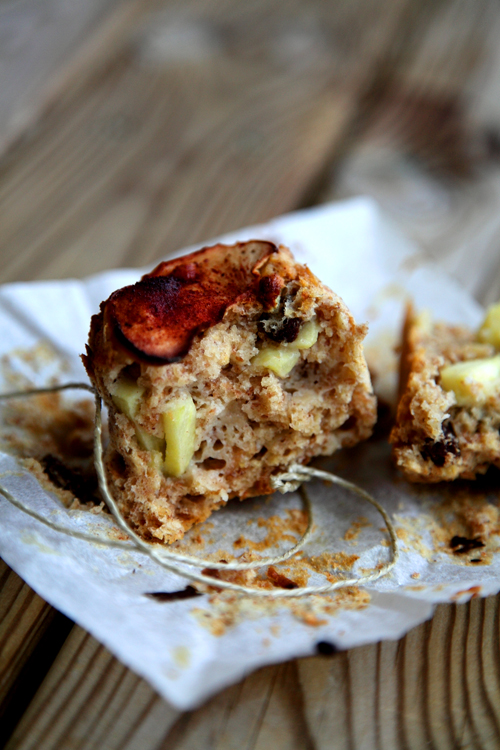
:: Big Boy Apple Breakfast Muffins
:: Gizzi Erskine's Sticky Banoffee Pudding

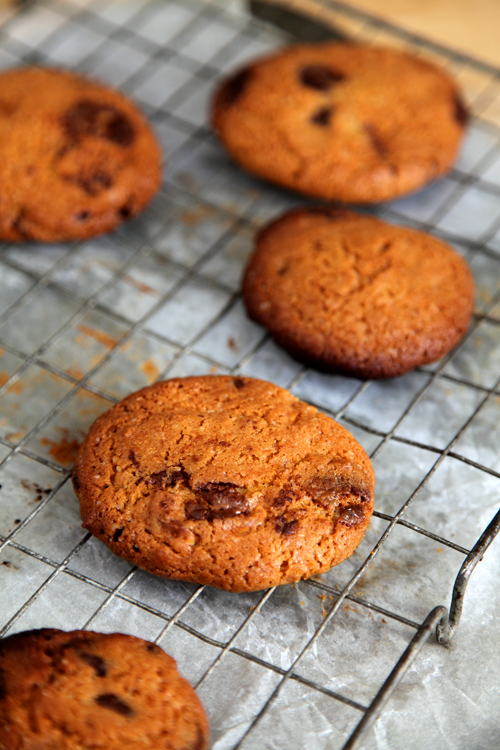
:: Sophie's Chocolate & Hazelnut Chip Cookies
:: Naughty Chocolate Fudge Cake: Happy Birthday!

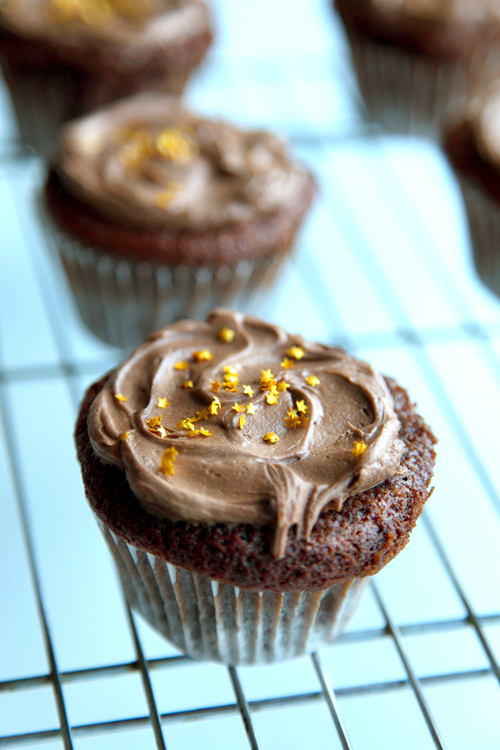
:: Chocolate Fudge Cupcakes and The Highs and Lows Of The Music Biz!