We Love Cooking!:
milk
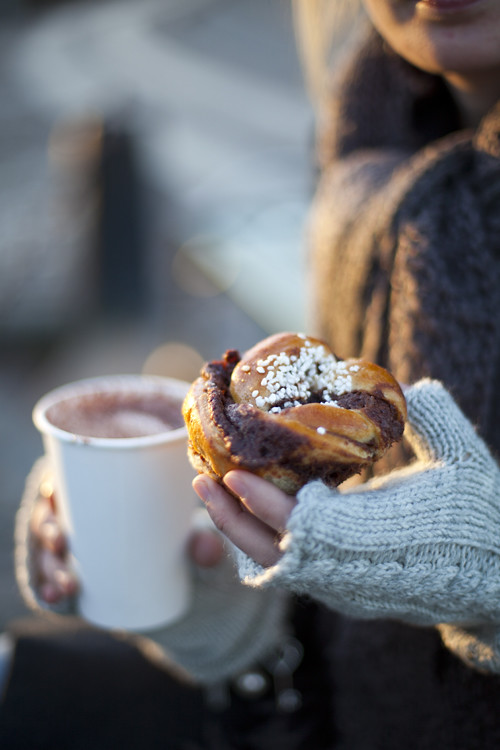
:: Swedish Cinnamon Buns
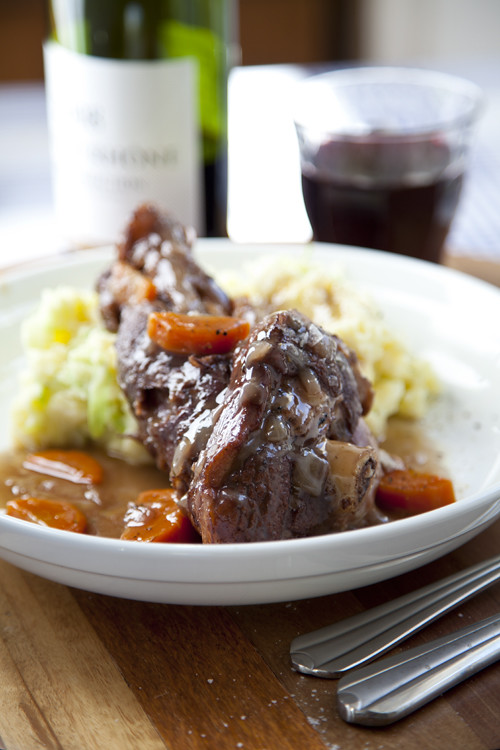
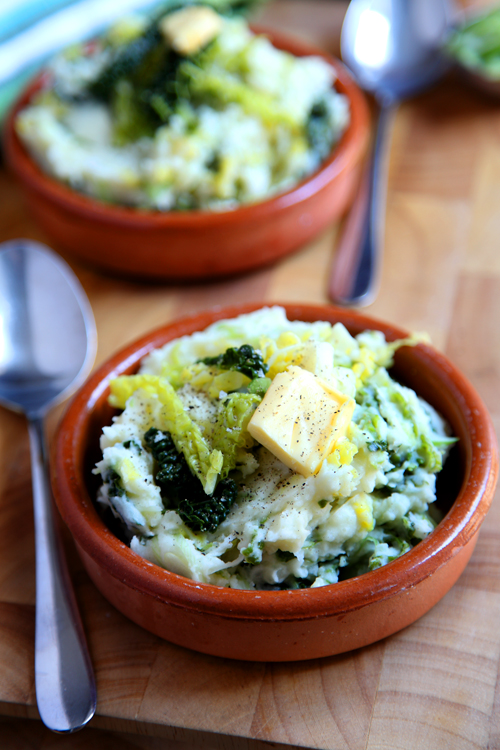
:: Lamb Shanks with Colcannon Mash
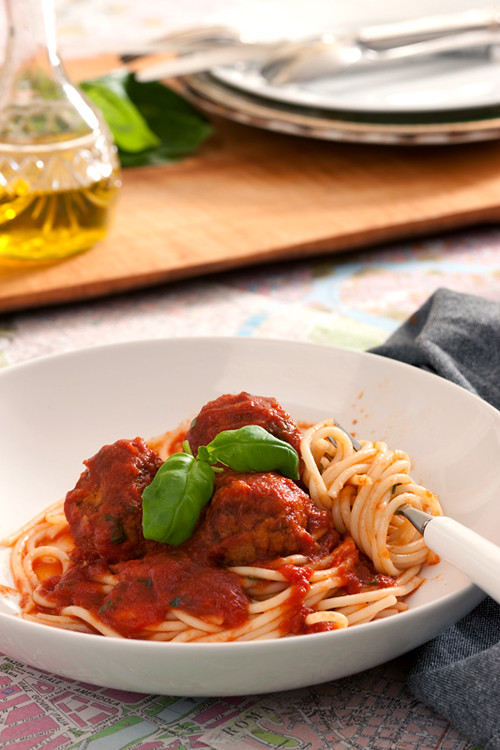
:: Catherine Fulvio's Meatballs in Spicy Tomato Sauce
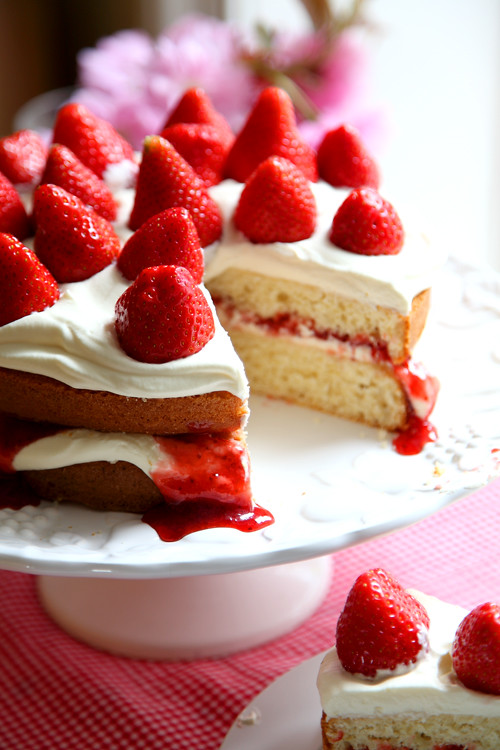
:: Mega Strawberry Summer Cake
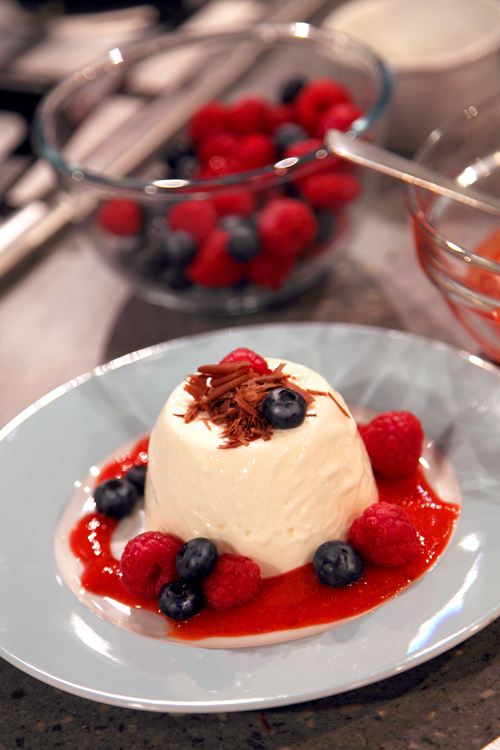
:: Simple Panna Cotta with summer fruits and dark chocolate!
:: Traditional Irish Food: Colcannon and the inside scoop on last nights food demo!
:: Naughty Chocolate Fudge Cake: Happy Birthday!

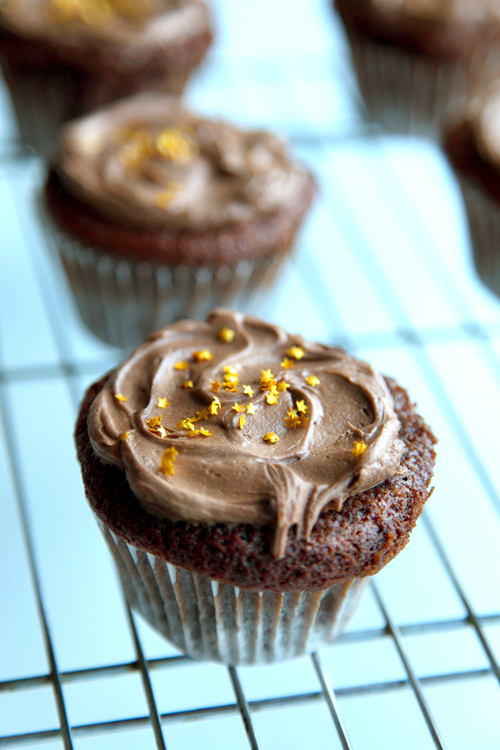
:: Chocolate Fudge Cupcakes and The Highs and Lows Of The Music Biz!
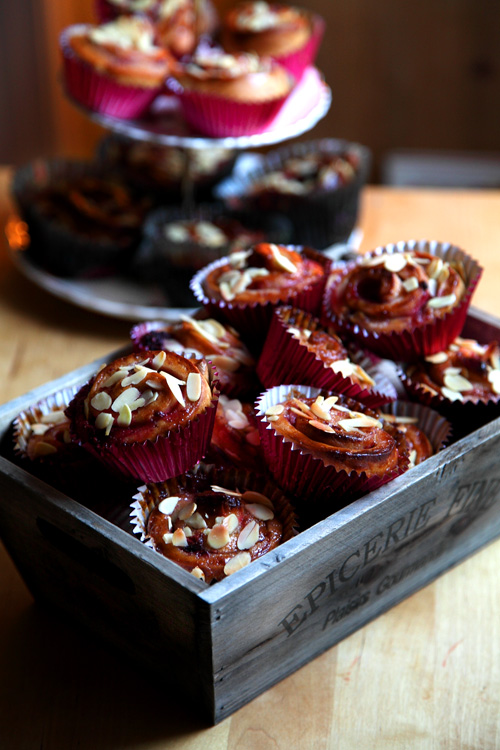
:: Pink Berry and Almond Swirly Buns!
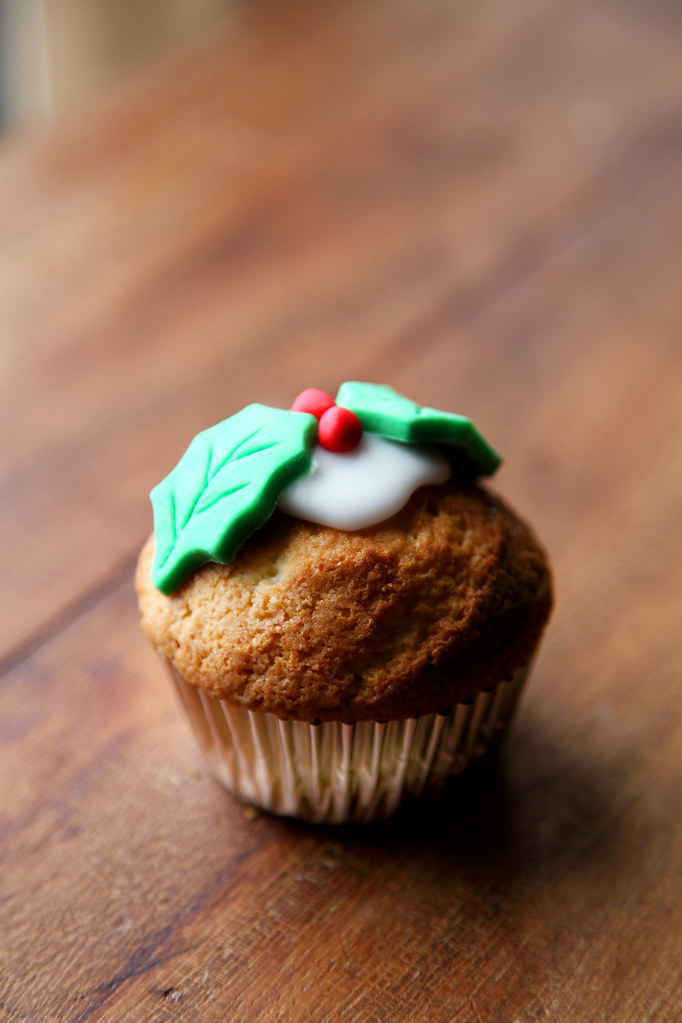
:: Christmas Cupcake Recipe from KISS Magazine!
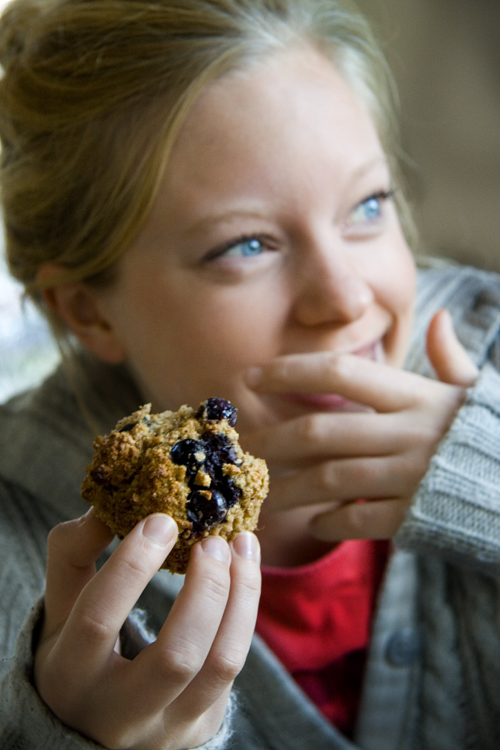
:: Blueberry and Banana Breakfast Muffins
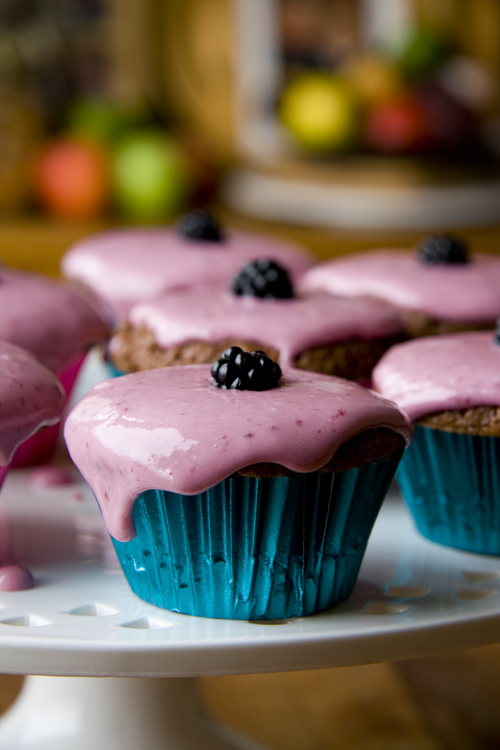
:: Blackberry Vanilla Cupcakes
:: The Great Big Pie Bake Off: Marshmallow Mermaid Pie

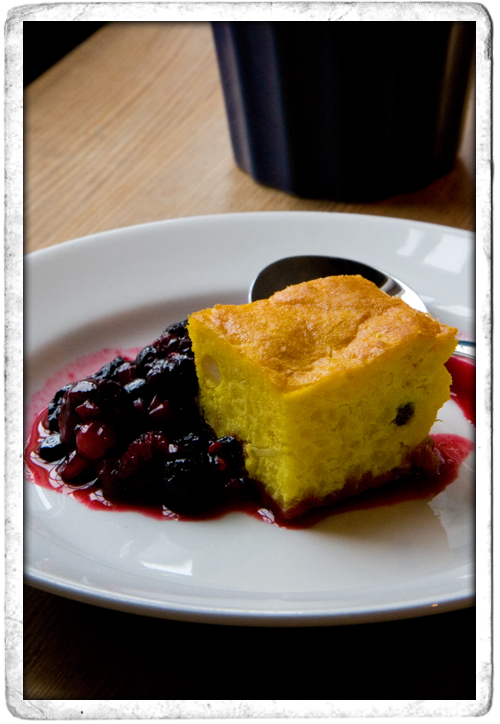
:: Saffrans Pankkakor
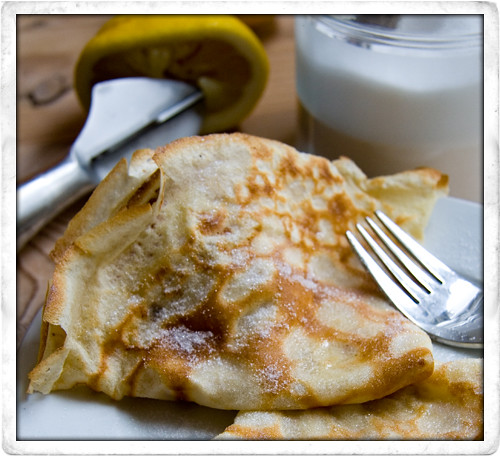
:: Basic Pancake Recipe
:: Basic Cupcake Recipe