We Love Cooking!:
bread
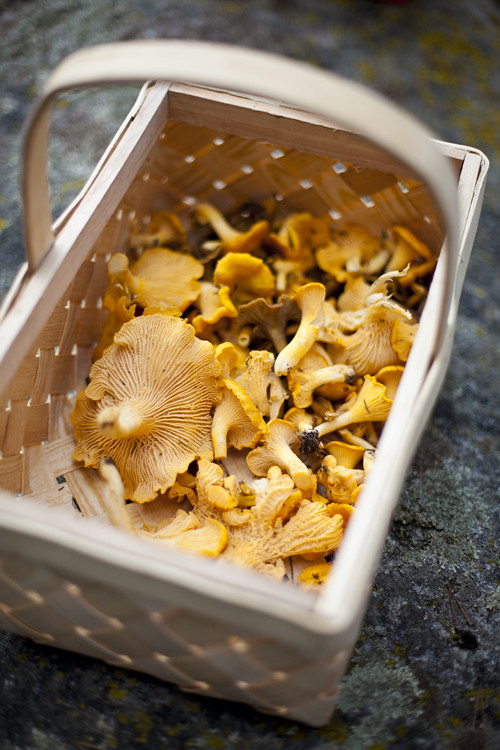
:: Swedish Mushroom Hunting and Simply Cooked Chanterelles with Garlic Toast!
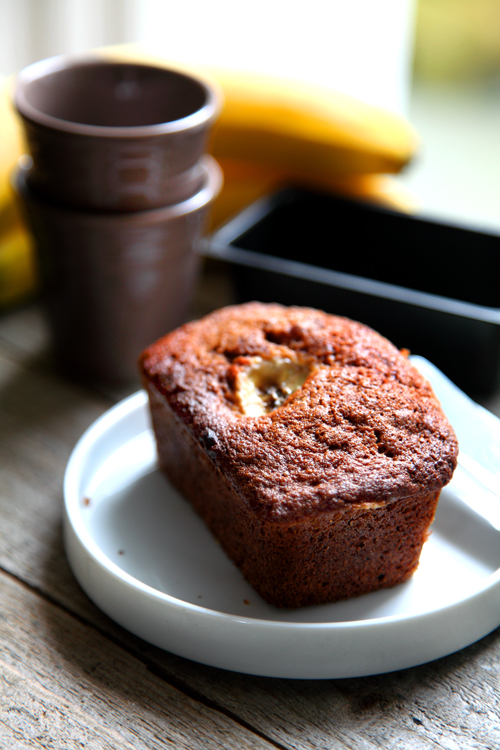
:: Auntie Ann's Banana Bread
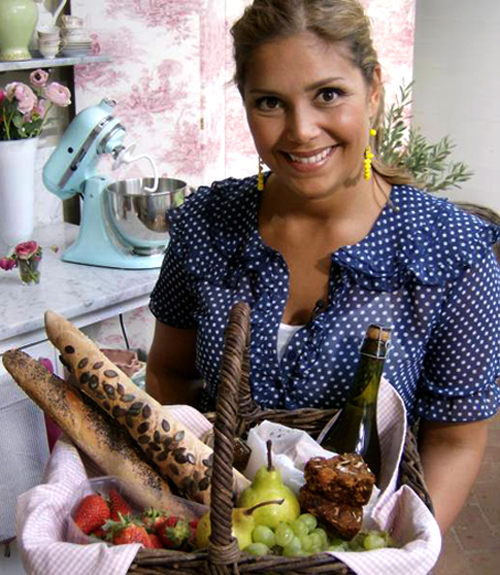
:: Leila Lindholm's Baguettes
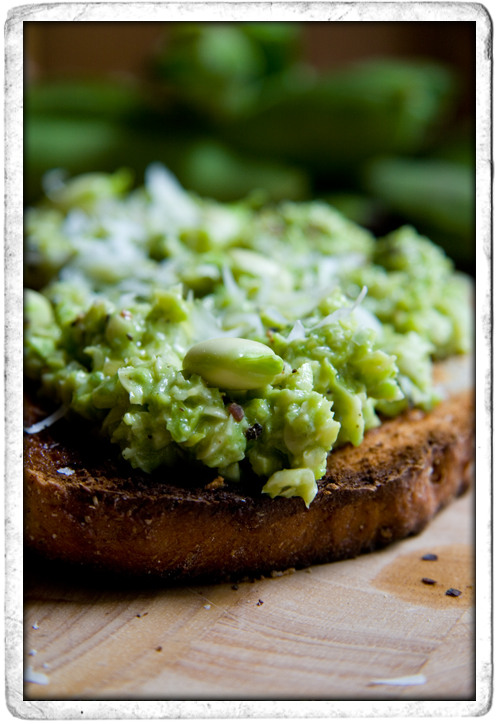
:: Broad Bean Crostini
:: Sofie’s Rocket Olive and Feta Cheese Bread
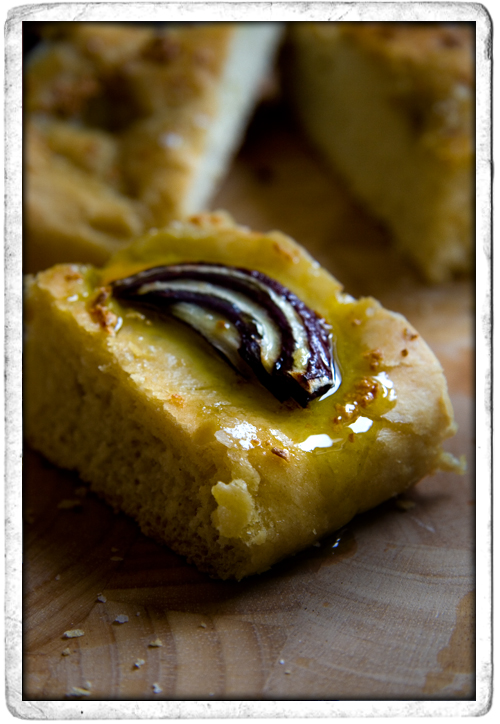
:: Red Onion and Garlic Focaccia
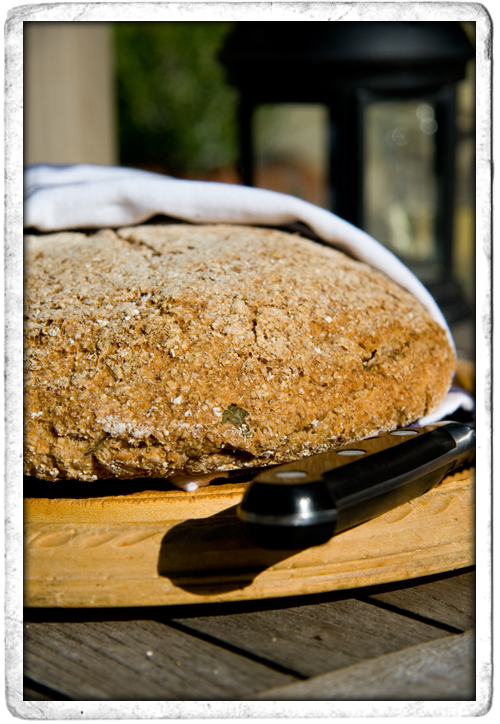
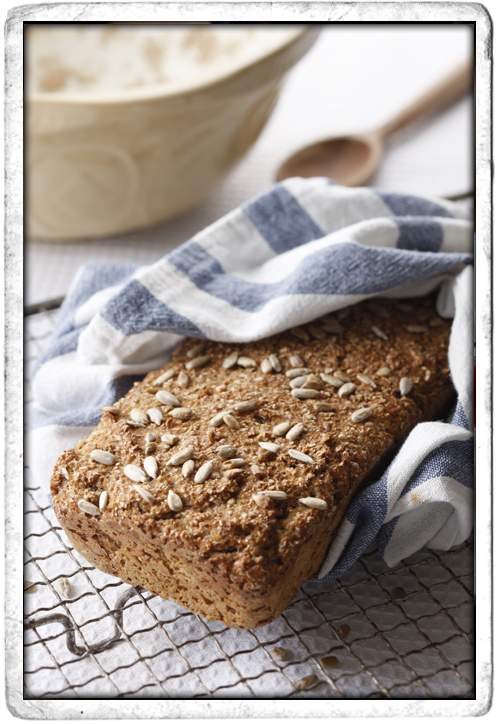
:: Irish Brown Yeast Bread
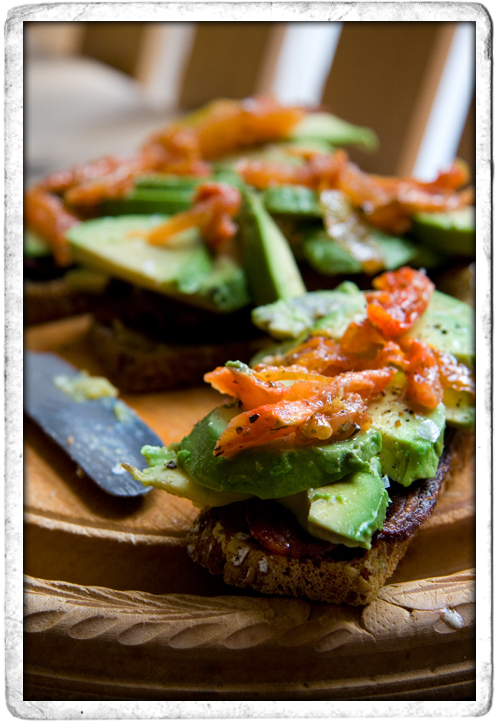
:: Bacon Avocado and Sundried Tomato Sandwich
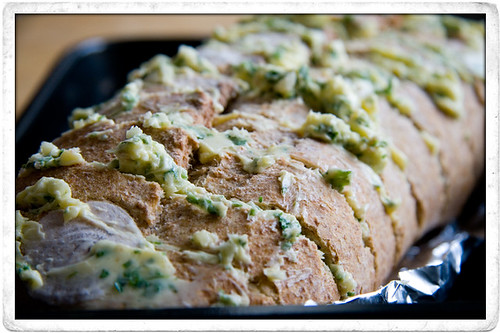
:: CHUNKY GARLIC BREAD