We Love Cooking!:
baking powder
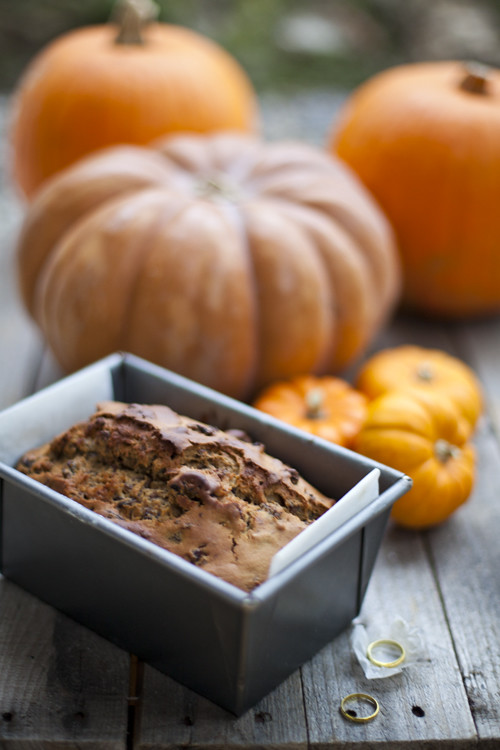
:: Halloween Barmbrack
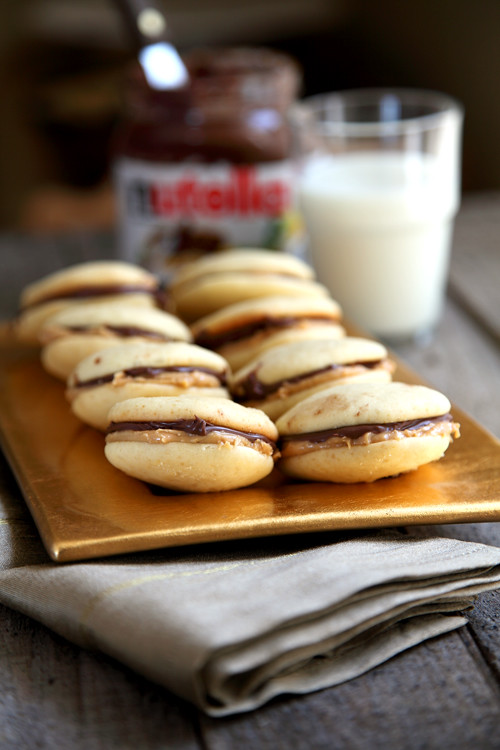
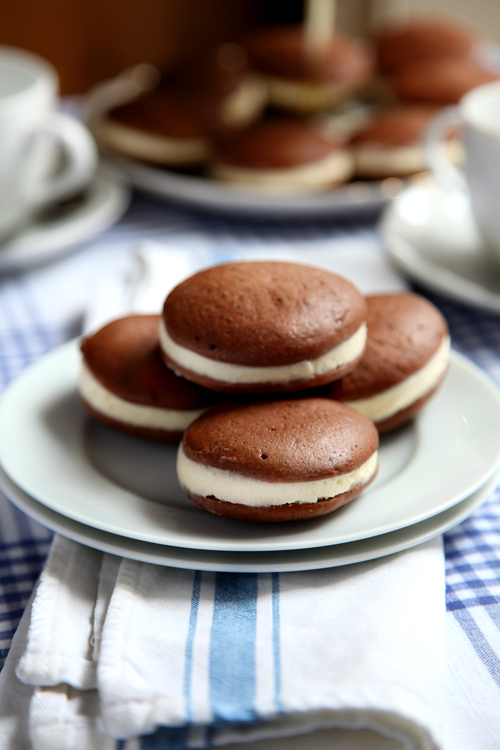
:: Go Nuts Nutella Whoopie Pies!
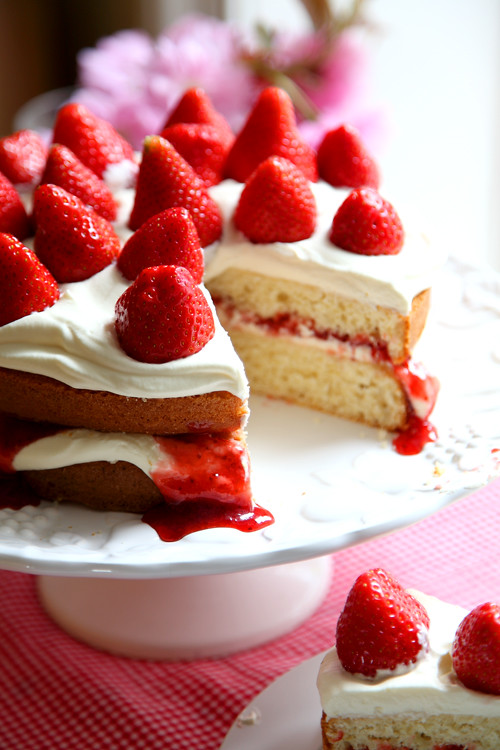
:: Mega Strawberry Summer Cake
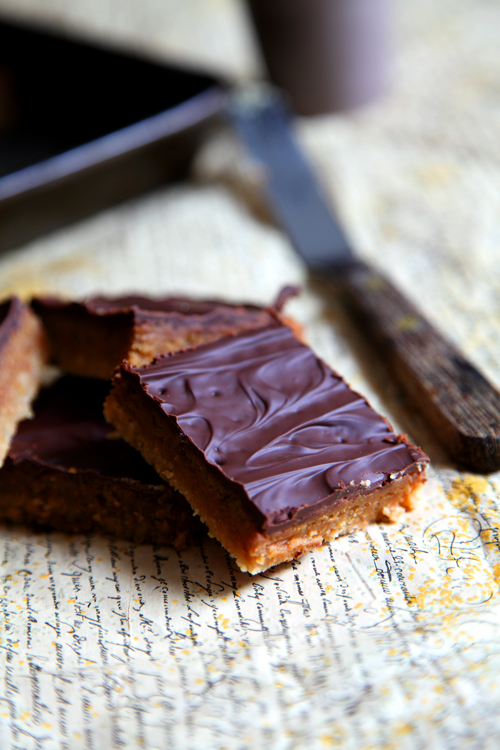
:: Bill Granger's Chocolate Caramel Slices
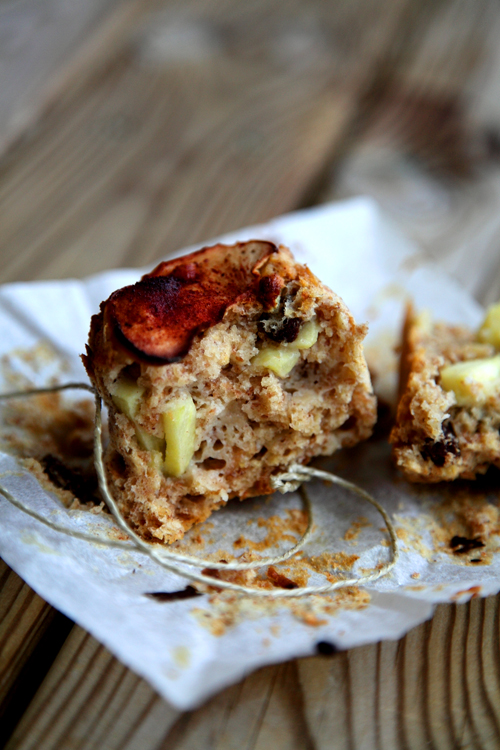
:: Big Boy Apple Breakfast Muffins
:: Whoopie Pies: The New Cupcake?
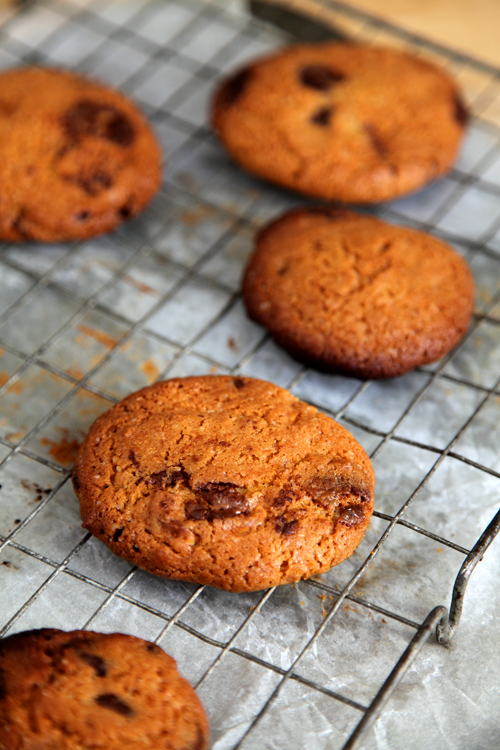
:: Sophie's Chocolate & Hazelnut Chip Cookies
:: Leila Lindholm's High Hat Cupcakes
:: Leila Lindholm's Peanut Butter Cupcakes
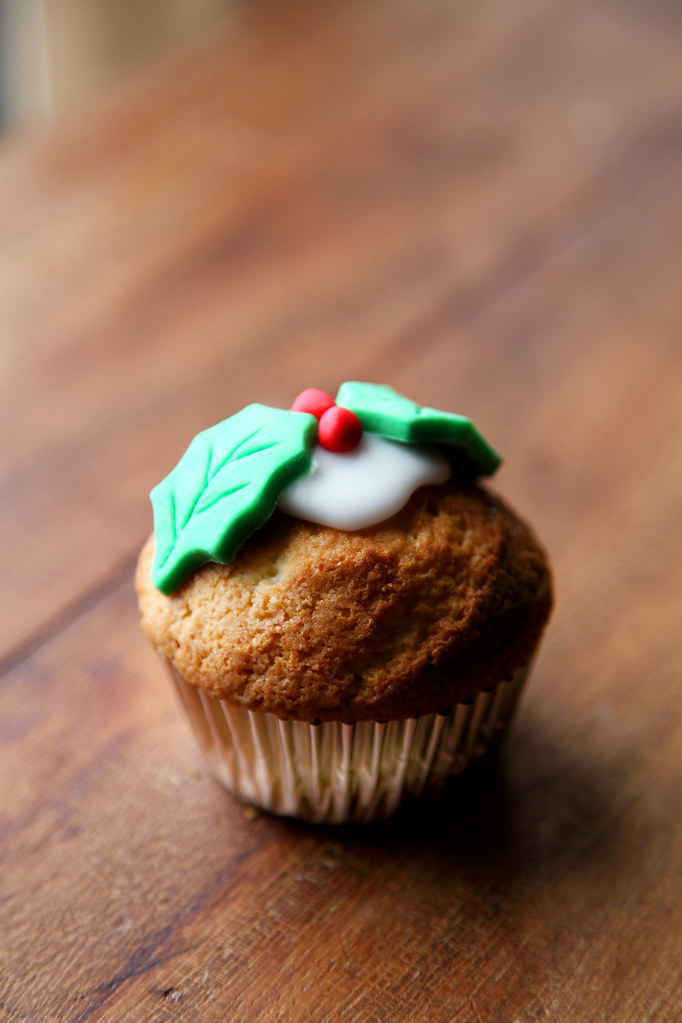
:: Christmas Cupcake Recipe from KISS Magazine!