We Love Cooking!:
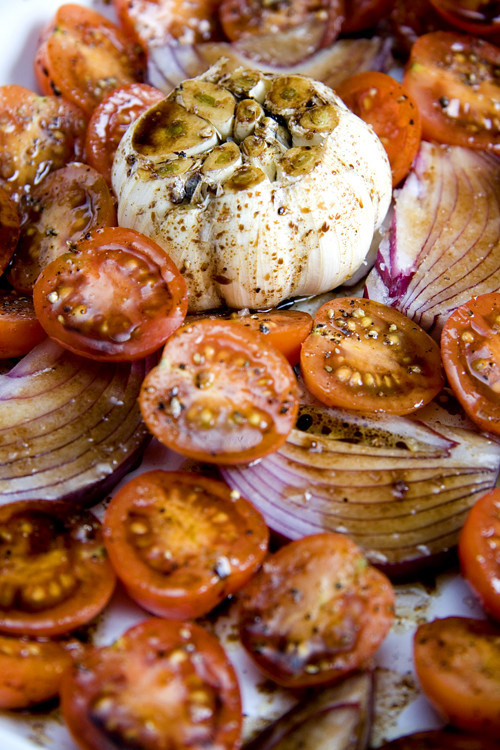
garlic
The Summer Salad

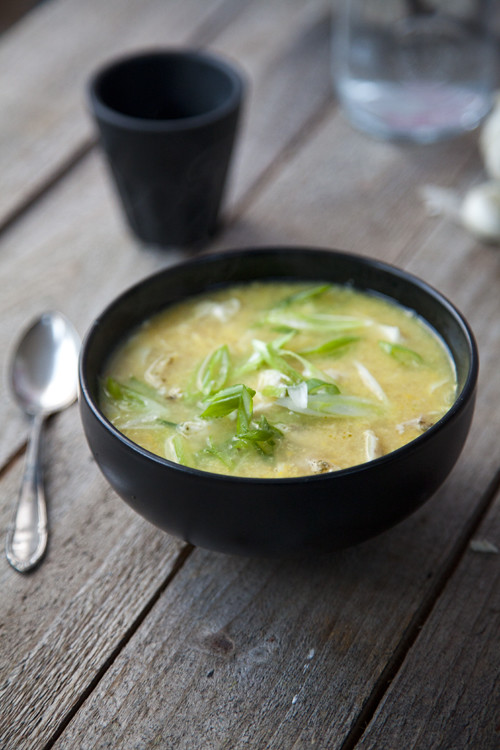
SuperSoup

:: Garlic Mushroom and Goats Cheese Pasta

:: Strawberry Season 2/2

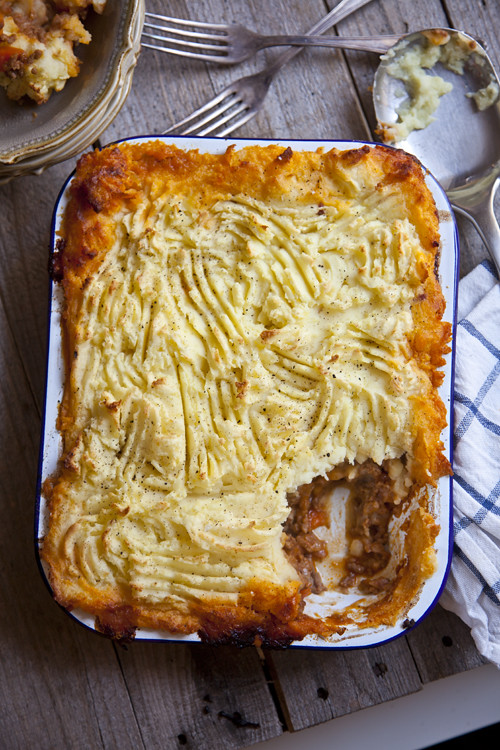
:: Roast Garlic Shepherd's Pie
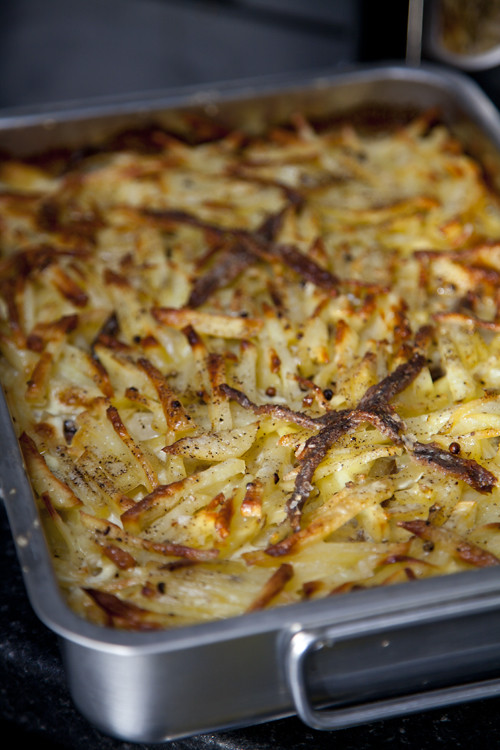
:: Janssons Temptation
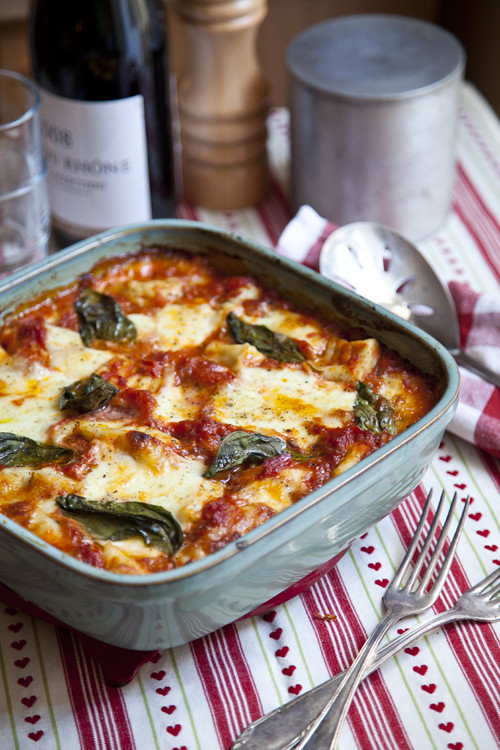
:: Mozzarella, tomato and gnocchi bake!
:: Stop Food Waste: Leftover Chicken & Sweetcorn Soup
:: Mushy Roast Garlic and Cherry Tomato Pasta
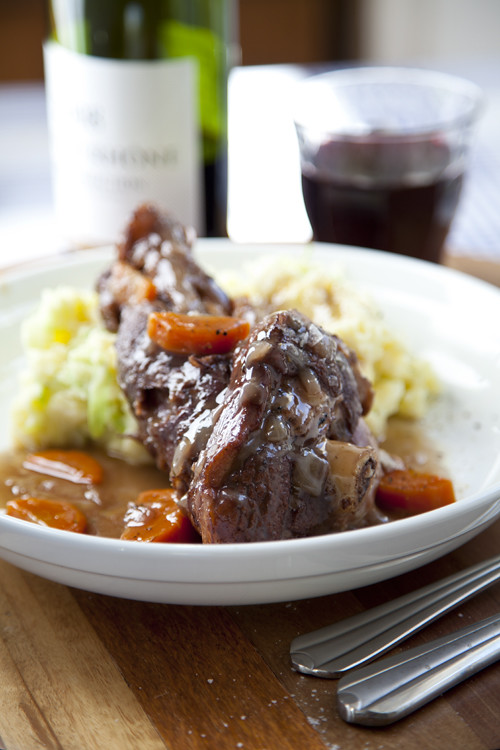
:: Lamb Shanks with Colcannon Mash
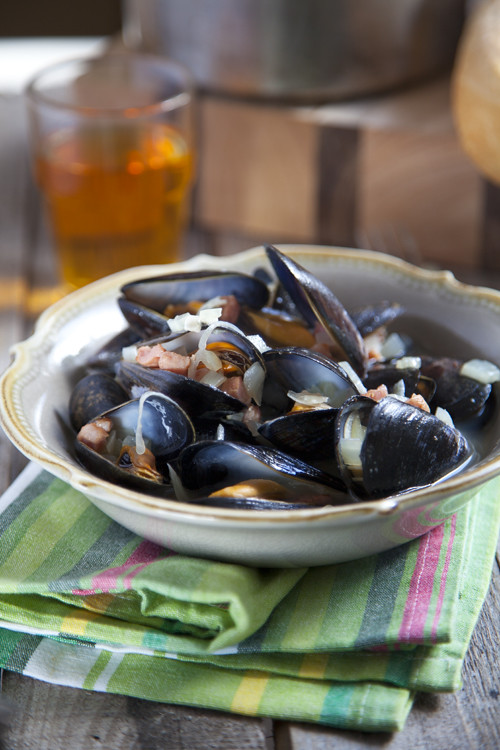
:: Mussels in Irish Cider
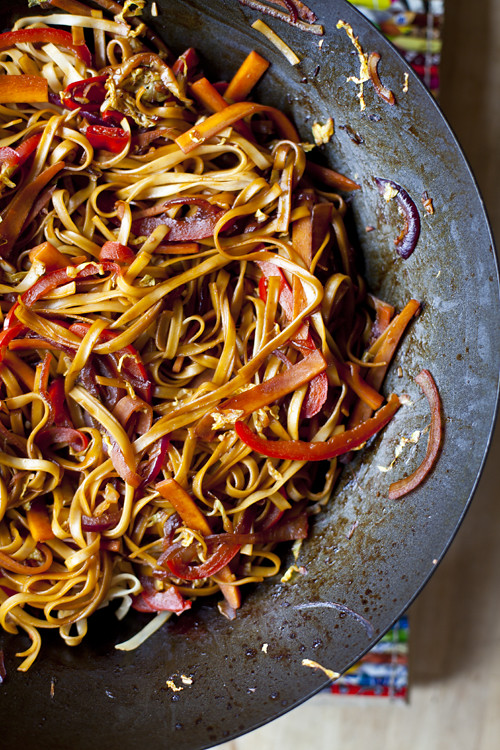
:: Zingy Quick and Tasty Stir-Fry
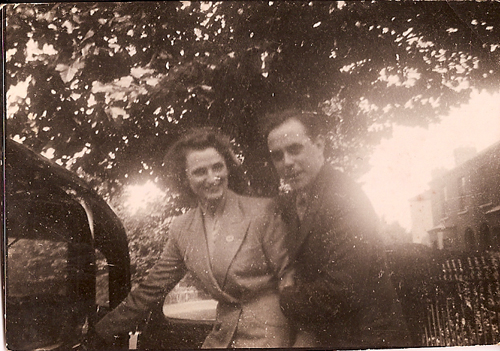
:: Whoohaa Chorizo Bean Pasta and a 60th Wedding Anniversary Dinner!
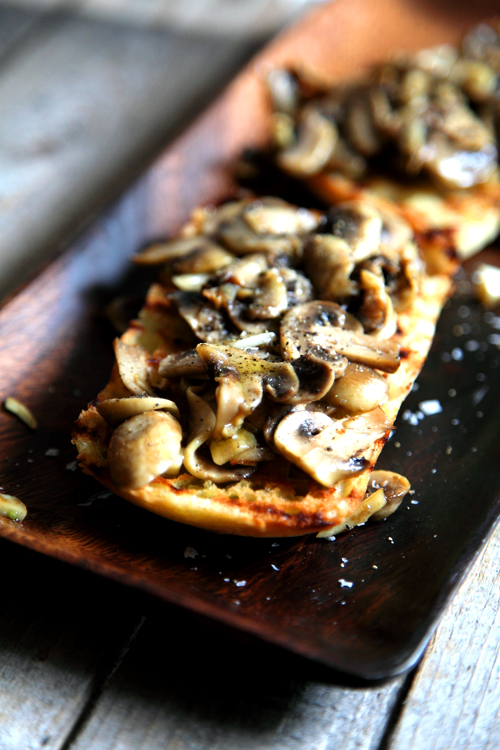
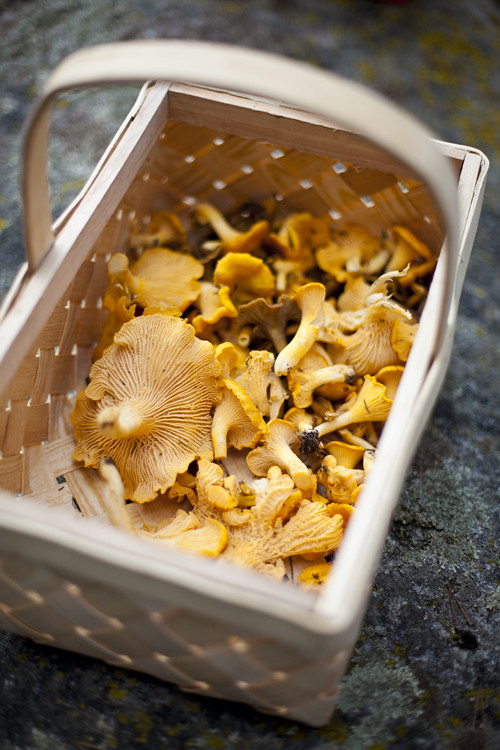
:: Swedish Mushroom Hunting and Simply Cooked Chanterelles with Garlic Toast!
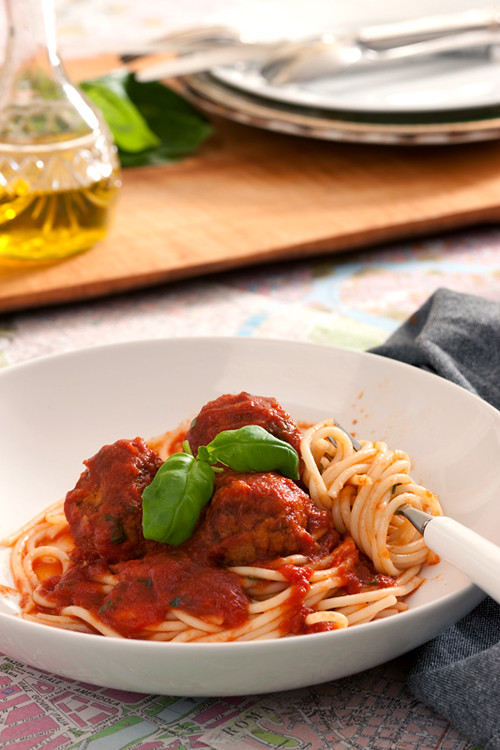
:: Catherine Fulvio's Meatballs in Spicy Tomato Sauce
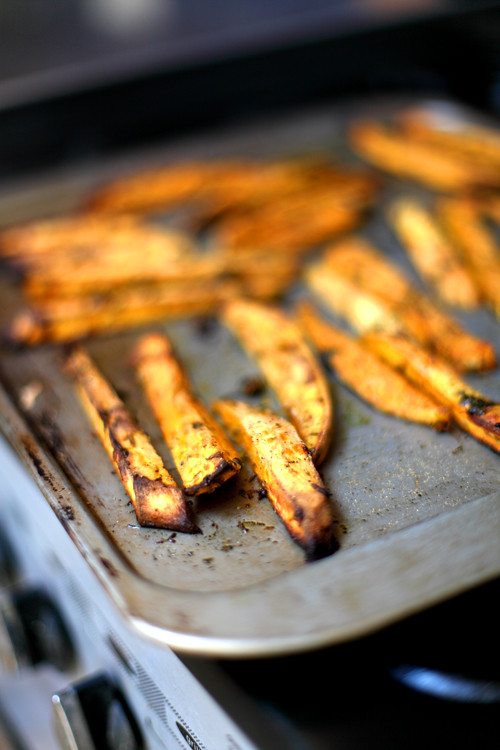
:: Herby Sweet Potato Chips
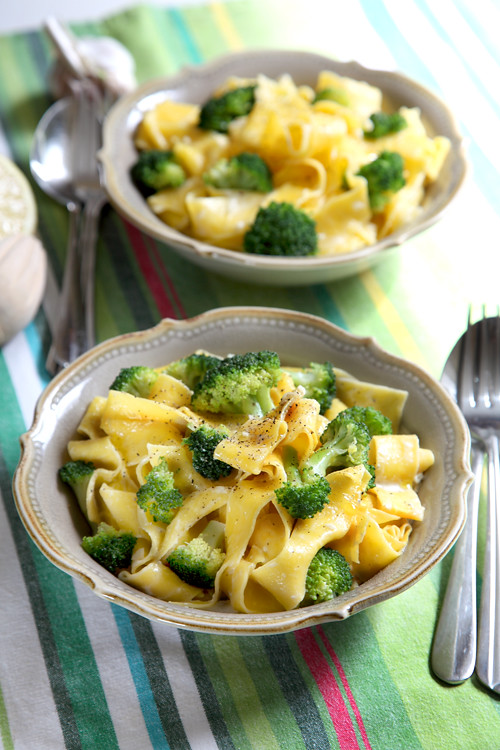
:: Creamy Broccoli Pasta
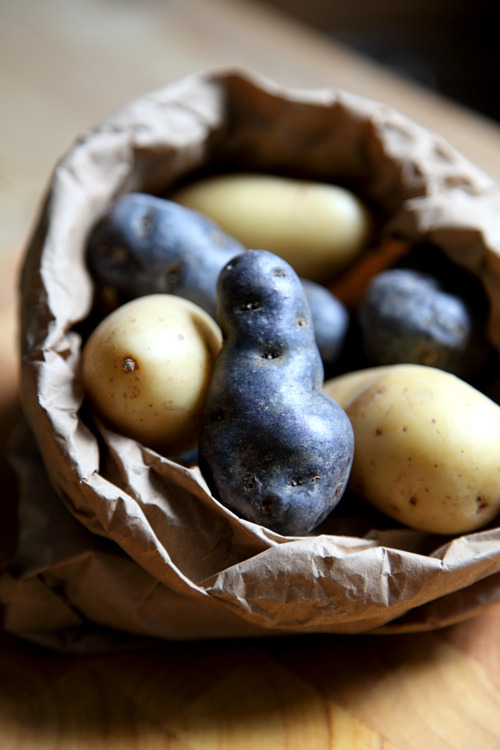
:: Zingy Purple Potato Salad!
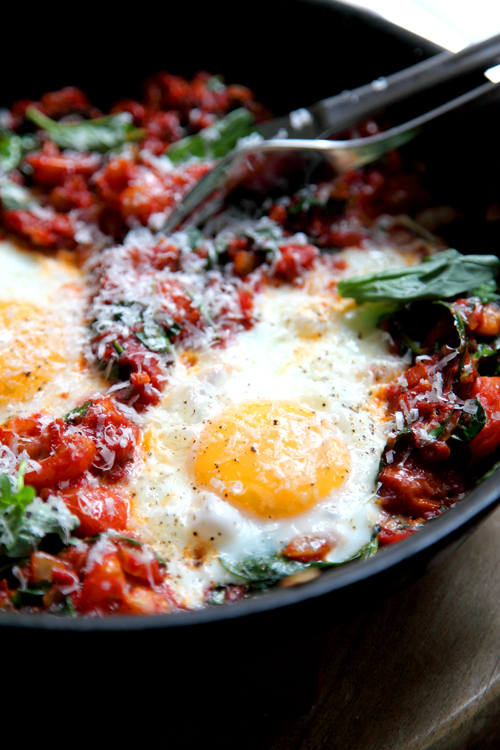
:: Big Brunch Tomato Eggs
:: Garlic Mushroom Bruschetta