We Love Cooking!:
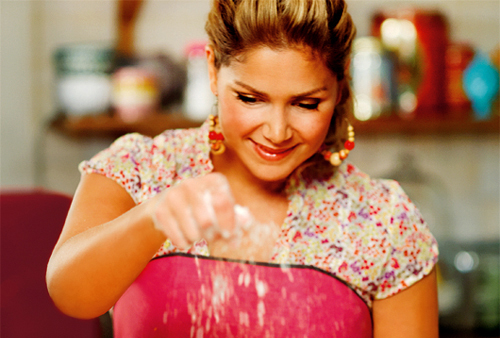
flour
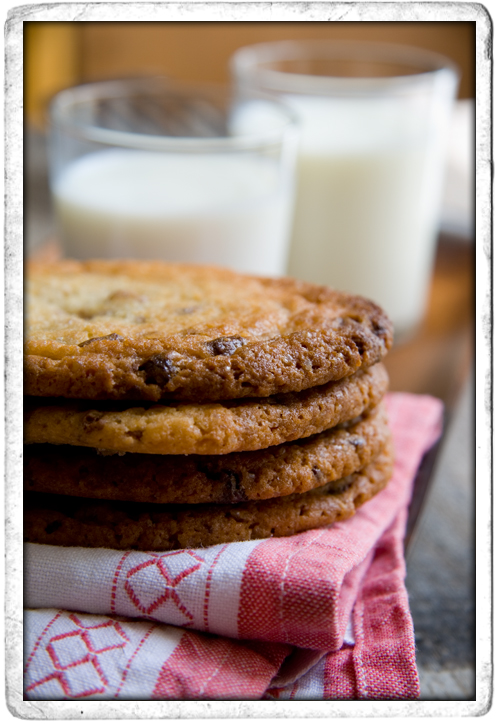
:: Deep Dish Chocolate Chip Cookies!
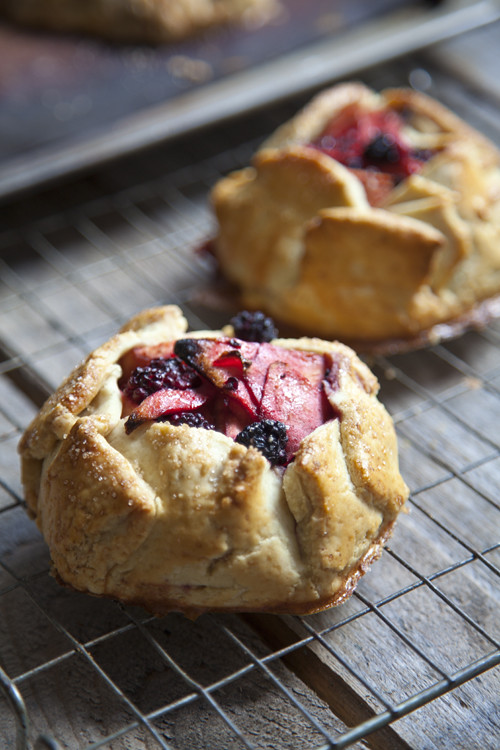
:: Rustic Apple and Blackberry Galettes
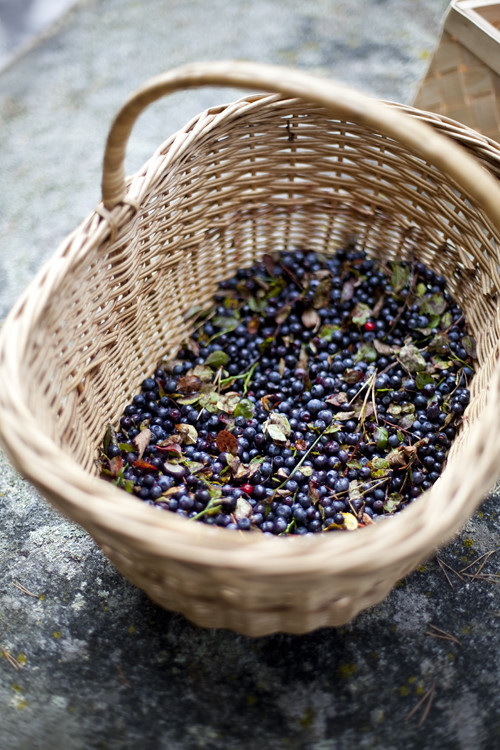
:: Wild Blueberry Picking and a Swedish Gooey Chocolate Cake
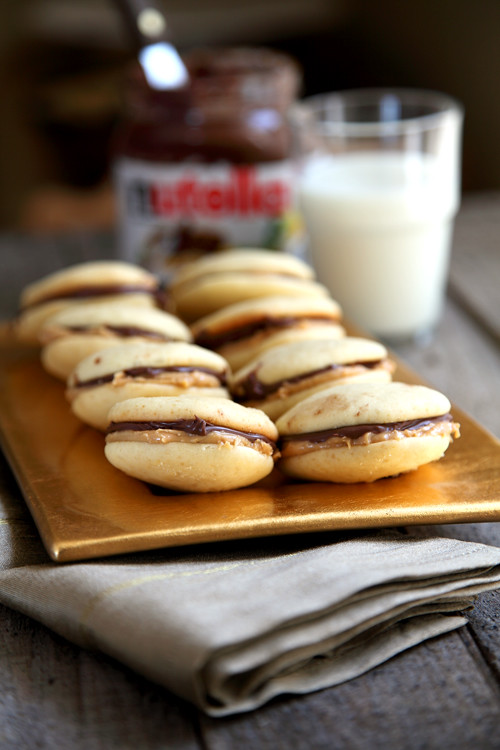
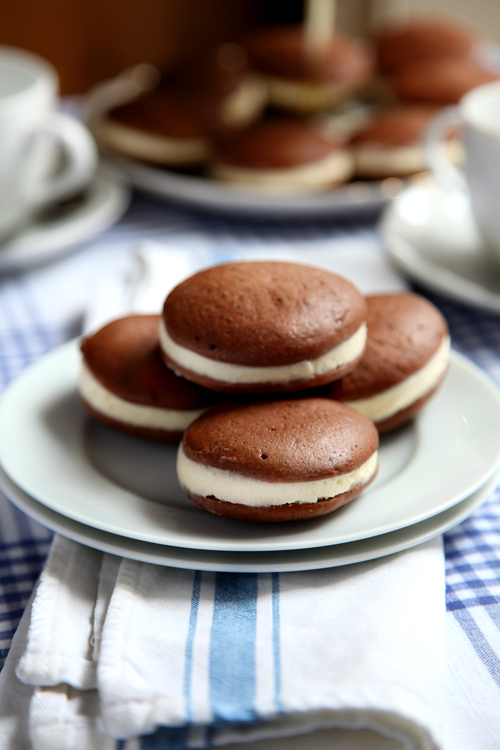
:: Go Nuts Nutella Whoopie Pies!
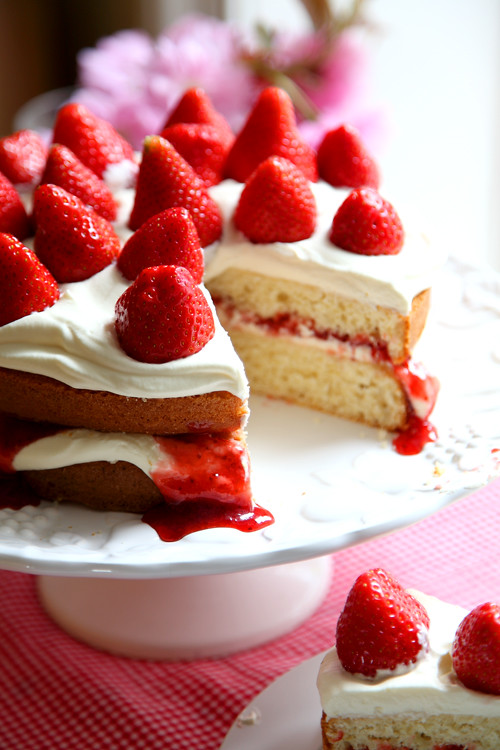
:: Mega Strawberry Summer Cake
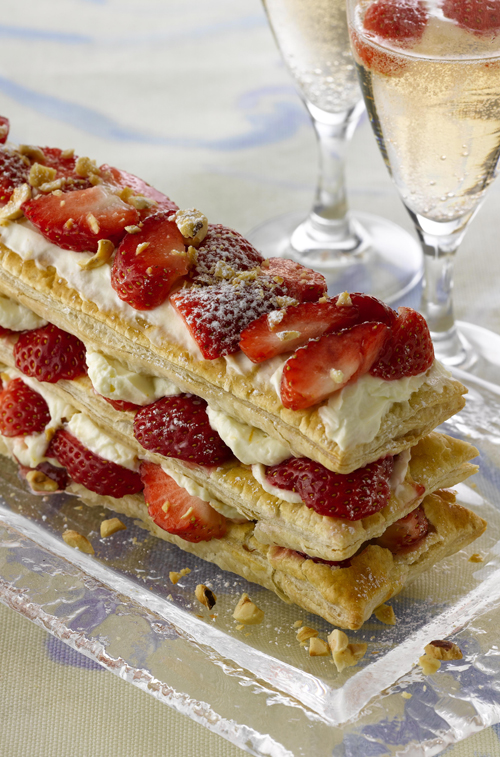
:: Quick Millefeuille with Toasted Hazelnuts, Cointreau and Strawberry Mascarpone Cream Filling
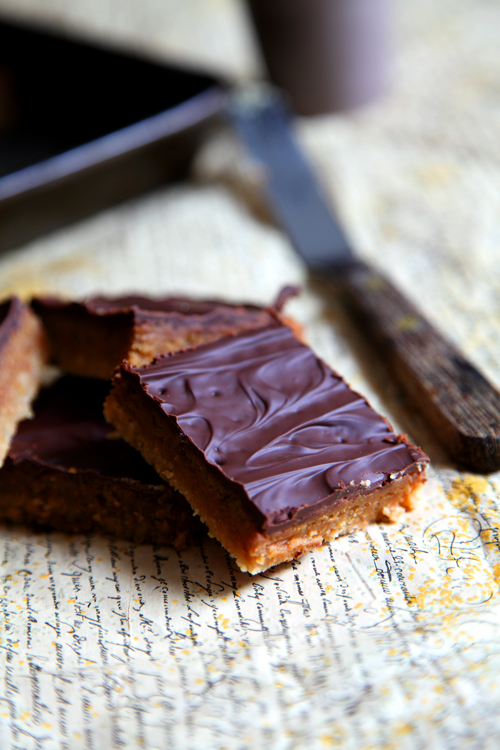
:: Bill Granger's Chocolate Caramel Slices
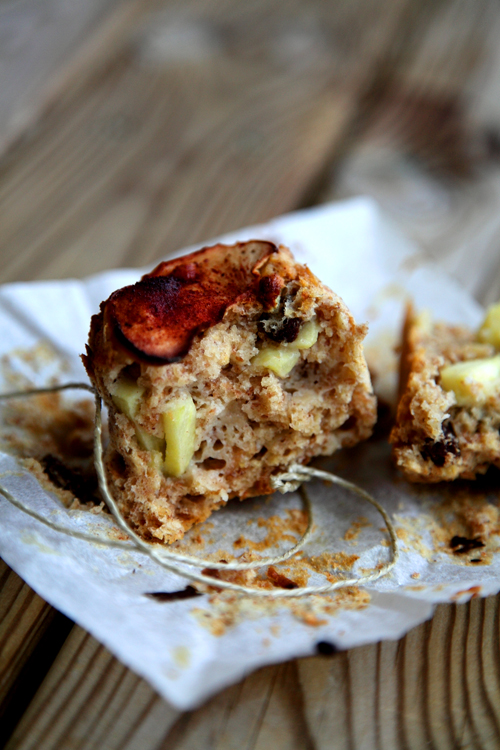
:: Big Boy Apple Breakfast Muffins
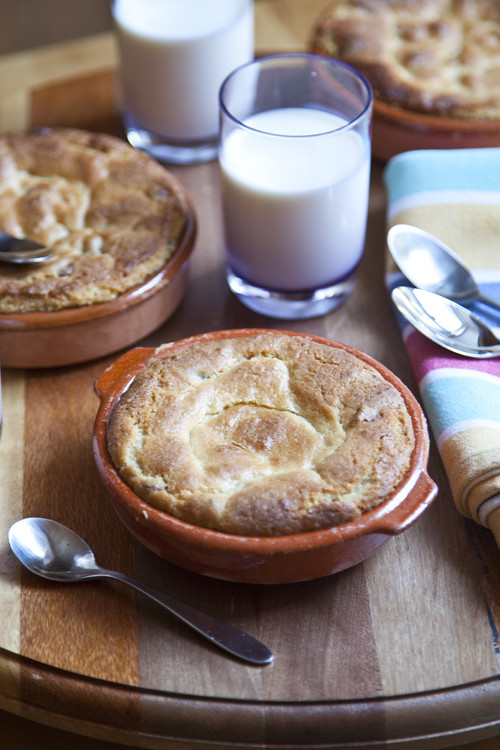
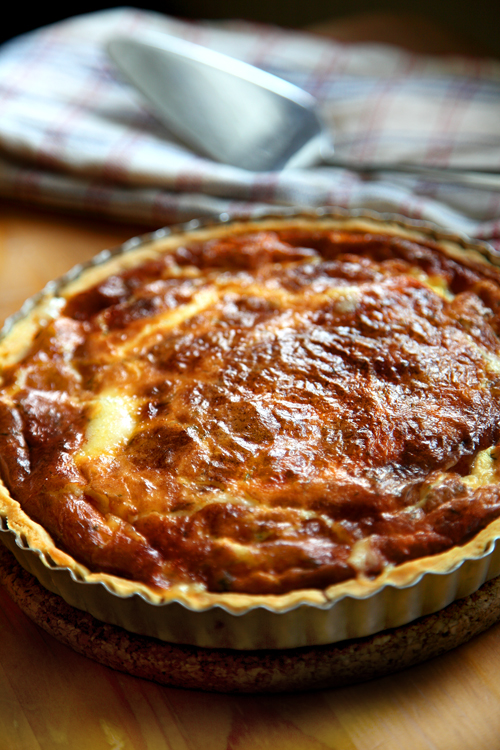
:: Västerbottensost Pie
:: Whoopie Pies: The New Cupcake?
:: Sophie's Chocolate & Hazelnut Chip Cookies
:: Leila Lindholm's Butterscotch Pecan Pie
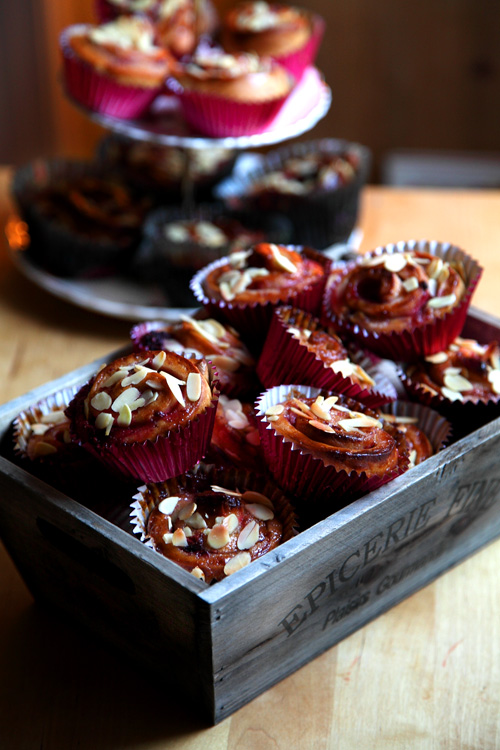
:: Pink Berry and Almond Swirly Buns!
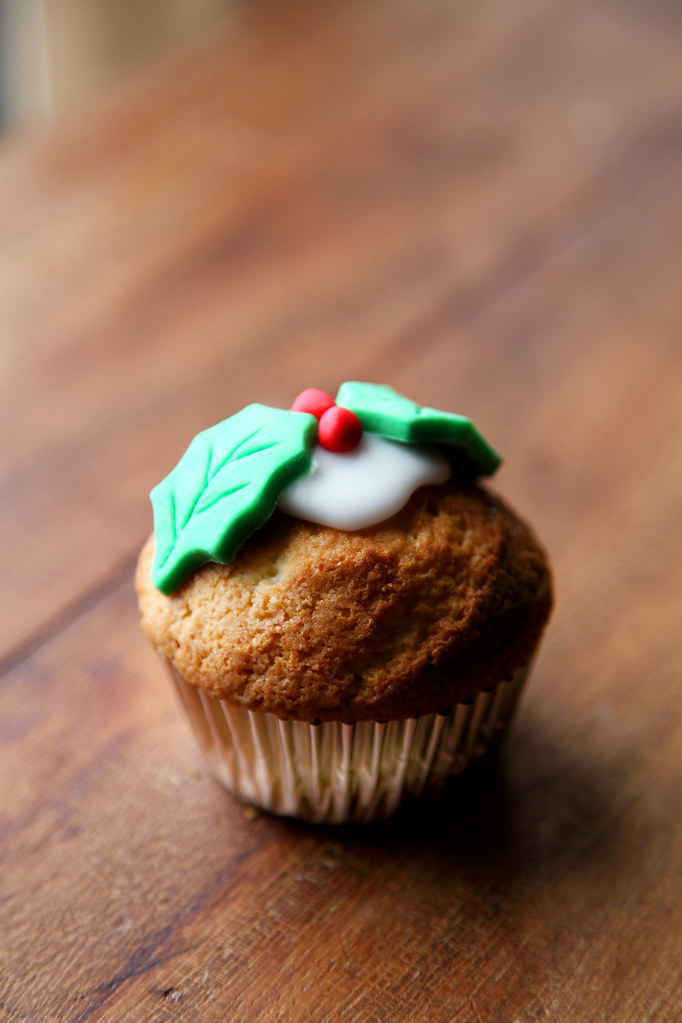
:: Christmas Cupcake Recipe from KISS Magazine!
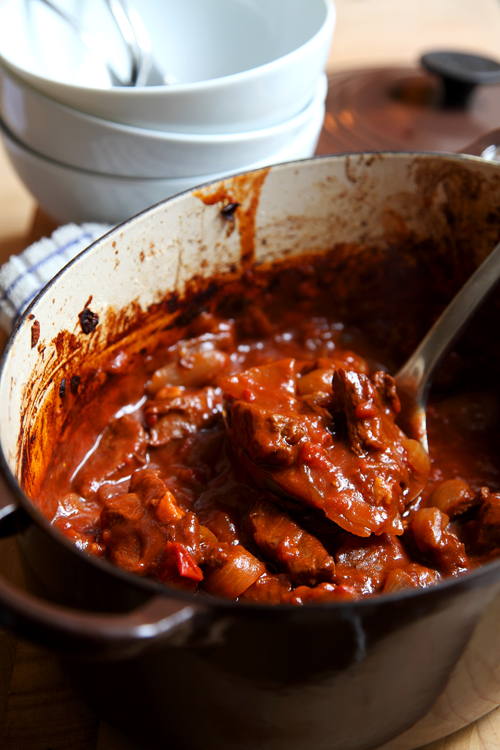
:: Hungarian Goulash
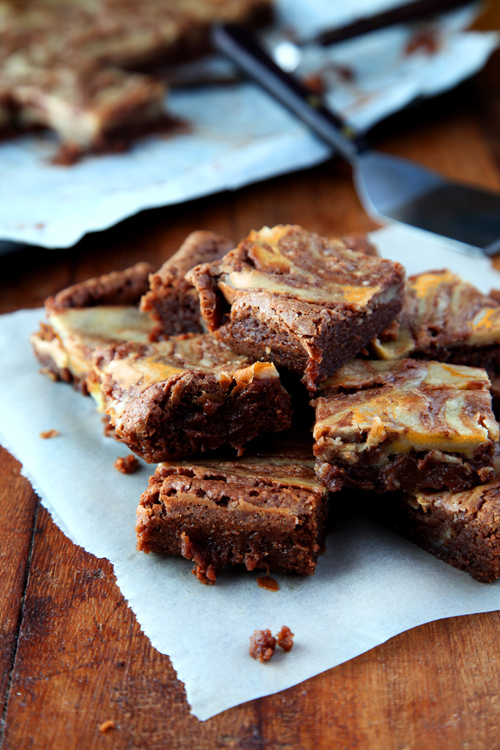
:: Chocolate Pumpkin and Pecan Brownies
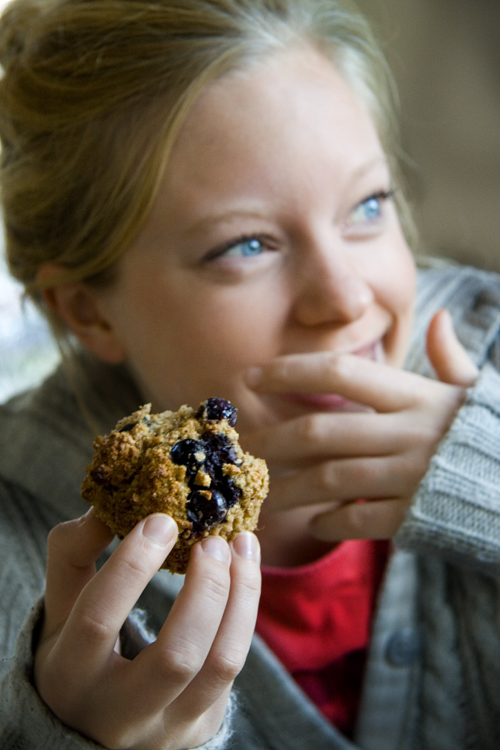
:: Blueberry and Banana Breakfast Muffins
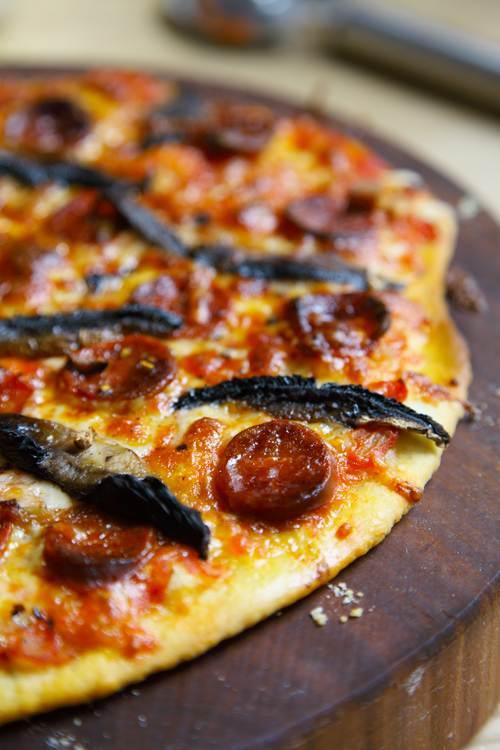
:: Chorizo and Mushroom Thin Crust Pizza
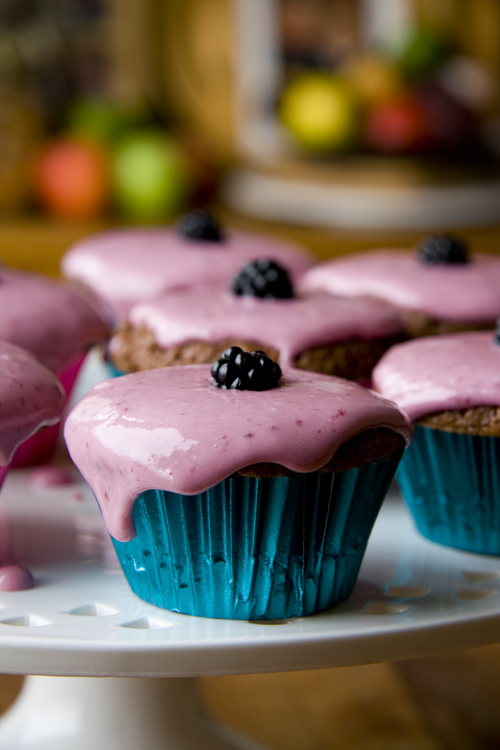
:: Blackberry Vanilla Cupcakes
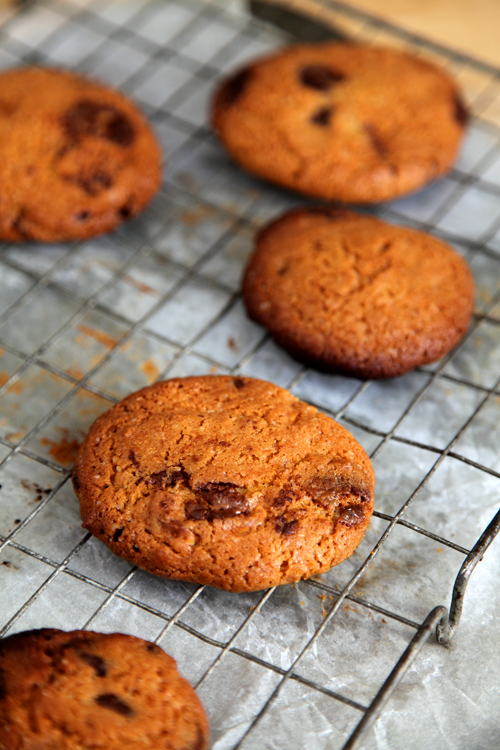
:: Chocolate Chip Cookies