We Love Cooking!:
cream
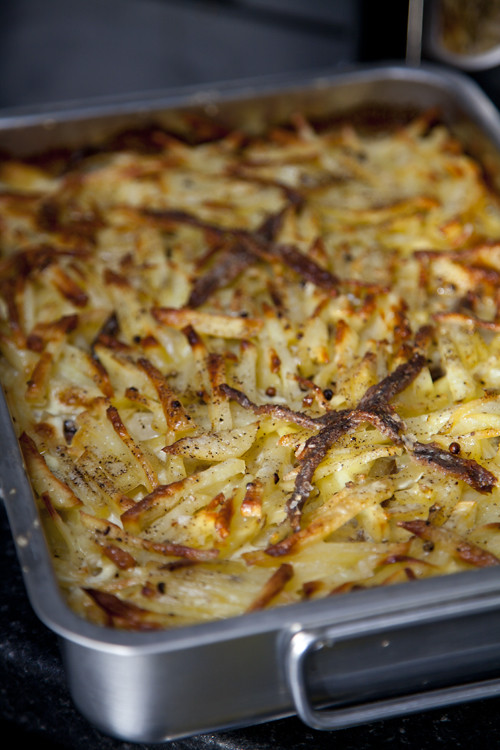
:: Janssons Temptation
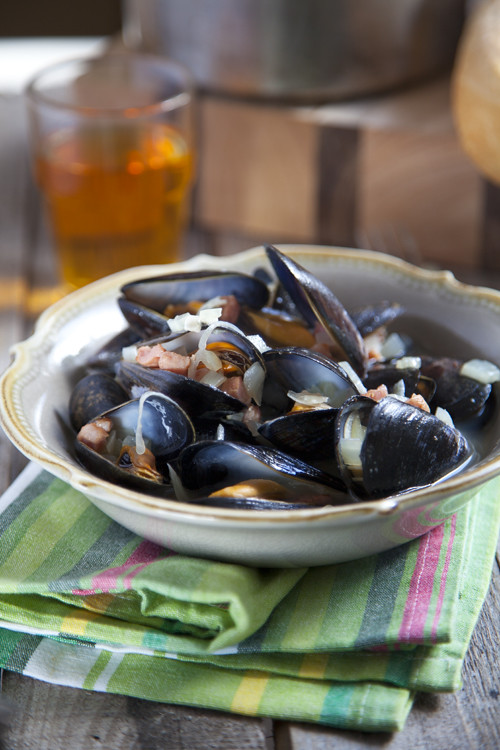
:: Mussels in Irish Cider
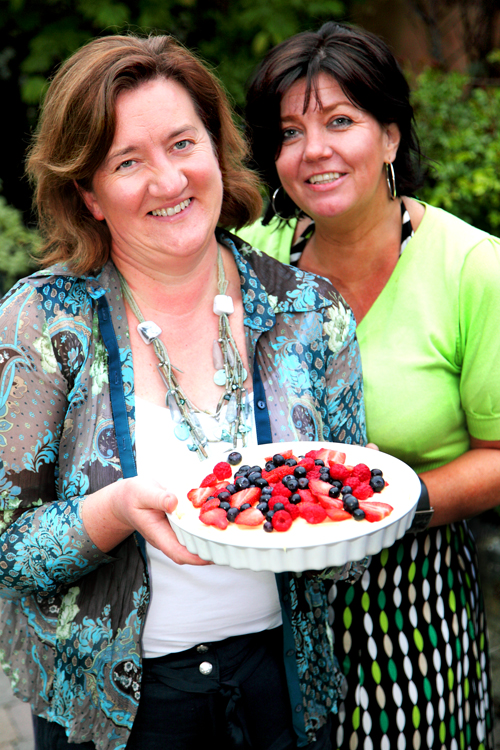
:: Summer Berry Layered Pavlova
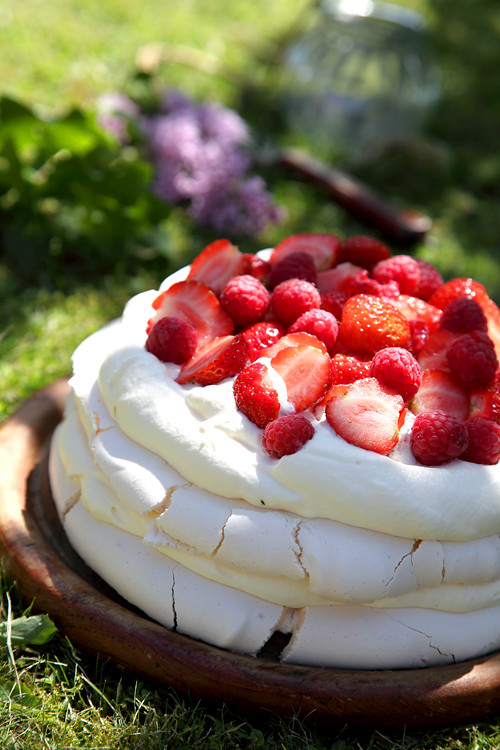
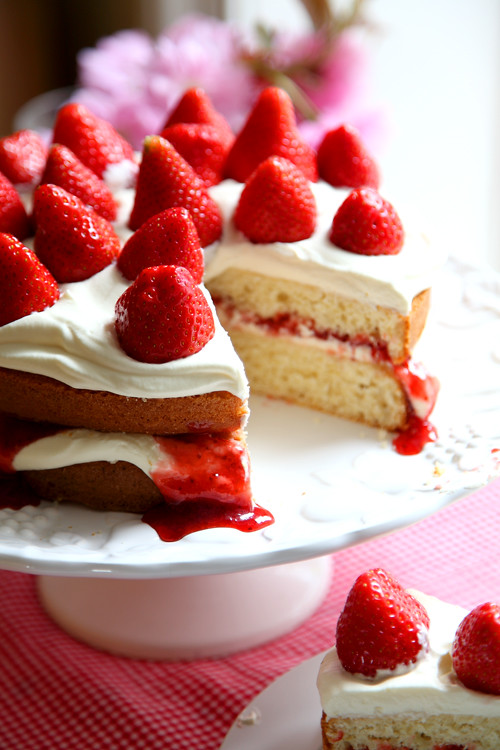
:: Mega Strawberry Summer Cake
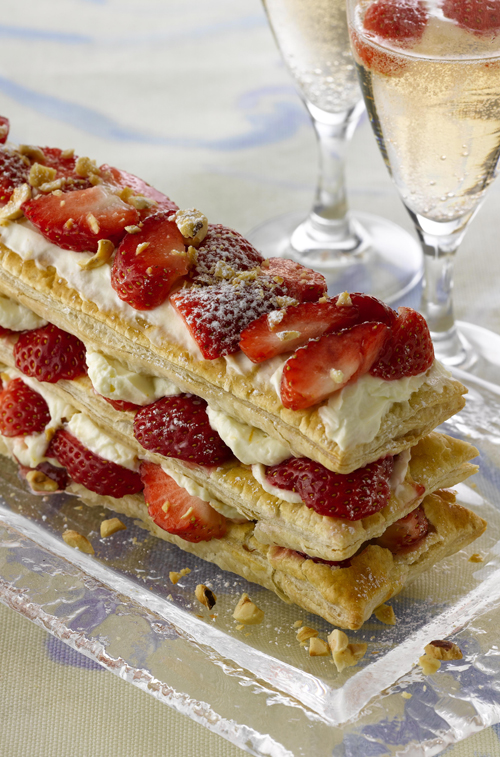
:: Quick Millefeuille with Toasted Hazelnuts, Cointreau and Strawberry Mascarpone Cream Filling
:: White Chocolate Cheesecake with Summer Fruit
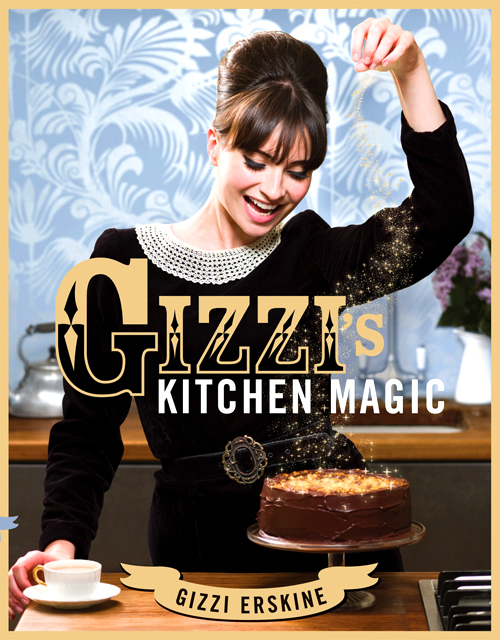
:: Gizzi Erskine's Sticky Banoffee Pudding

:: Gizzi Erskine's Creamy Smoked Salmon & Pea Spaghetti
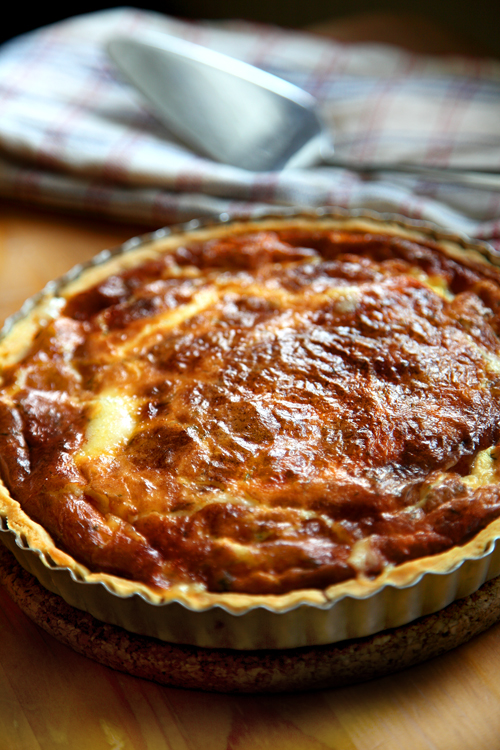
:: Västerbottensost Pie
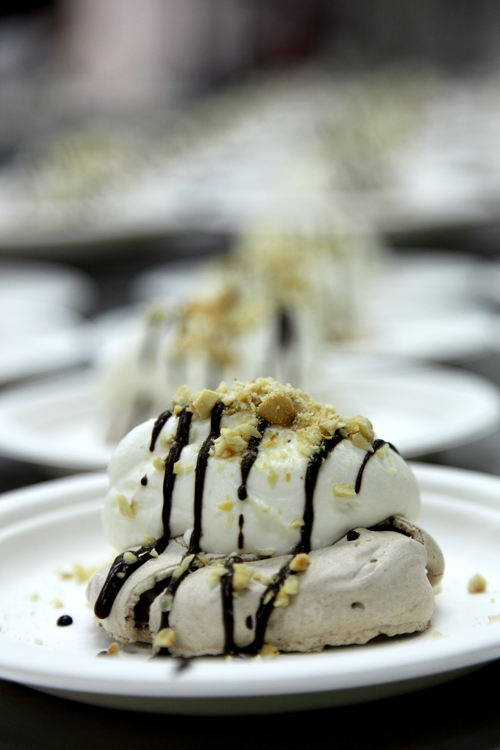
:: Meringues with Jameson Whiskey Cream, Chocolate Sauce and toasted Hazelnuts
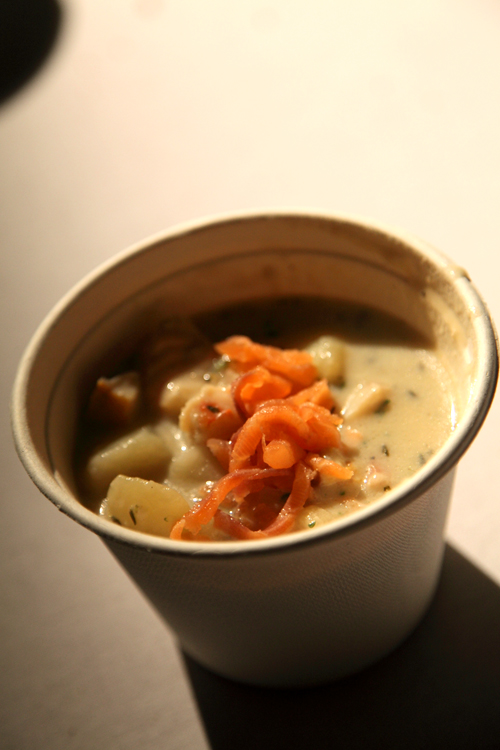
:: Irish Seafood Chowder
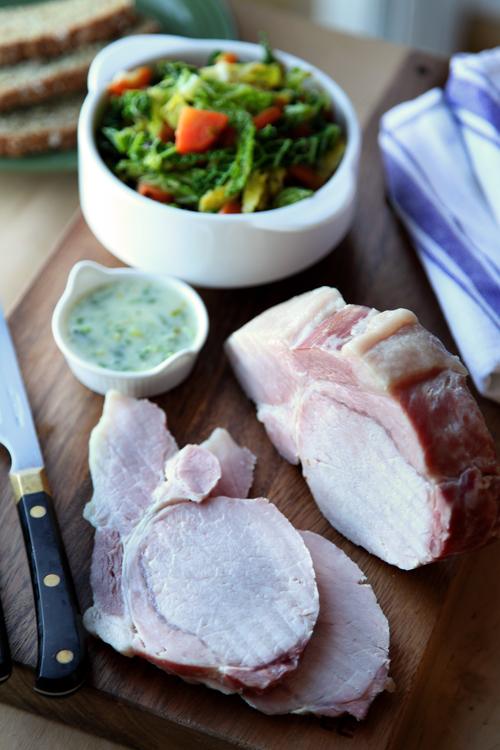
:: Good Auld Bacon and Cabbage! Exploring Traditional Irish Cooking!
:: White Chocolate Ginger Cheesecake Pots

:: Leila Lindholm's Butterscotch Pecan Pie
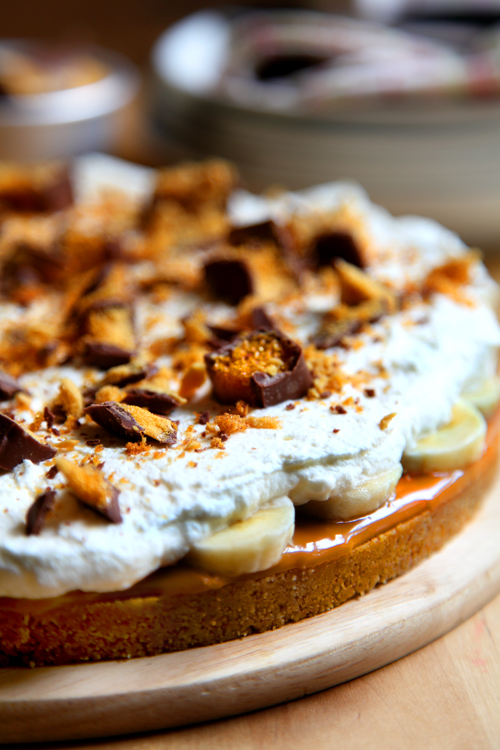
:: Crunchie Sticky Banoffee Pie!
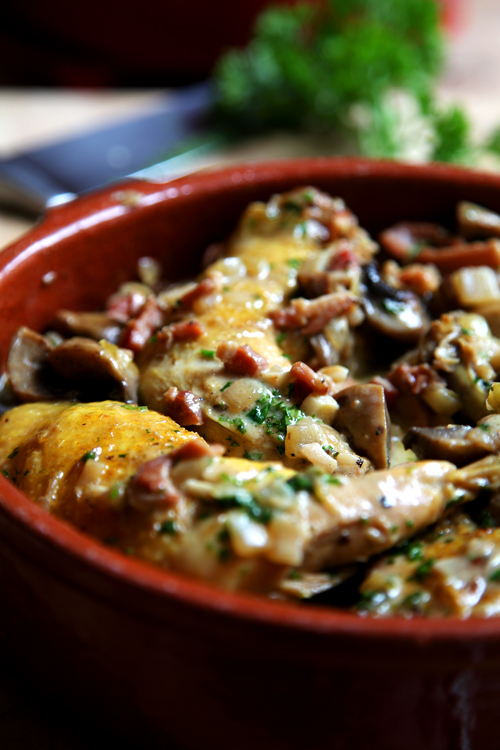
:: Coq Au Vin
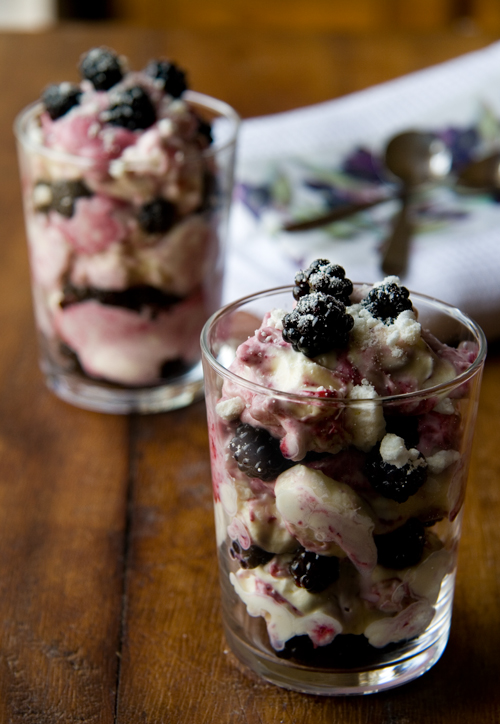
:: Good Mood Food Blackberry Mess
:: The Great Big Pie Bake Off: Marshmallow Mermaid Pie

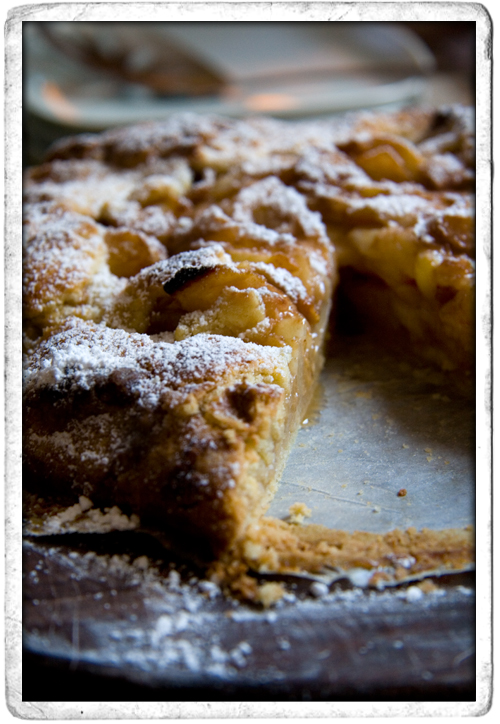
:: Rustic Pear Tart with Apricot Brandy
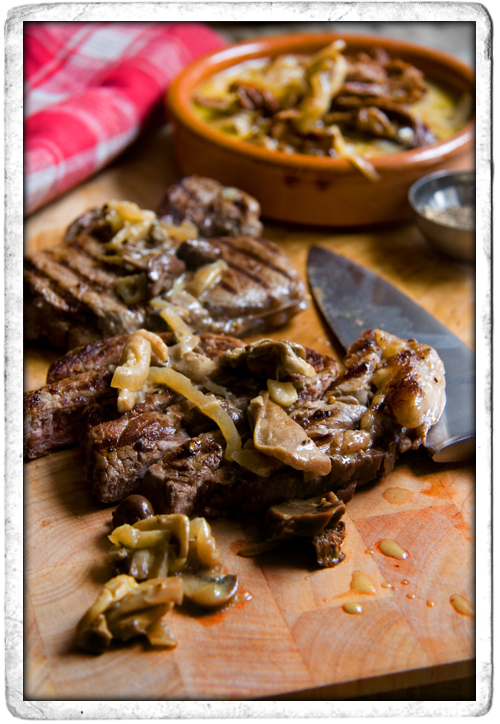
:: Simple Steak with Mixed Forest Mushroom Sauce