We Love Cooking!:
cake
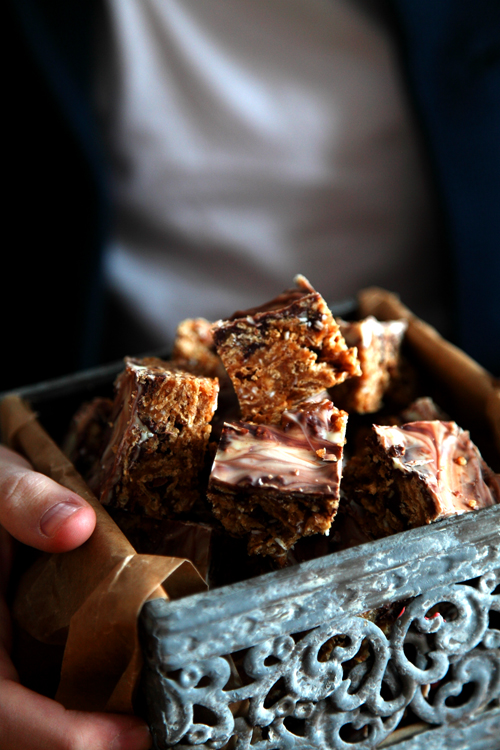
:: Peanut Butter Snicker Squares!
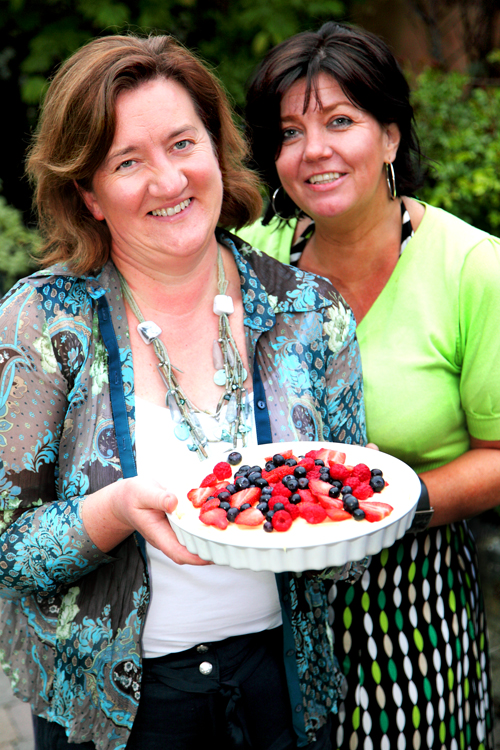
:: Strawberry Season 1/2

:: Strawberry Season 2/2

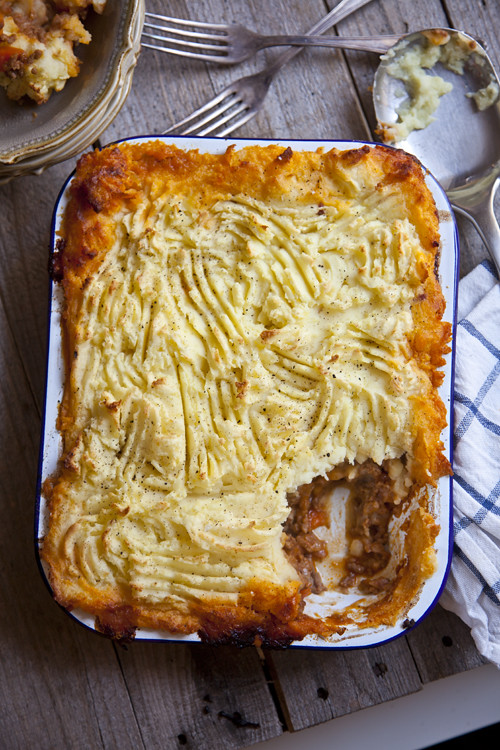
:: Roast Garlic Shepherd's Pie
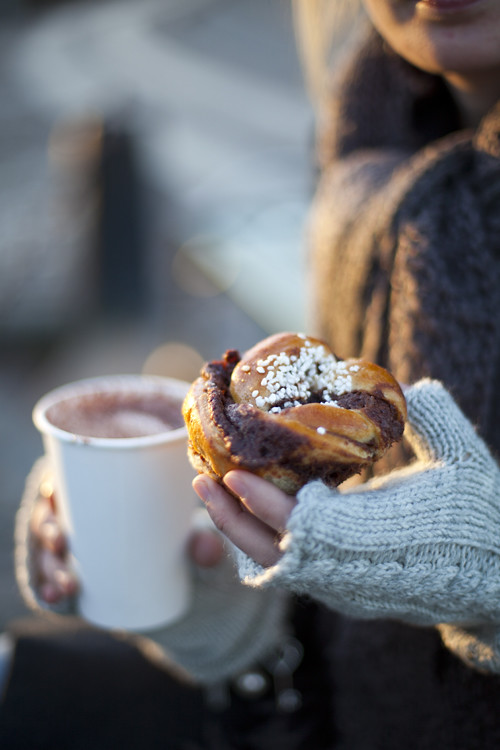
:: Swedish Cinnamon Buns
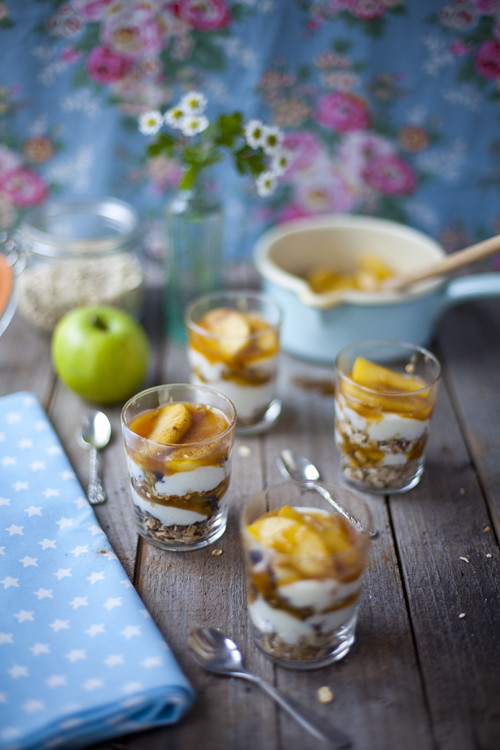
:: Caramel Apple Granola Pots
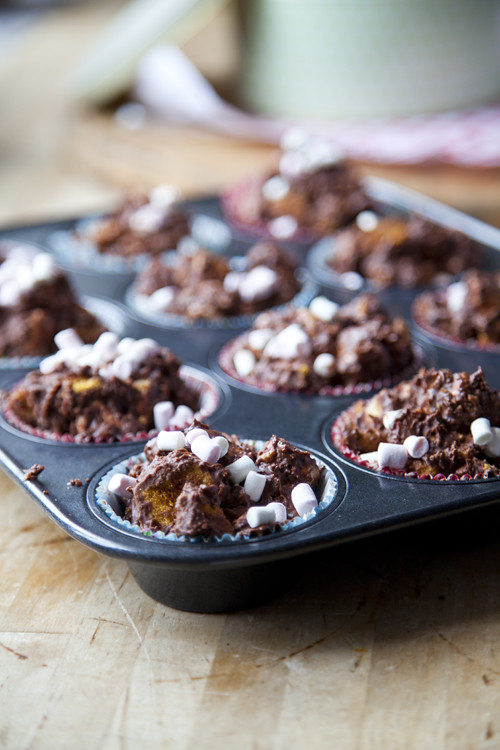
:: Crunchie Rocky Road Buns
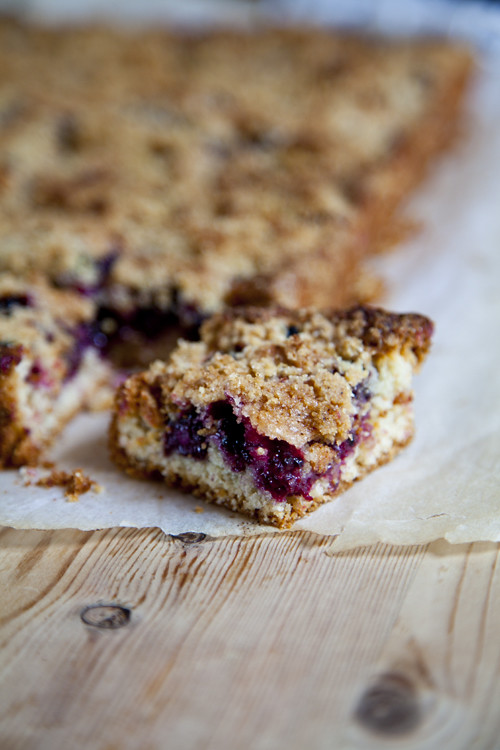
:: Blackberry Crumb Slices
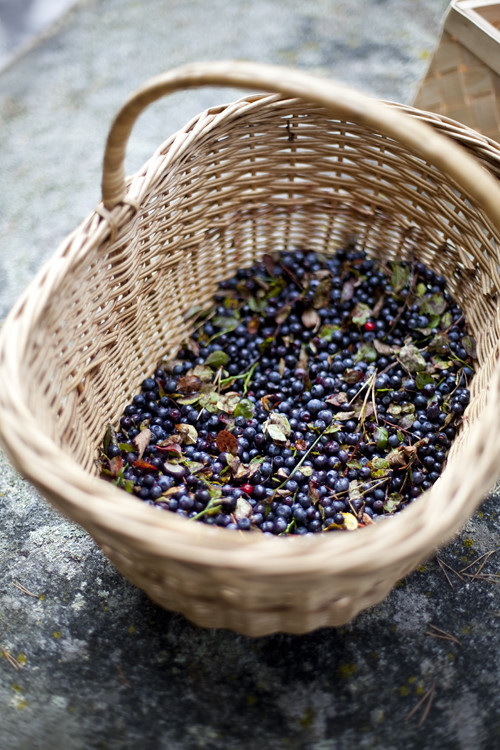
:: Wild Blueberry Picking and a Swedish Gooey Chocolate Cake
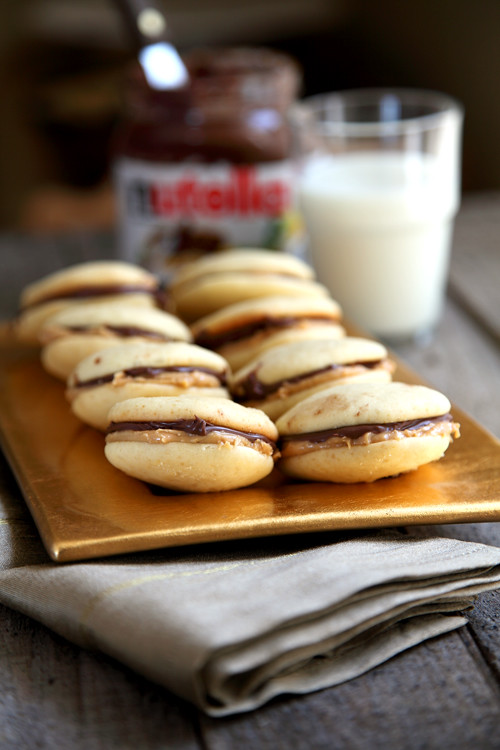
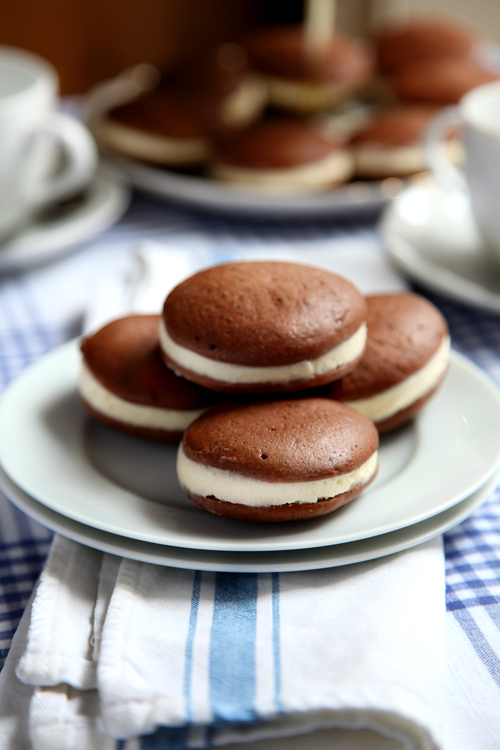
:: Go Nuts Nutella Whoopie Pies!
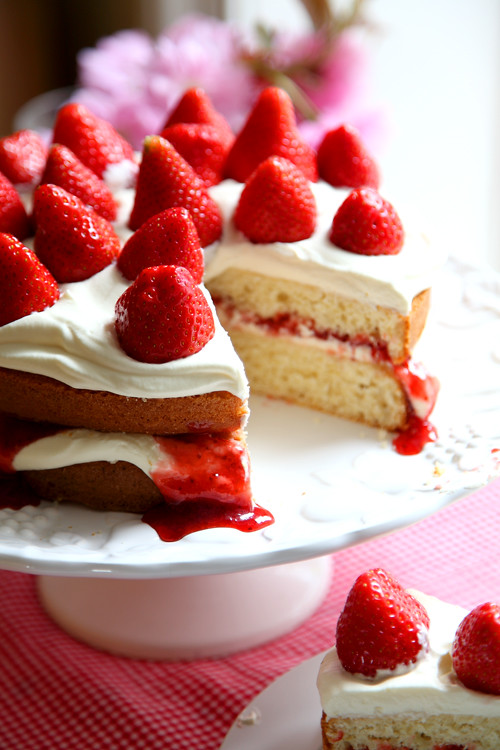
:: Mega Strawberry Summer Cake
:: White Chocolate Cheesecake with Summer Fruit
:: Sadhbh's Cookclub- Delicious Beef Pho!

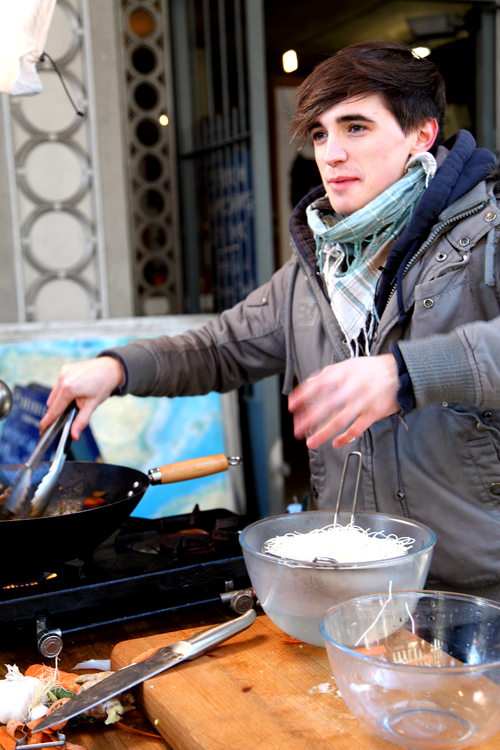
:: Cooking at London's Borough Market!
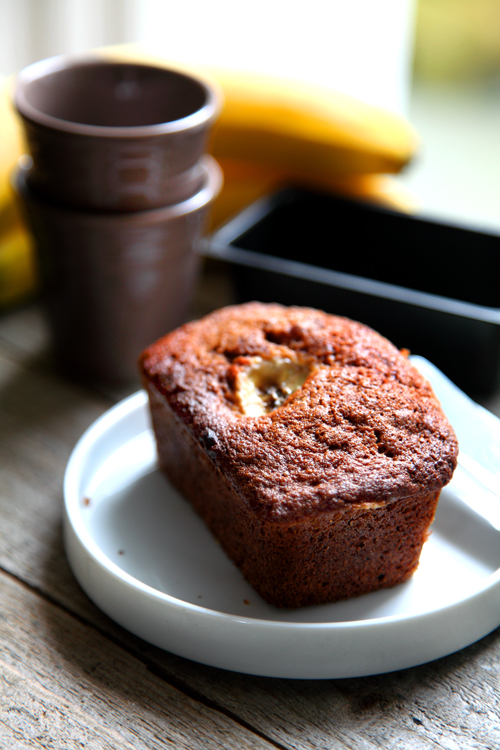
:: Auntie Ann's Banana Bread
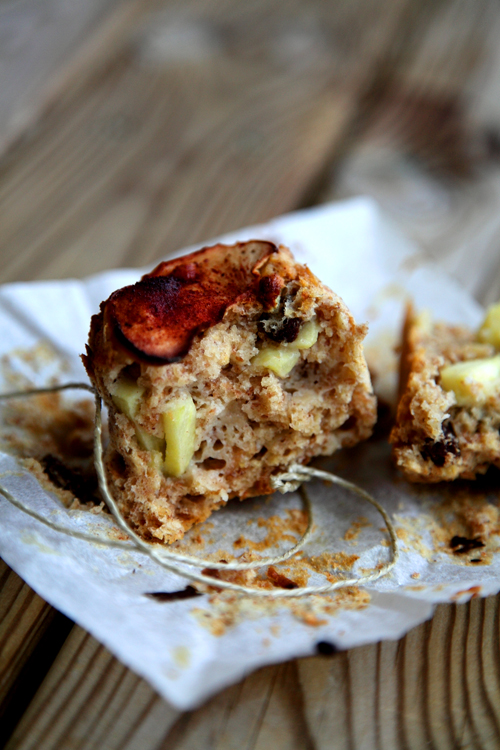
:: Big Boy Apple Breakfast Muffins
:: Je Suis Á Paris!

:: Whoopie Pies: The New Cupcake?
:: Naughty Chocolate Fudge Cake: Happy Birthday!

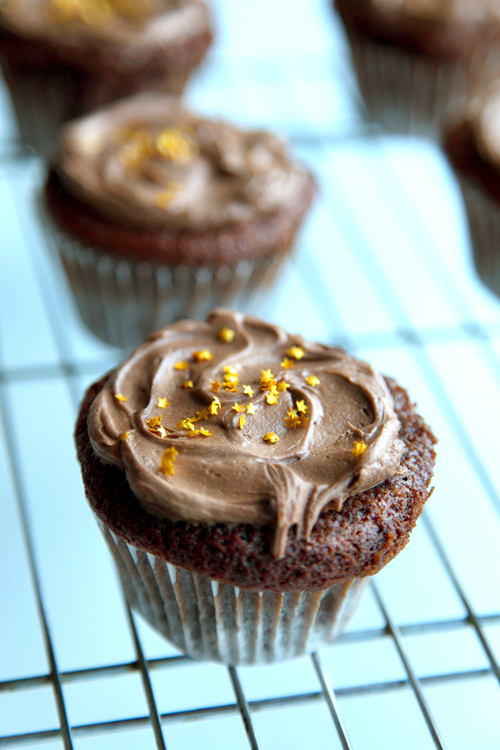
:: Chocolate Fudge Cupcakes and The Highs and Lows Of The Music Biz!