We Love Cooking! [Search results for cake]
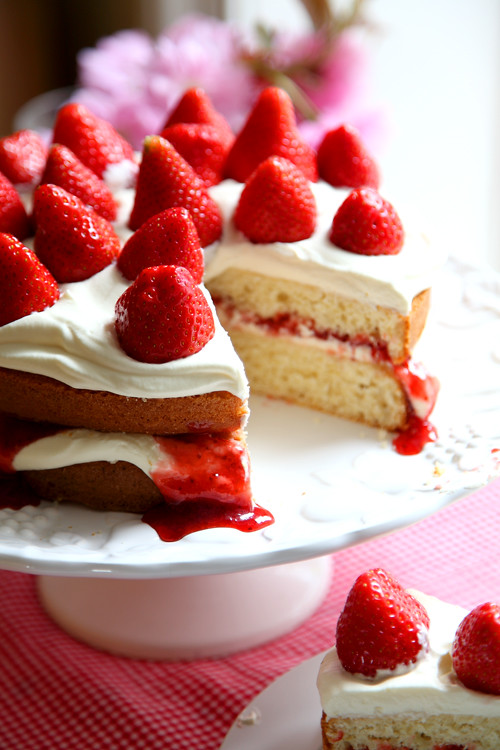
:: Mega Strawberry Summer Cake
:: Naughty Chocolate Fudge Cake: Happy Birthday!

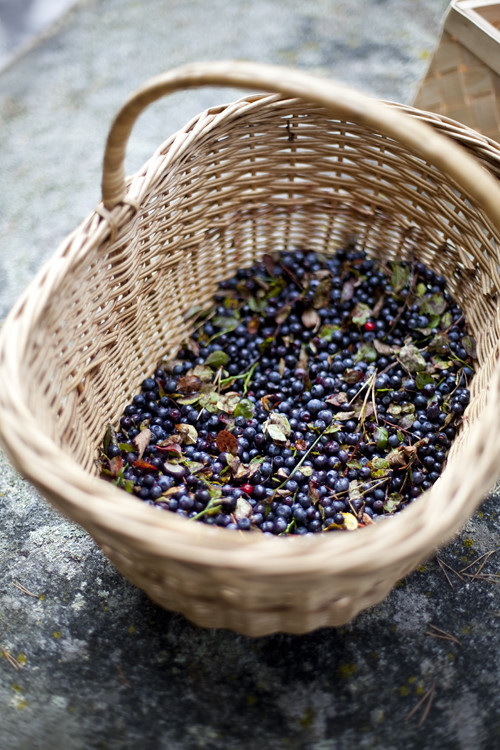
:: Wild Blueberry Picking and a Swedish Gooey Chocolate Cake
:: Strawberry Season 2/2

:: Leila Lindholm's Peanut Butter Cupcakes
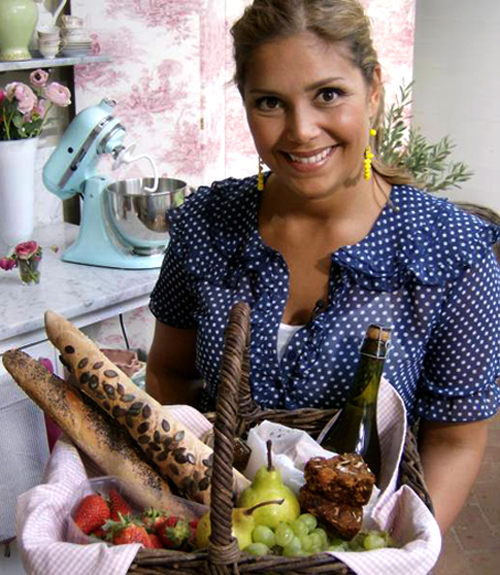
:: Interview with Leila Lindholm!

:: Irish Food and Drink Blogs
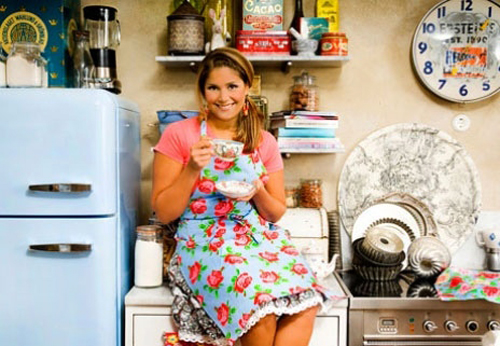
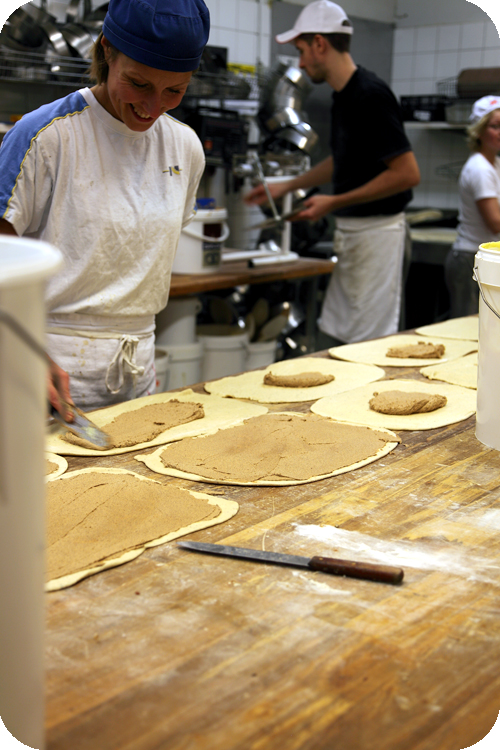
:: Visit To A Swedish Bakery!
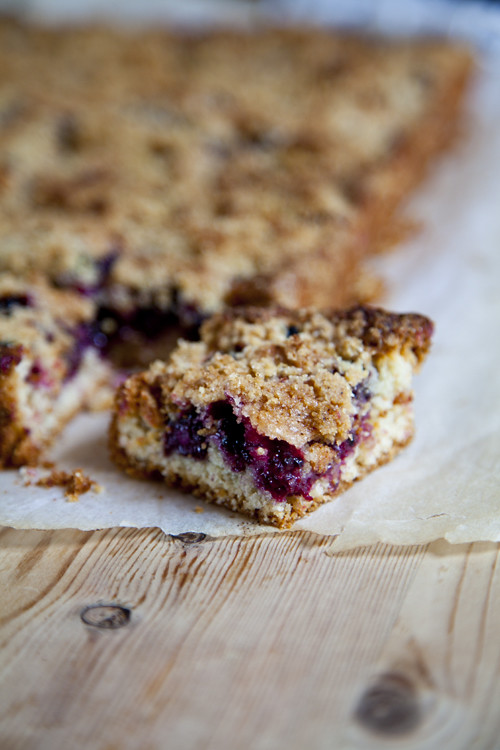
:: Blackberry Crumb Slices
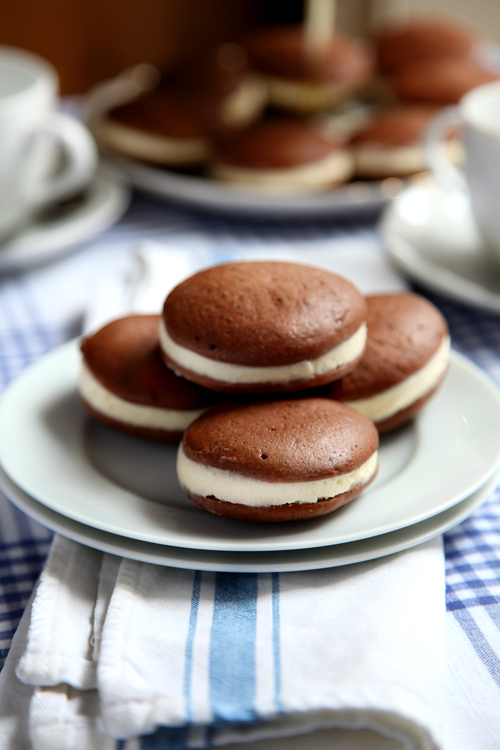
:: Whoopie Pies: The New Cupcake?
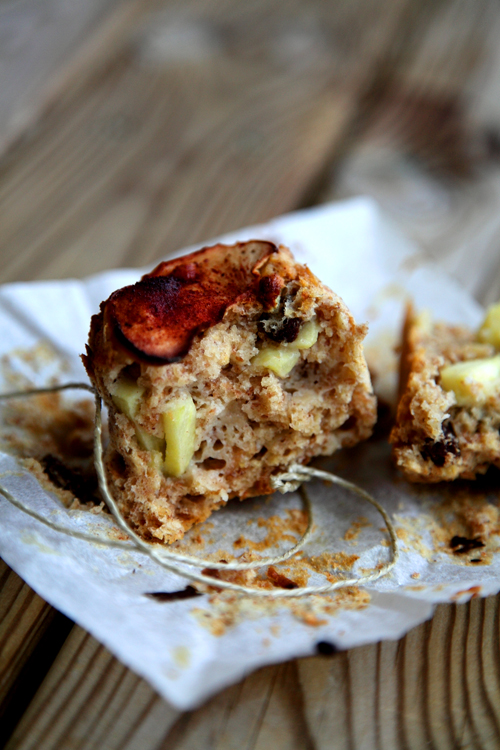
:: Big Boy Apple Breakfast Muffins
:: What reccession? Let them eat cake!

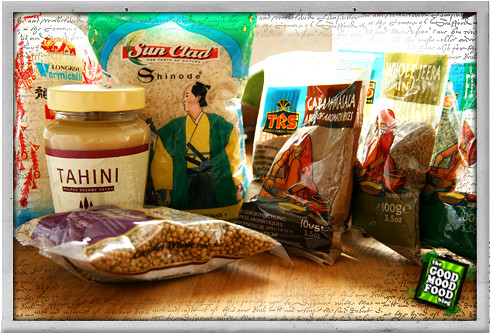
:: Good Mood Food Recipe Archive

:: Basic Cupcake Recipe
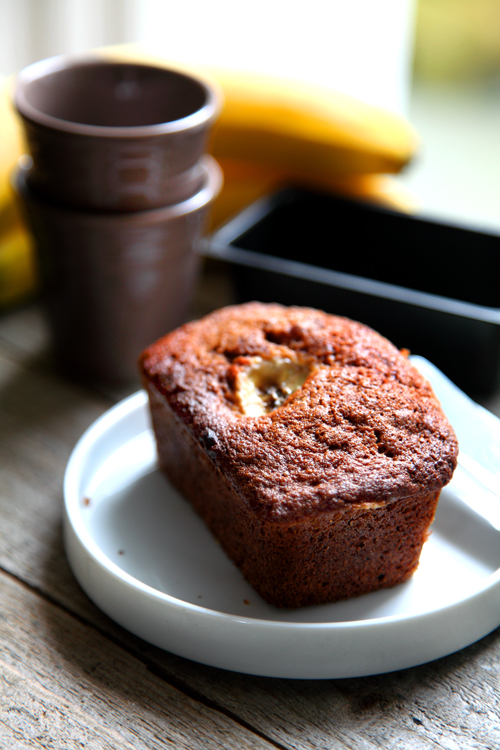
:: Auntie Ann's Banana Bread
:: Salon Du Blog: Je t'adore!
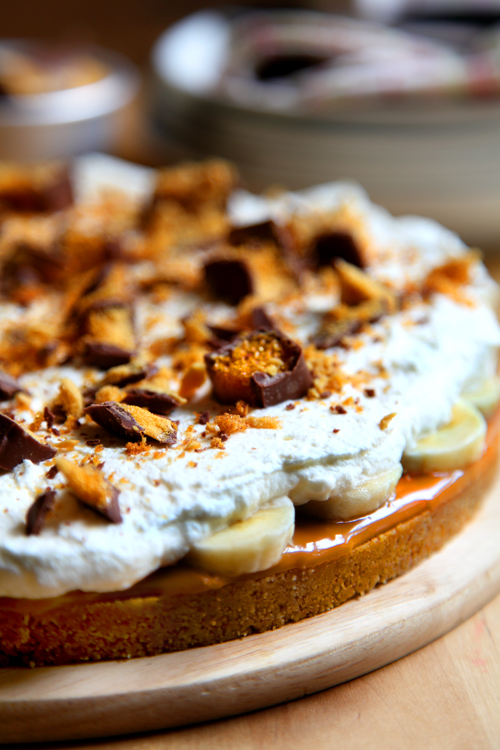
:: Crunchie Sticky Banoffee Pie!
:: Asian Chicken Wings
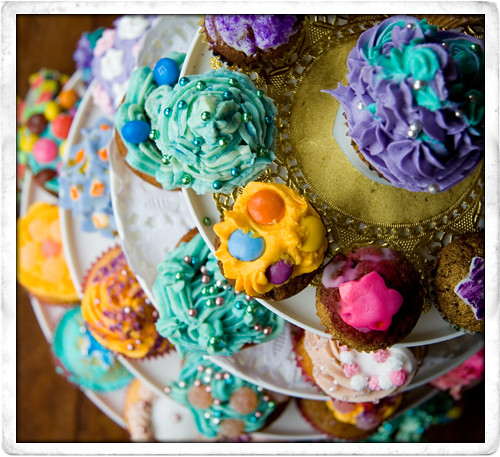
:: Leila Lindholm's High Hat Cupcakes
:: Leila Lindholm's Baguettes