We Love Cooking!:
dessert
:: Cooking Diabetic Desserts On The Afternoon Show

:: Strawberry Season 2/2

:: Deep Dish Chocolate Chip Cookies!
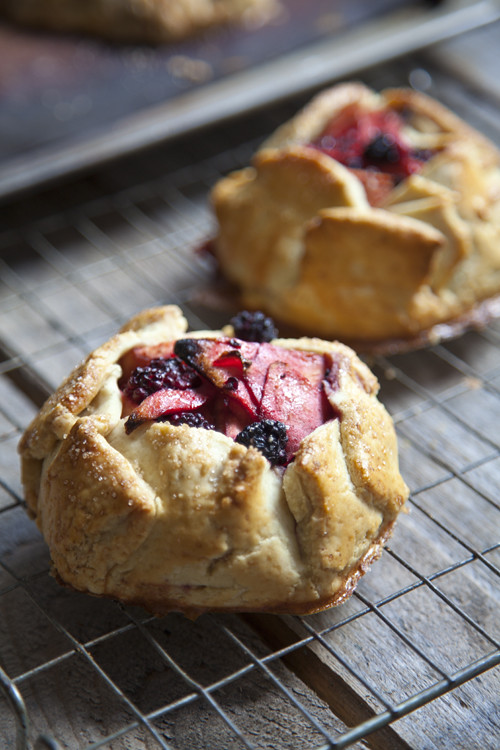
:: Rustic Apple and Blackberry Galettes
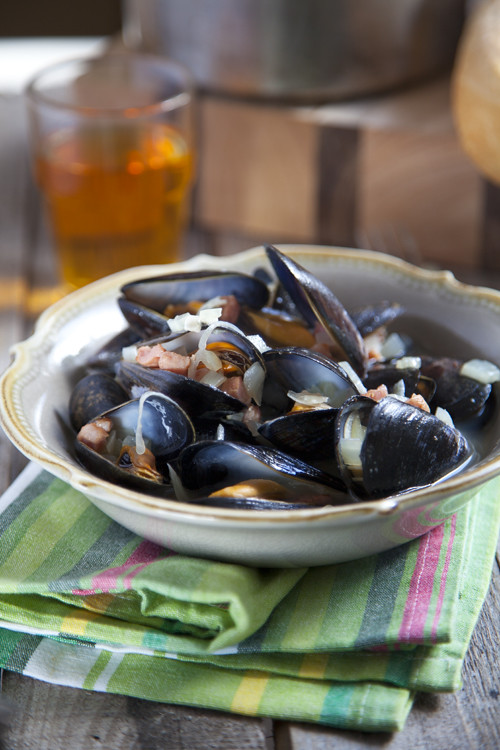
:: Mussels in Irish Cider
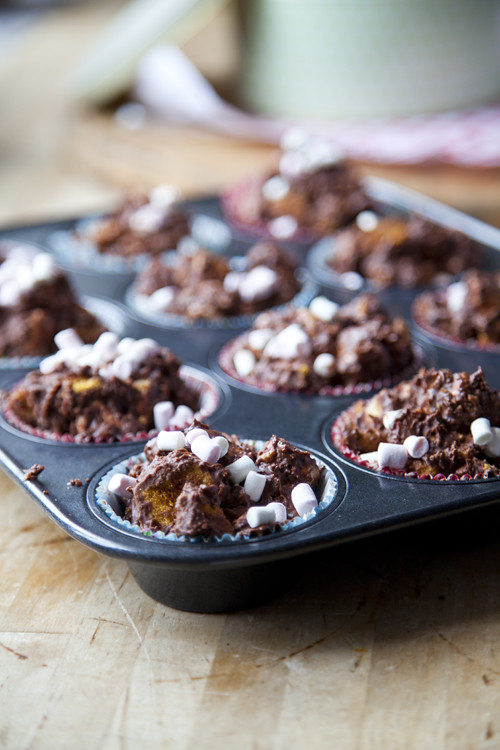
:: Crunchie Rocky Road Buns
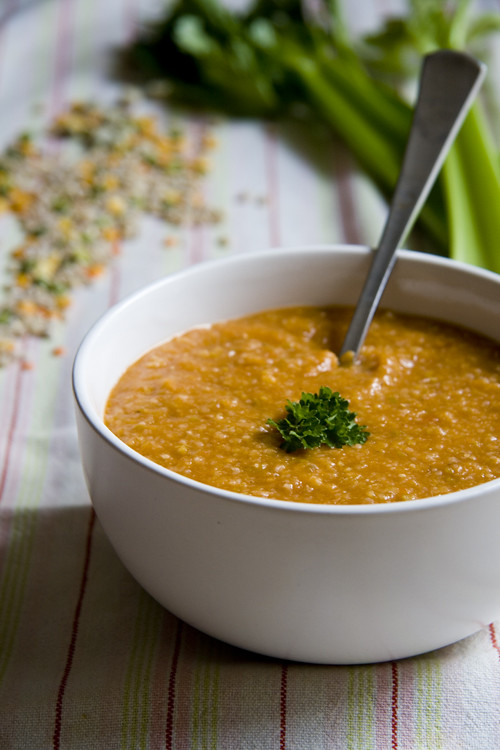
:: Boot Camp Soup and back to business!
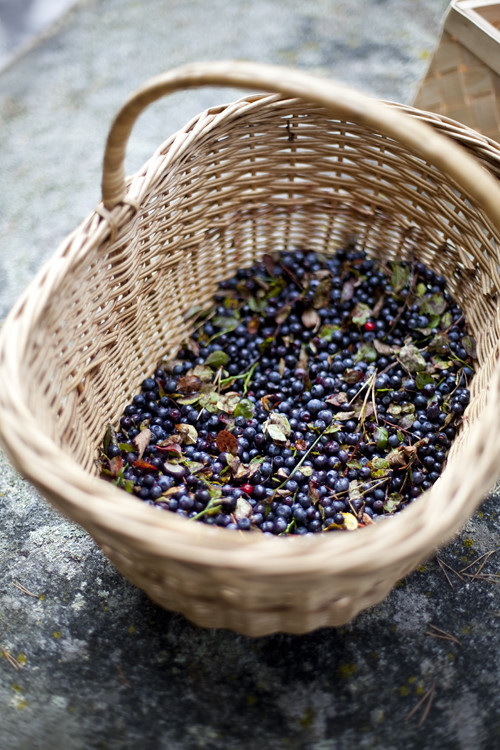
:: Wild Blueberry Picking and a Swedish Gooey Chocolate Cake
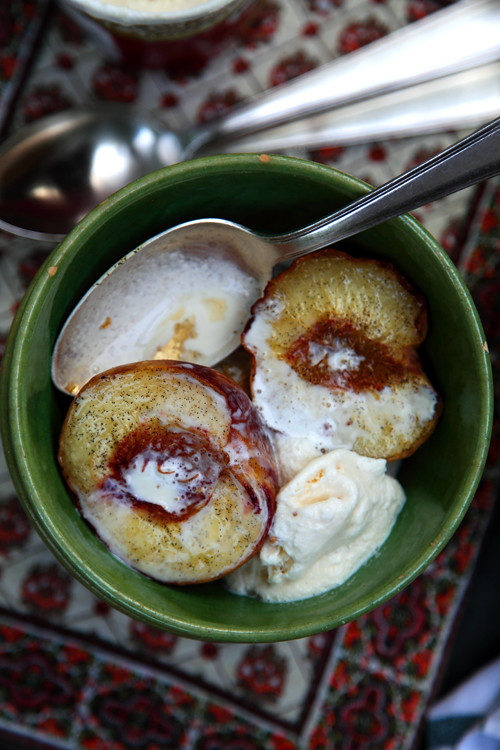
:: Baked Peaches with Vanilla Sugar
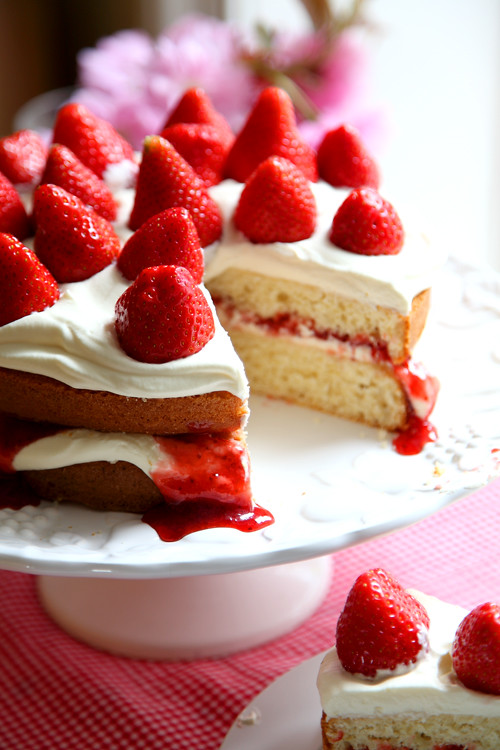
:: Mega Strawberry Summer Cake
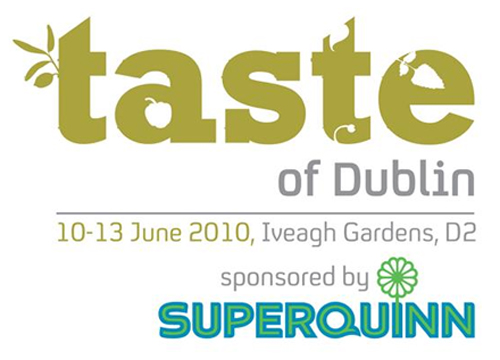
:: Wanna Come to Taste? Win tickets right here!
:: White Chocolate Cheesecake with Summer Fruit
:: Sadhbh's Cookclub- Delicious Beef Pho!

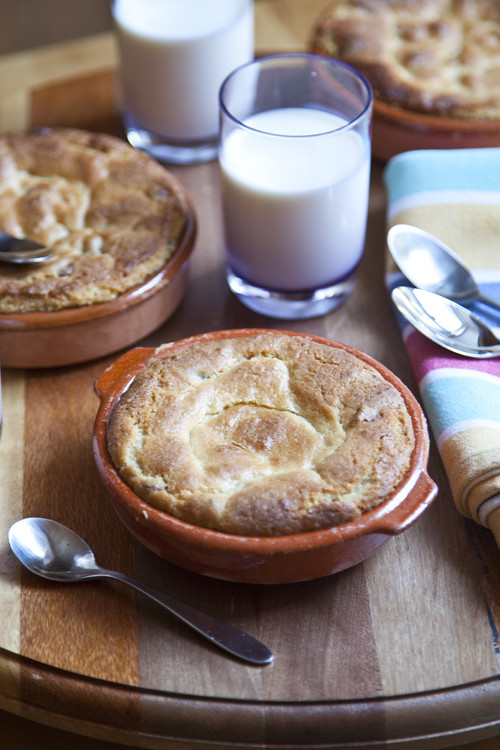
:: Gizzi Erskine's Sticky Banoffee Pudding
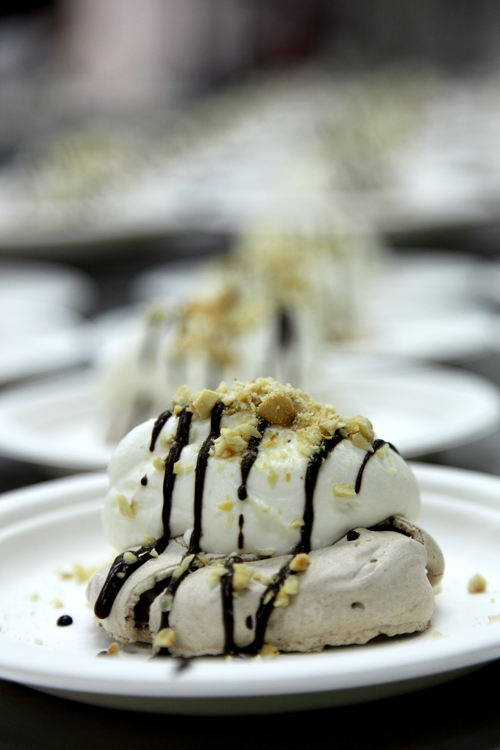
:: Meringues with Jameson Whiskey Cream, Chocolate Sauce and toasted Hazelnuts
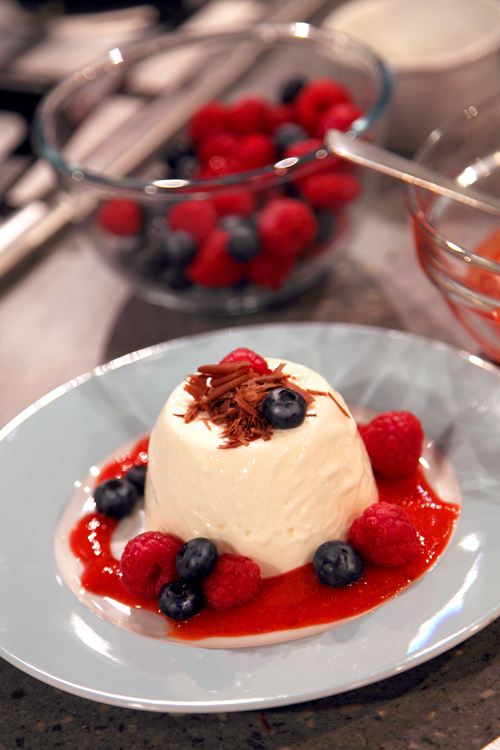
:: Simple Panna Cotta with summer fruits and dark chocolate!
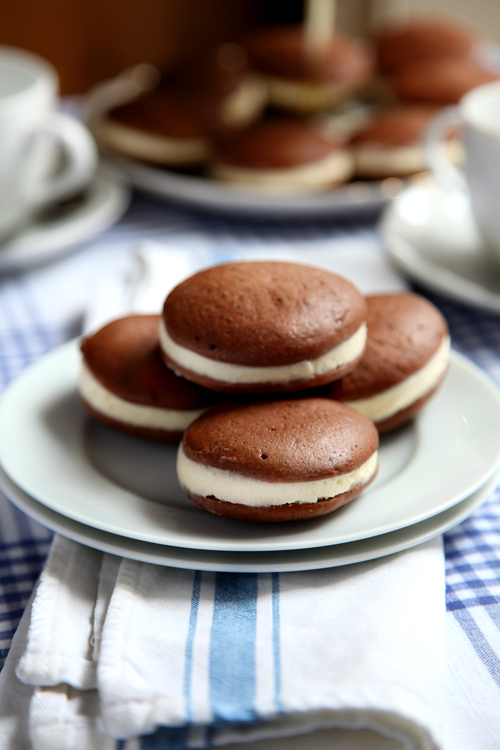
:: Whoopie Pies: The New Cupcake?
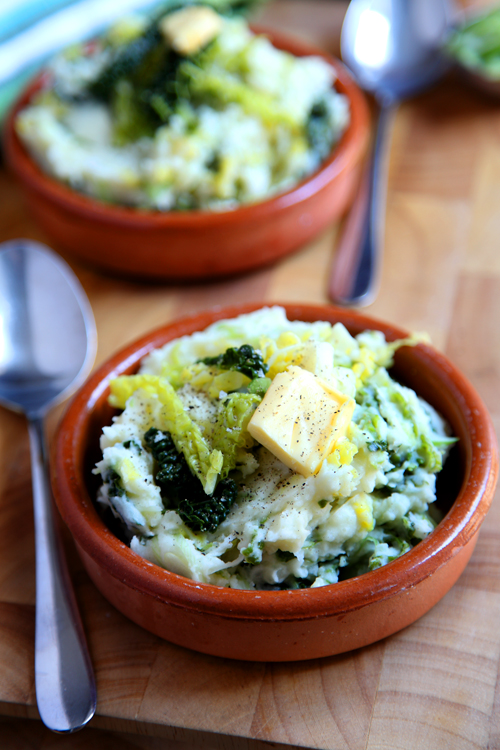
:: Traditional Irish Food: Colcannon and the inside scoop on last nights food demo!
:: White Chocolate Ginger Cheesecake Pots

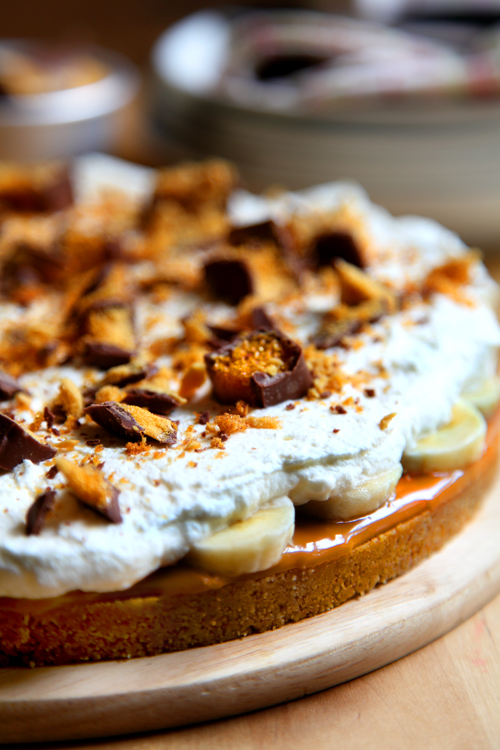
:: Crunchie Sticky Banoffee Pie!