We Love Cooking!:
chocolate
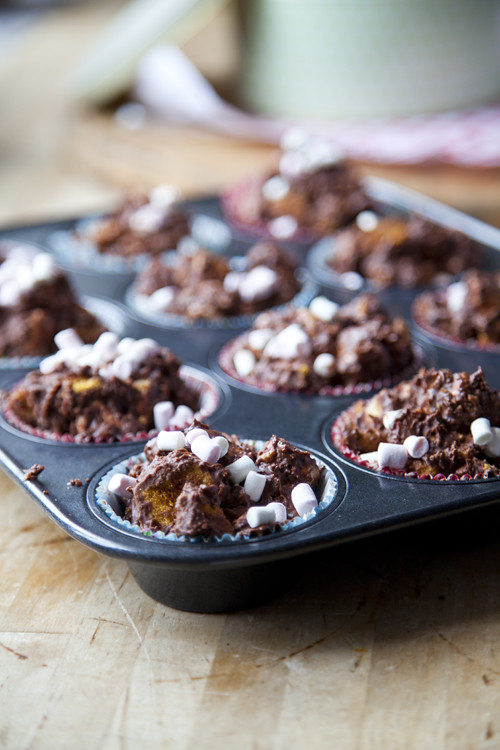
:: Crunchie Rocky Road Buns
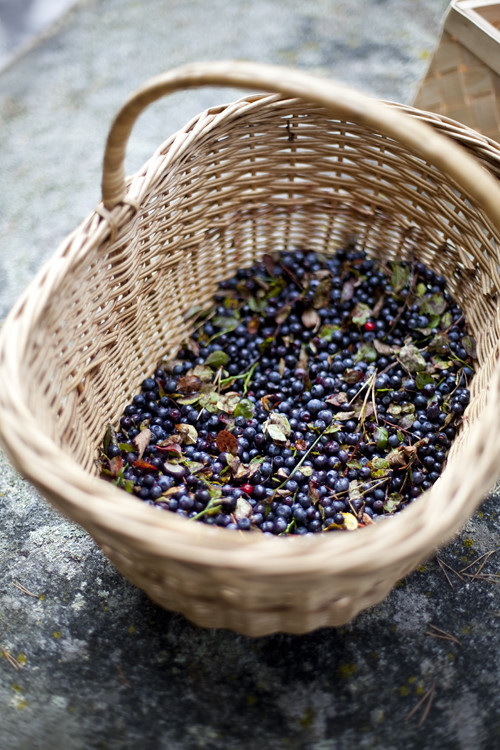
:: Wild Blueberry Picking and a Swedish Gooey Chocolate Cake
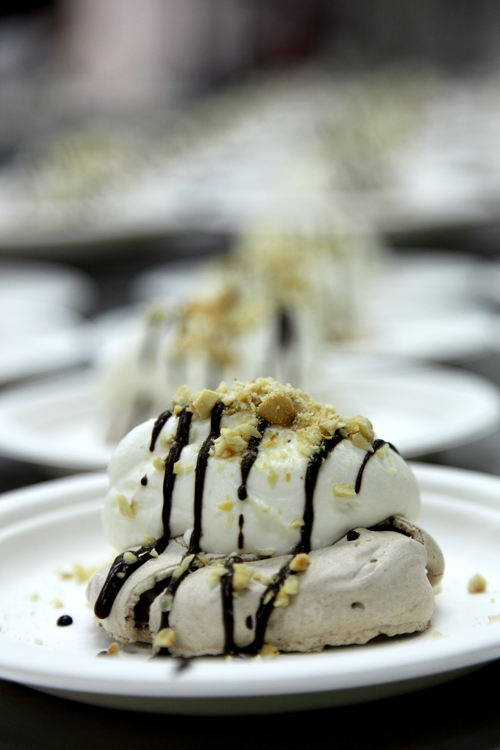
:: Meringues with Jameson Whiskey Cream, Chocolate Sauce and toasted Hazelnuts
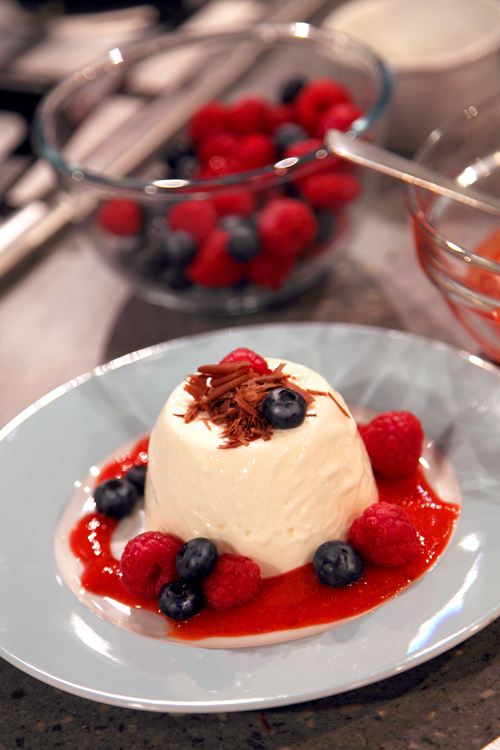
:: Simple Panna Cotta with summer fruits and dark chocolate!
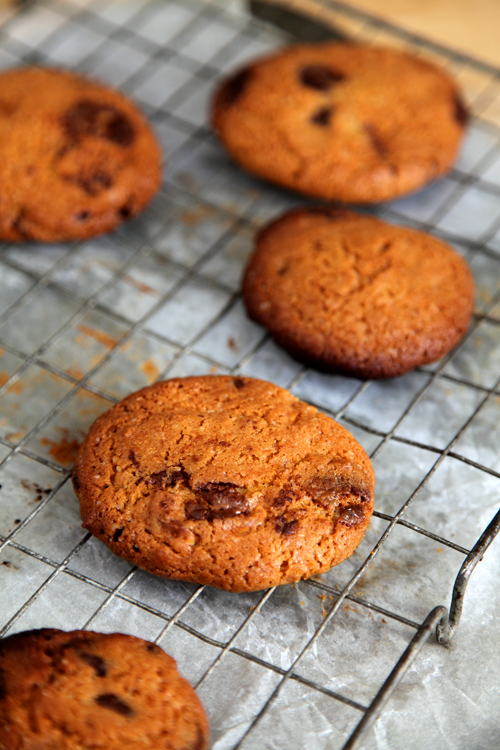
:: Sophie's Chocolate & Hazelnut Chip Cookies
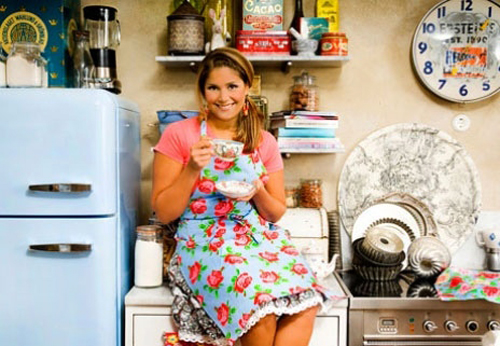
:: Leila Lindholm's High Hat Cupcakes
:: Leila Lindholm's Peanut Butter Cupcakes
:: Nutella and Toasted Hazelnut Pancakes

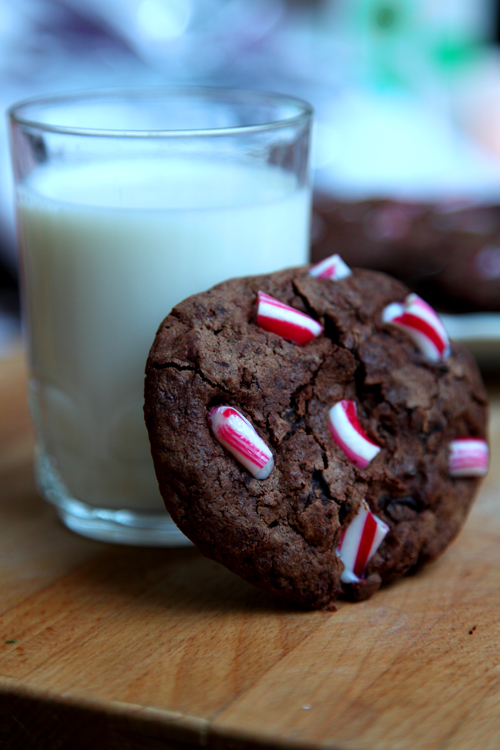
:: Chocolate Candy Cane Cookies
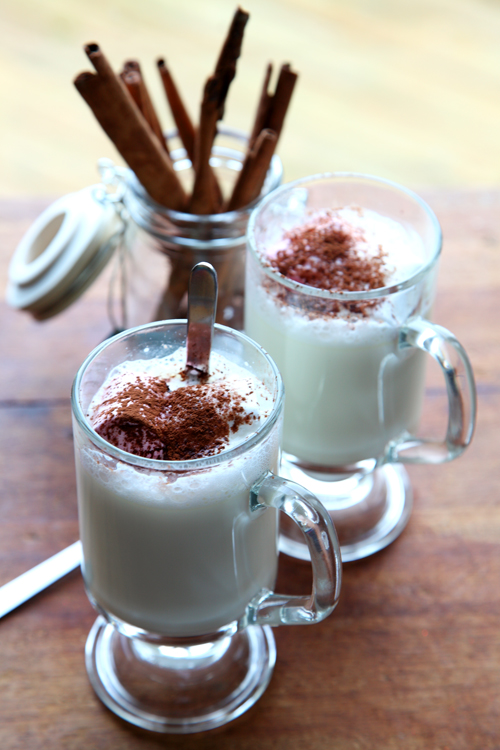
:: Yummy White Hot Chocolate!
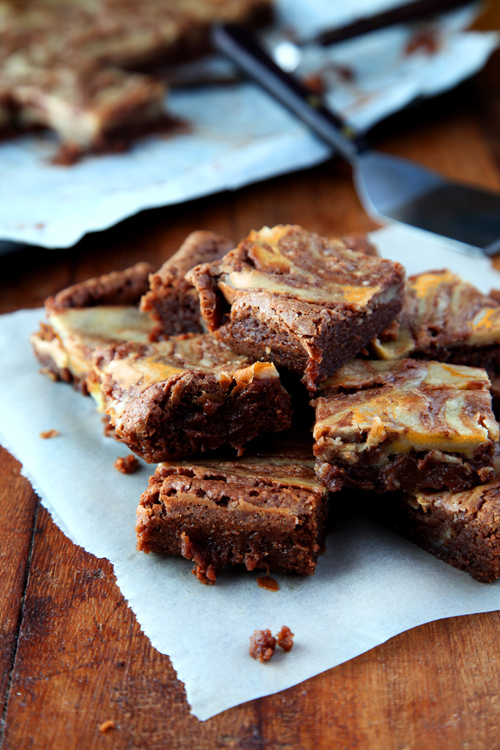
:: Chocolate Pumpkin and Pecan Brownies
:: The Great Big Pie Bake Off: Marshmallow Mermaid Pie

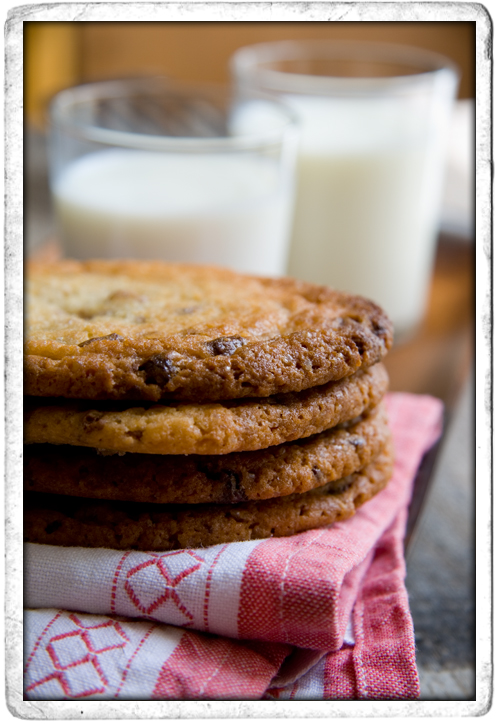
:: Chocolate Chip Cookies
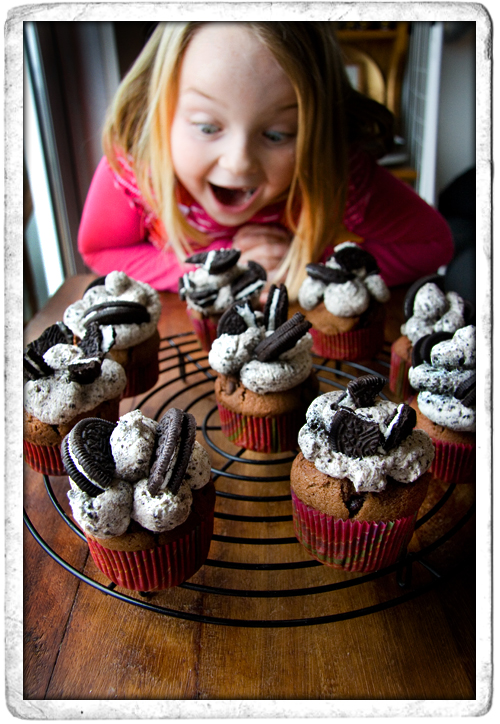
:: Chocolate Chip Oreo Cupcakes!
:: GOOEY CHOCOLATE PUDDING


