We Love Cooking!:
RAW
:: Strawberry Season 1/2

:: Strawberry Season 2/2

:: Swedish Cinnamon Buns

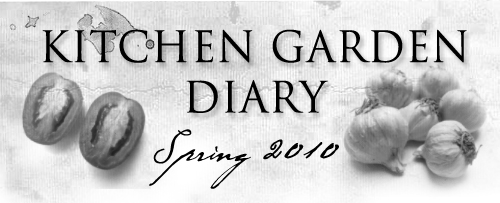
:: Mushy Roast Garlic and Cherry Tomato Pasta
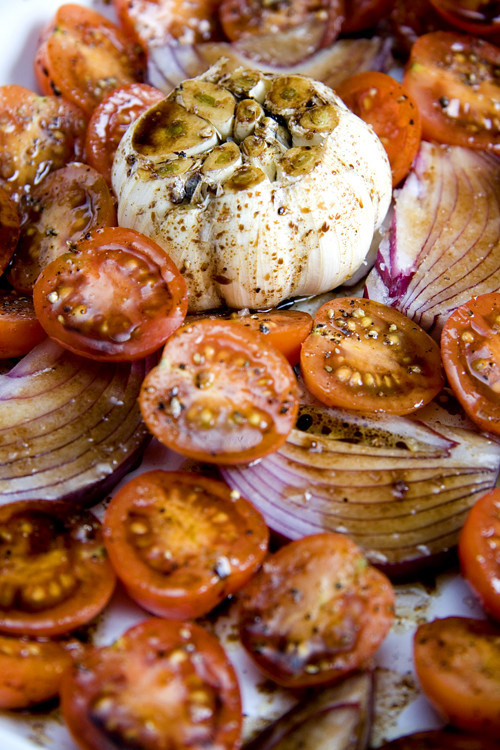
:: Zingy Quick and Tasty Stir-Fry
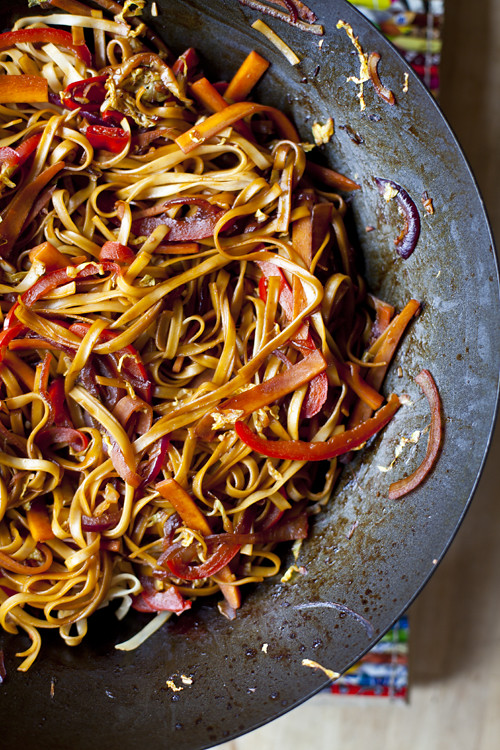
:: Blackberry Crumb Slices
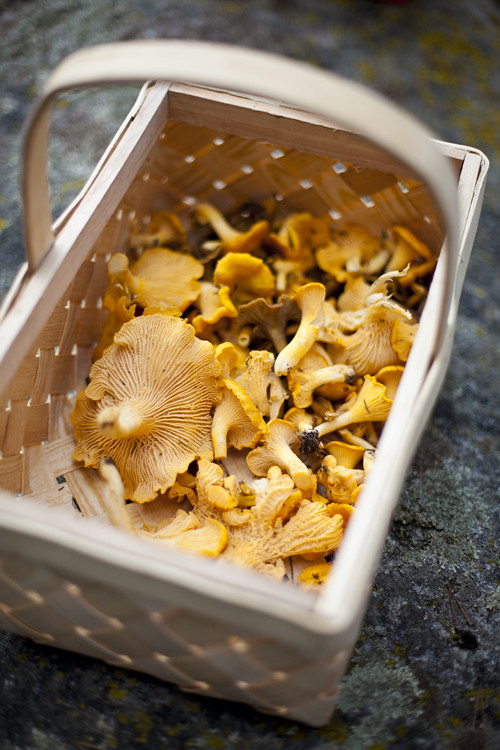
:: Swedish Mushroom Hunting and Simply Cooked Chanterelles with Garlic Toast!
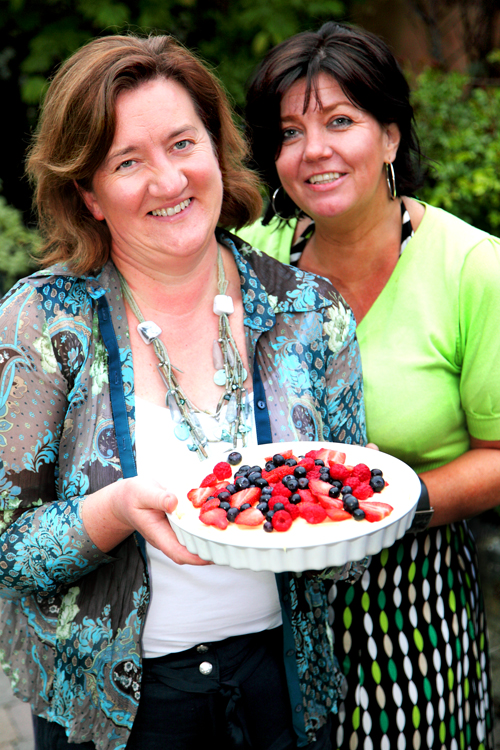
:: Catherine Fulvio's Carpaccio Di Manzo & Win a Copy of Catherine's Italian Kitchen

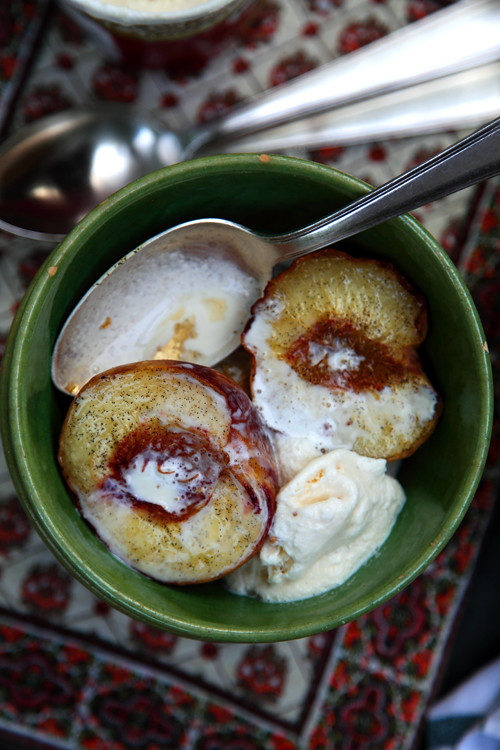
:: Baked Peaches with Vanilla Sugar
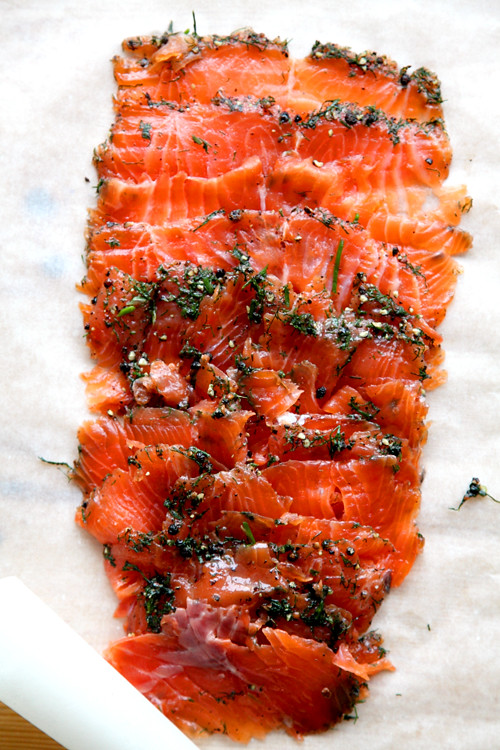
:: Swedish Gravadlax
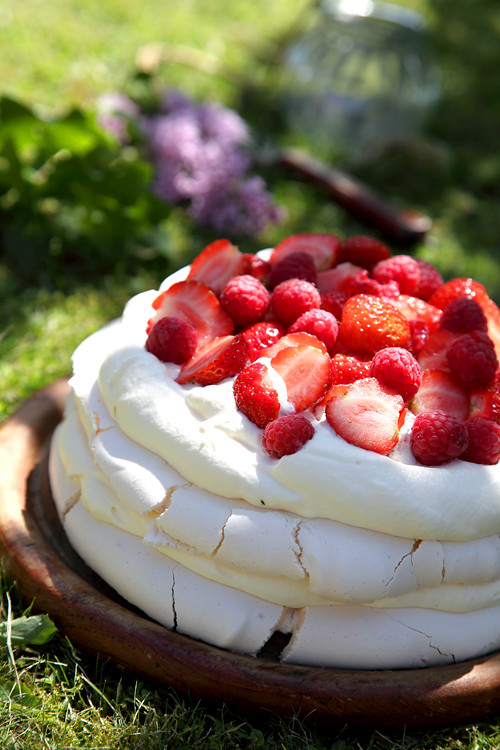
:: Summer Berry Layered Pavlova
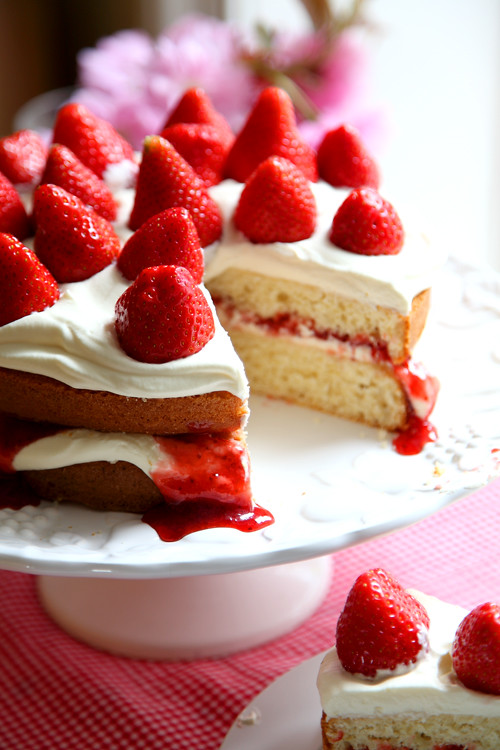
:: Mega Strawberry Summer Cake
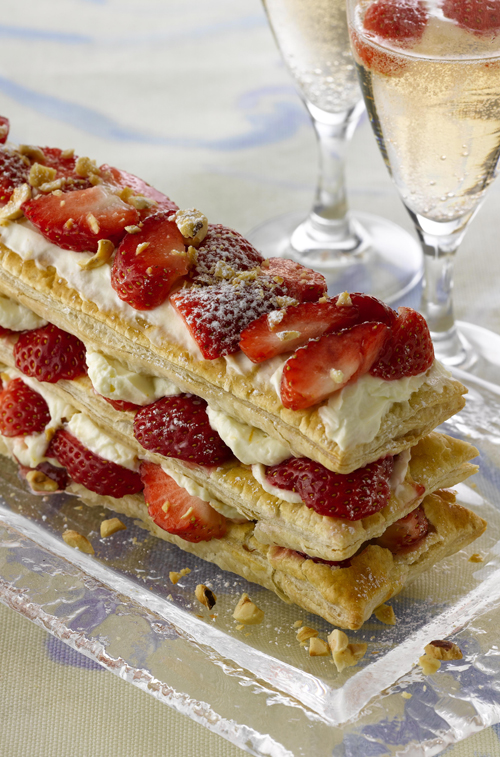
:: Quick Millefeuille with Toasted Hazelnuts, Cointreau and Strawberry Mascarpone Cream Filling
:: White Chocolate Cheesecake with Summer Fruit
:: Irish Food Bloggers!

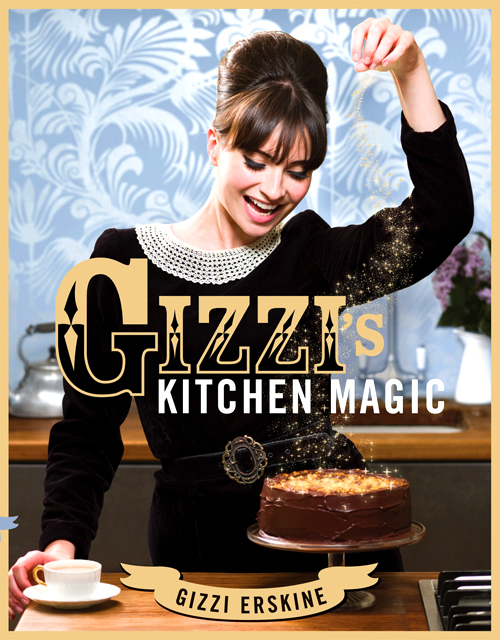
:: Kitchen Magic Cookbook Competition and Gizzi Erskine Interview!
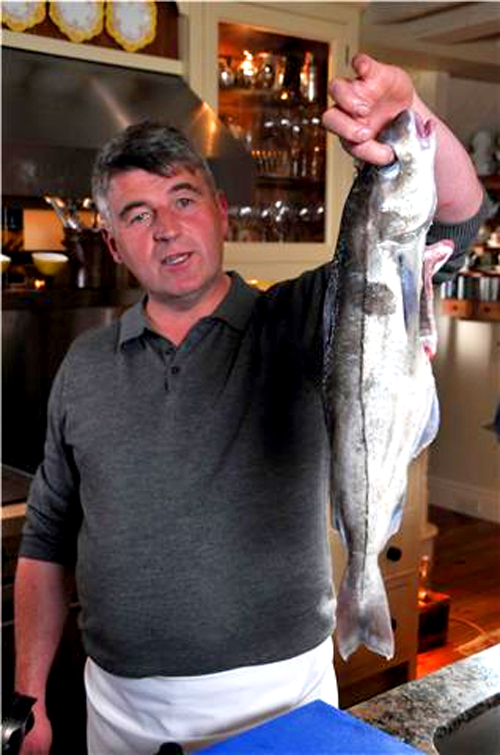
:: Martin's Mad About Fish!
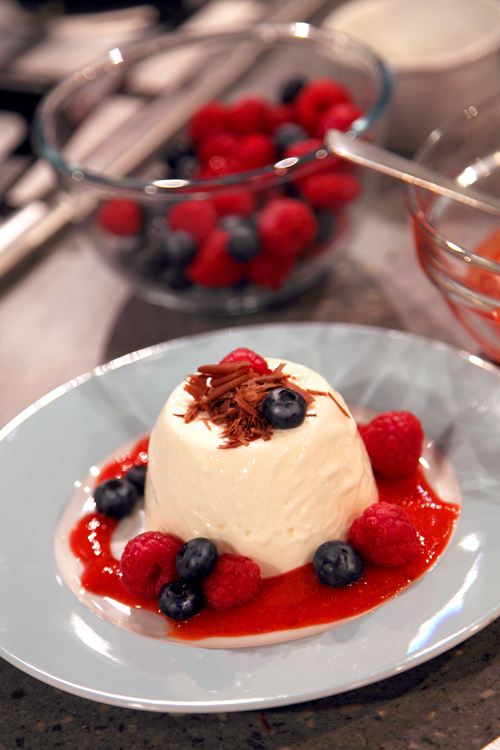
:: Simple Panna Cotta with summer fruits and dark chocolate!
:: Je Suis Á Paris!

:: Kitchen Garden Diary: Patchworkveg.com install 3 raised veggie boxes!