We Love Cooking!:
ginger
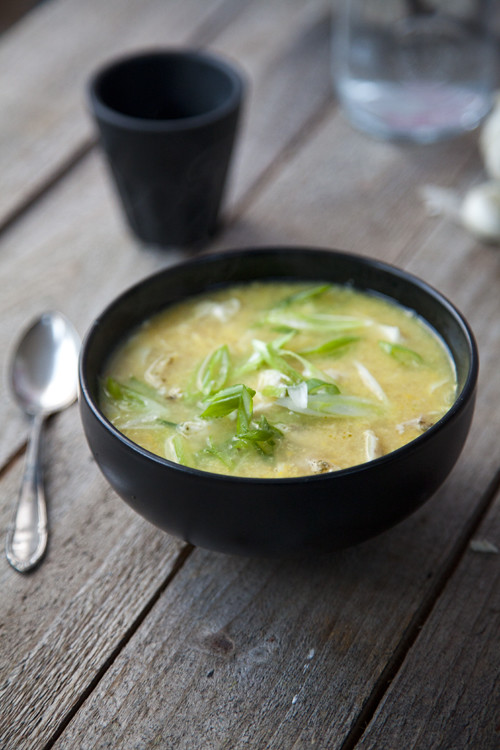
:: Stop Food Waste: Leftover Chicken & Sweetcorn Soup
:: Sadhbh's Cookclub- Delicious Beef Pho!

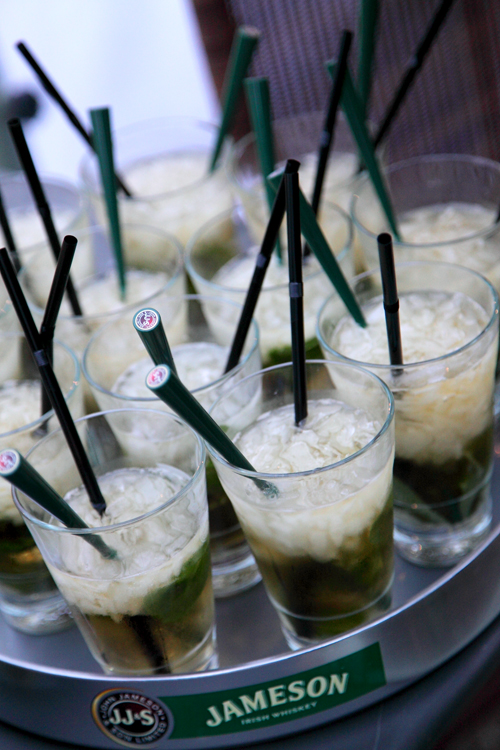
:: Jameson Iced Fire Ginger Mint Cocktail
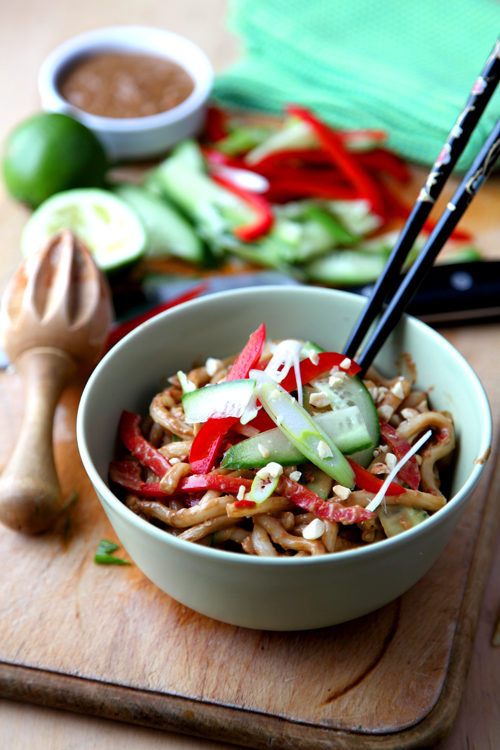
:: Crunchy Peanut Satay Noodles
:: White Chocolate Ginger Cheesecake Pots

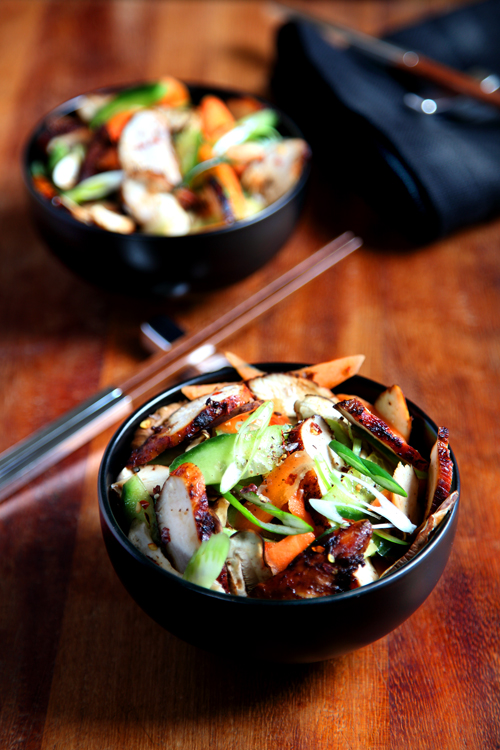
:: Spicy Sichuan Chicken Salad
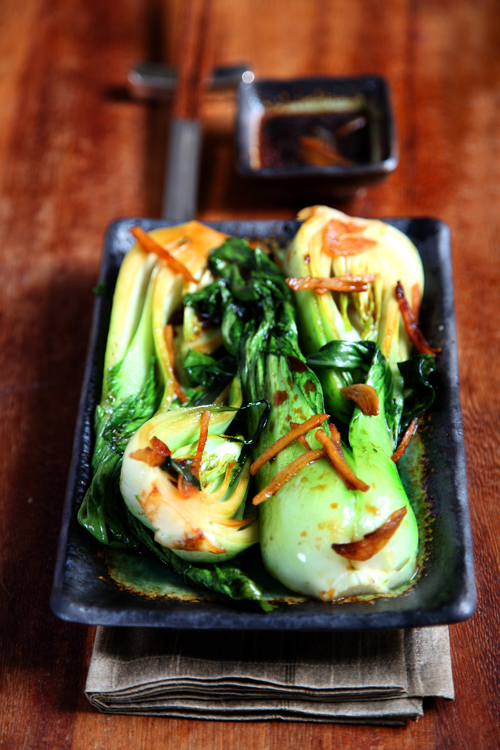
:: Ginger and Garlic Braised Bok Choy
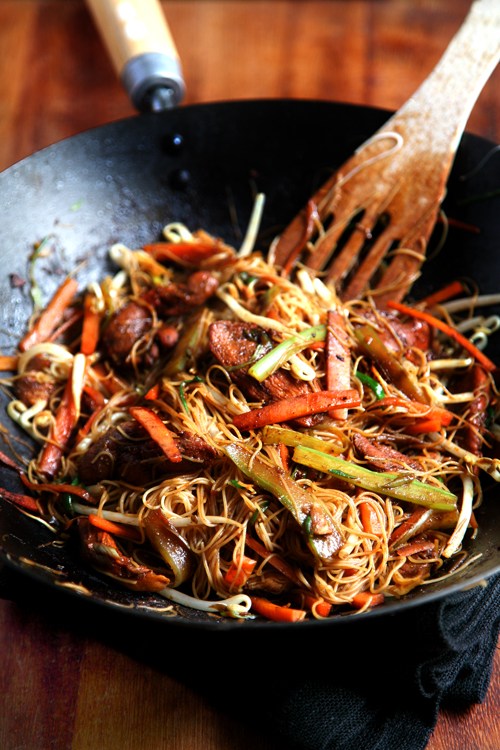
:: Healthy Singapore Noodles
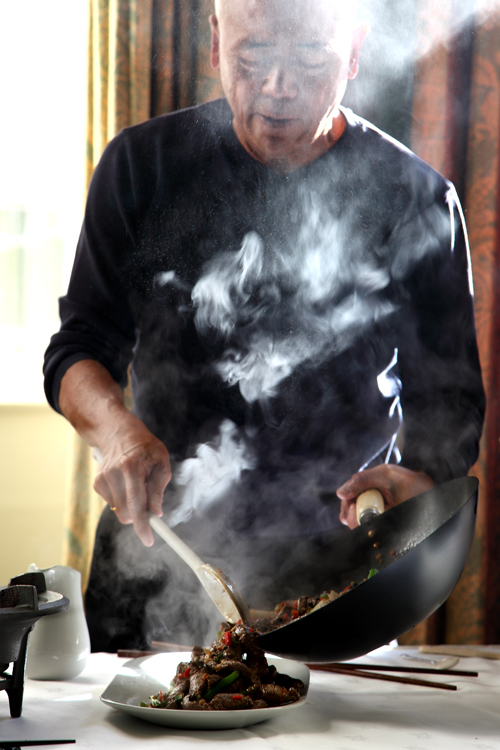
:: Ken Hom Demonstration In Dublin
:: Chocolate Pumpkin and Pecan Brownies

:: Irish Tatler and Asian Chicken Salad with Chilli, Ginger and Lime Dressing
:: Simply Sourced and Oriental Steak Salad

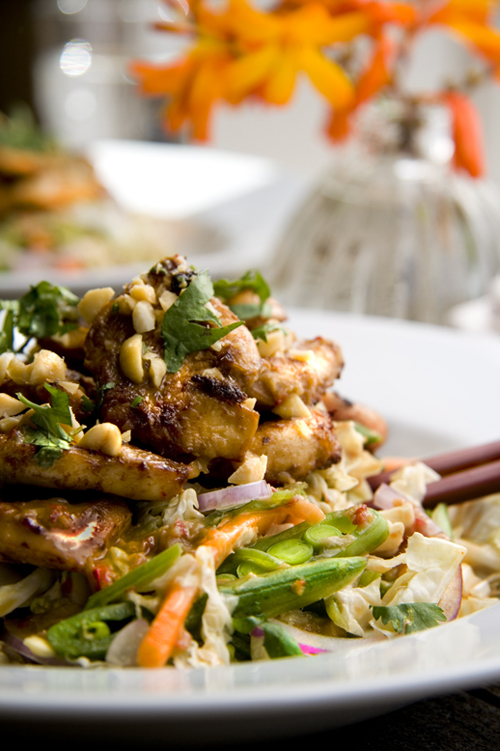
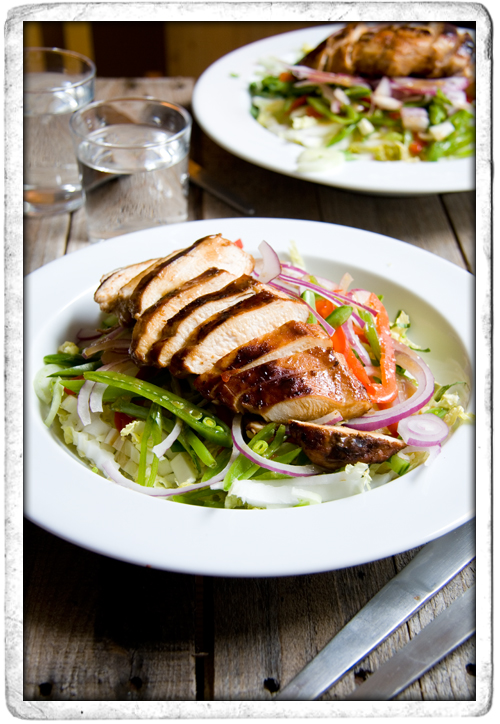
:: Asian Teriyaki Chicken Salad
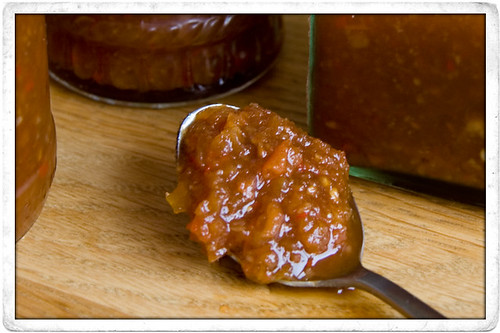
:: Chilli Jam