We Love Cooking!:
vanilla extract
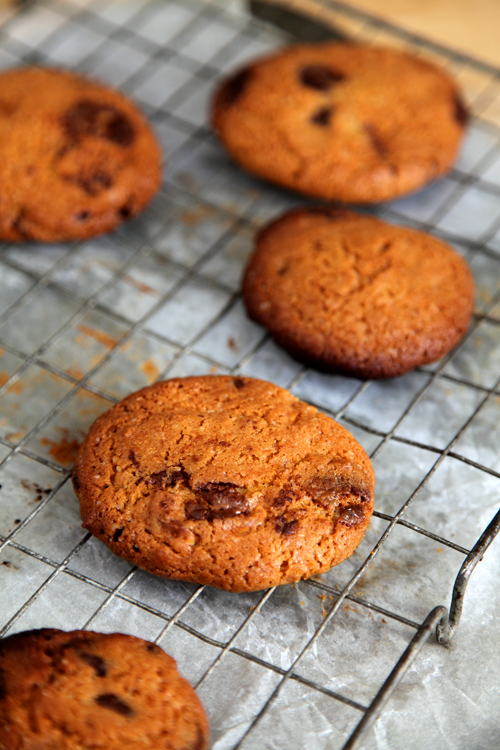
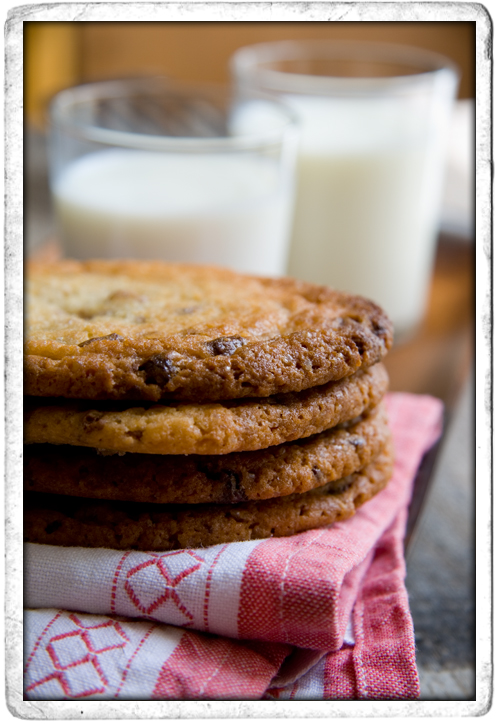
:: Deep Dish Chocolate Chip Cookies!
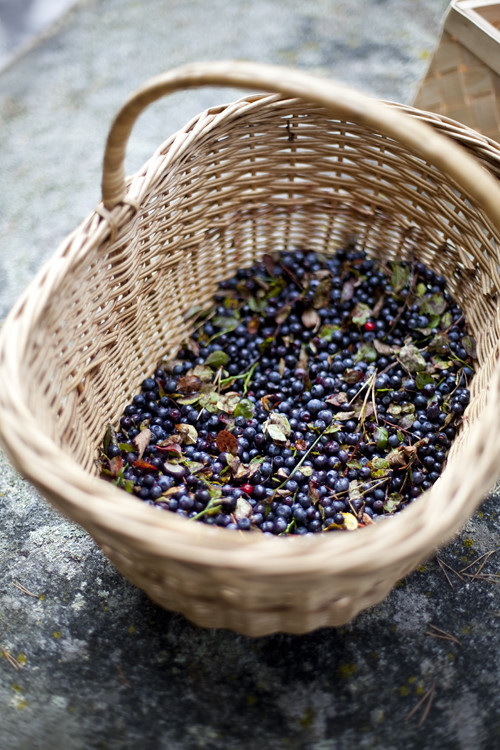
:: Wild Blueberry Picking and a Swedish Gooey Chocolate Cake
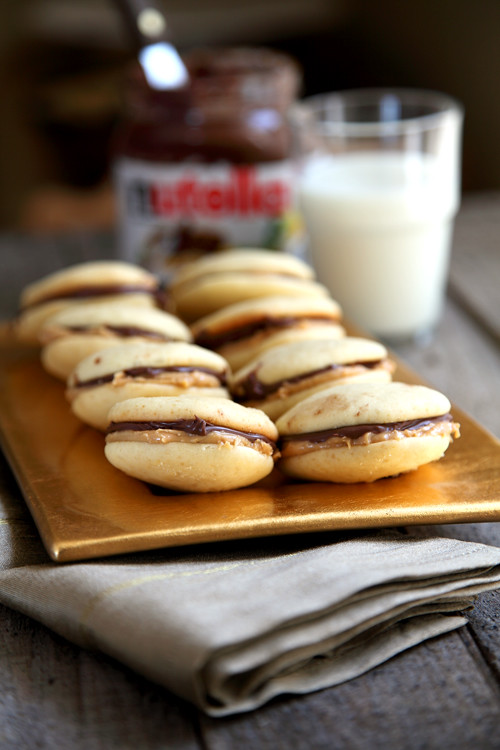
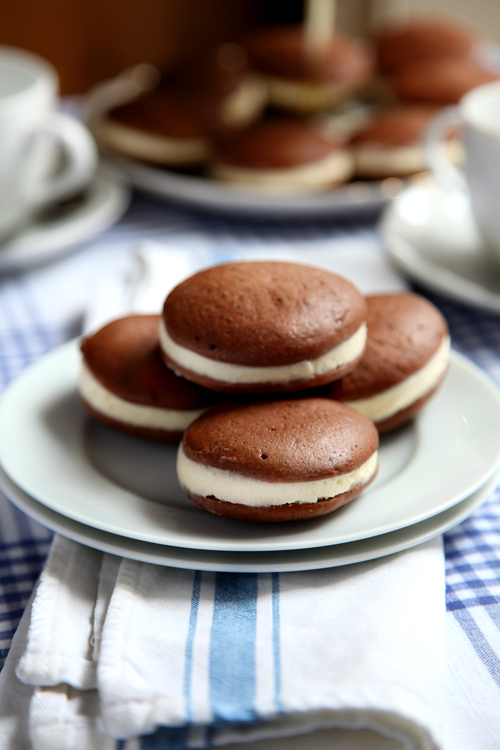
:: Go Nuts Nutella Whoopie Pies!
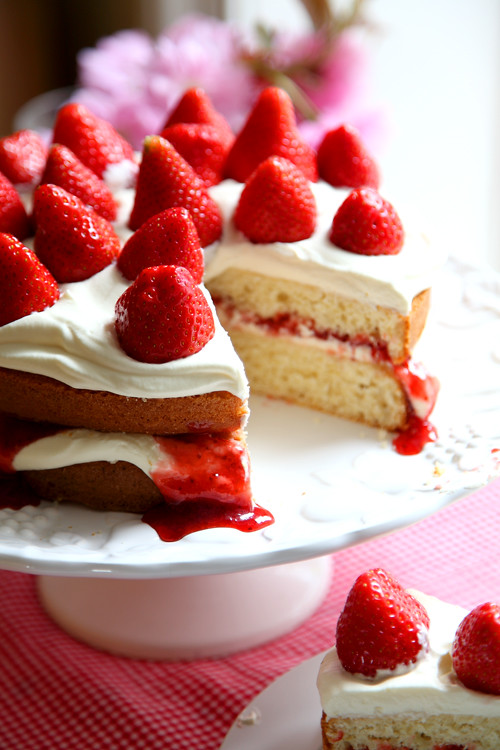
:: Mega Strawberry Summer Cake
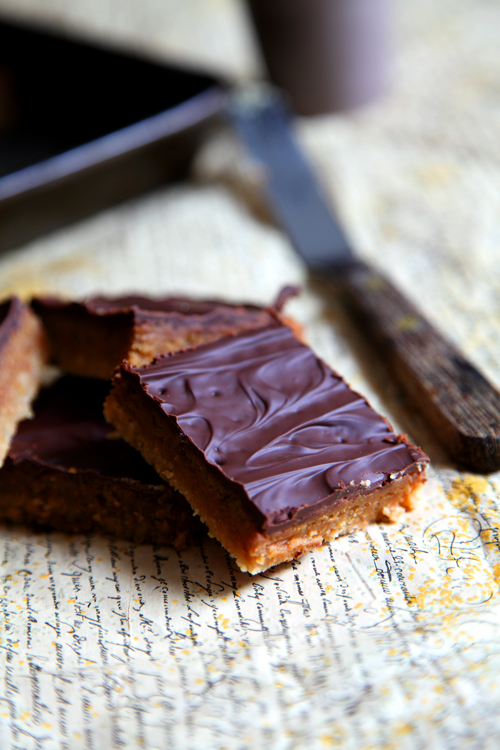
:: Bill Granger's Chocolate Caramel Slices
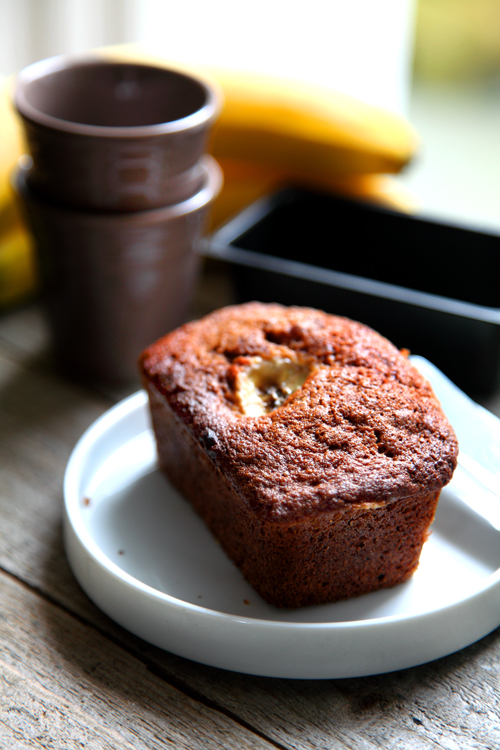
:: Auntie Ann's Banana Bread
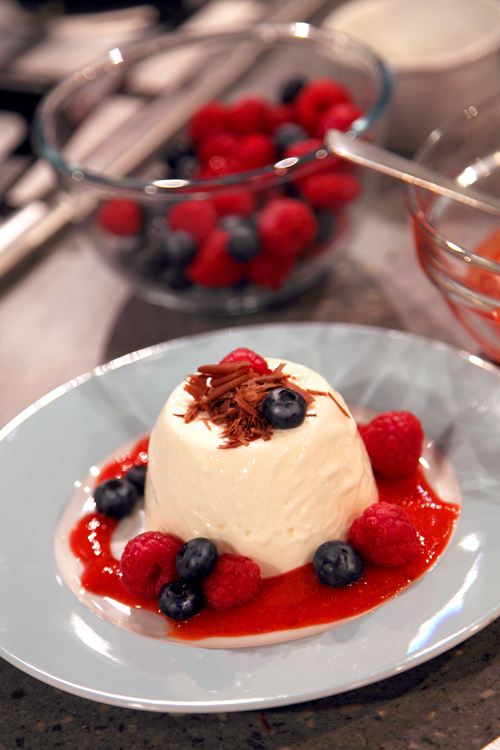
:: Simple Panna Cotta with summer fruits and dark chocolate!
:: Whoopie Pies: The New Cupcake?
:: Sophie's Chocolate & Hazelnut Chip Cookies
:: White Chocolate Ginger Cheesecake Pots

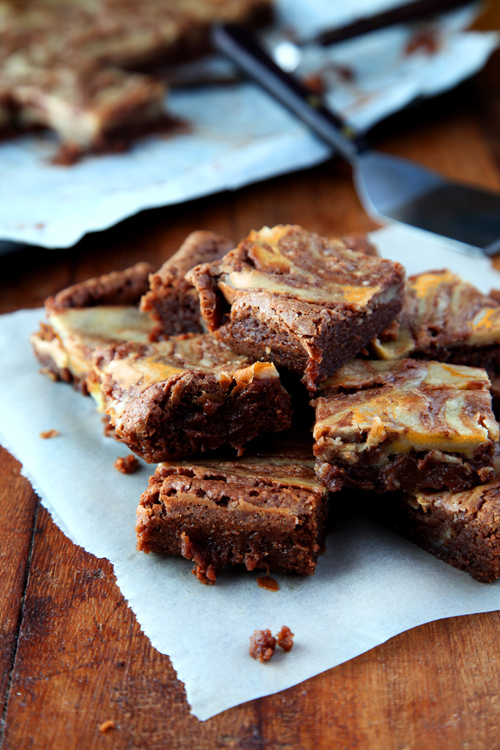
:: Chocolate Pumpkin and Pecan Brownies
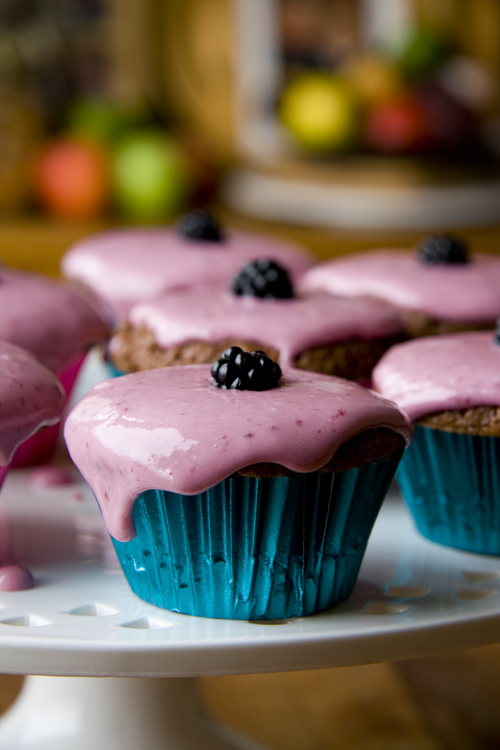
:: Blackberry Vanilla Cupcakes
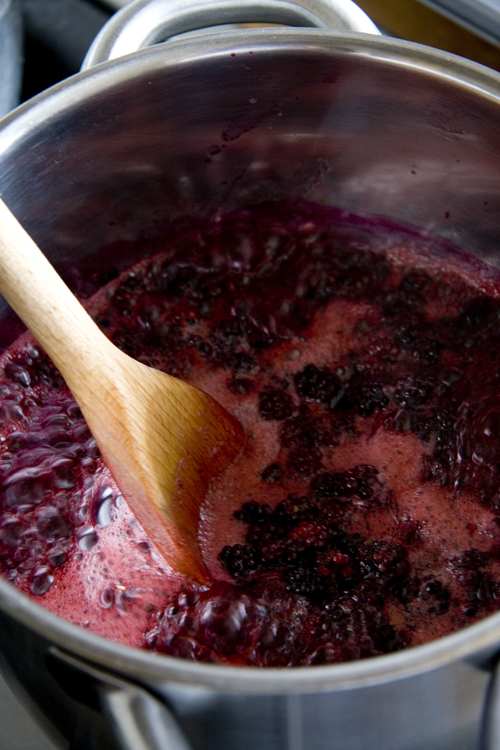
:: Blackberry Coulis
:: Chocolate Chip Cookies
:: Fortune Cookies!