We Love Cooking!
:
yeast
:: Swedish Cinnamon Buns
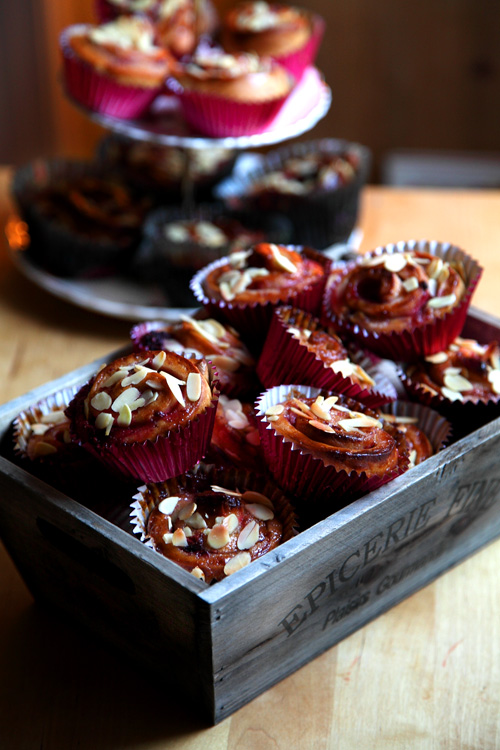
:: Pink Berry and Almond Swirly Buns!
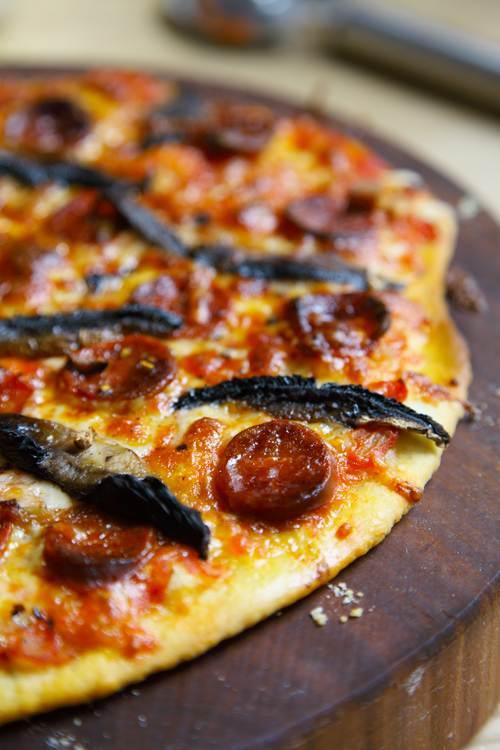
:: Chorizo and Mushroom Thin Crust Pizza
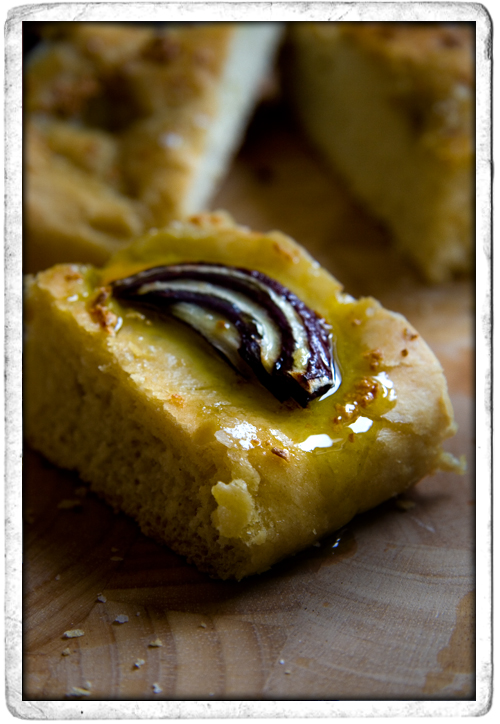
:: Red Onion and Garlic Focaccia
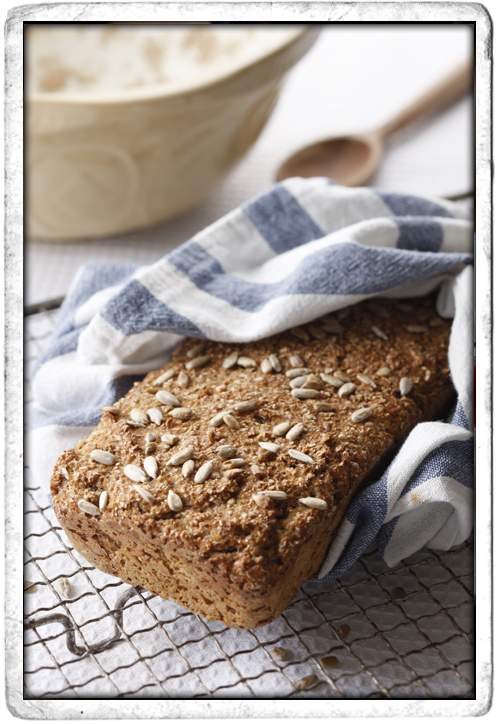
:: Irish Brown Yeast Bread
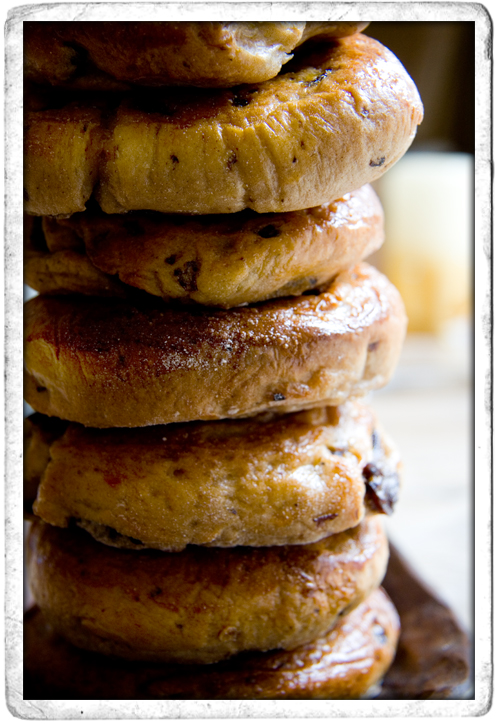
:: Cinnamon and Raisin Breakfast Bagels
Random for
food
:
NEXT >>