We Love Cooking!:
icing sugar
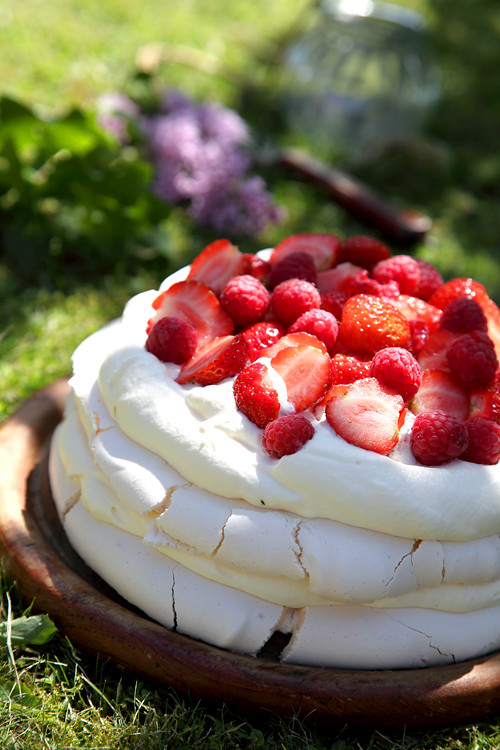
:: Summer Berry Layered Pavlova
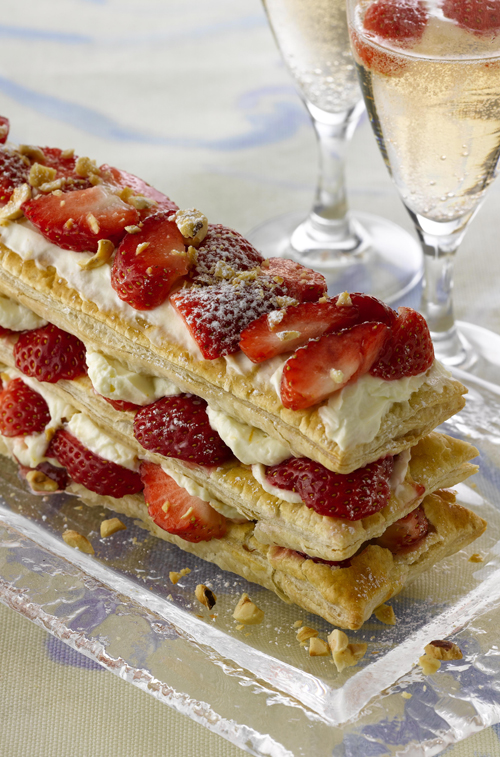
:: Quick Millefeuille with Toasted Hazelnuts, Cointreau and Strawberry Mascarpone Cream Filling
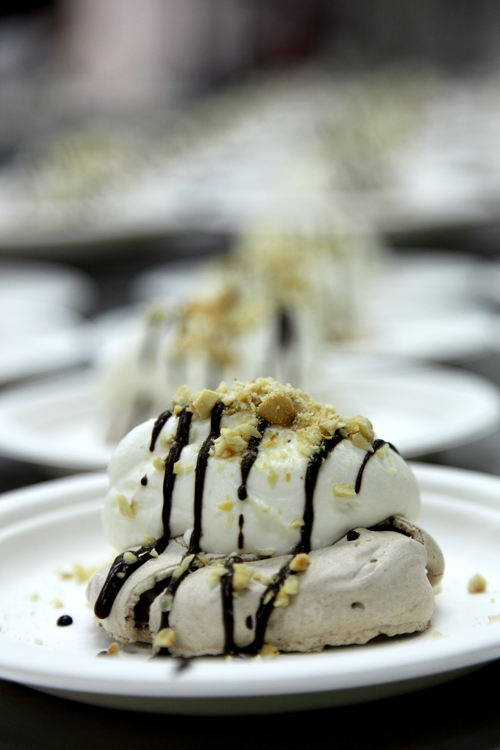
:: Meringues with Jameson Whiskey Cream, Chocolate Sauce and toasted Hazelnuts
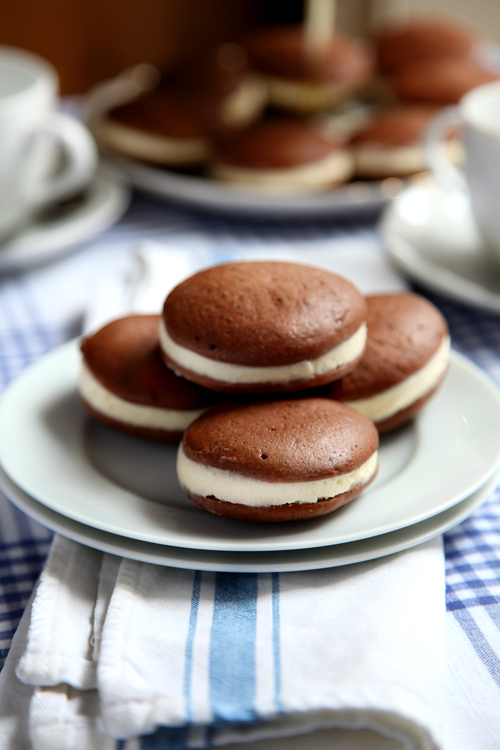
:: Whoopie Pies: The New Cupcake?
:: Naughty Chocolate Fudge Cake: Happy Birthday!

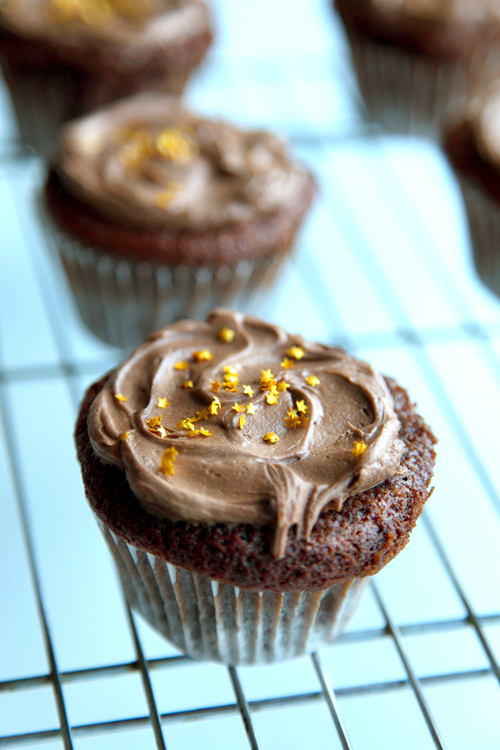
:: Chocolate Fudge Cupcakes and The Highs and Lows Of The Music Biz!
:: White Chocolate Ginger Cheesecake Pots

:: Leila Lindholm's Butterscotch Pecan Pie
:: Leila Lindholm's Peanut Butter Cupcakes
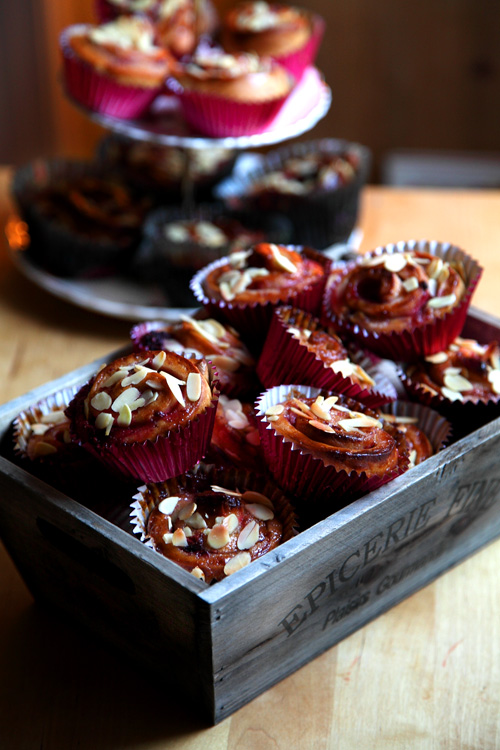
:: Pink Berry and Almond Swirly Buns!