We Love Cooking!:
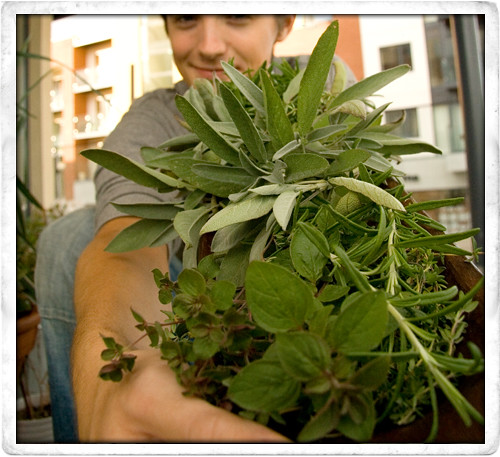
herbs
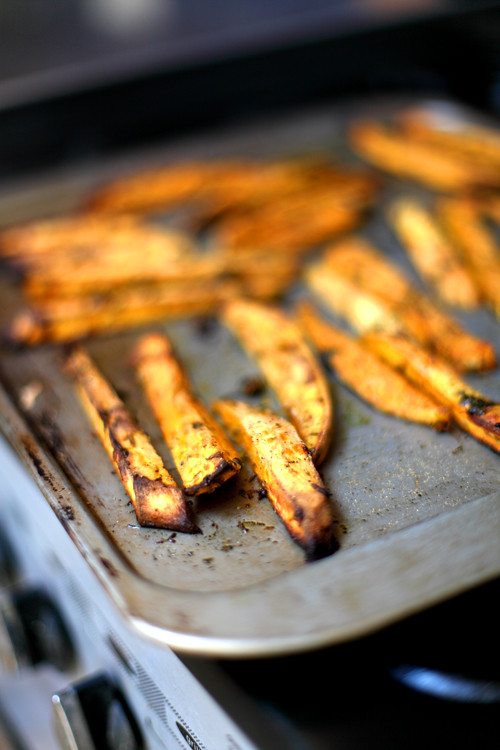
:: Herby Sweet Potato Chips
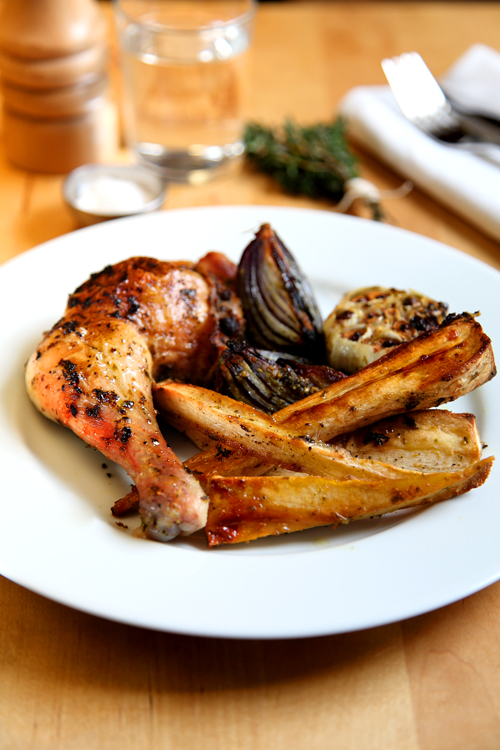
:: Herby Roast Chicken and Honey and Thyme Parsnips
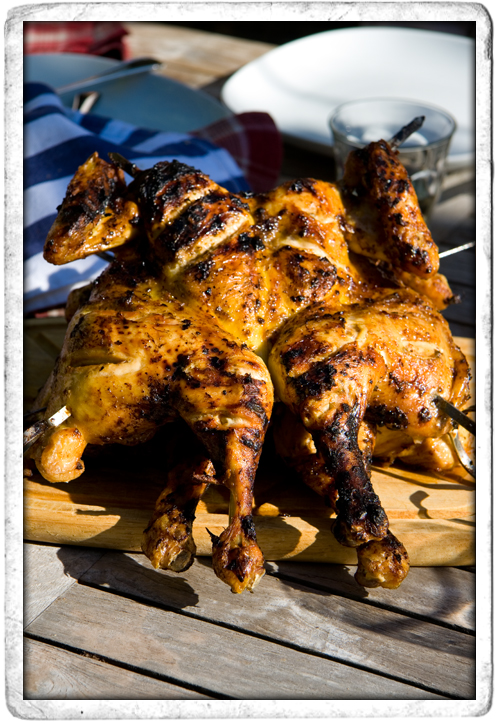
:: BBQ Cajun Spatchcock Chicken
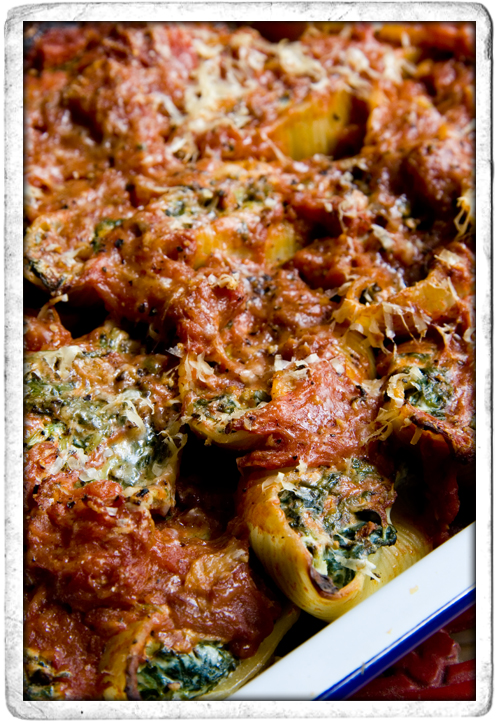
:: Spinach and Riccotta Stuffed Pasta Shells
:: Bulgarwheat Chicken Rocket and Parsley Salad
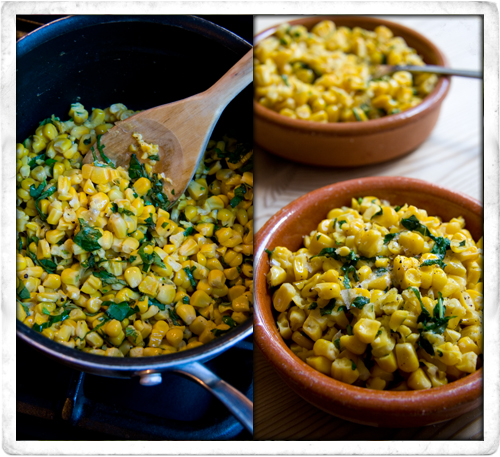
:: Basil and Sweetcorn
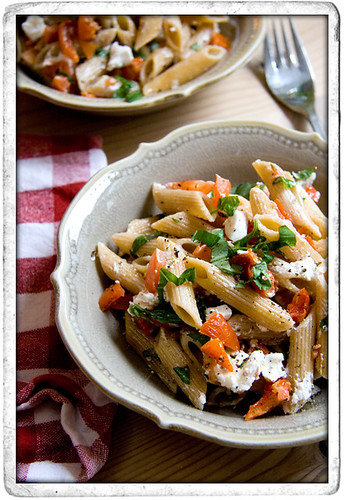
:: Sundried Tomato, Basil and Goats Cheese Pasta
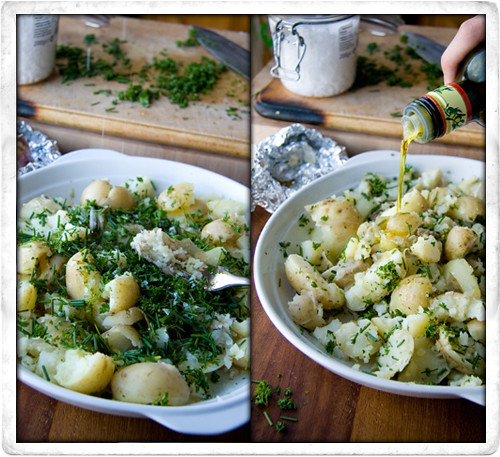
:: Fork Crushed Herb and Roast Garlic Potatoes
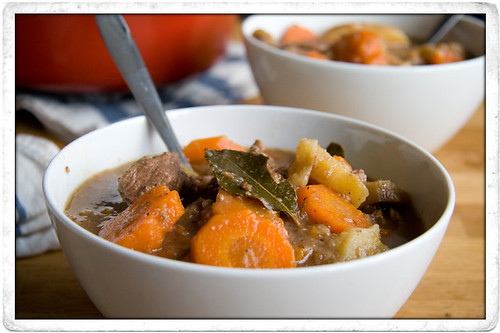
:: Good Mood Food Irish Stew
:: Home Dried Herbs: A Few Quick Tips!
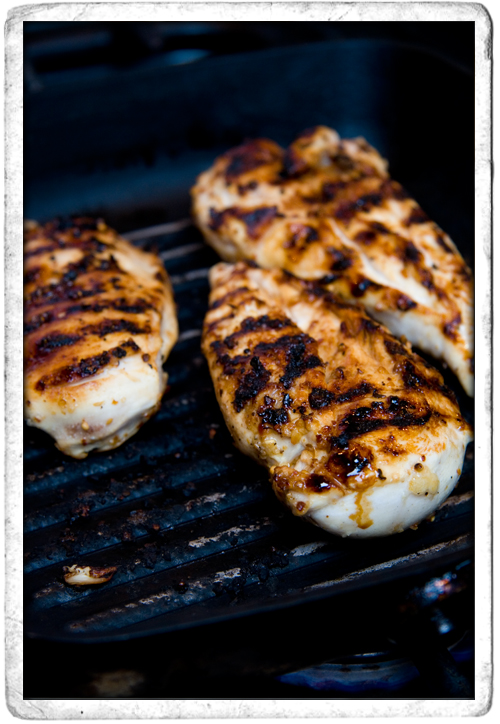
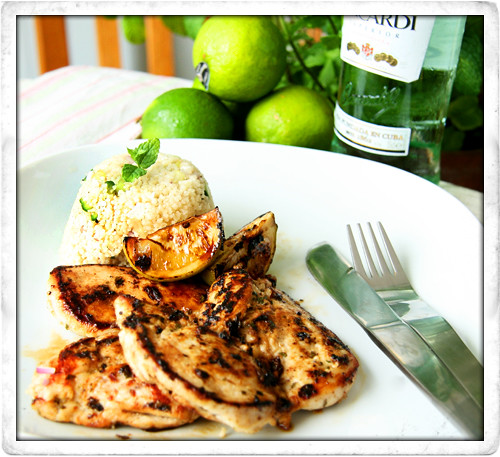
:: MOHITO LIME AND MINT CHICKEN!
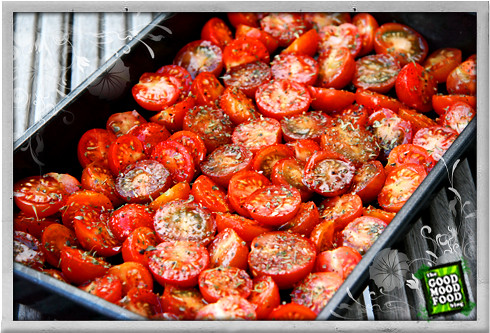
:: Basil Pesto and Roasted Balsamic Cherry Tomatoes
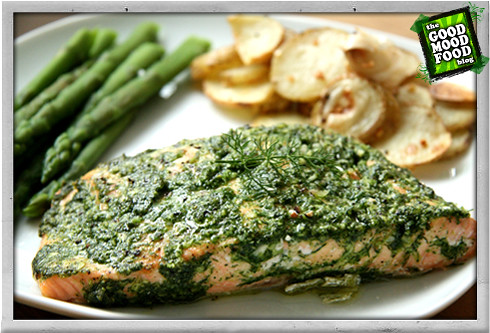
:: BAKED DILL AND GARLIC SALMON
:: NIGHT OF THE LIVING DEAD... HERBS


