We Love Cooking! [Search results for herbs]
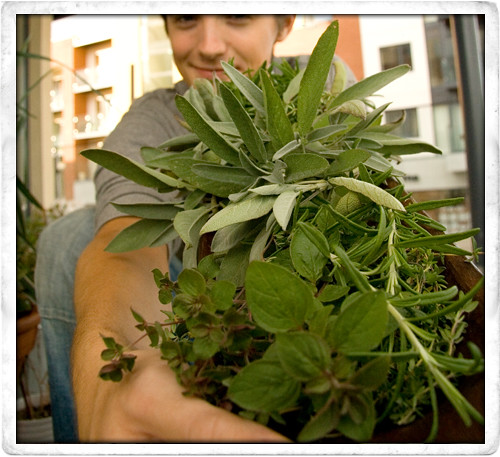
:: Home Dried Herbs: A Few Quick Tips!
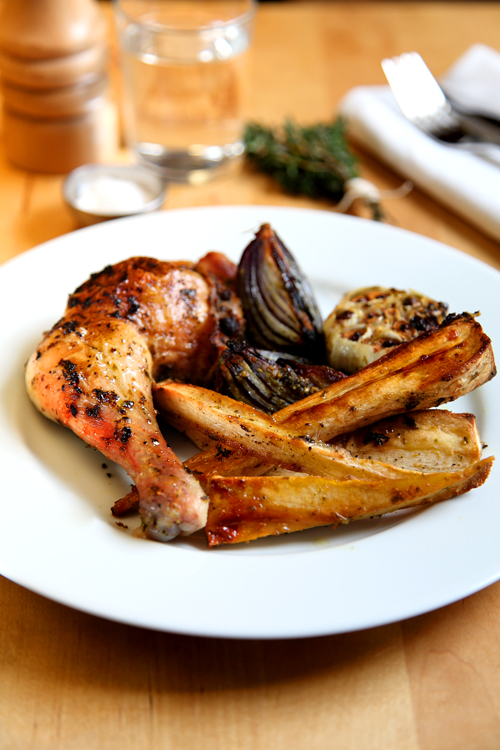
:: Herby Roast Chicken and Honey and Thyme Parsnips
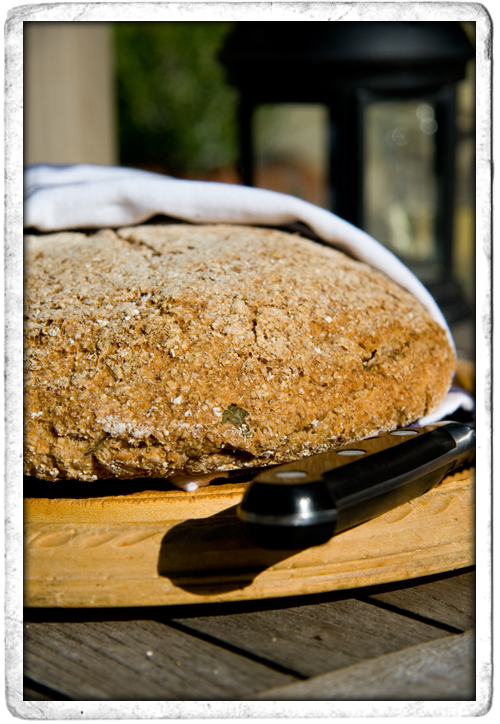
:: Sofie’s Rocket Olive and Feta Cheese Bread
And Now For The Science Bit!

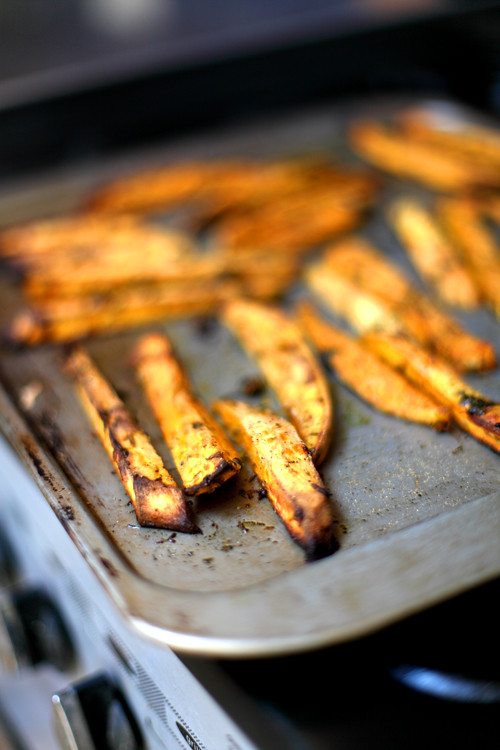
:: Herby Sweet Potato Chips
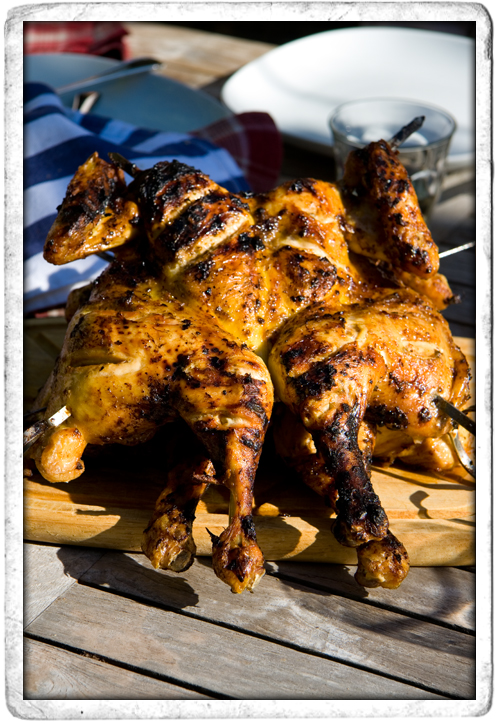
:: BBQ Cajun Spatchcock Chicken
:: RESTORATIVE CHICKEN SOUP! (Not just for the soul!)
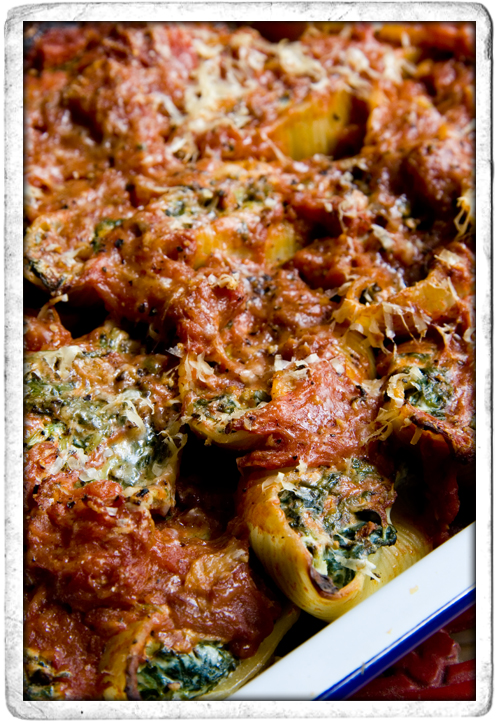
:: Spinach and Riccotta Stuffed Pasta Shells
:: NIGHT OF THE LIVING DEAD... HERBS

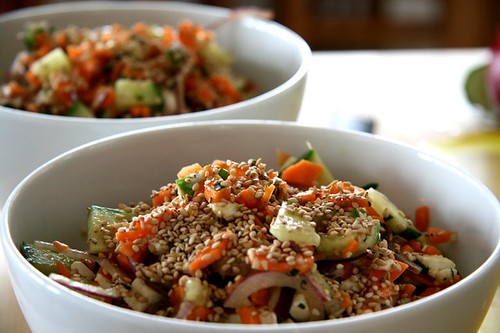
:: SESAME PASTA SALAD
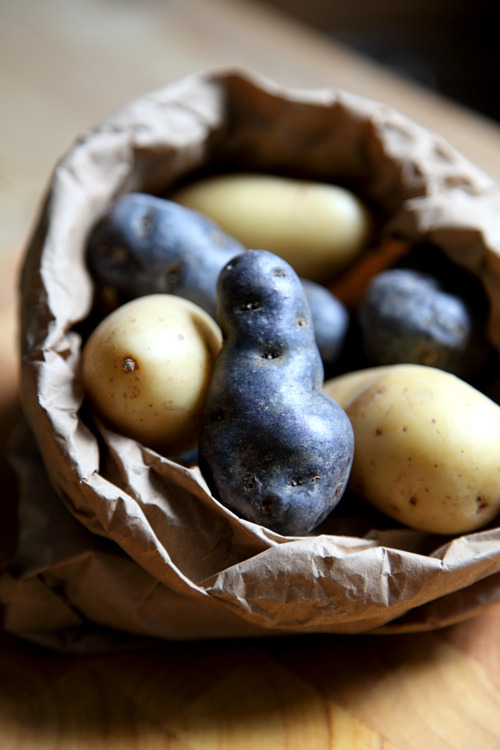
:: Zingy Purple Potato Salad!
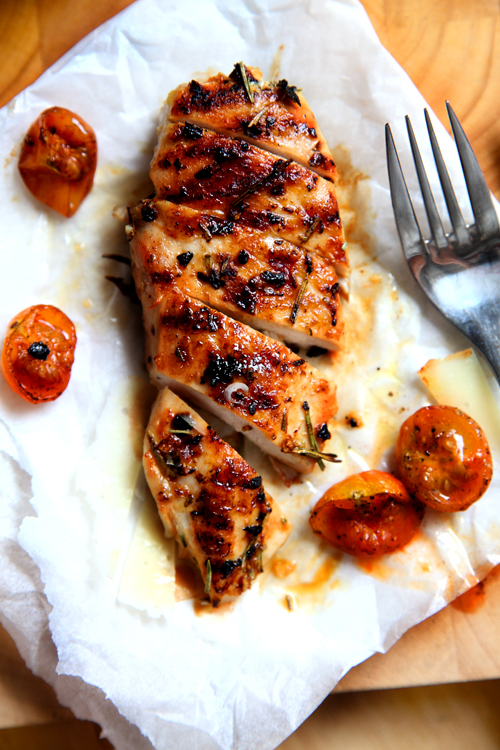
:: Garlic and Rosemary Chicken with Roast Cherry Tomato Salad
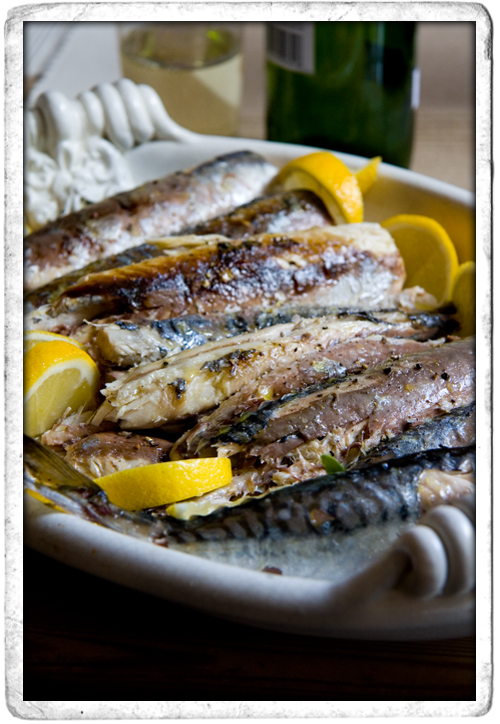
:: BBQ Mackerel with lemon and Smoked Sea Salt
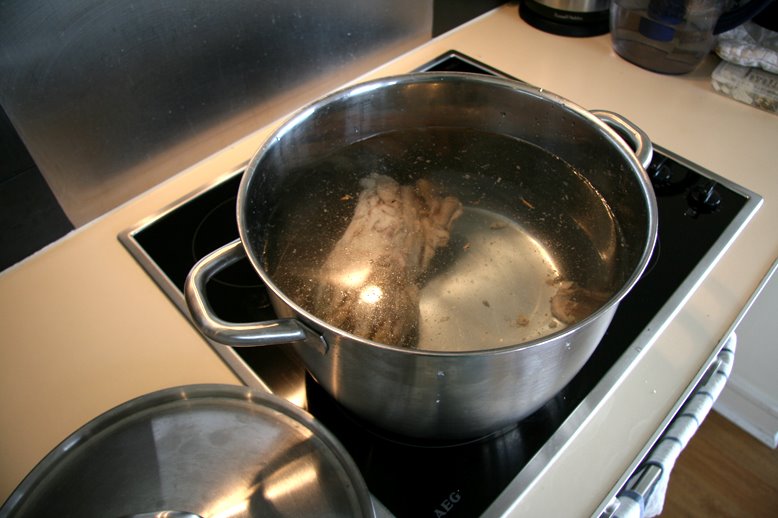
:: SIMPLE BASIC CHICKEN STOCK RECIPE
:: Basic Soup Recipe
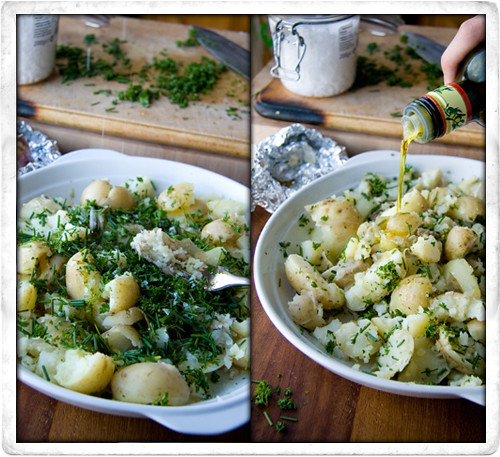
:: Fork Crushed Herb and Roast Garlic Potatoes
:: Visit To Saba Restaurant! Win A Meal Voucher!

:: Strawberry Season 1/2

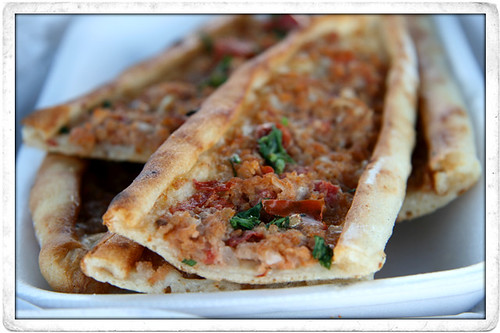
:: Turkish Pizza Recipe!
:: APARTMENT


