We Love Cooking! [Search results for entertaining]
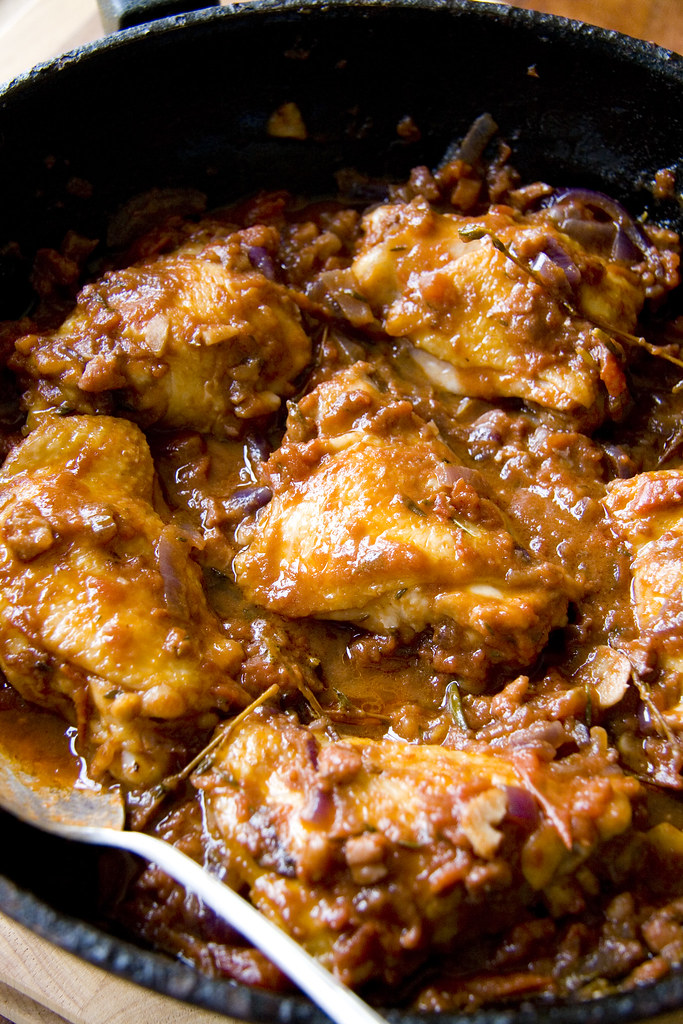
:: Chicken Thigh Supper
:: Irish Independent Cook Club!

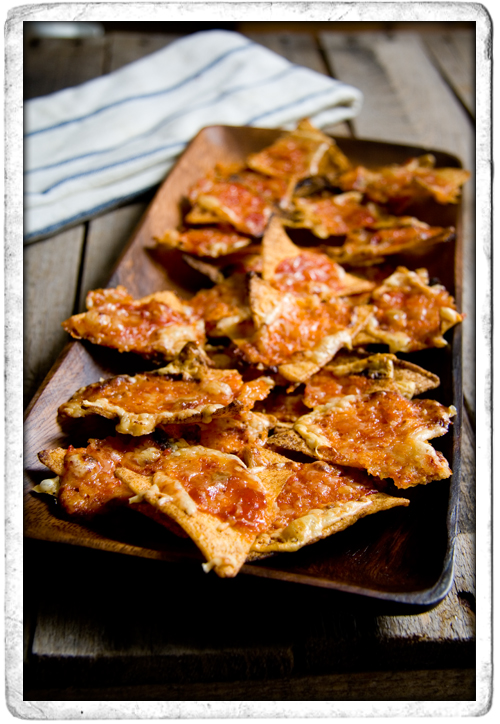
:: Tesse's Cheesy Salsa Baked Tortilla Chips
:: Bulgarwheat Chicken Rocket and Parsley Salad
:: ENTERTAINING MADE EASY!

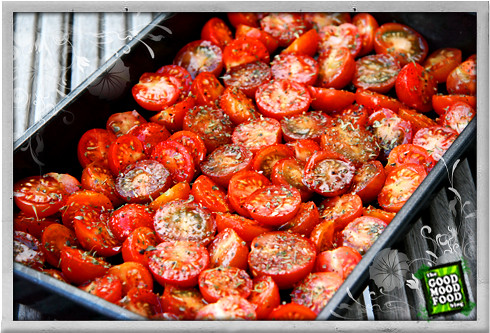
:: Basil Pesto and Roasted Balsamic Cherry Tomatoes
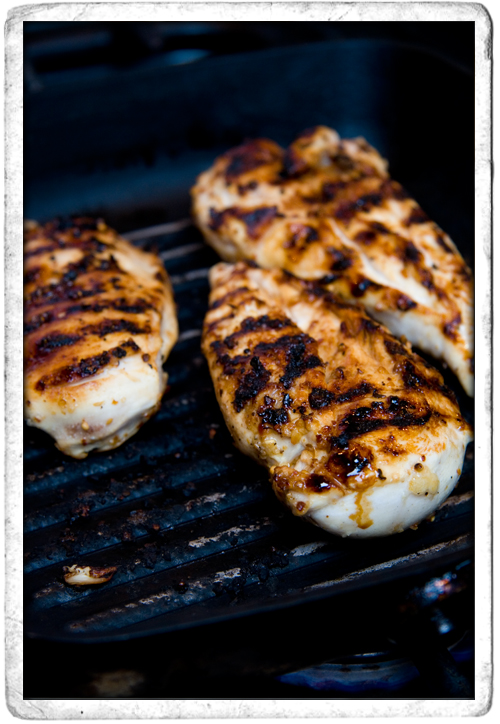
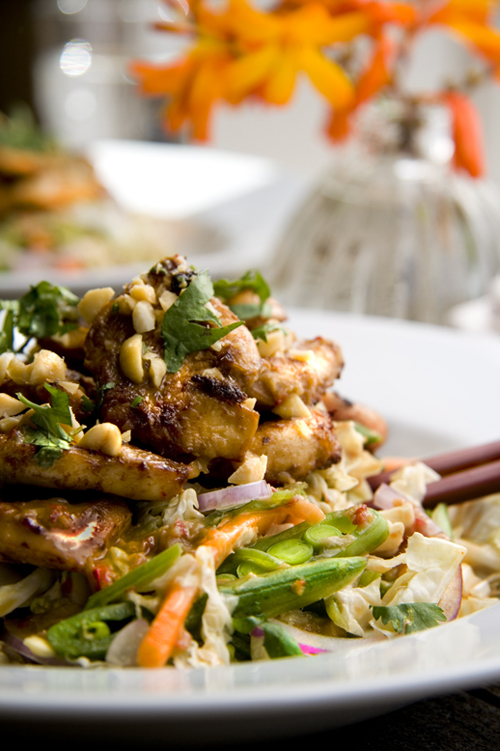
:: Irish Tatler and Asian Chicken Salad with Chilli, Ginger and Lime Dressing
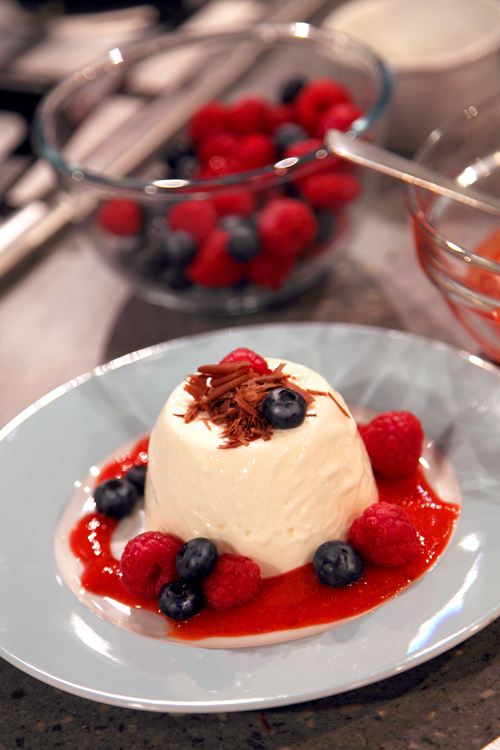
:: Simple Panna Cotta with summer fruits and dark chocolate!
:: My Christmas Kitchen Wishlist!

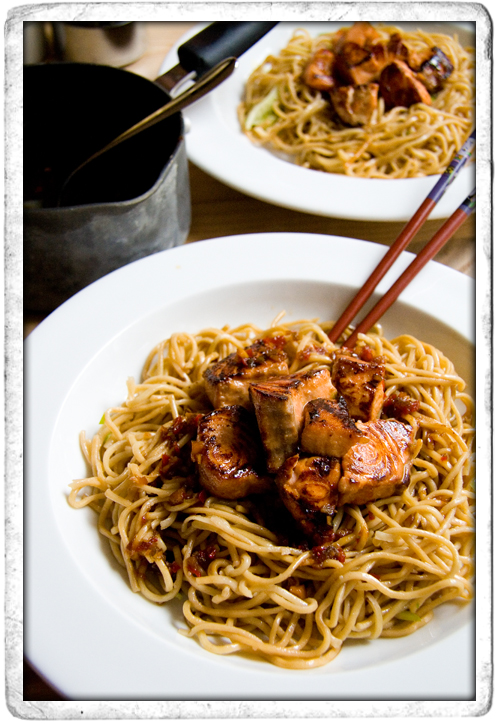
:: Teriyaki Salmon with Noodles
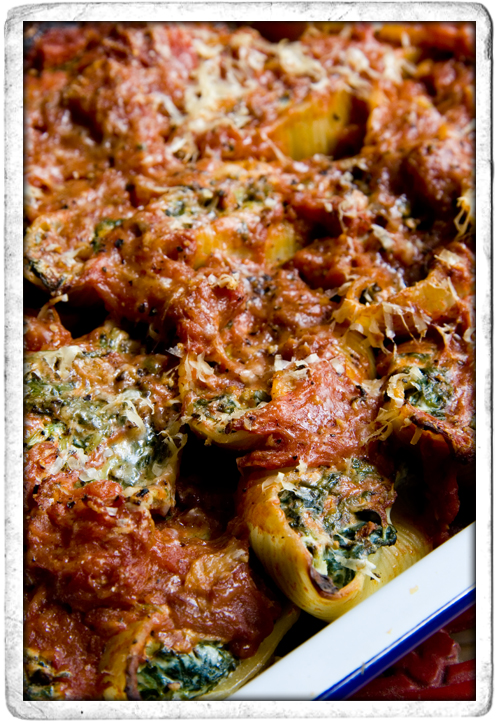
:: Spinach and Riccotta Stuffed Pasta Shells
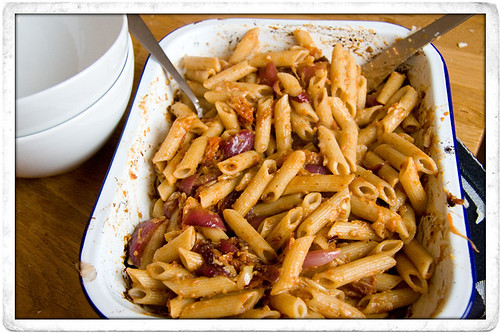
:: Mushy Roast Garlic and Cherry Tomato Pasta
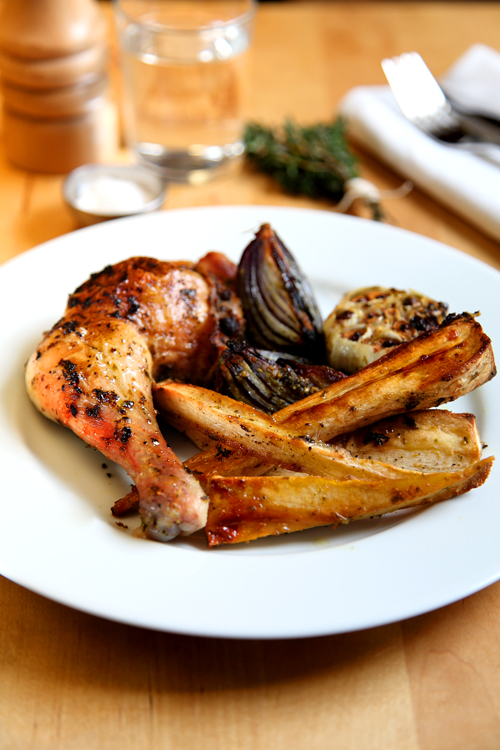
:: Herby Roast Chicken and Honey and Thyme Parsnips
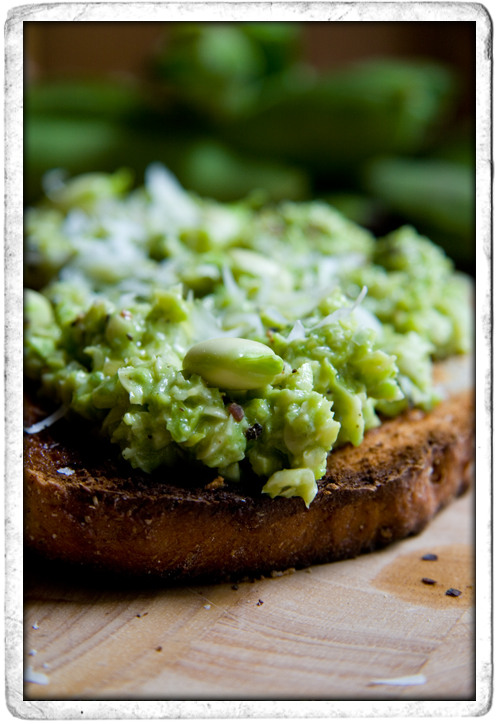
:: Broad Bean Crostini
:: It's here! The Twinnerparty Menu!

:: White Chocolate Ginger Cheesecake Pots


