We Love Cooking! [Search results for rice]
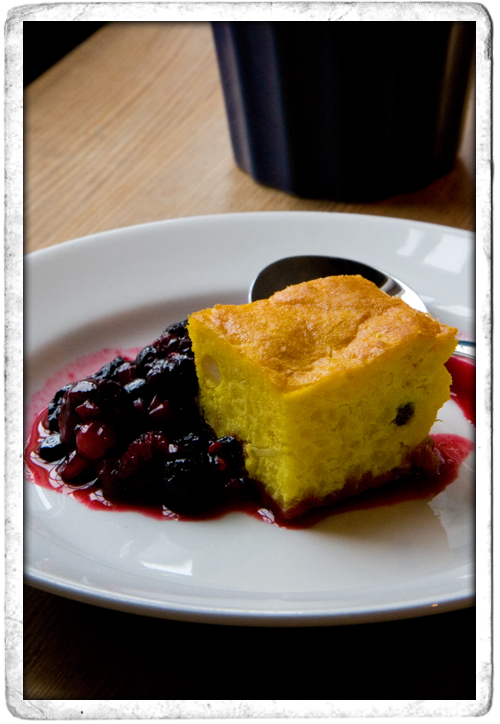
:: Saffrans Pankkakor
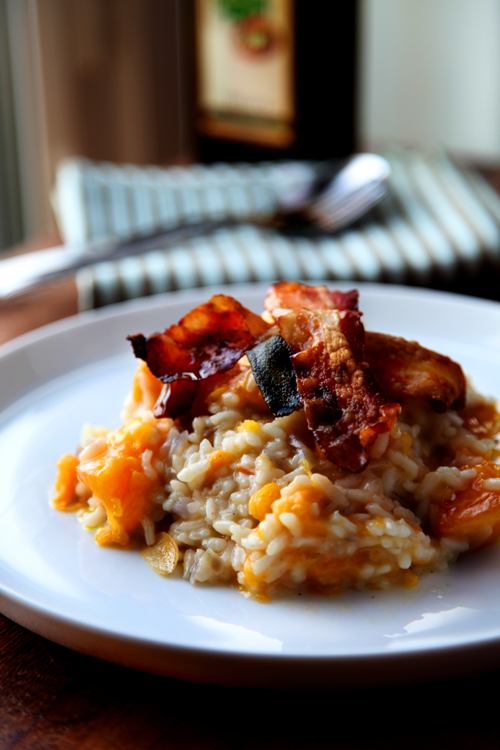
:: Pumpkin and Crispy Pancetta Risotto
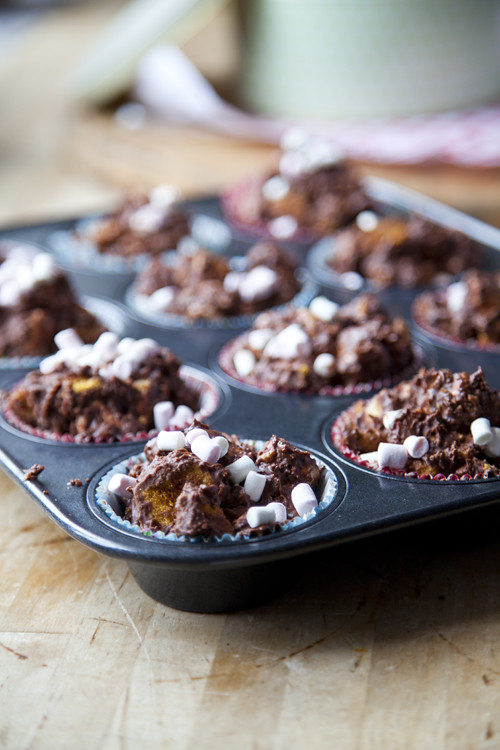
:: Crunchie Rocky Road Buns
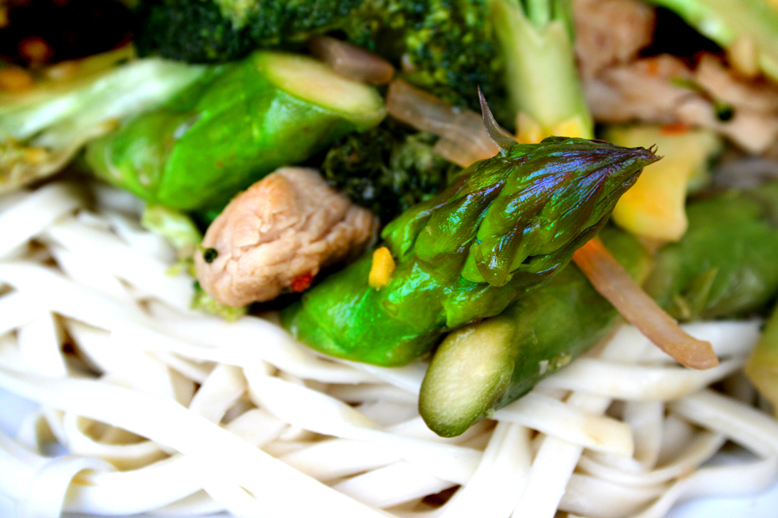
:: CHILLI CHICKEN BROCCOLLI ASAPARAGUS NOODLES
:: Sadhbh's Cookclub- Delicious Beef Pho!

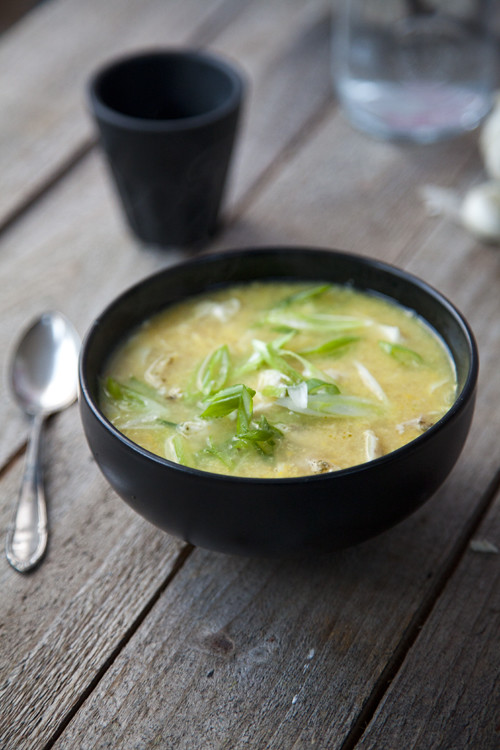
:: Stop Food Waste: Leftover Chicken & Sweetcorn Soup
::The Asian Pantry

:: CAJUN SALMON WITH ASIAN GREENS

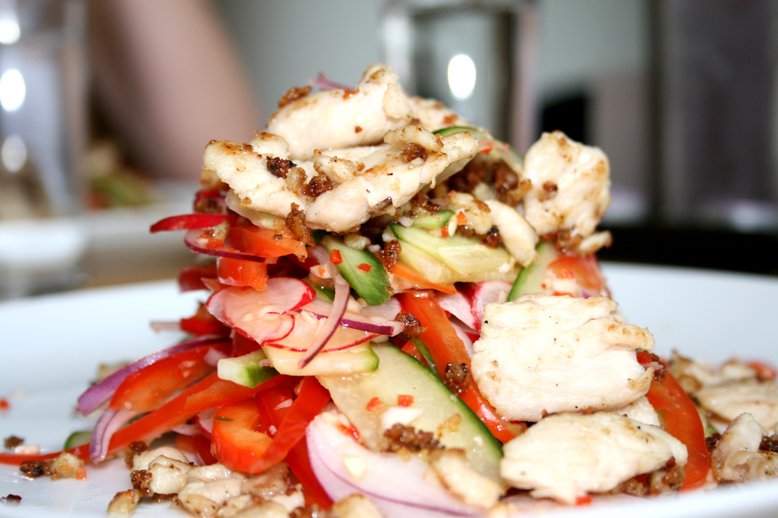
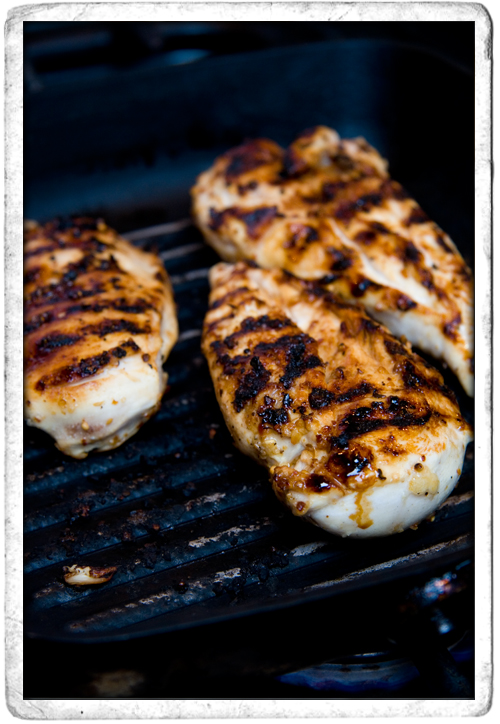
::SPICY CHICKEN AND CUCUMBER SALAD
:: Tahini Noodle Toss
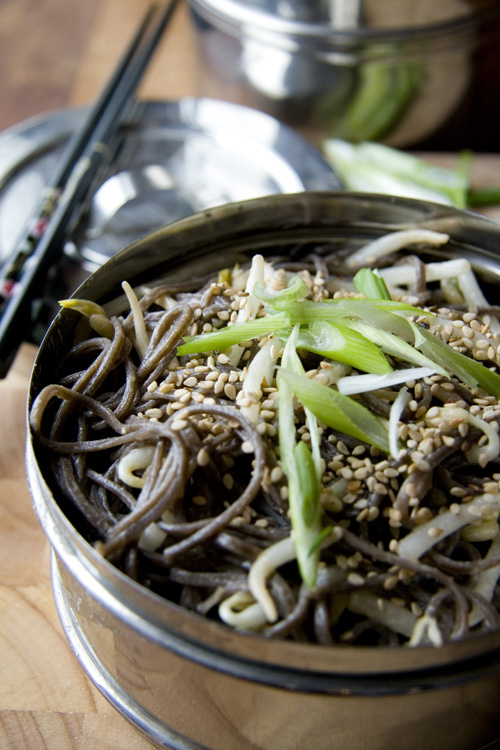
::Stir Fry Lunch

::DUCK NOODLE SALAD

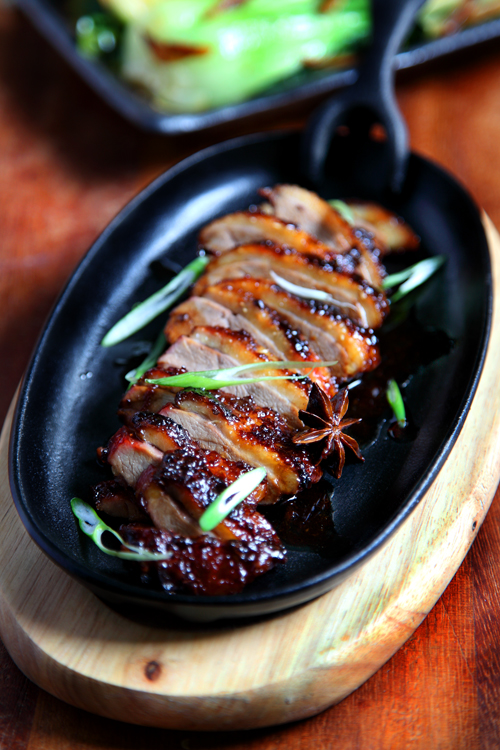
:: Sticky Star Anise Honey Duck
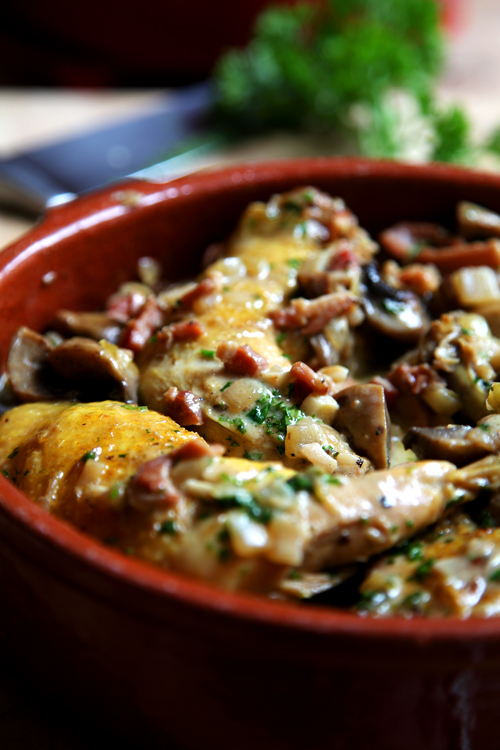
:: Coq Au Vin
:: Bulgarwheat Chicken Rocket and Parsley Salad
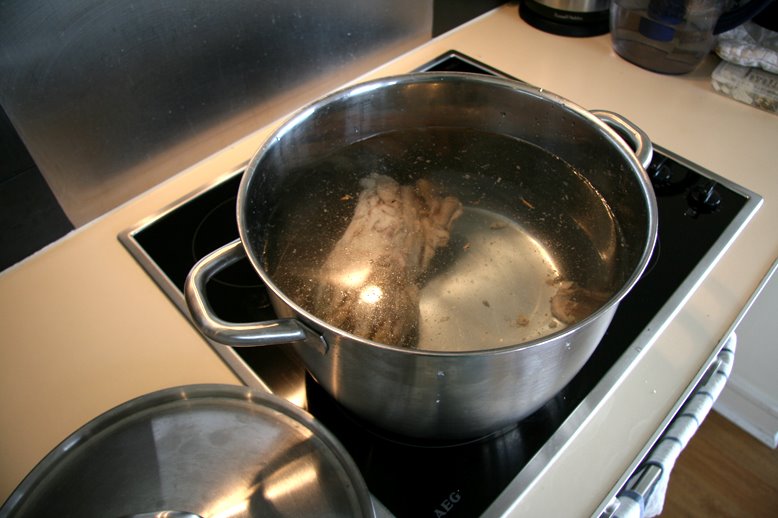
:: SIMPLE BASIC CHICKEN STOCK RECIPE
:: Mini Beef and Mushroom Pies!
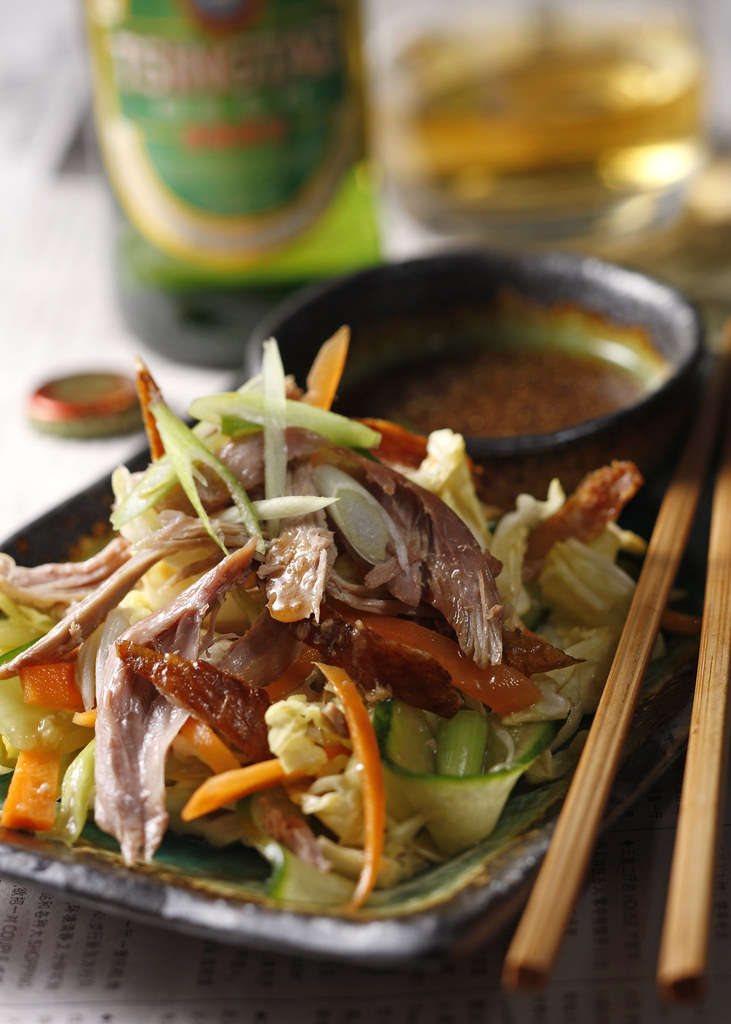
:: Open Aromatic Duck Salad
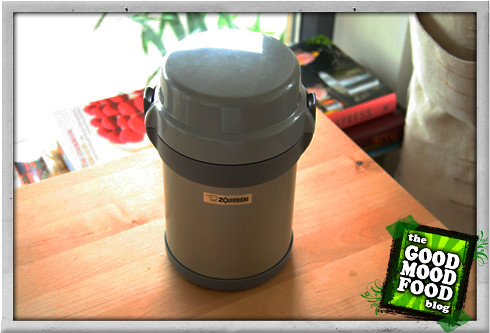
:: MR. BENTO HAS ARRIVED!
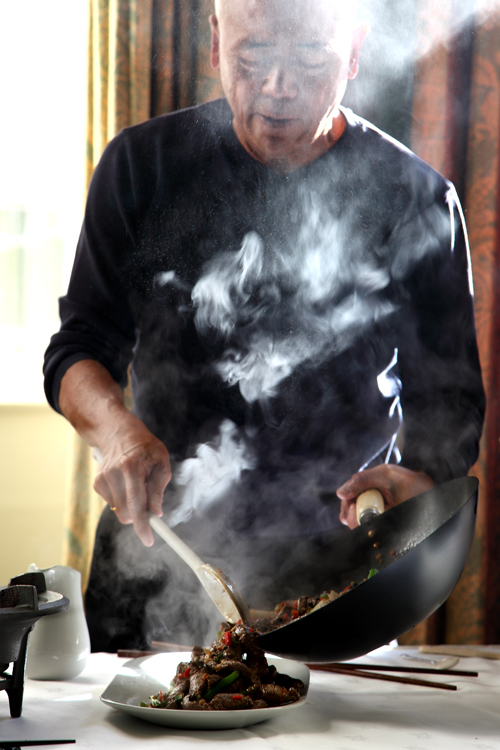
:: Ken Hom Demonstration In Dublin