We Love Cooking! [Search results for baking]
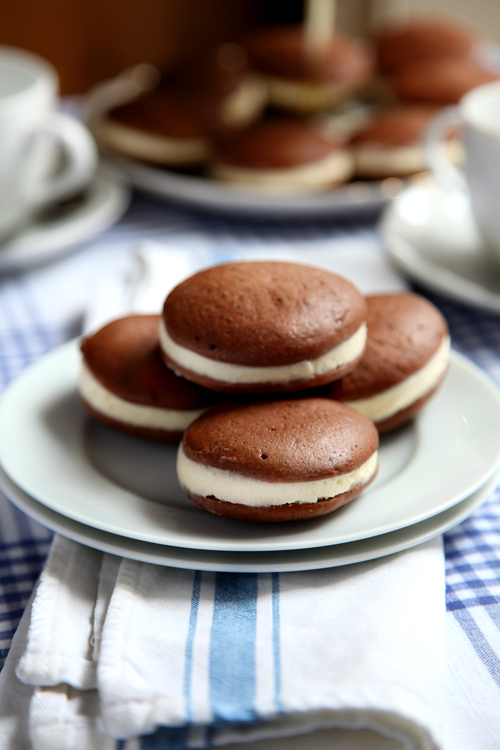
:: Whoopie Pies: The New Cupcake?
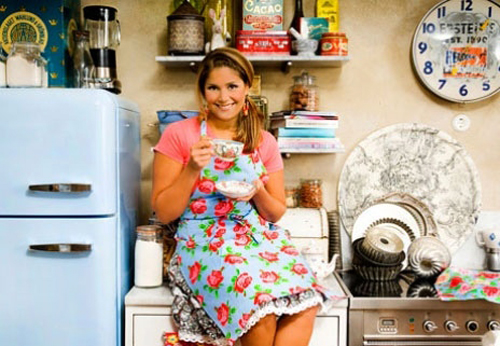
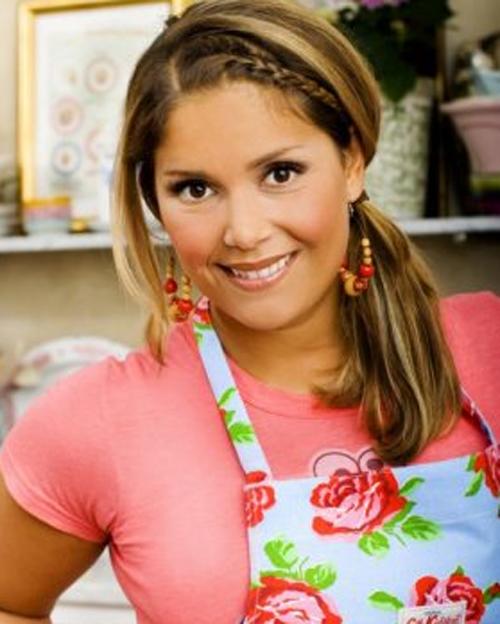
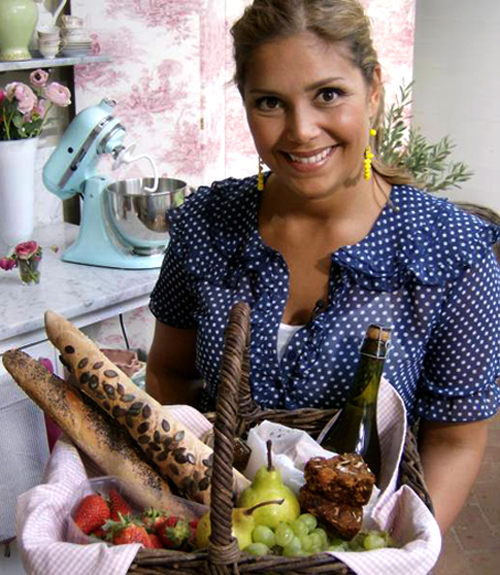
:: Interview with Leila Lindholm!
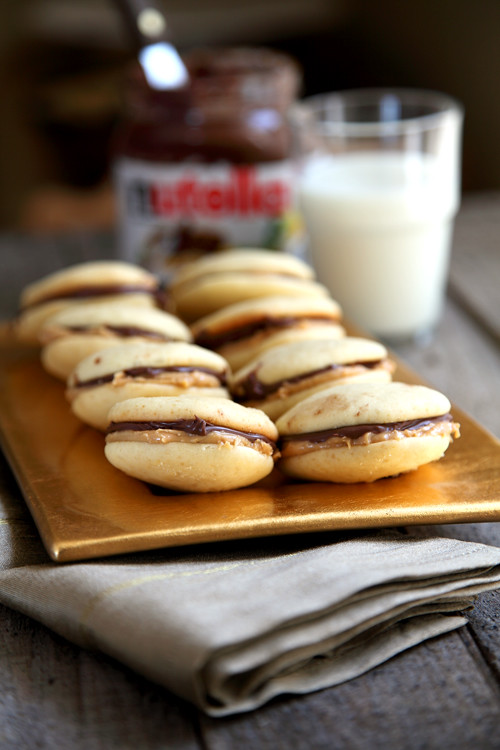
:: Go Nuts Nutella Whoopie Pies!
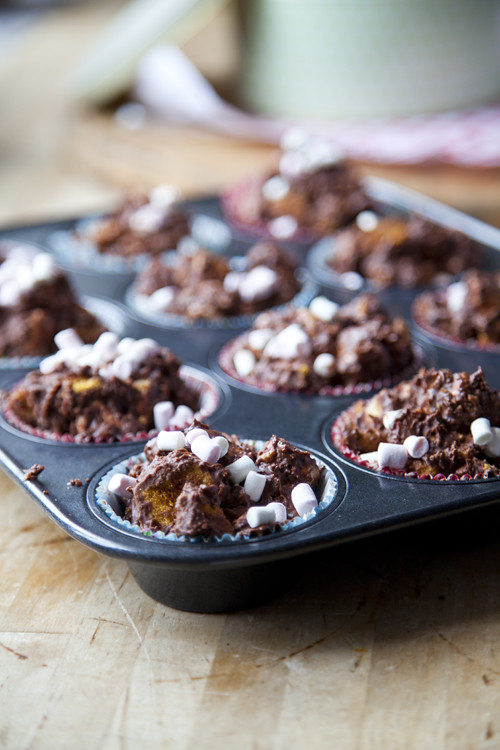
:: Crunchie Rocky Road Buns
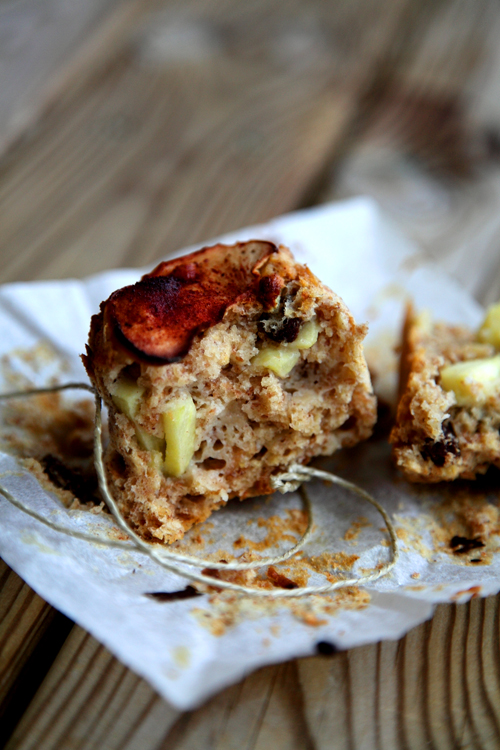
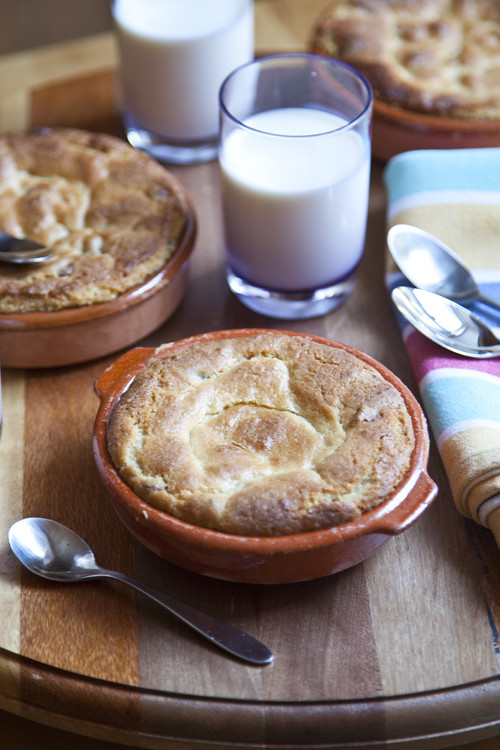
:: Big Boy Apple Breakfast Muffins
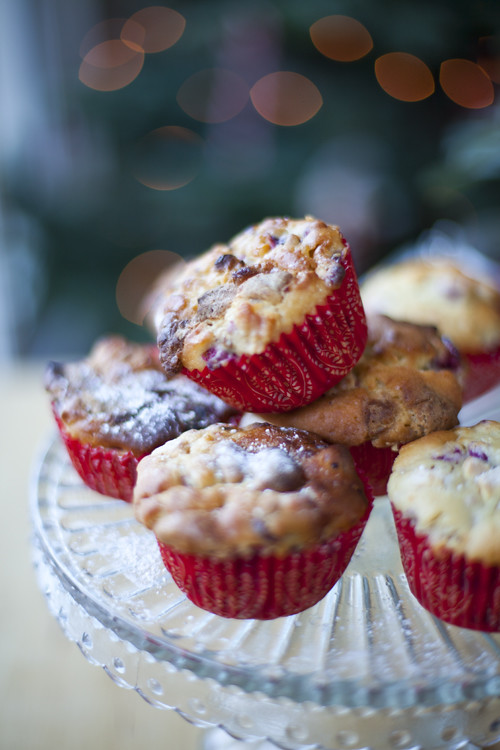
:: Cranberry and White Chocolate Muffins
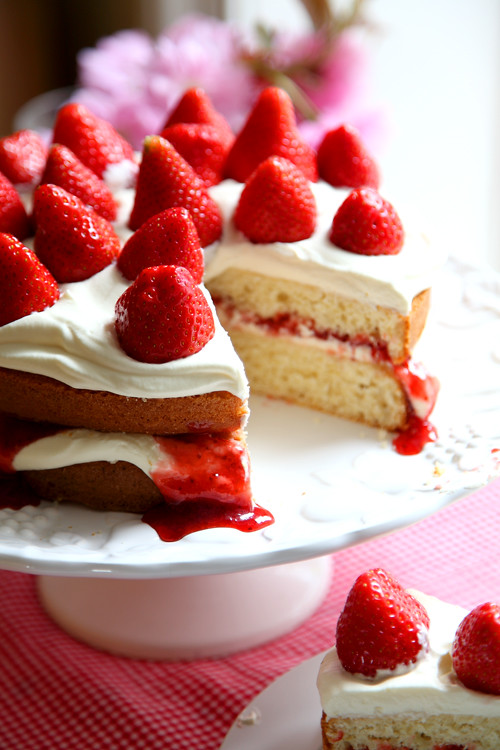
:: Mega Strawberry Summer Cake
:: Leila Lindholm's Baguettes
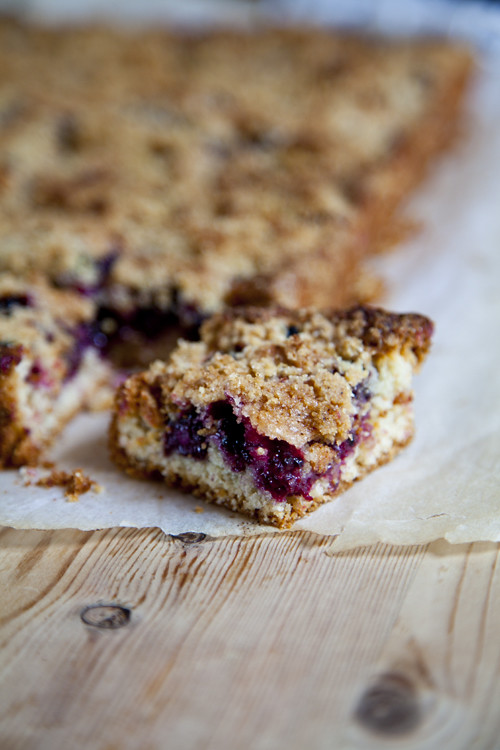
:: Blackberry Crumb Slices
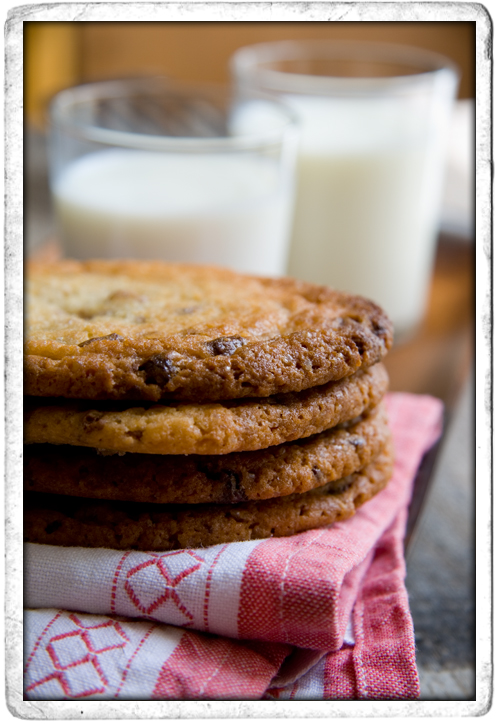
:: Chocolate Chip Cookies
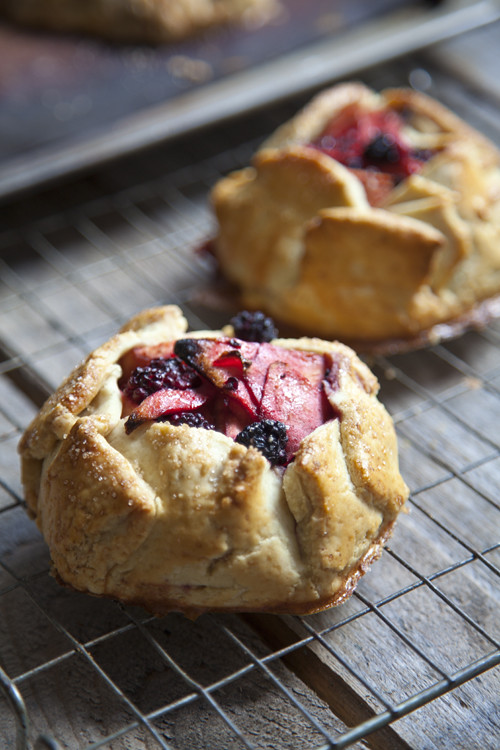
:: Rustic Apple and Blackberry Galettes
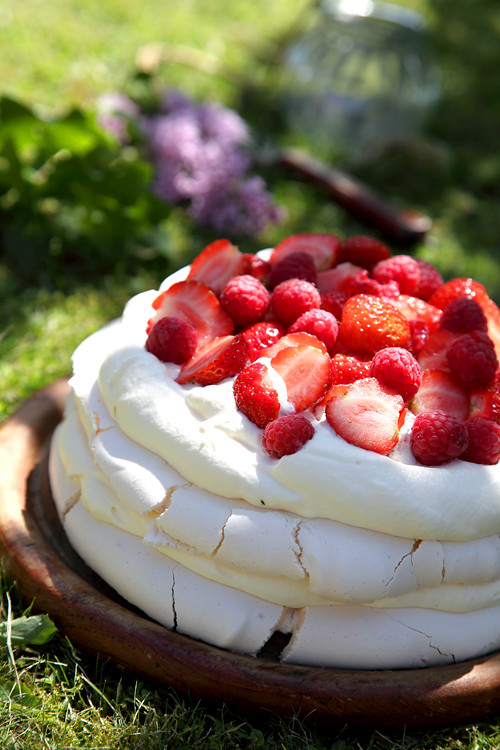
:: Summer Berry Layered Pavlova
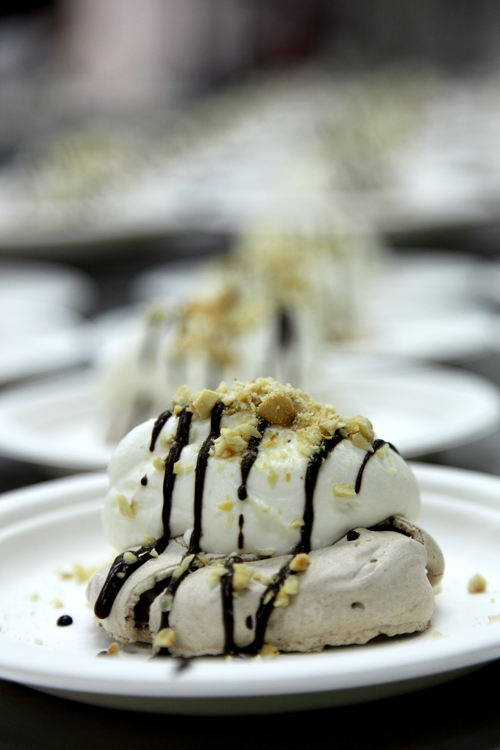
:: Meringues with Jameson Whiskey Cream, Chocolate Sauce and toasted Hazelnuts
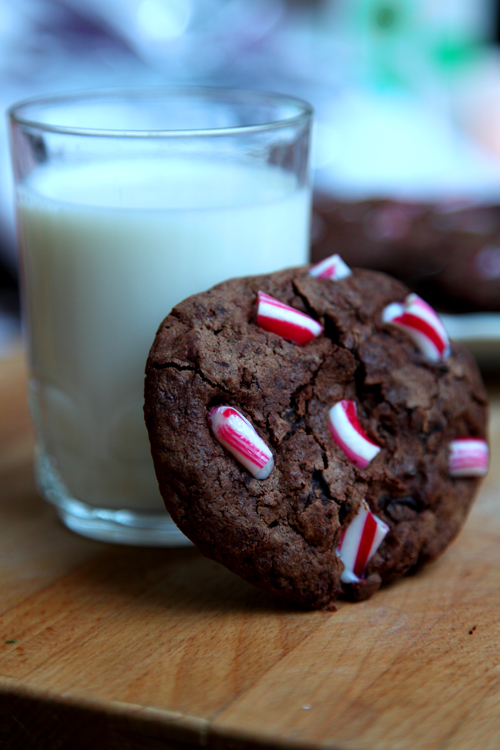
:: Chocolate Candy Cane Cookies
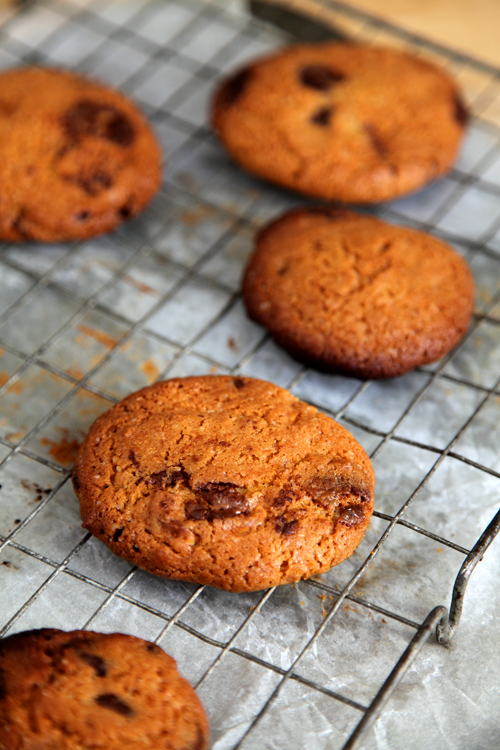
:: Sophie's Chocolate & Hazelnut Chip Cookies
:: Deep Dish Chocolate Chip Cookies!
:: Fortune Cookies!

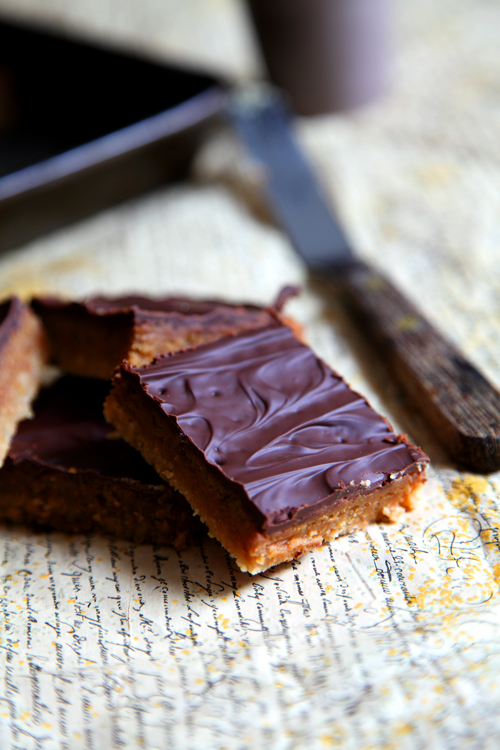
:: Bill Granger's Chocolate Caramel Slices
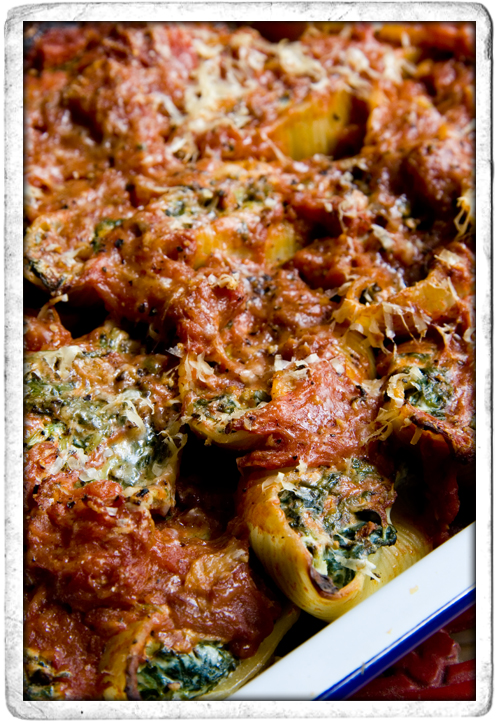
:: Spinach and Riccotta Stuffed Pasta Shells
:: Leila Lindholm's Peanut Butter Cupcakes