We Love Cooking!
:
egg whites
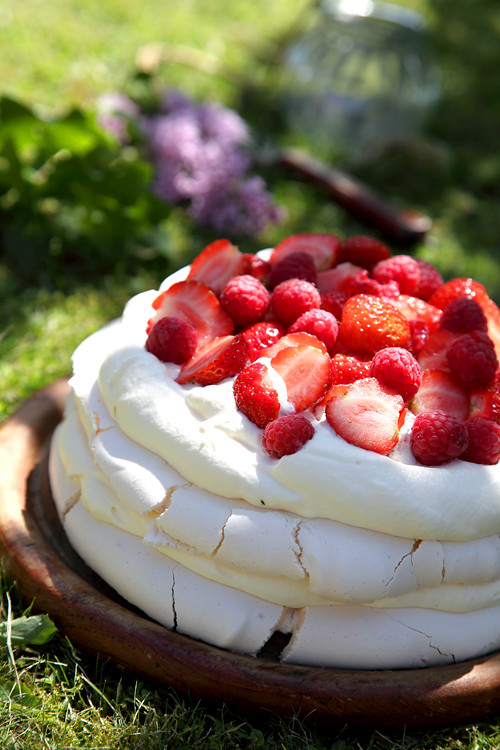
:: Summer Berry Layered Pavlova
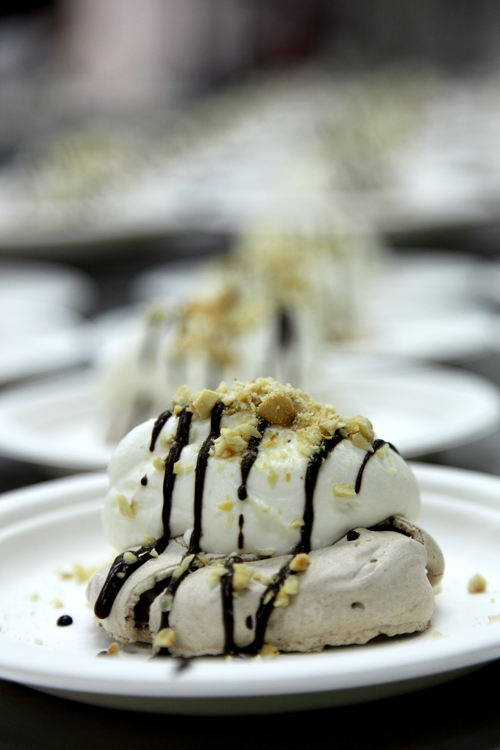
:: Meringues with Jameson Whiskey Cream, Chocolate Sauce and toasted Hazelnuts
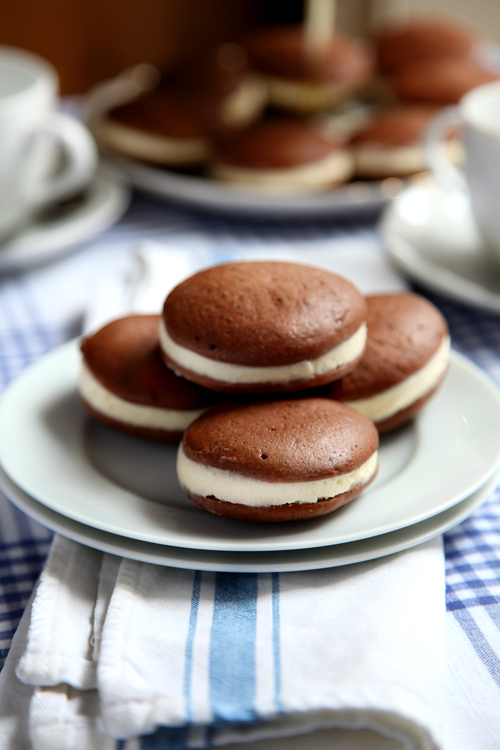
:: Whoopie Pies: The New Cupcake?
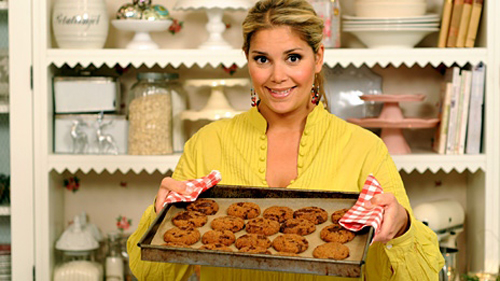
:: Leila Lindholm's High Hat Cupcakes
Random for
food
:
NEXT >>