We Love Cooking! [Search results for fridge]
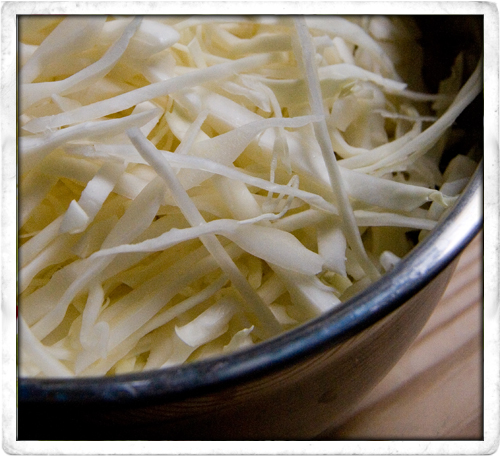
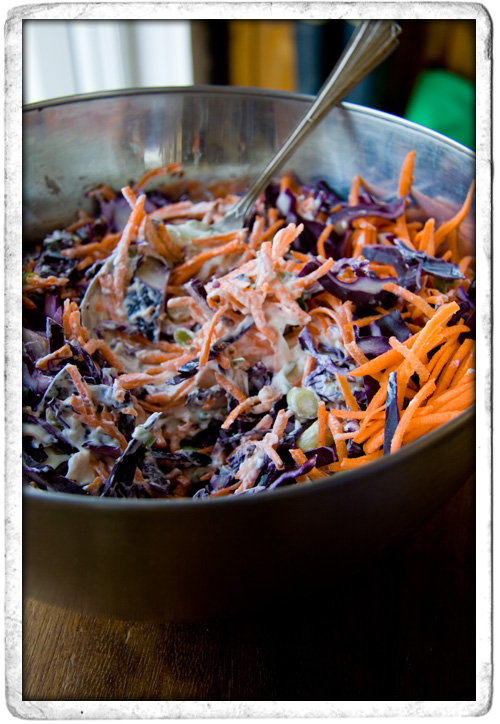
:: Oregano Lamb Chops and Carrot and Cabbage Salad

:: Leila Lindholm's High Hat Cupcakes

:: Leila Lindholm's Butterscotch Pecan Pie

:: Red Cabbage and Carrot Coleslaw
:: White Chocolate Cheesecake with Summer Fruit

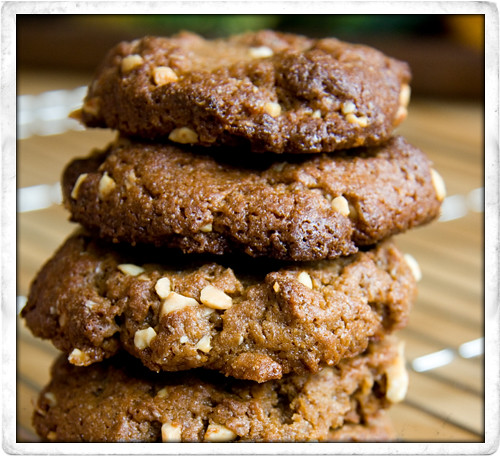
:: Yummy Wholewheat Peanut Butter Cookies!
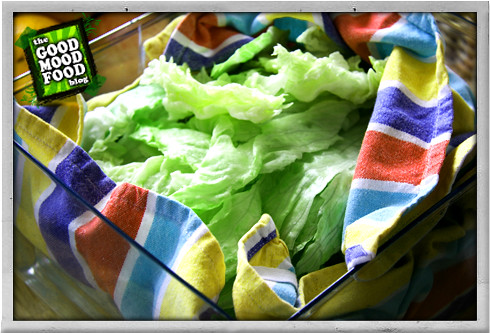
:: Easy Salad Preperation
:: Irish Tatler and Asian Chicken Salad with Chilli, Ginger and Lime Dressing

:: Rustic Pear Tart with Apricot Brandy

:: Quick Millefeuille with Toasted Hazelnuts, Cointreau and Strawberry Mascarpone Cream Filling

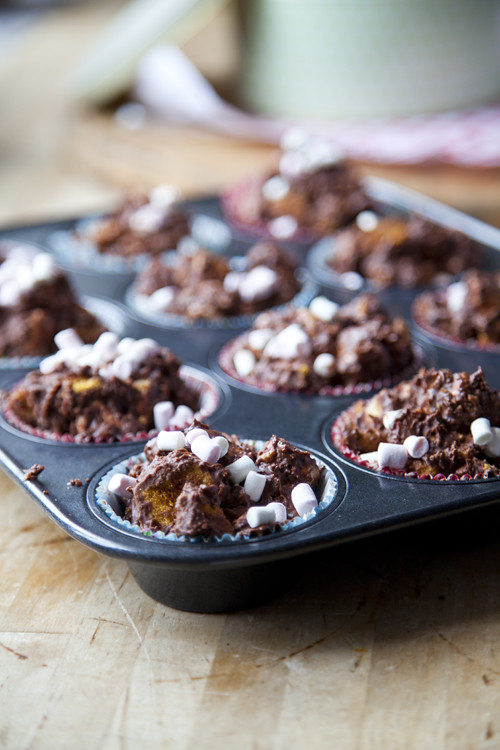
:: Crunchie Rocky Road Buns
:: Leila Lindholm's Baguettes

:: Teriyaki Salmon with Noodles

:: White Chocolate Ginger Cheesecake Pots

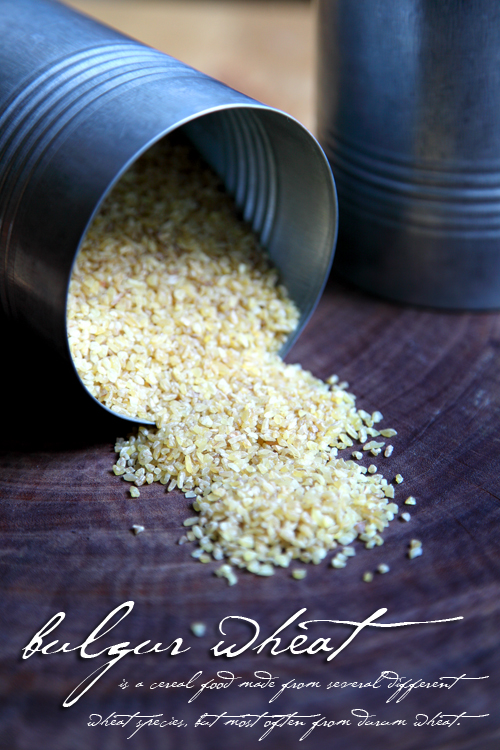
:: Preparing Bulgar Wheat In 5 Easy Steps!
:: Mini Mince Pies!

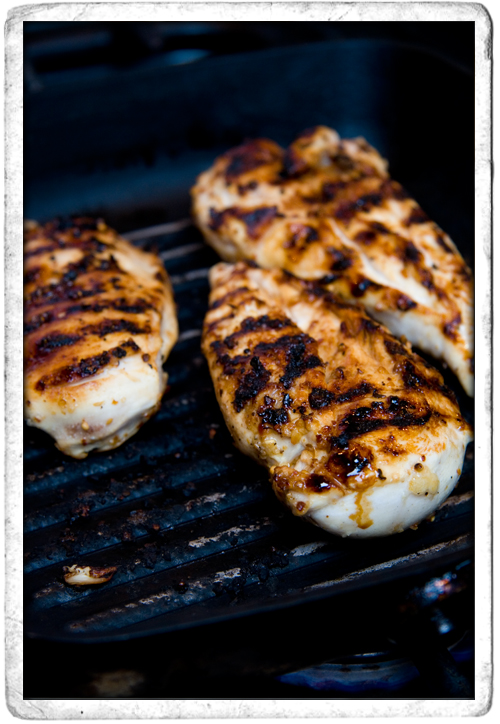
:: Bulgarwheat Chicken Rocket and Parsley Salad
:: Stop Food Waste: Leftover Chicken & Sweetcorn Soup

:: Rustic Apple and Blackberry Galettes

:: Swedish Cabbage Salad