We Love Cooking! [Search results for starter]
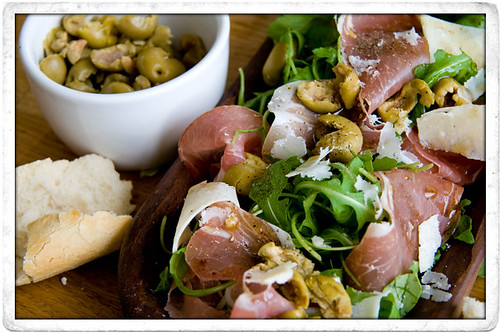
Review of Cookes Restaurant

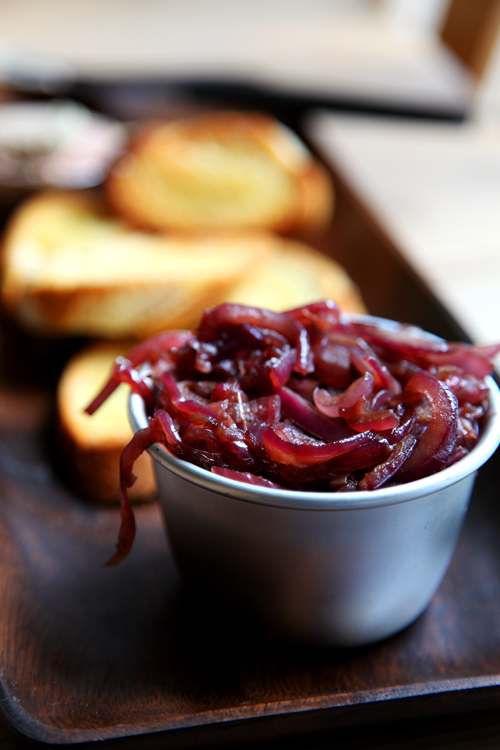
:: Caramelised Balsamic Red Onion
:: Sadhbh's Cookclub- Delicious Beef Pho!

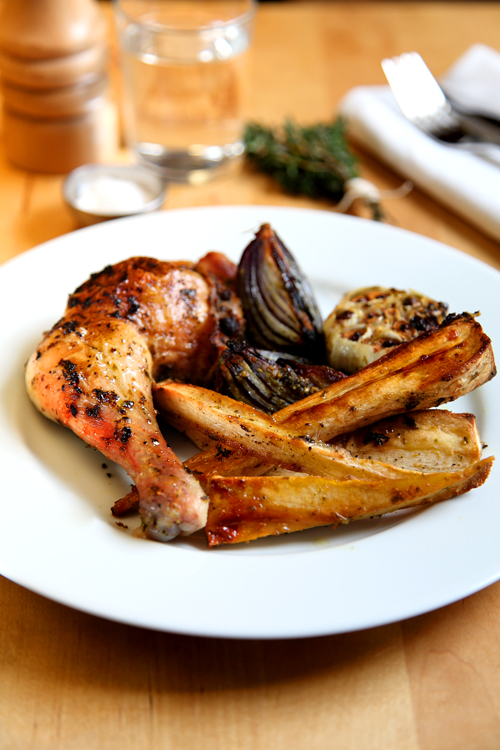
:: Herby Roast Chicken and Honey and Thyme Parsnips
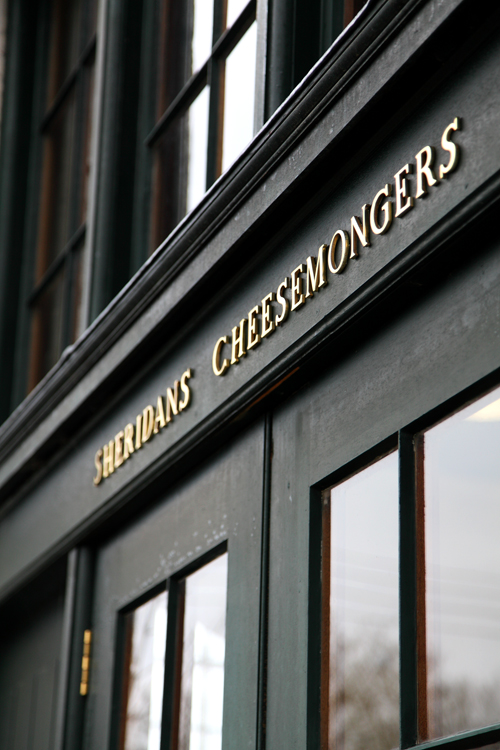
:: Sheridan's Cheesemongers Christmas Cheeseboard Selection!
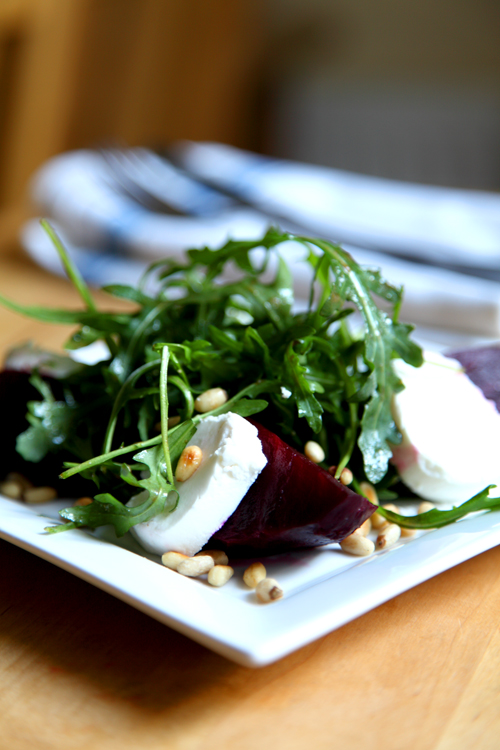
:: Beetroot, Goats Cheese, Pine Nut and Rocket Salad
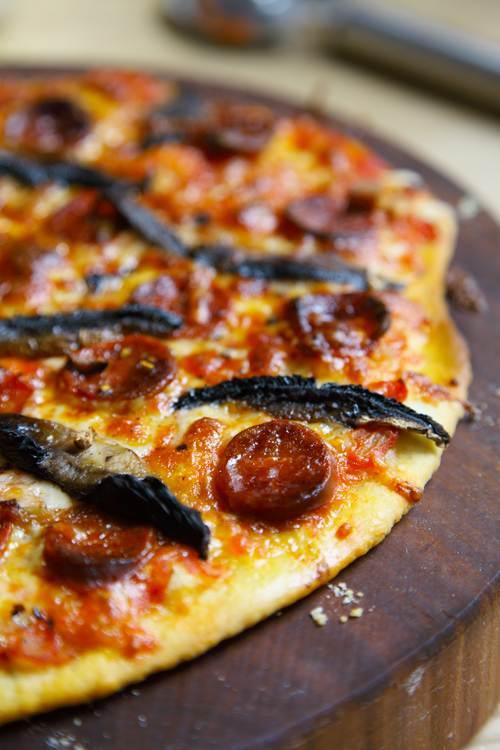
:: Chorizo and Mushroom Thin Crust Pizza
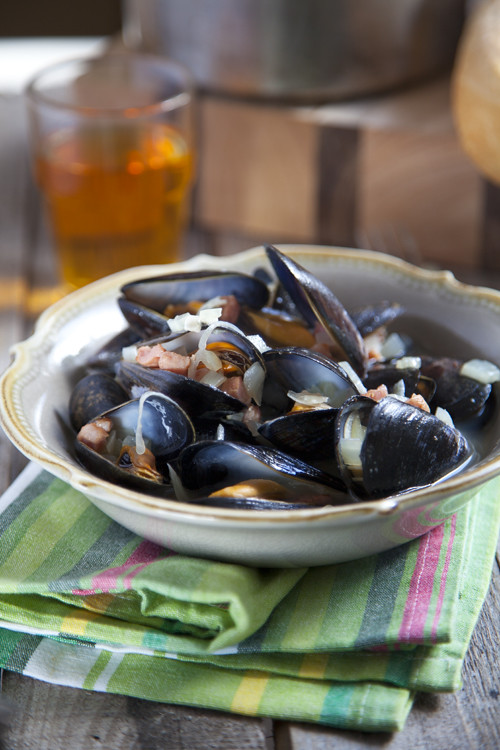
:: Mussels in Irish Cider
:: Sally Bee's Prawn, Avocado and Pecan Herb Salad

:: SUNDAY SUMMER PICNIC!

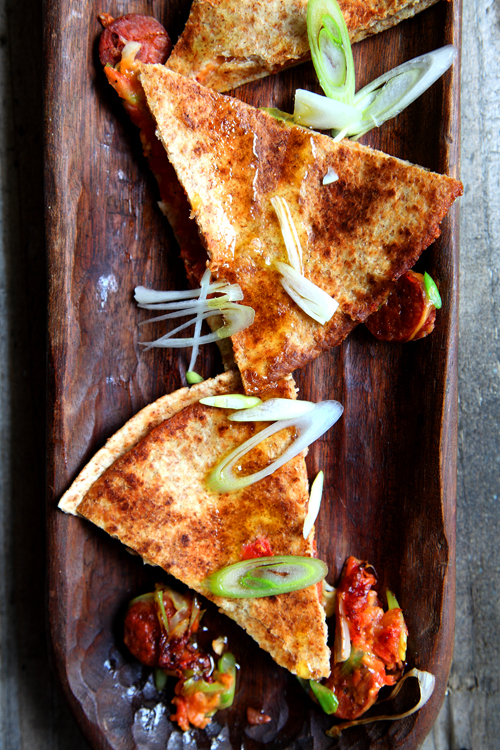
:: Chorizo and Spring Onion Quesidillas
:: SIMPLE ANTIPASTO SALAD