We Love Cooking! [Search results for brown sugar]
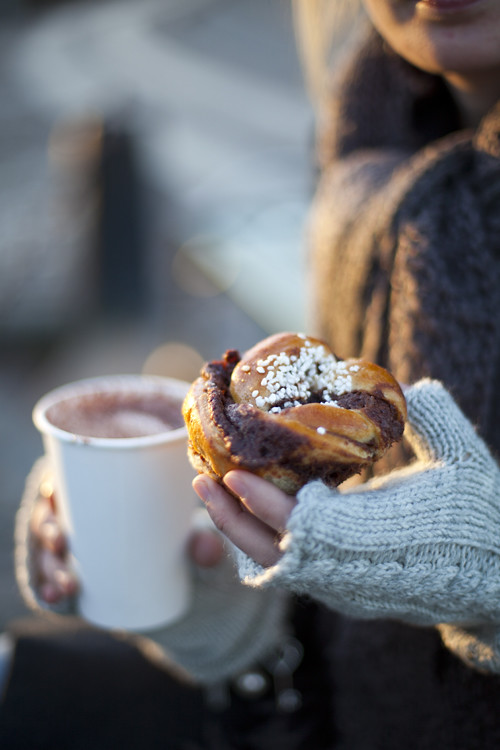
:: Kanel Bulle- Swedish Cinnamon Buns

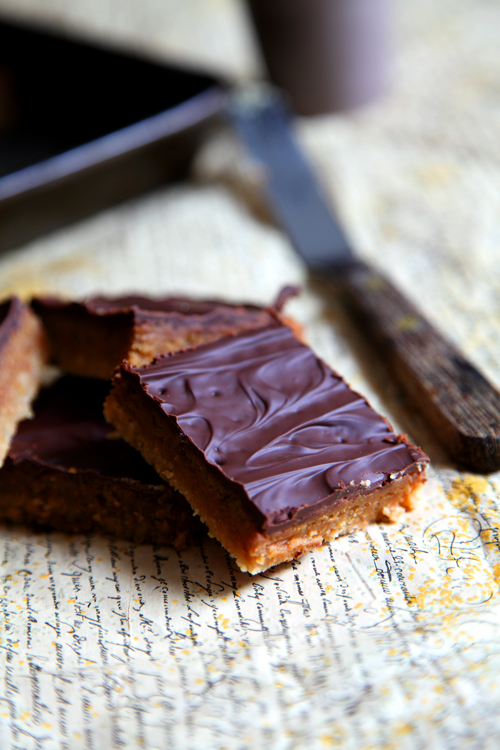
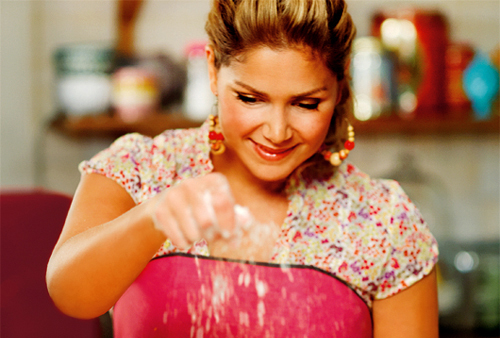
:: Bill Granger's Chocolate Caramel Slices
:: Christmas Mince Pie Star Slices

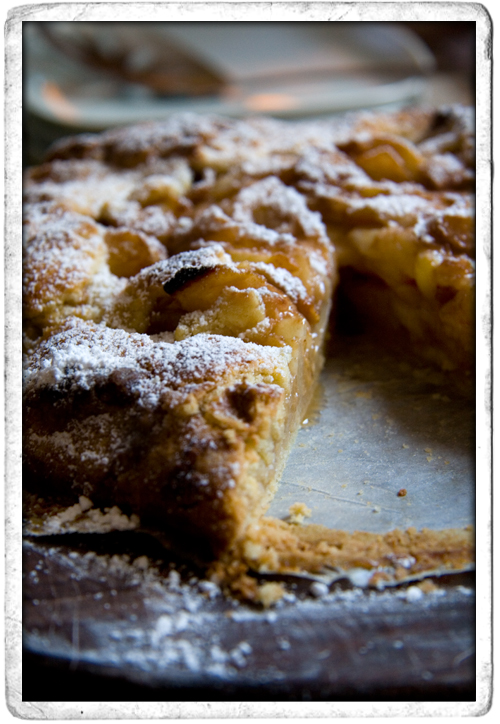
:: Rustic Pear Tart with Apricot Brandy
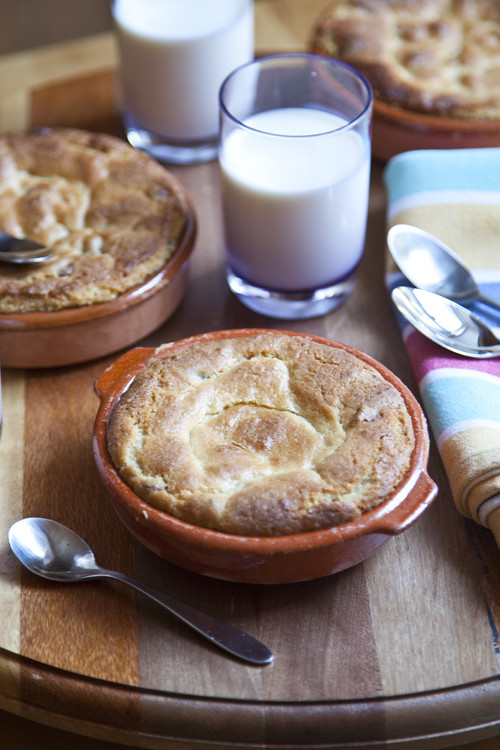
:: Deep Dish Chocolate Chip Cookies!
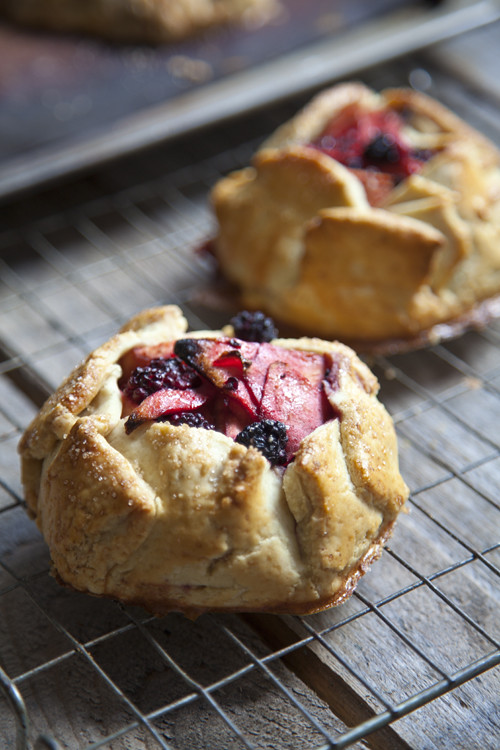
:: Rustic Apple and Blackberry Galettes
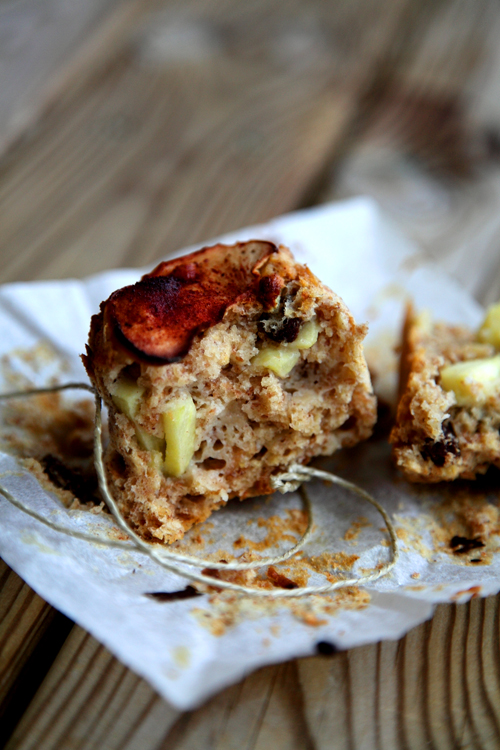
:: Big Boy Apple Breakfast Muffins
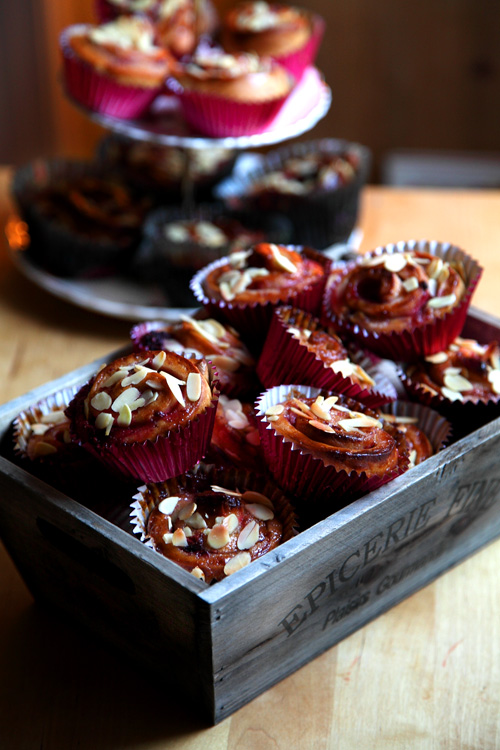
:: Pink Berry and Almond Swirly Buns!
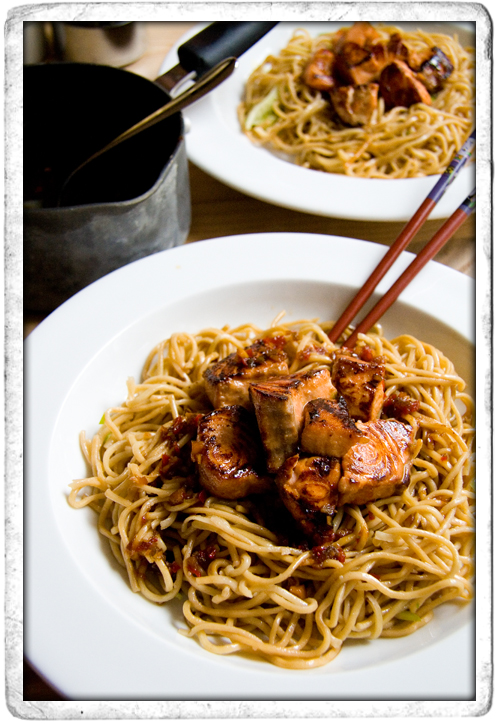
:: Teriyaki Salmon with Noodles
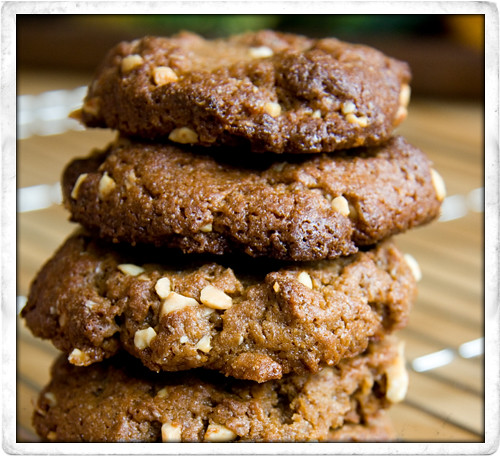
:: Yummy Wholewheat Peanut Butter Cookies!
:: Leila Lindholm's Butterscotch Pecan Pie
:: Swedish Cinnamon Buns
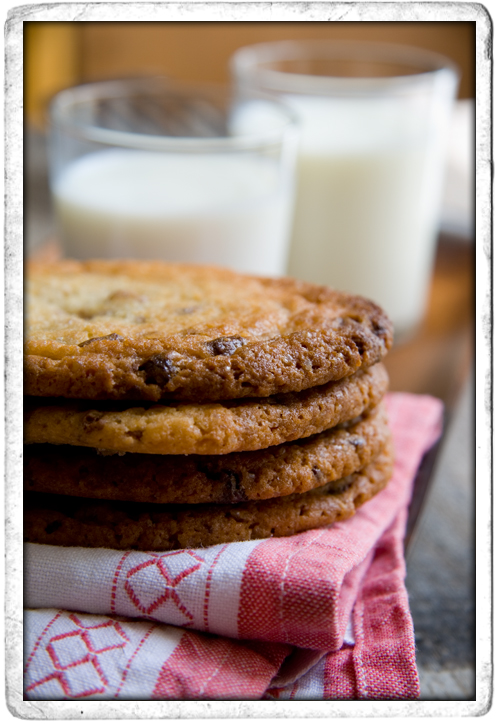
:: Chocolate Chip Cookies
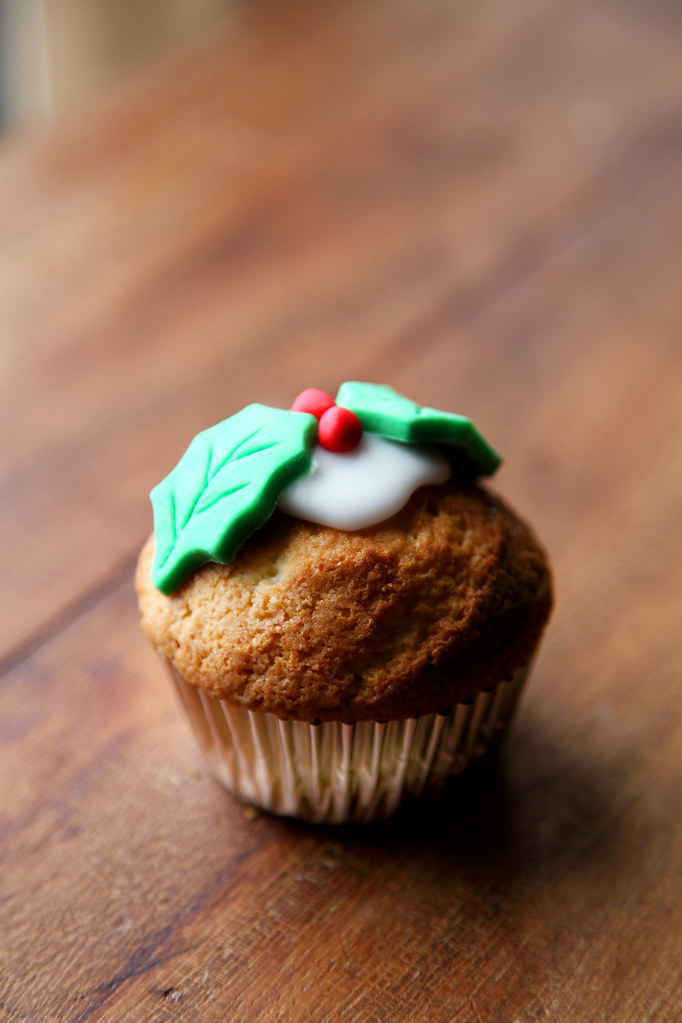
:: Christmas Cupcake Recipe from KISS Magazine!
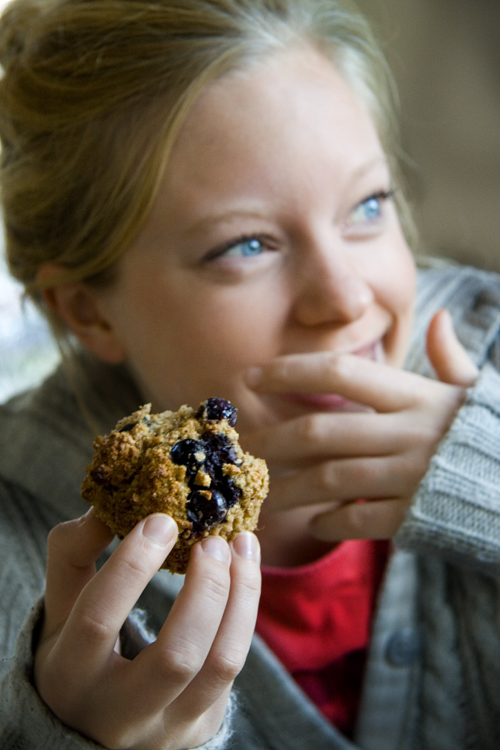
:: Blueberry and Banana Breakfast Muffins
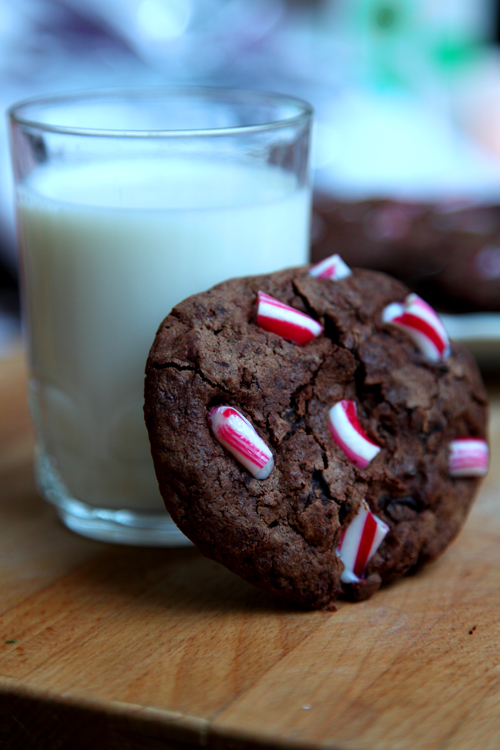
:: Chocolate Candy Cane Cookies
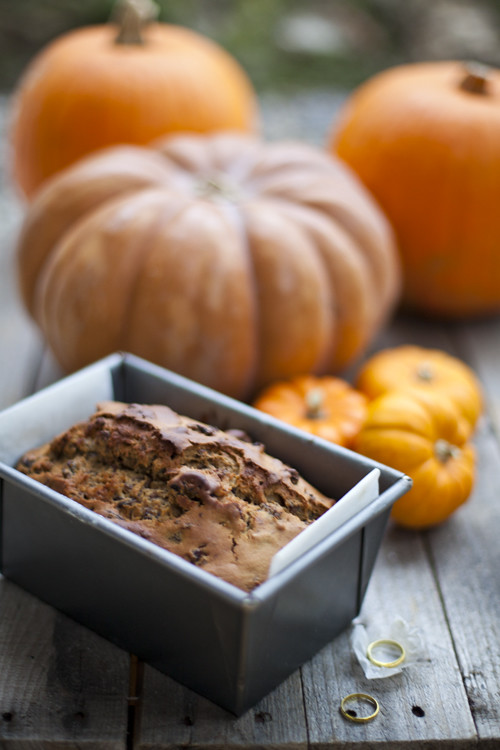
:: Halloween Barmbrack
:: Cherry Clafoutis

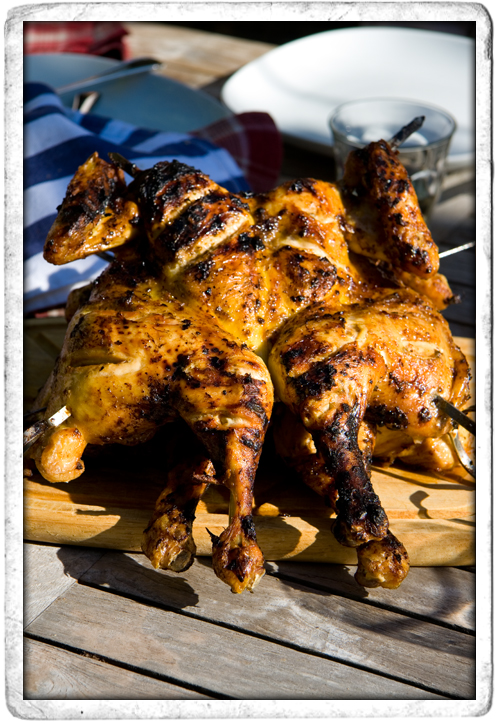
:: BBQ Cajun Spatchcock Chicken
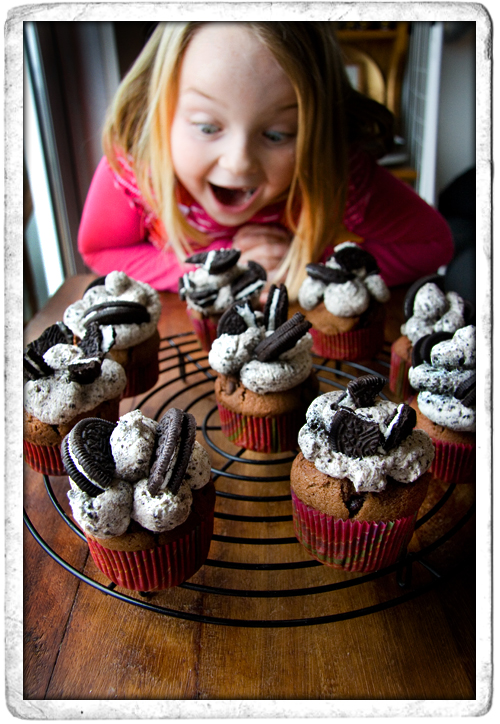
:: Chocolate Chip Oreo Cupcakes!