We Love Cooking! [Search results for cream flour]
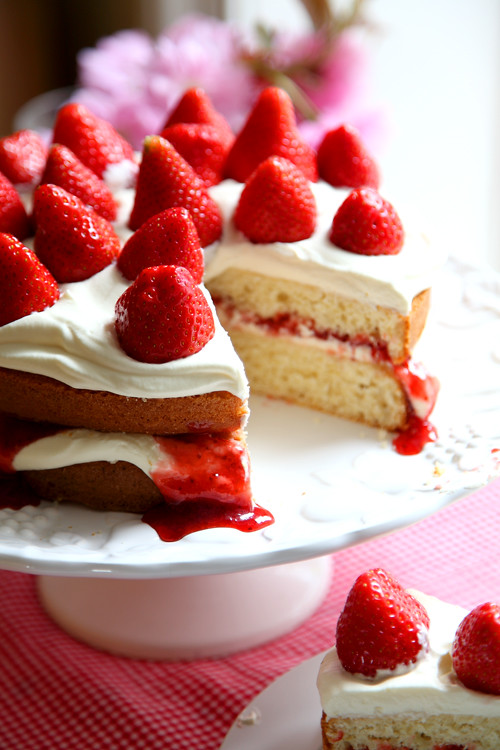
:: Mega Strawberry Summer Cake
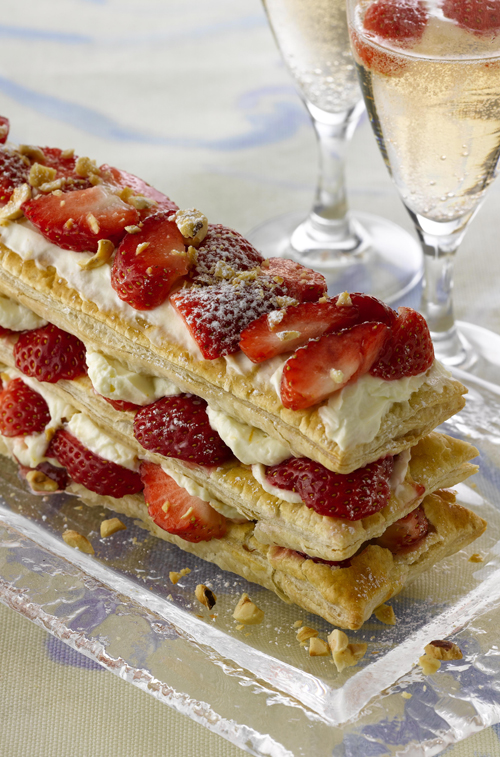
:: Quick Millefeuille with Toasted Hazelnuts, Cointreau and Strawberry Mascarpone Cream Filling
:: Strawberry Season 2/2

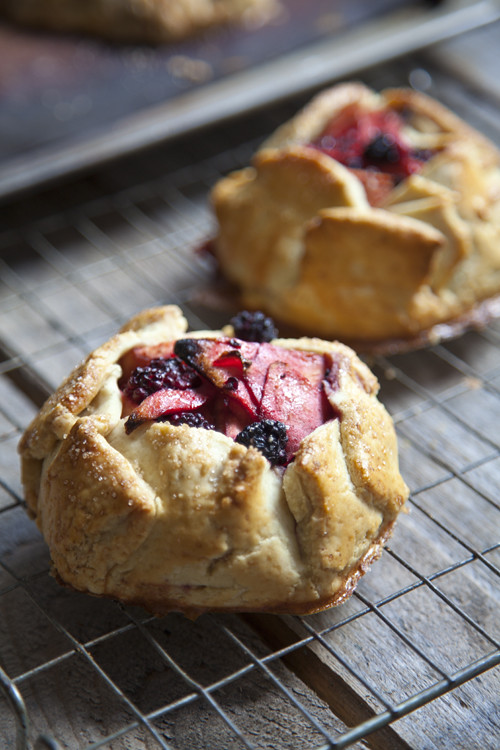
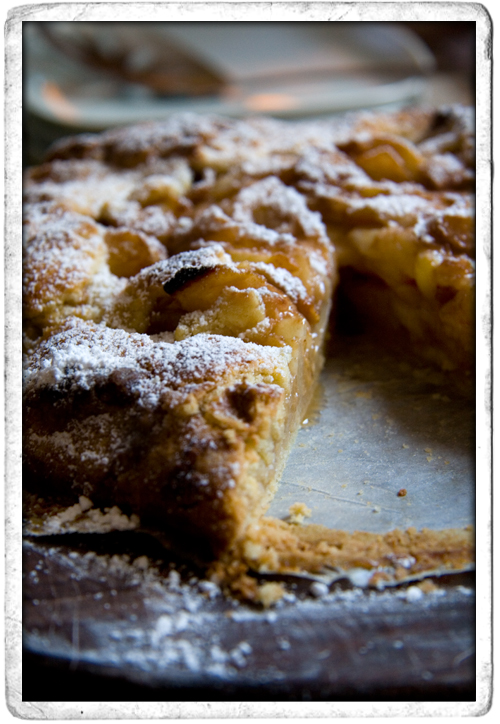
:: Rustic Apple and Blackberry Galettes
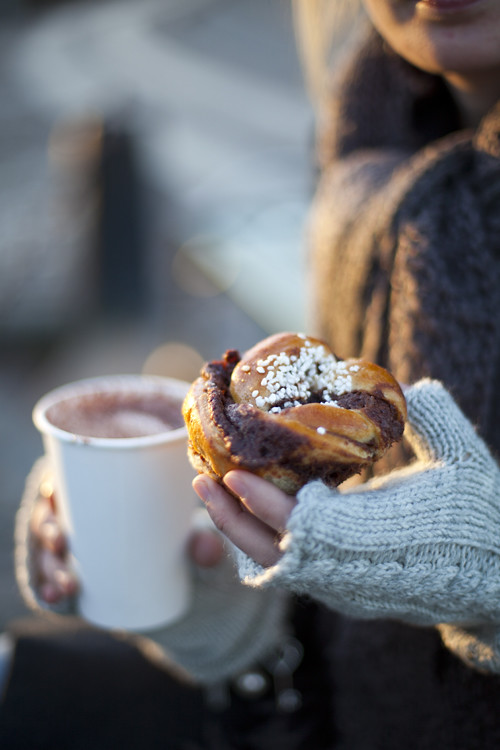
:: Swedish Cinnamon Buns
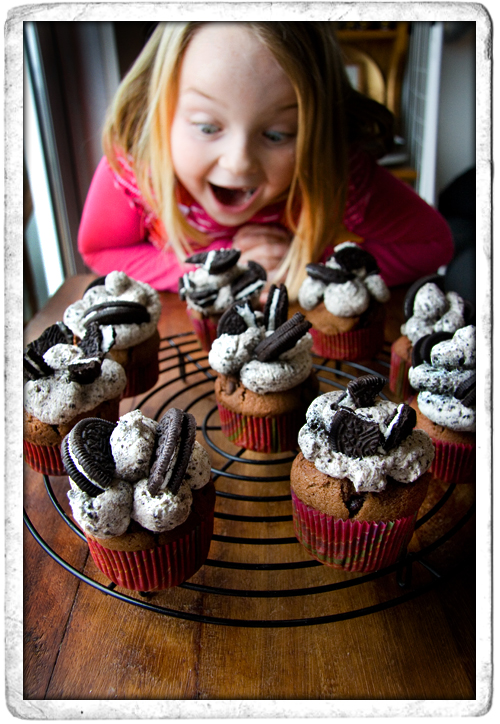
:: Chocolate Chip Oreo Cupcakes!
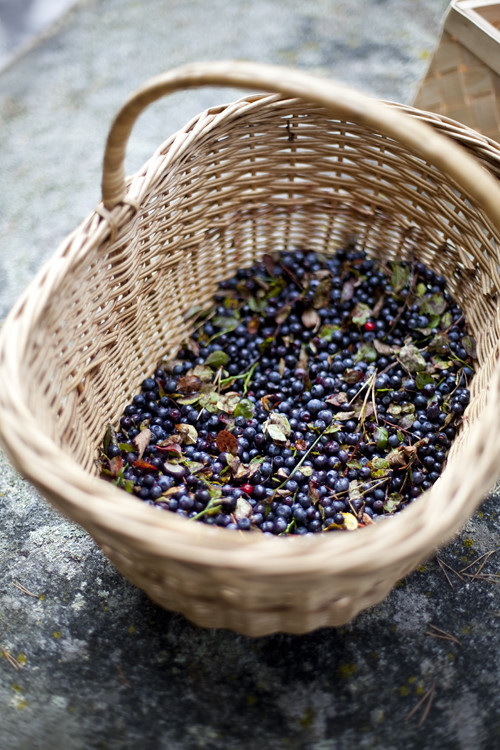
:: Wild Blueberry Picking and a Swedish Gooey Chocolate Cake
:: Rustic Pear Tart with Apricot Brandy
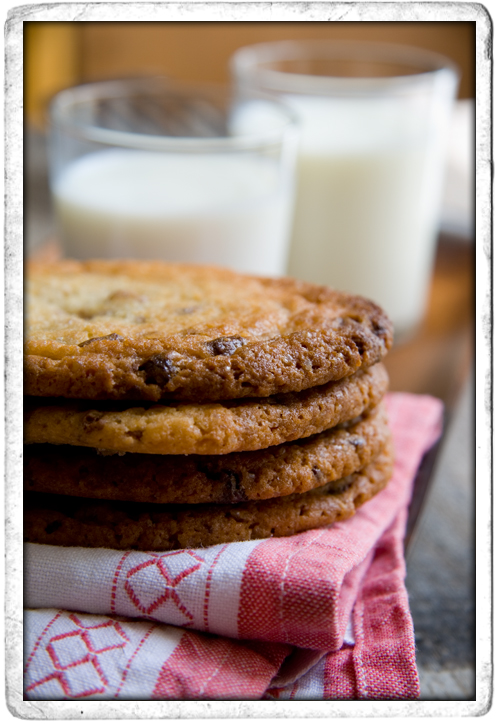
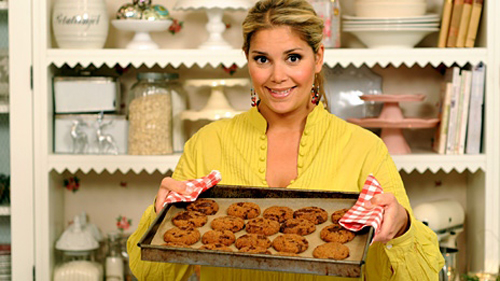
:: Deep Dish Chocolate Chip Cookies!
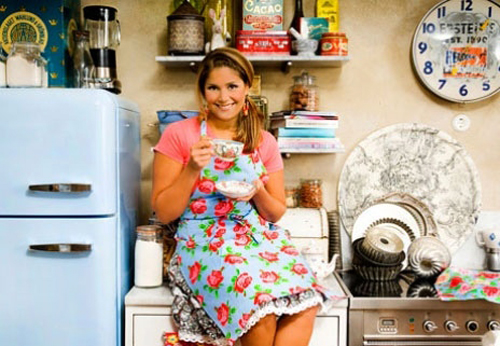
:: Leila Lindholm's Peanut Butter Cupcakes
:: Chocolate Chip Cookies
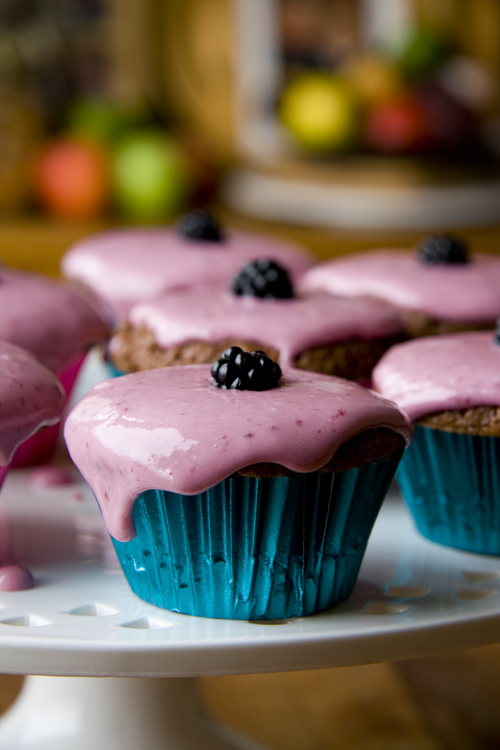
:: Blackberry Vanilla Cupcakes
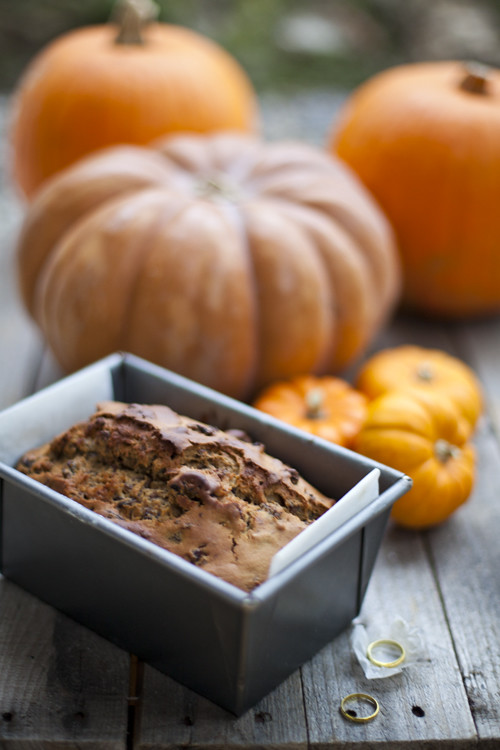
:: Halloween Barmbrack
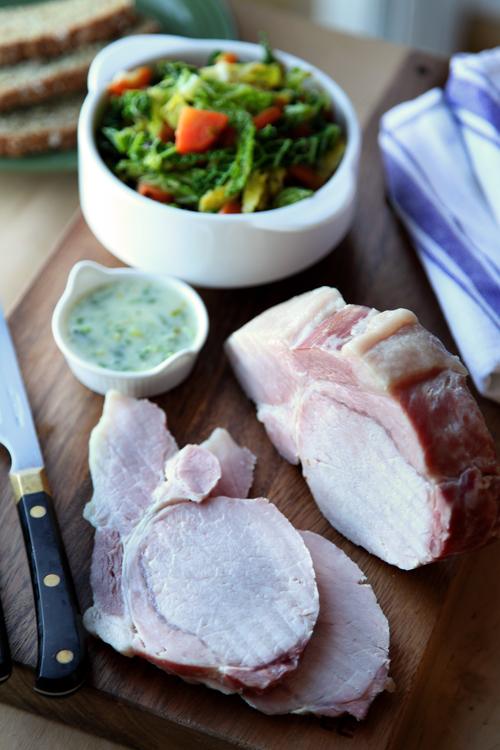
:: Good Auld Bacon and Cabbage! Exploring Traditional Irish Cooking!
:: Leila Lindholm's Butterscotch Pecan Pie
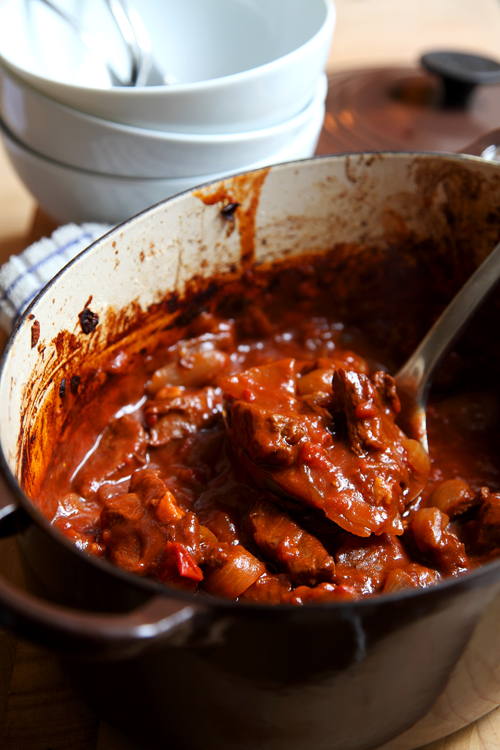
:: Hungarian Goulash
:: Leila Lindholm's High Hat Cupcakes
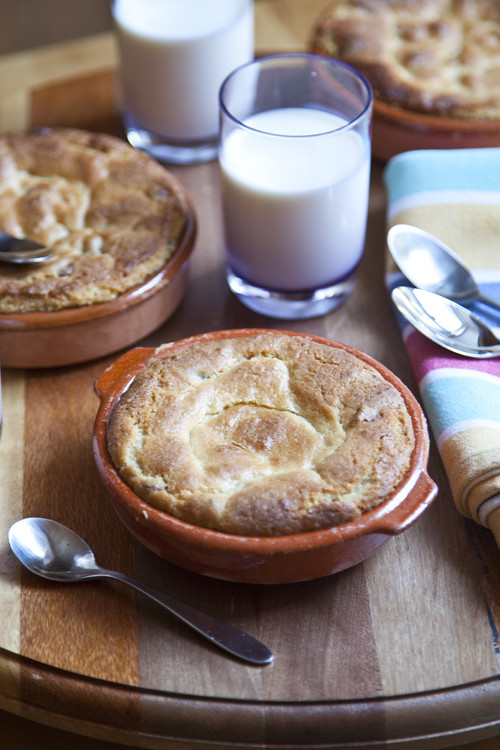
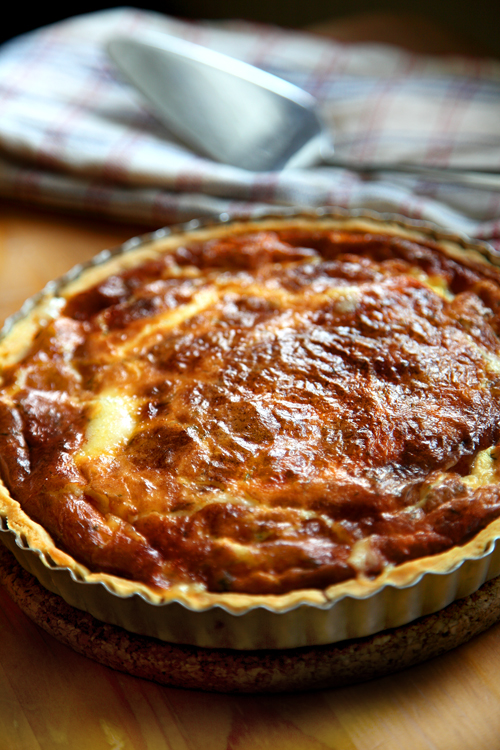
:: Västerbottensost Pie
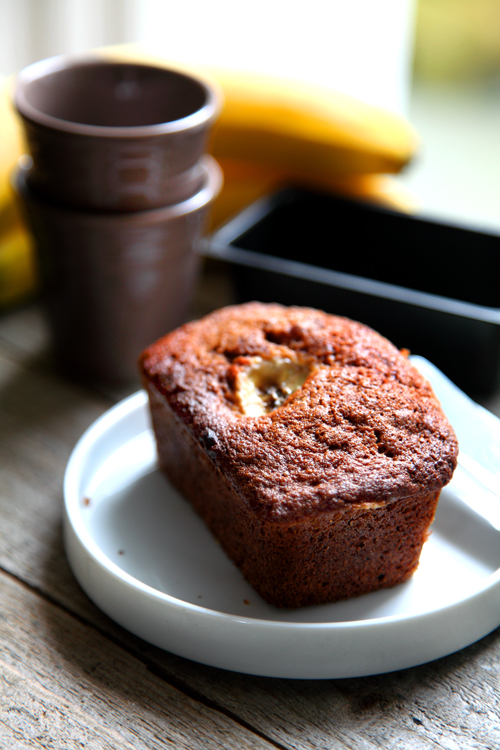
:: Auntie Ann's Banana Bread
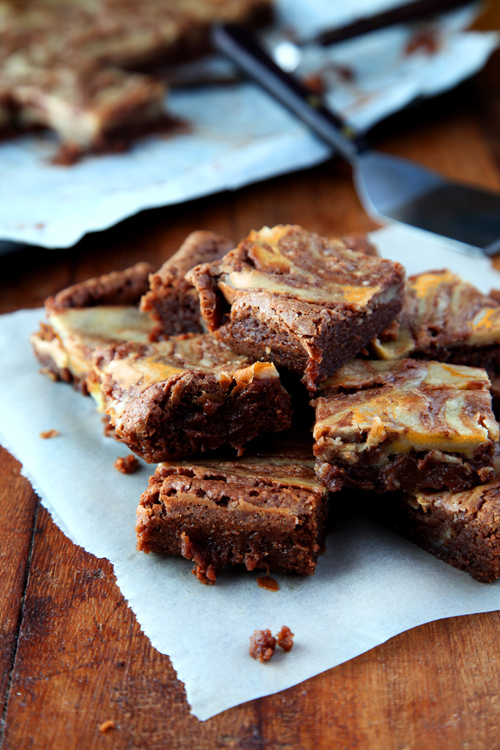
:: Chocolate Pumpkin and Pecan Brownies