We Love Cooking!
[
Search results for halloween
]
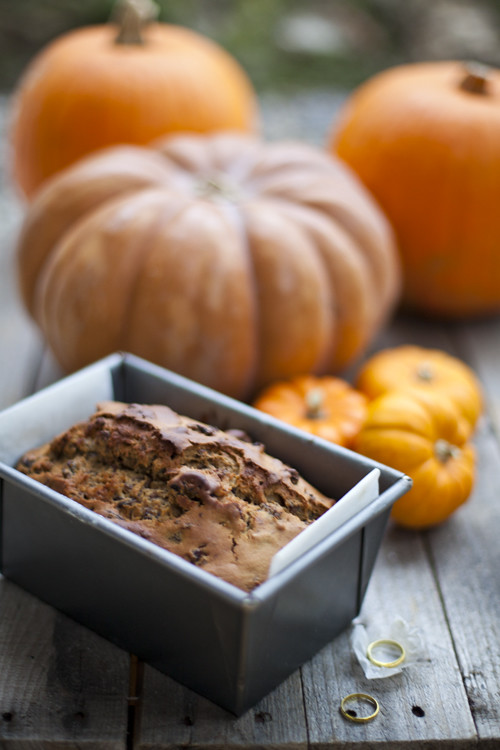
:: Halloween Barmbrack
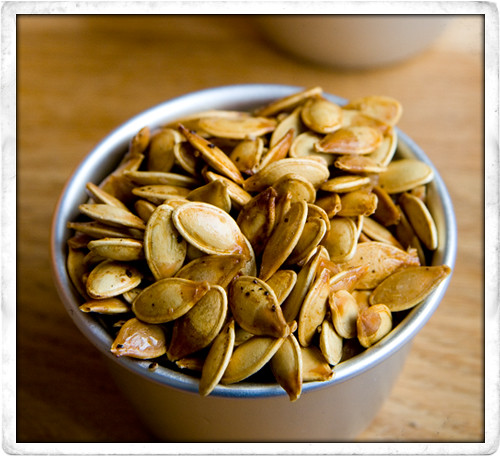
:: Carving Pumpkins and Toasted Pumpkin Seeds!
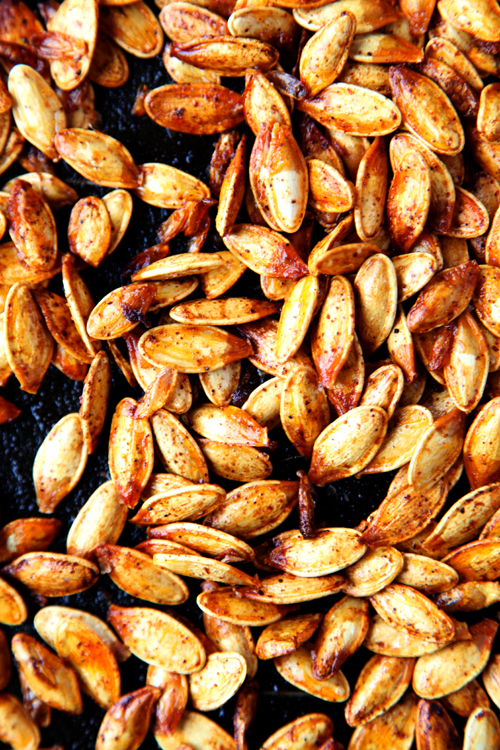
:: Spicy Pumpkin Seeds
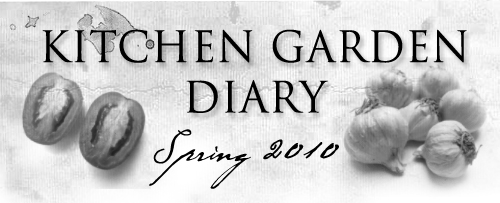
:: Kitchen Garden Diary: An Update!
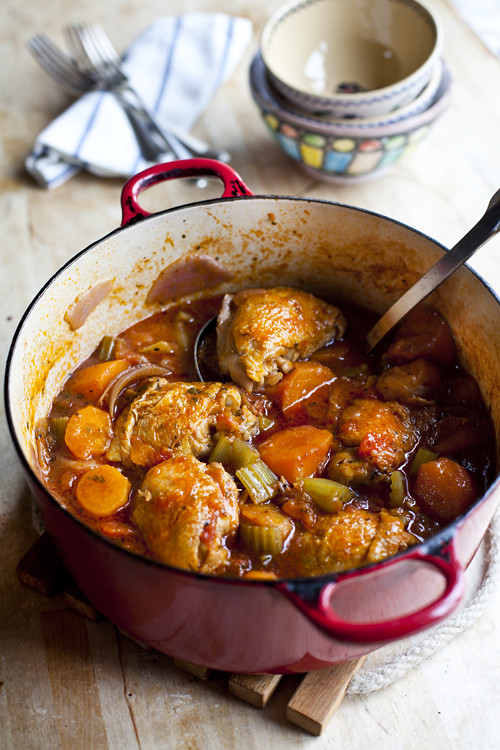
:: Tasty Chicken Hotpot
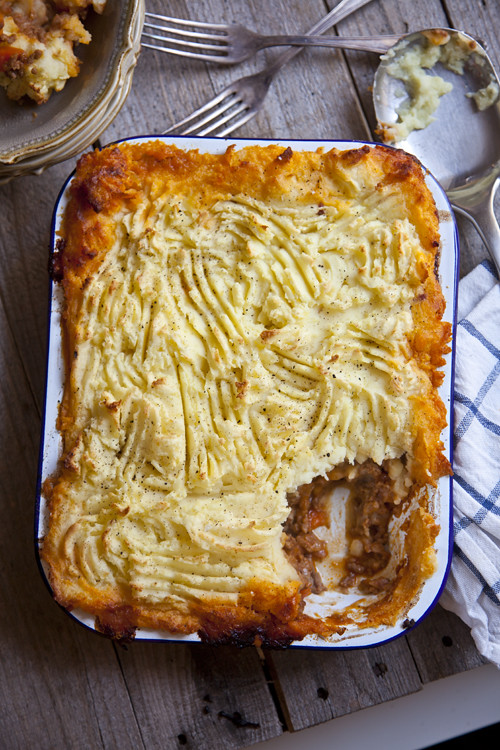
:: Roast Garlic Shepherd's Pie
Random for
baking
: