We Love Cooking! [Search results for lunch]
::Stir Fry Lunch

:: LUNCHTIMES WILL NEVER BE THE SAME AGAIN!

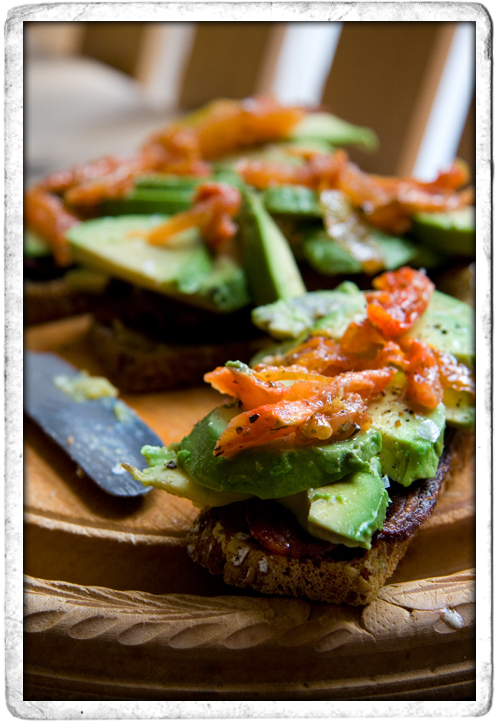
:: Bacon Avocado and Sundried Tomato Sandwich
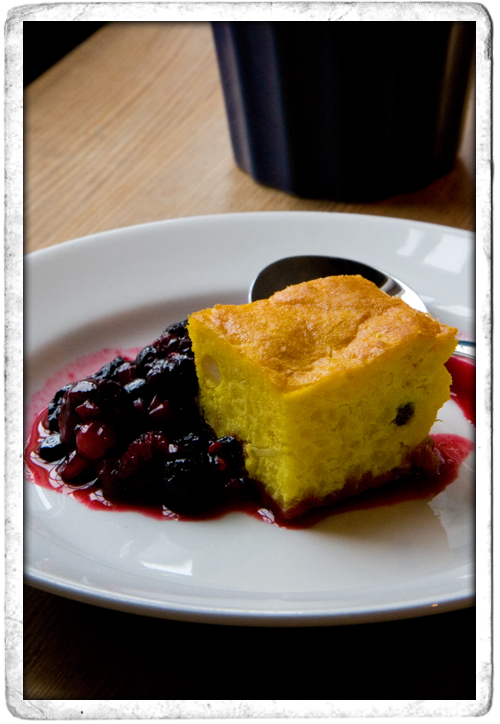
:: Saffrans Pankkakor
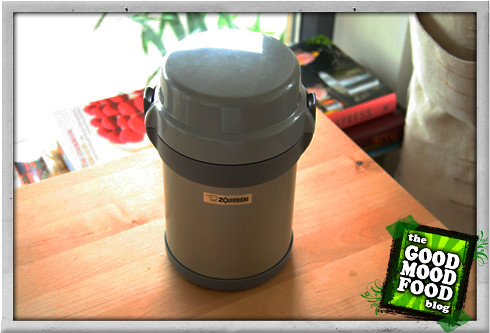
:: MR. BENTO HAS ARRIVED!
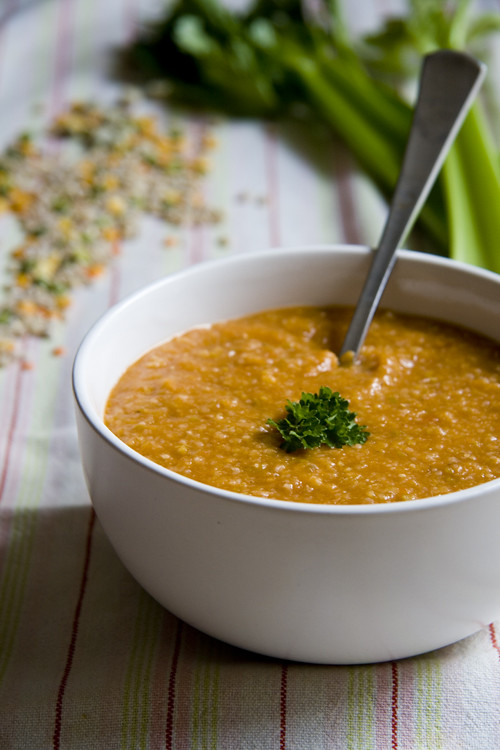
:: Basic Soup Recipe
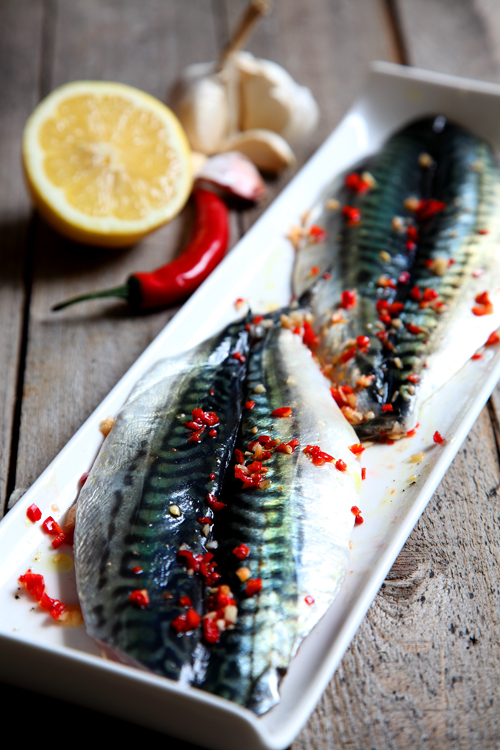
:: Simple Mackerel Fillets with Chilli, Garlic and Lemon
:: A Swedish Lunch: Roast Tomatoes with Mozzarella and Red Onion and Cucumber and Fennel Lentil Salad

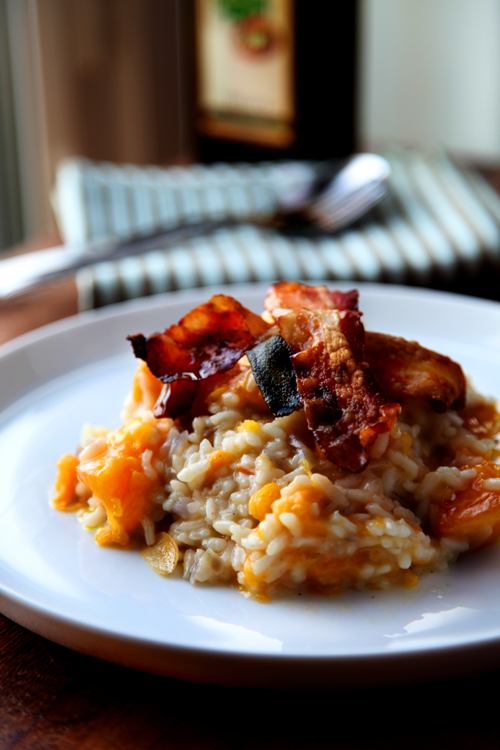
:: Pumpkin and Crispy Pancetta Risotto
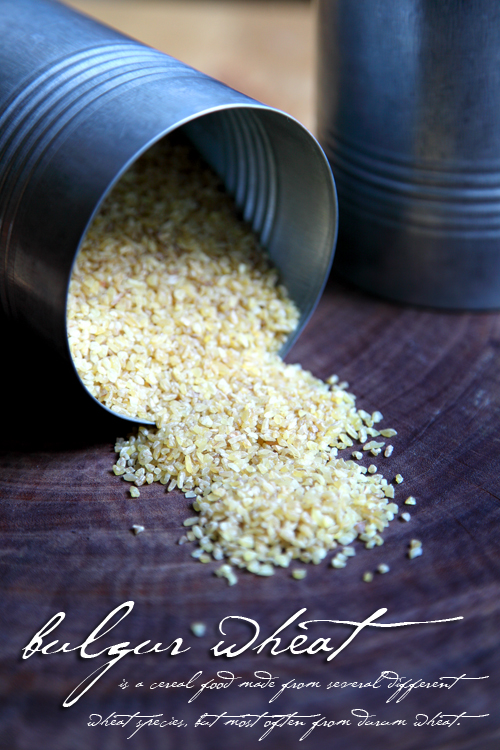
:: Preparing Bulgar Wheat In 5 Easy Steps!
:: Whoopie Pies: The New Cupcake?

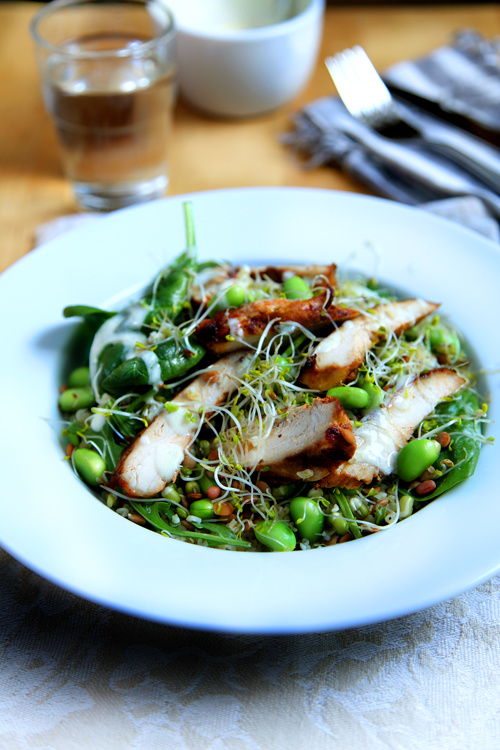
:: Rocket Power Chicken Superfood Salad
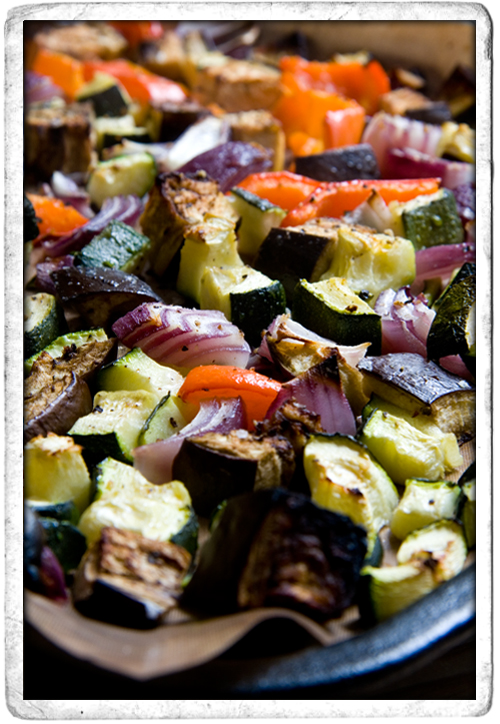
:: Mediterranean Roast Vegetables with Bulgar Wheat
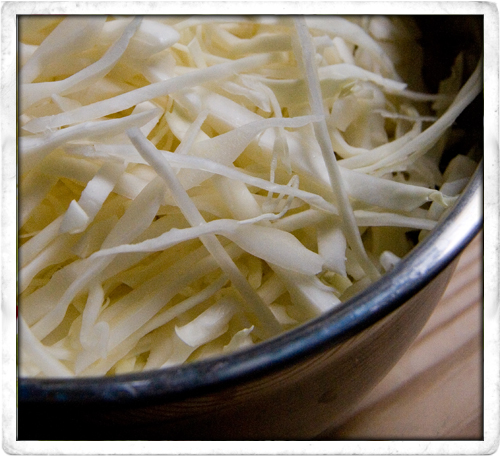
:: Swedish Cabbage Salad
:: Foodie Links!
:: Broccoli, Feta, and Cherry Tomato Salad

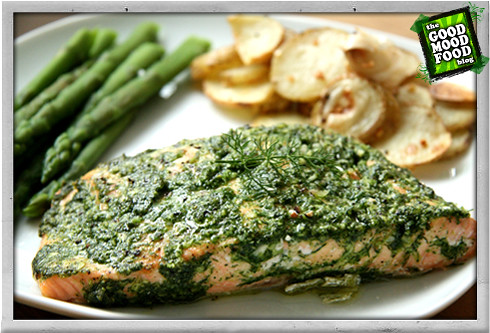
:: BAKED DILL AND GARLIC SALMON
:: NUT FREE PESTO

:: Boot Camp Soup and back to business!
:: World Food Blogs


