We Love Cooking! [Search results for nuts]
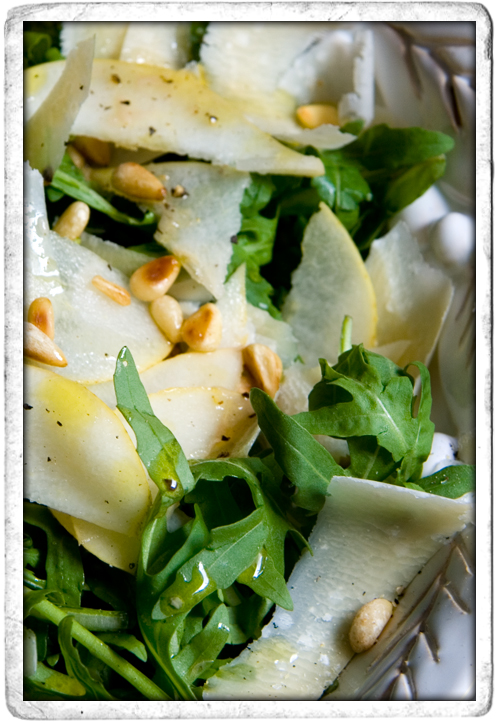
:: Pear, Rocket, Parmesan and Pine Nut Salad
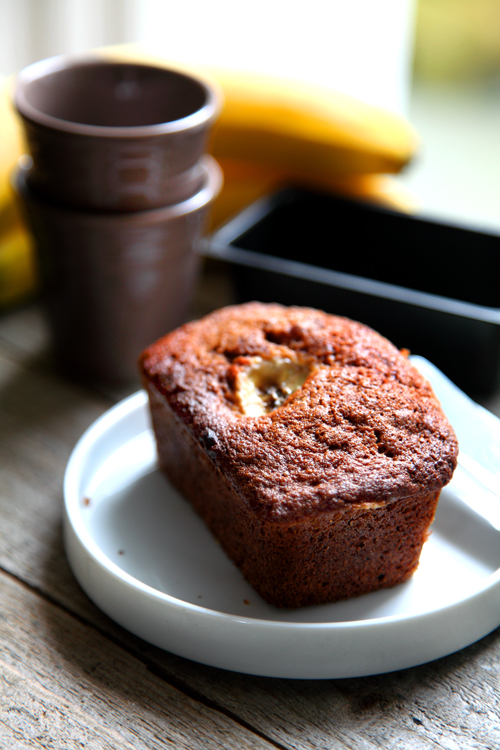
:: Auntie Ann's Banana Bread
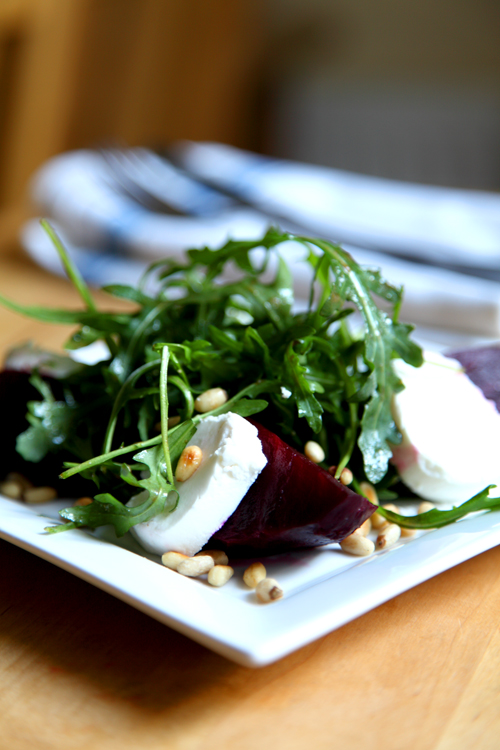
:: Beetroot, Goats Cheese, Pine Nut and Rocket Salad
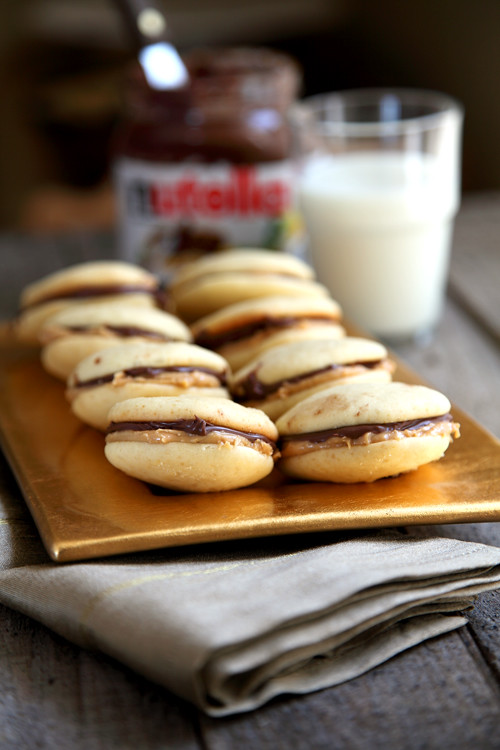
:: Go Nuts Nutella Whoopie Pies!
:: Sally Bee's Prawn, Avocado and Pecan Herb Salad

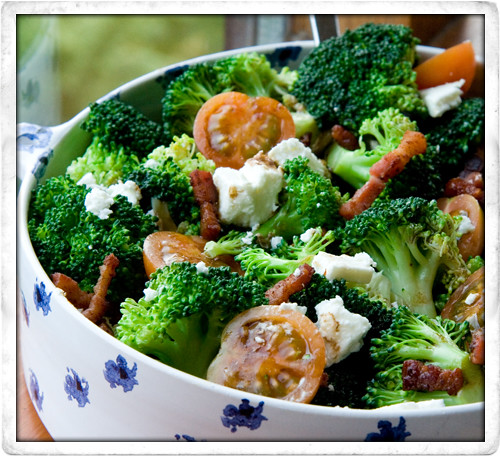
:: Broccoli, Feta, and Cherry Tomato Salad
:: Leila Lindholm's Butterscotch Pecan Pie

::The Asian Pantry

:: NUT FREE PESTO

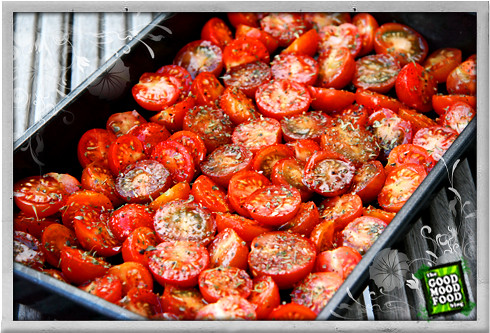
:: Basil Pesto and Roasted Balsamic Cherry Tomatoes
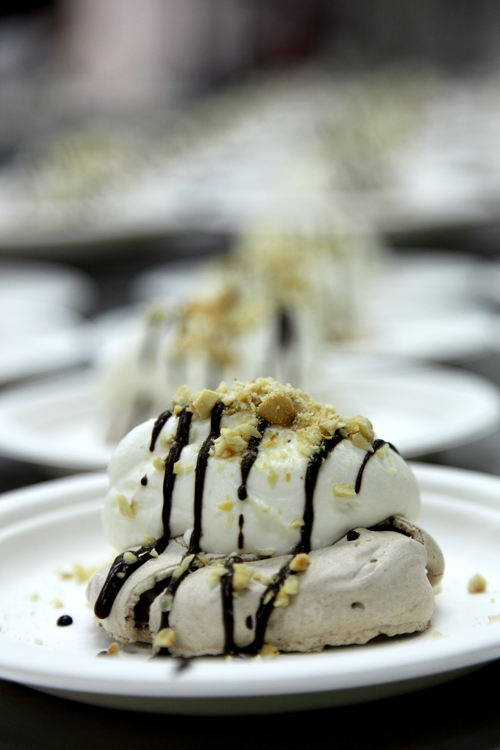
:: Meringues with Jameson Whiskey Cream, Chocolate Sauce and toasted Hazelnuts
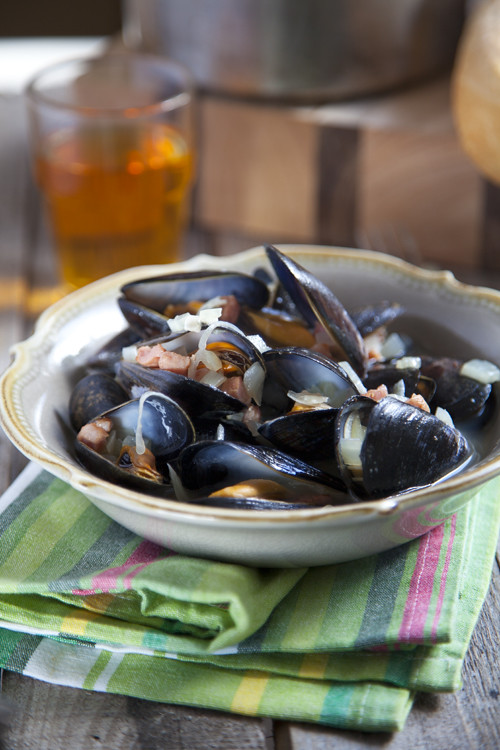
:: Mussels in Irish Cider
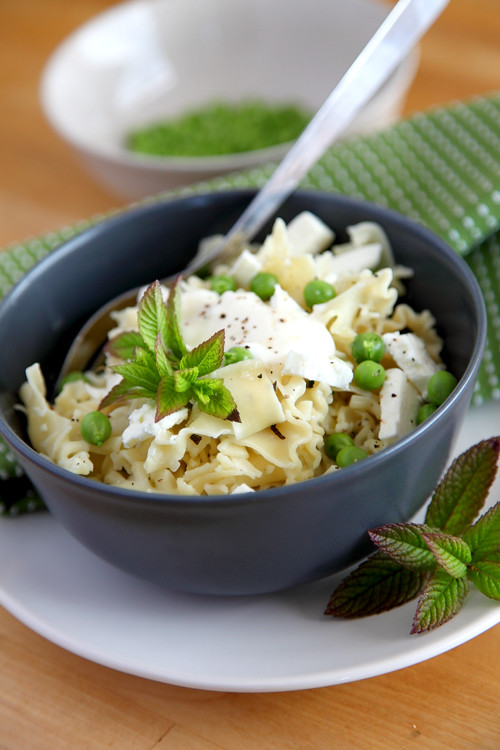
:: Pea Mint and Feta Pasta!
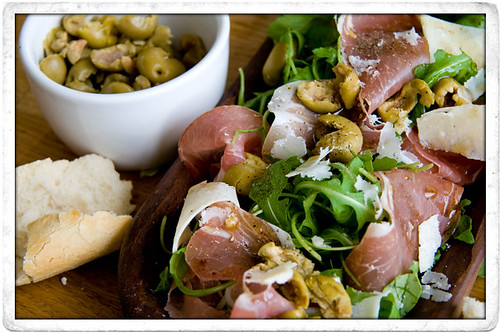
:: SIMPLE ANTIPASTO SALAD