We Love Cooking! [Search results for onion]
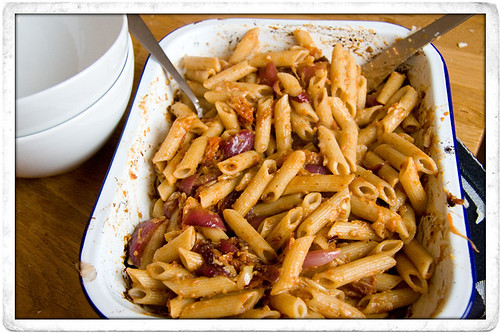
:: Mushy Roast Garlic and Cherry Tomato Pasta
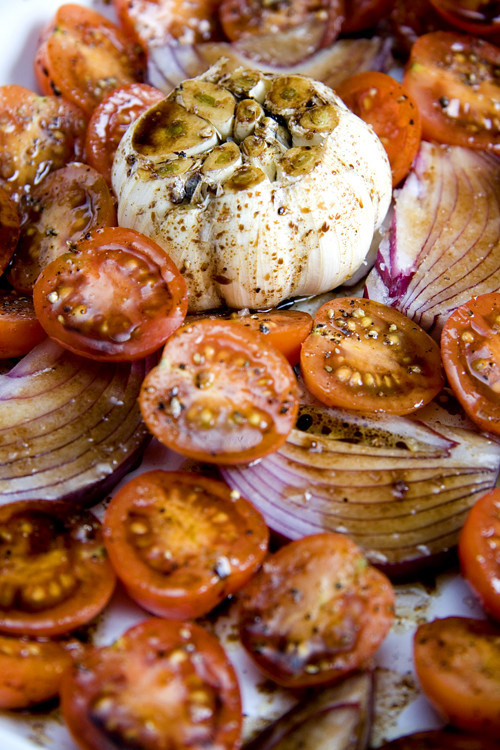
:: Mushy Roast Garlic and Cherry Tomato Pasta
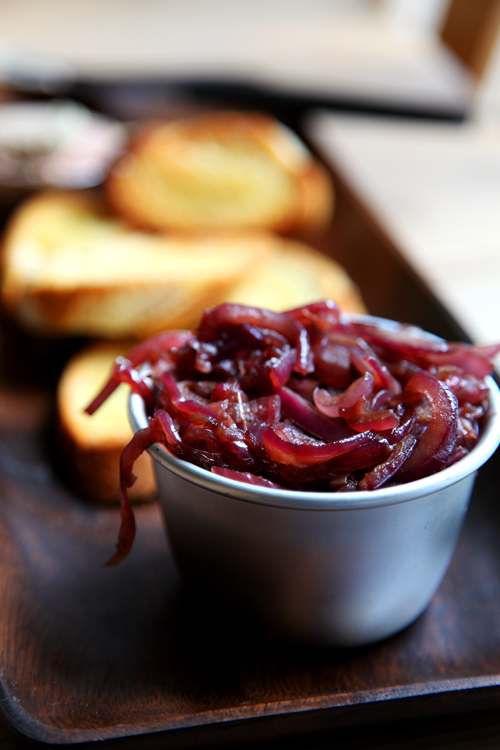
:: Caramelised Balsamic Red Onion
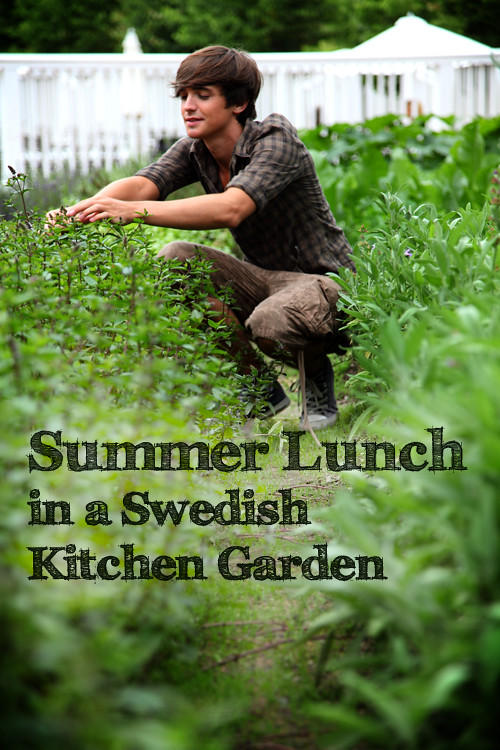
:: A Swedish Lunch: Roast Tomatoes with Mozzarella and Red Onion and Cucumber and Fennel Lentil Salad
:: Garlic Mushroom and Goats Cheese Pasta

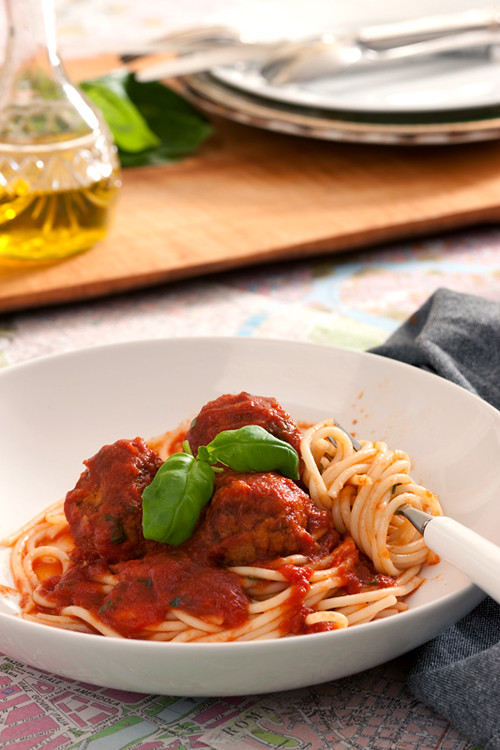
:: Catherine Fulvio's Meatballs in Spicy Tomato Sauce
::Stir Fry Lunch

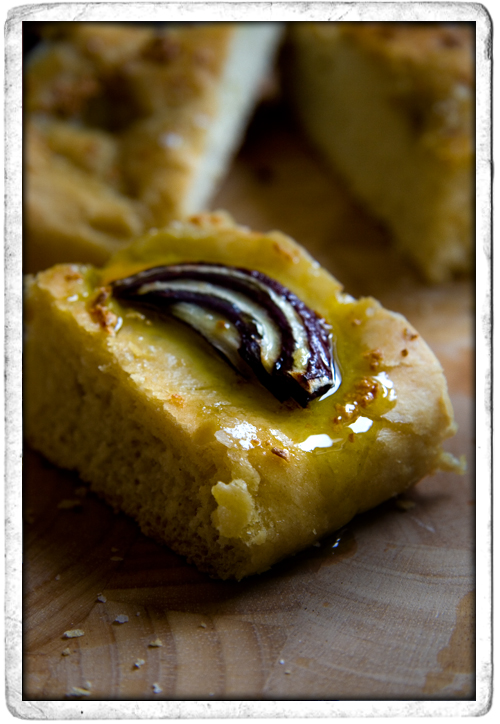
:: Red Onion and Garlic Focaccia
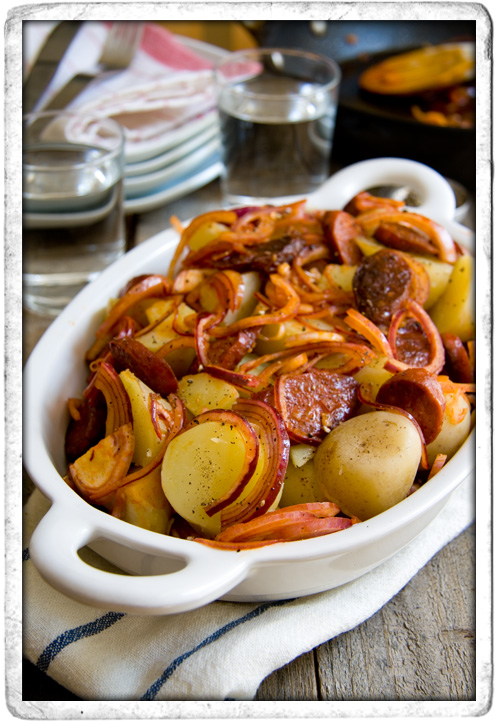
:: Warm Chorizo, Red Onion and Baby Potato Salad
:: Basic Soup Recipe
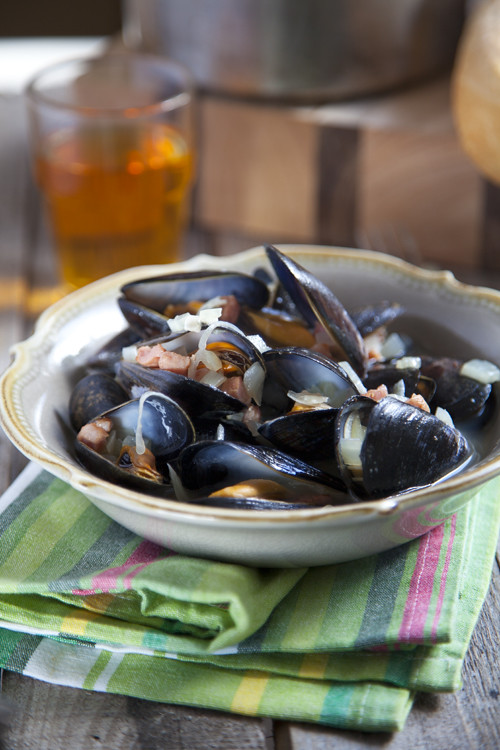
:: Mussels in Irish Cider
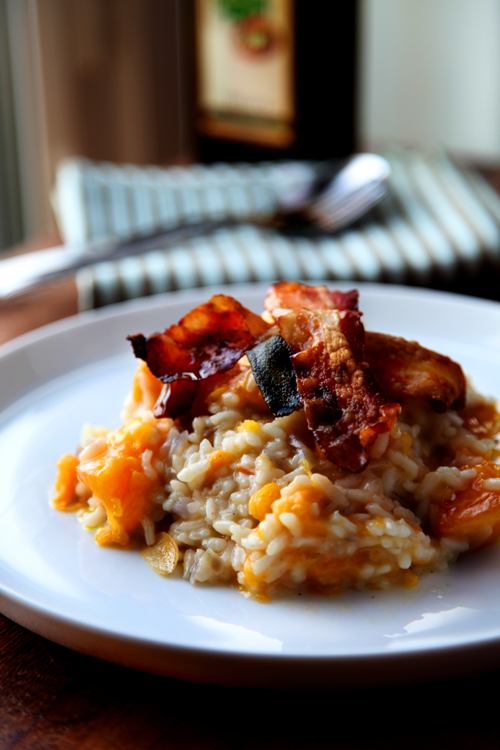
:: Pumpkin and Crispy Pancetta Risotto
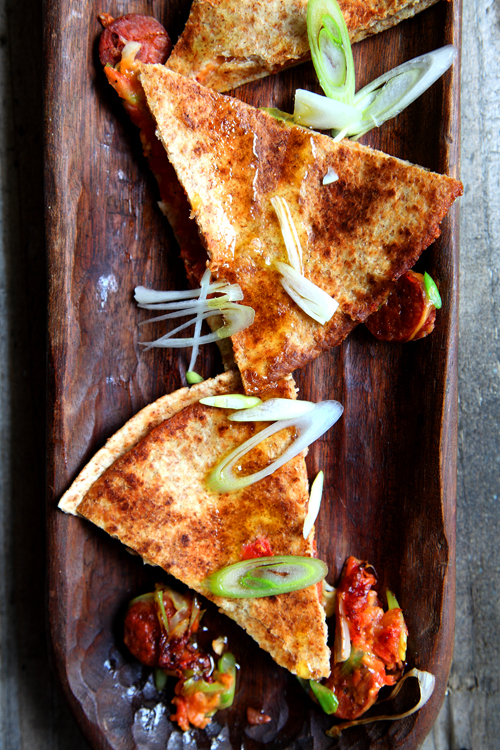
:: Chorizo and Spring Onion Quesidillas
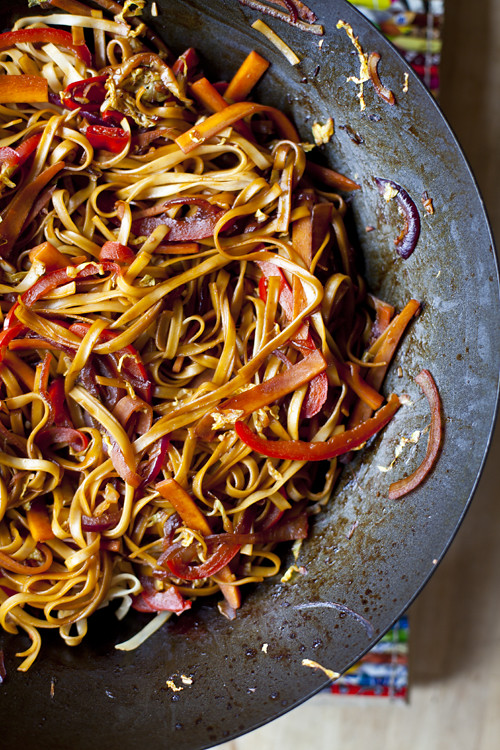
:: Zingy Quick and Tasty Stir-Fry
:: Avocado Lime and Tobasco Salsa

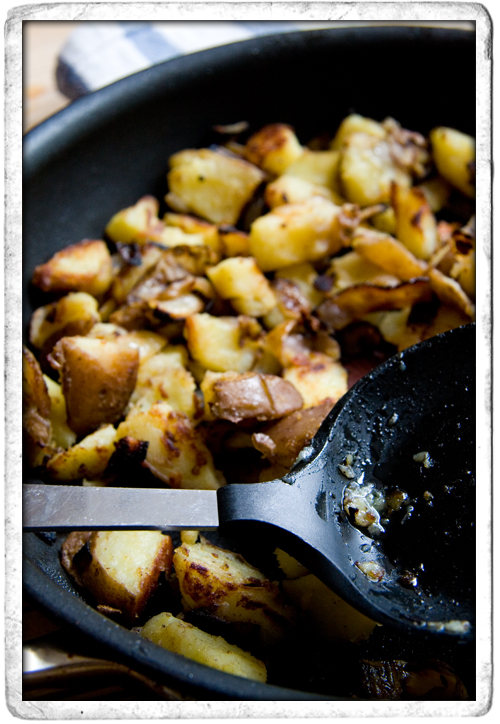
:: Soft Boiled Egg with Home Fries
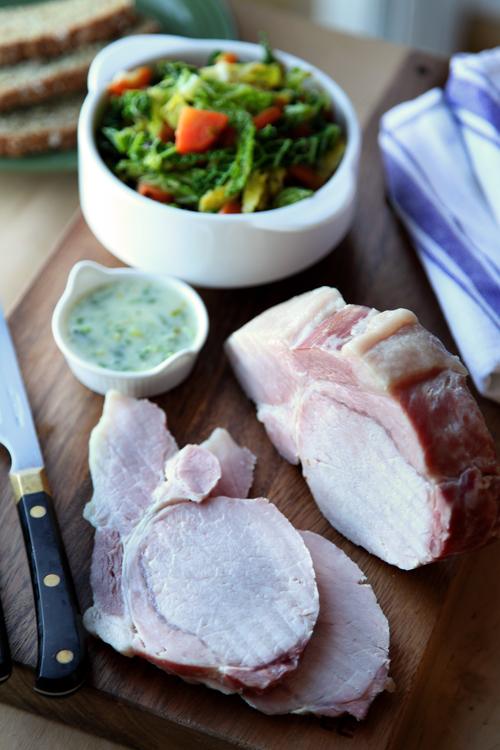
:: Good Auld Bacon and Cabbage! Exploring Traditional Irish Cooking!
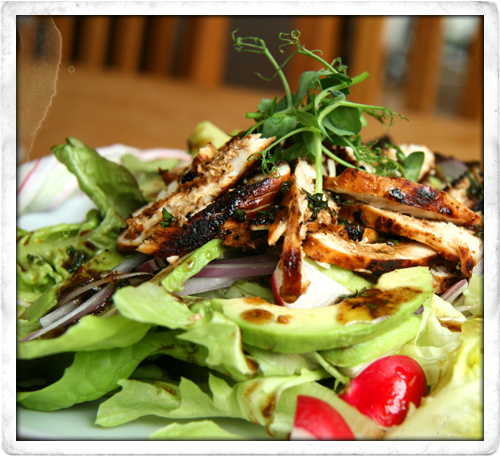
:: Balsamic Chicken with Avocado and Radish Salad
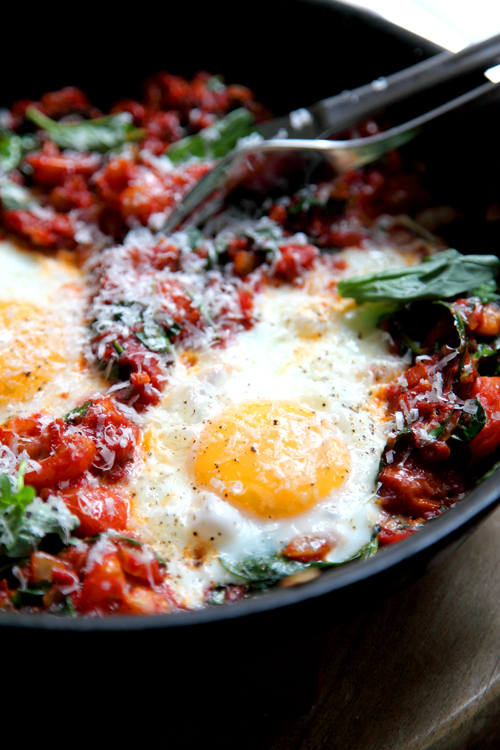
:: Big Brunch Tomato Eggs
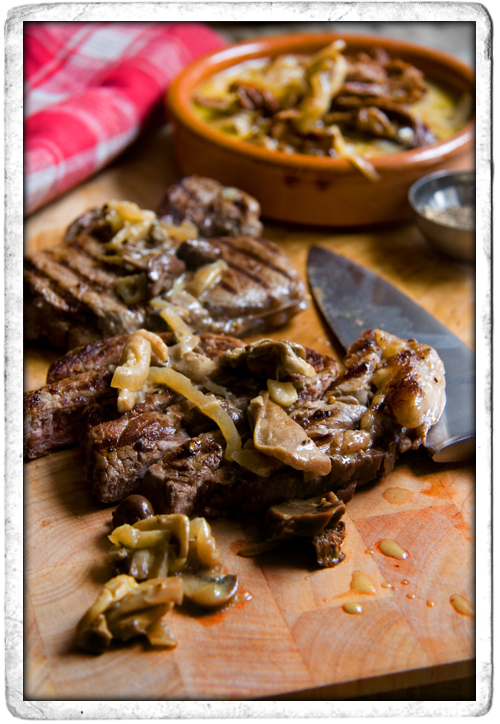
:: Simple Steak with Mixed Forest Mushroom Sauce