We Love Cooking! [Search results for red pepper]
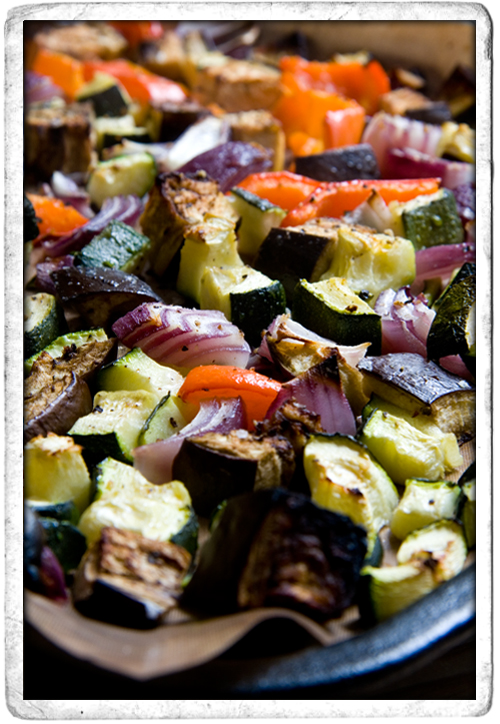
:: Mediterranean Roast Vegetables with Bulgar Wheat
:: A Swedish Lunch: Roast Tomatoes with Mozzarella and Red Onion and Cucumber and Fennel Lentil Salad

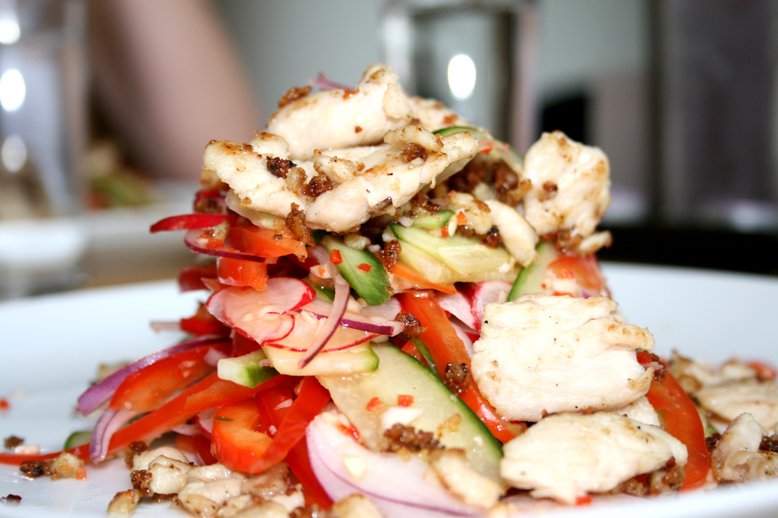
::SPICY CHICKEN AND CUCUMBER SALAD
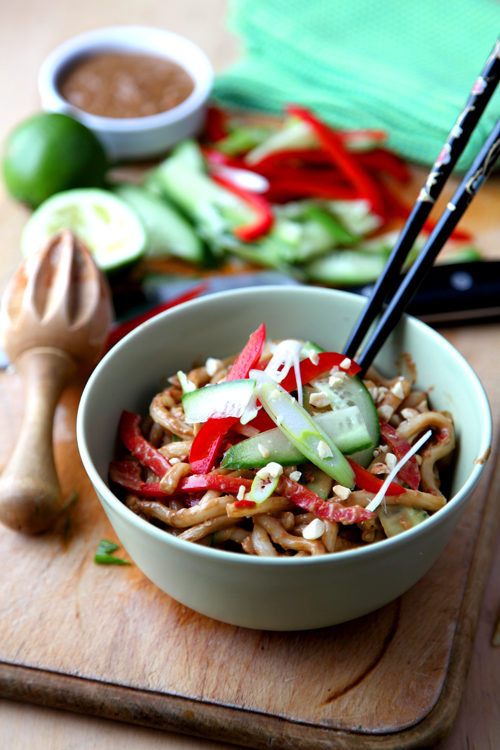
:: Crunchy Peanut Satay Noodles
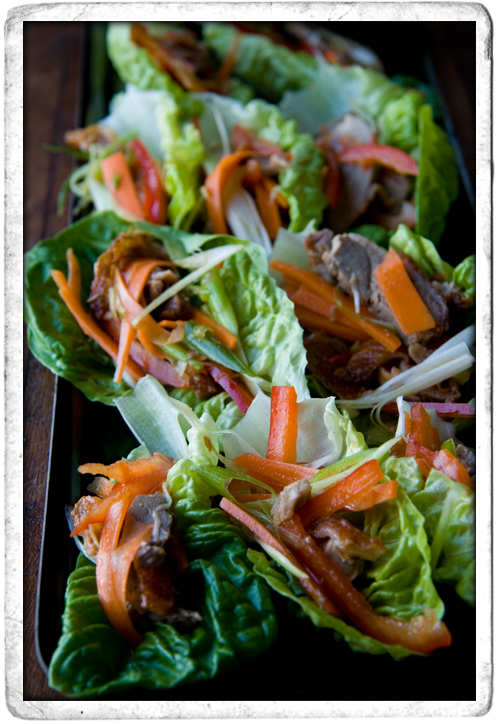
:: Mini Aromatic Duck Salads
:: CAJUN SALMON WITH ASIAN GREENS

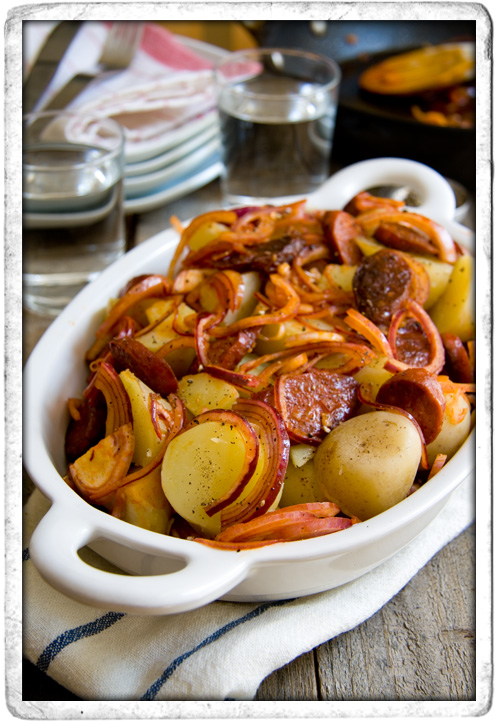
:: Warm Chorizo, Red Onion and Baby Potato Salad
:: MOOD FOOD YAKI SOBA

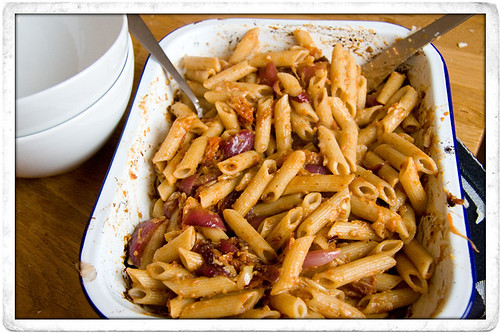
:: Whoohaa Chorizo Bean Pasta and a 60th Wedding Anniversary Dinner!

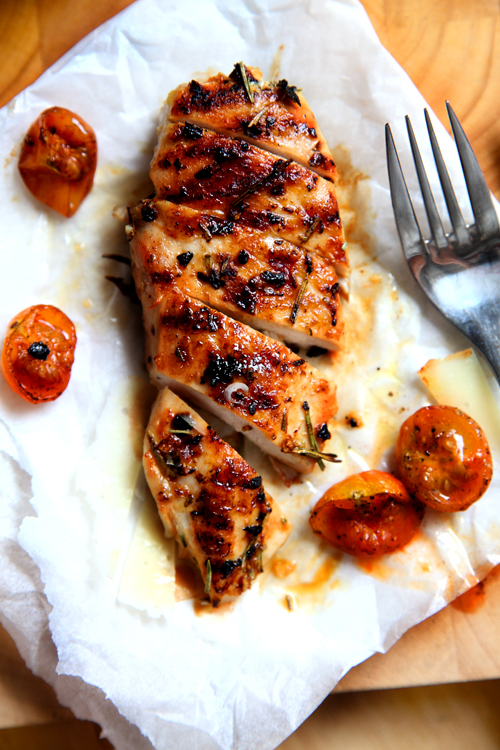
:: Garlic and Rosemary Chicken with Roast Cherry Tomato Salad
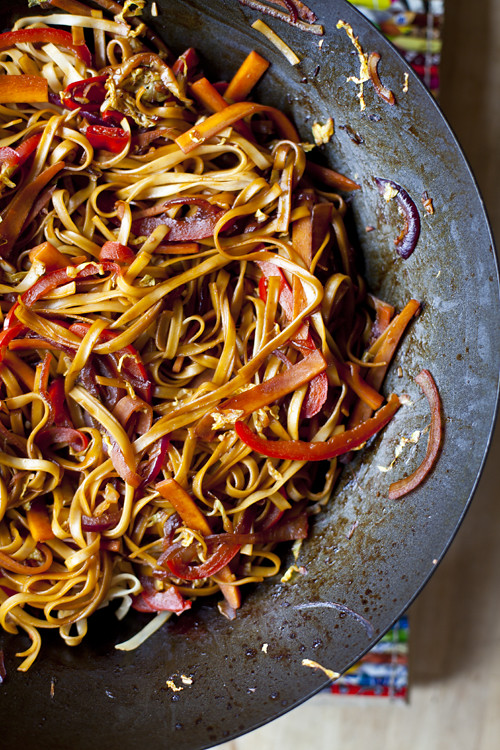
:: Zingy Quick and Tasty Stir-Fry
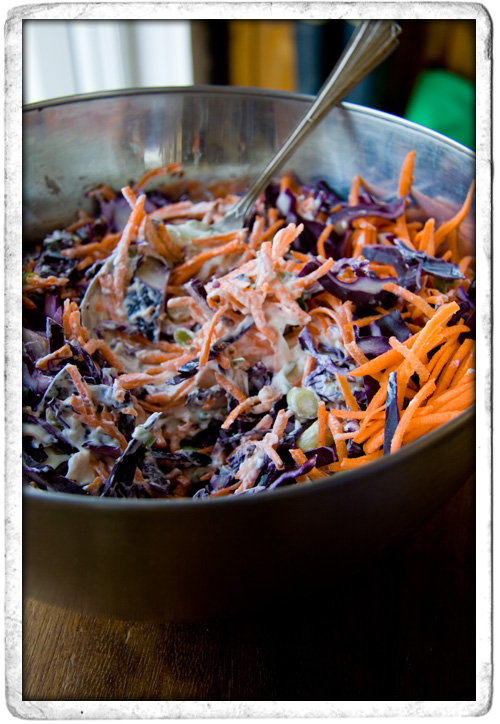
:: Red Cabbage and Carrot Coleslaw
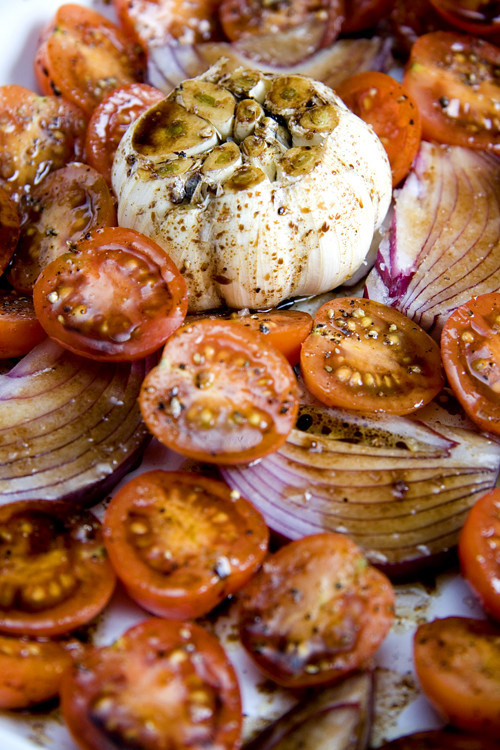
:: Mushy Roast Garlic and Cherry Tomato Pasta
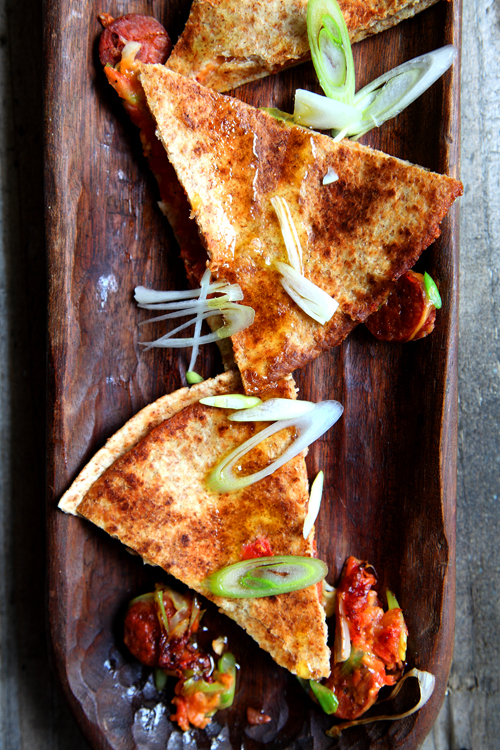
:: Chorizo and Spring Onion Quesidillas
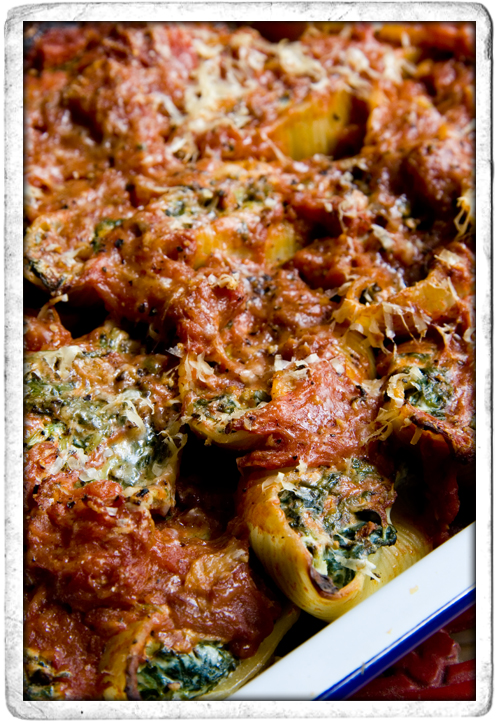
:: Spinach and Riccotta Stuffed Pasta Shells
:: Mushy Roast Garlic and Cherry Tomato Pasta
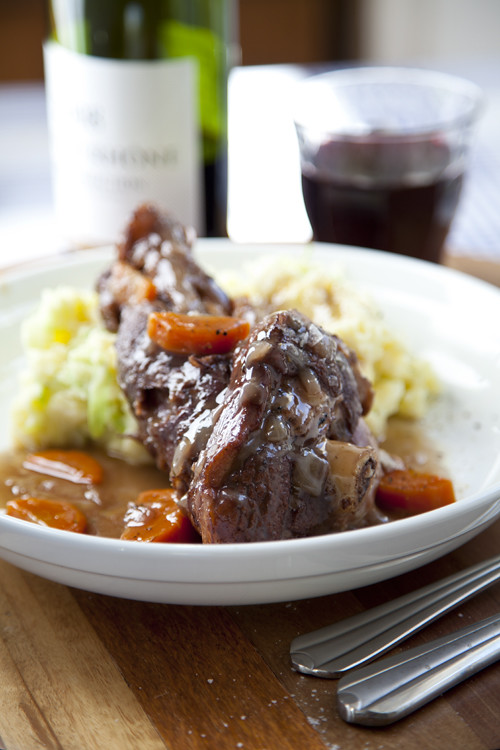
:: Lamb Shanks with Colcannon Mash
::Spicy Sticky Roast Squash Salad!

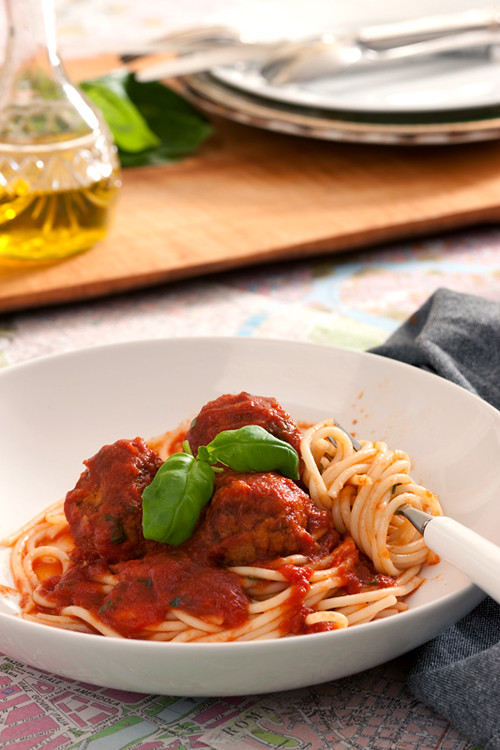
:: Catherine Fulvio's Meatballs in Spicy Tomato Sauce
:: Easy Quick Roast Chicken Dinner


