We Love Cooking! [Search results for salt]
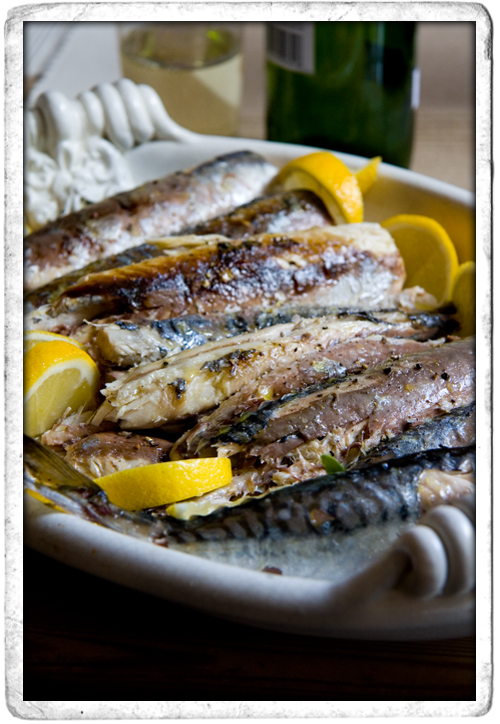
:: BBQ Mackerel with lemon and Smoked Sea Salt
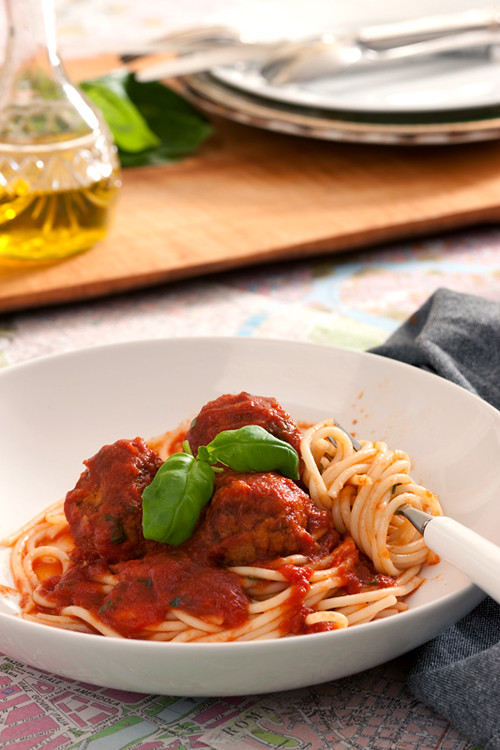
:: Catherine Fulvio's Meatballs in Spicy Tomato Sauce
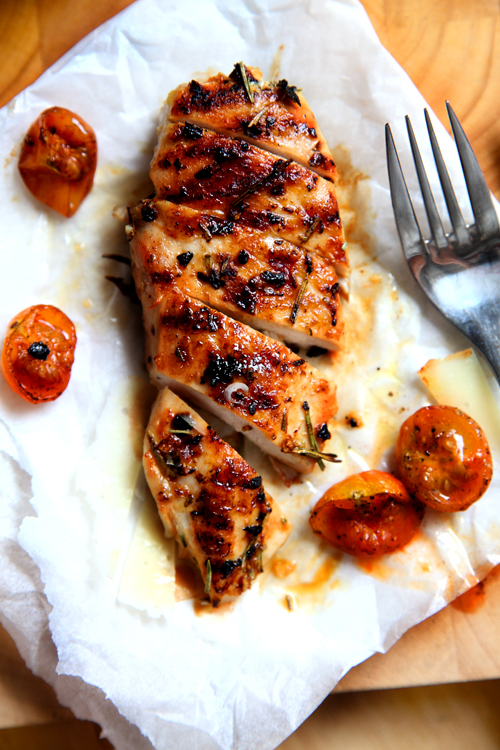
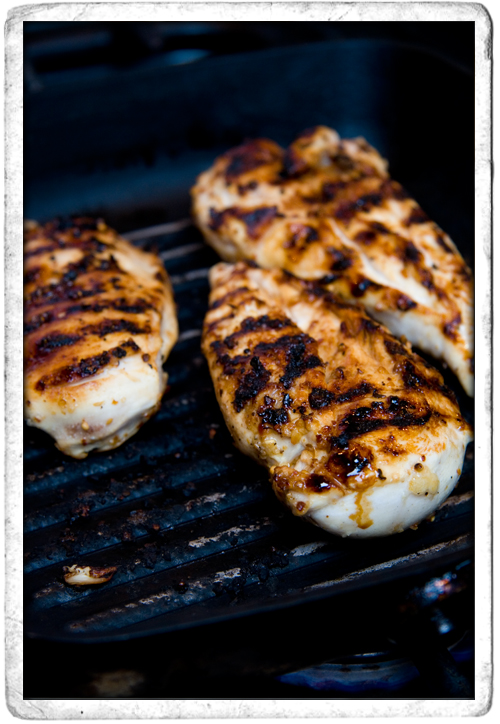
:: Garlic and Rosemary Chicken with Roast Cherry Tomato Salad
:: Winner of Lily's Eco Clean Products!

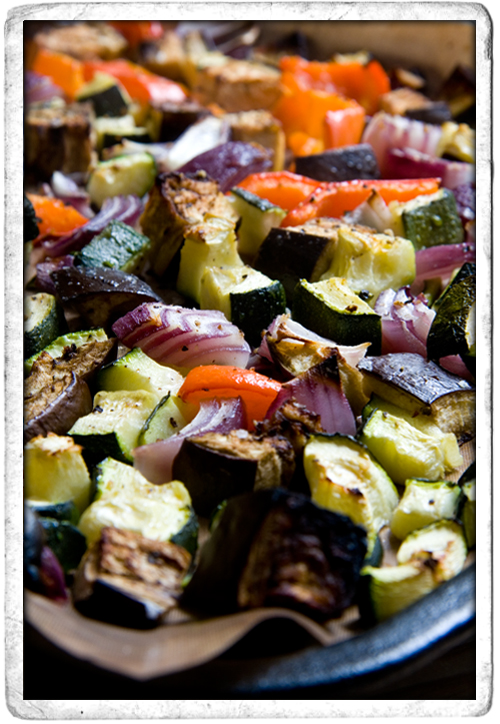
:: Mediterranean Roast Vegetables with Bulgar Wheat
:: RAINY DAY MEDITERRANEAN HOMEMADE PIZZA

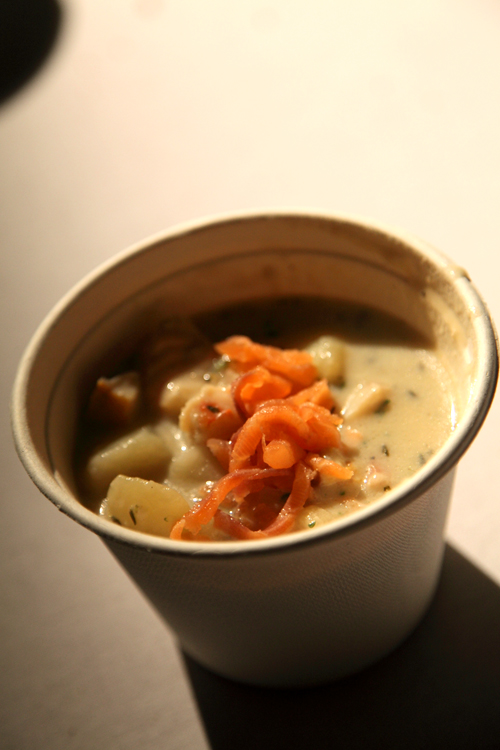
:: Irish Seafood Chowder
:: Leila Lindholm's Baguettes

:: A Swedish Lunch: Roast Tomatoes with Mozzarella and Red Onion and Cucumber and Fennel Lentil Salad

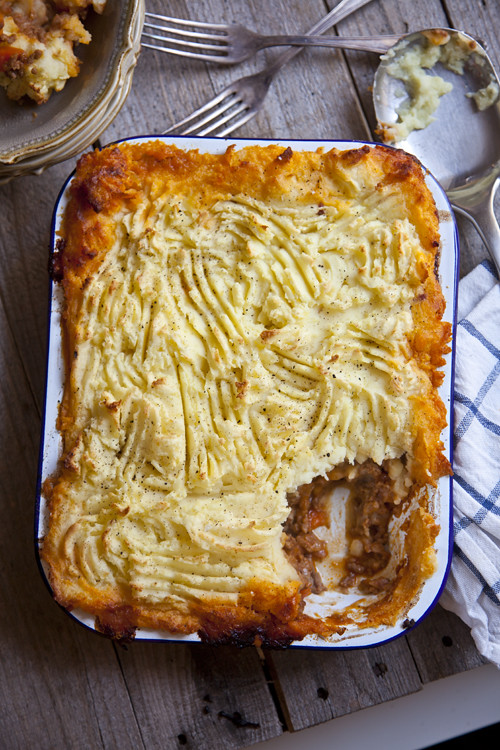
:: Roast Garlic Shepherd's Pie
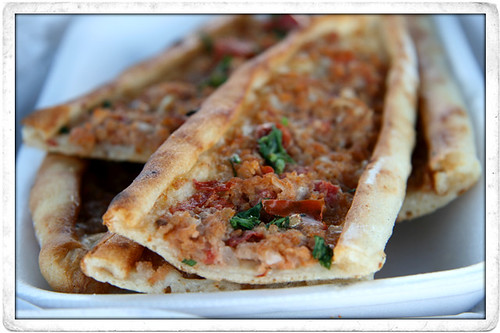
:: Turkish Pizza Recipe!
:: Whoopie Pies: The New Cupcake?

:: Bulgarwheat Chicken Rocket and Parsley Salad
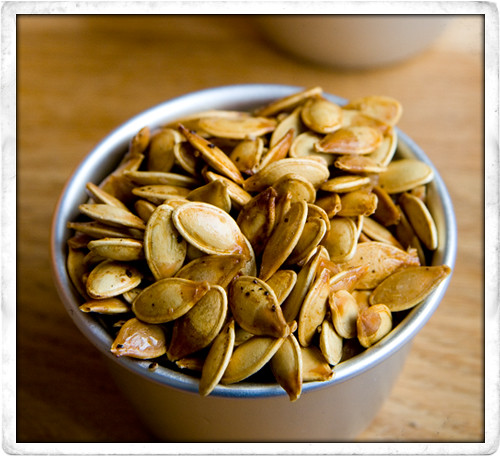
:: Carving Pumpkins and Toasted Pumpkin Seeds!
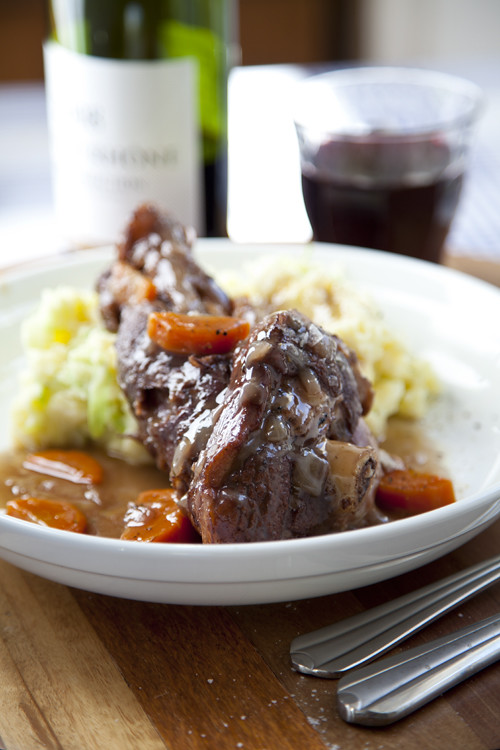
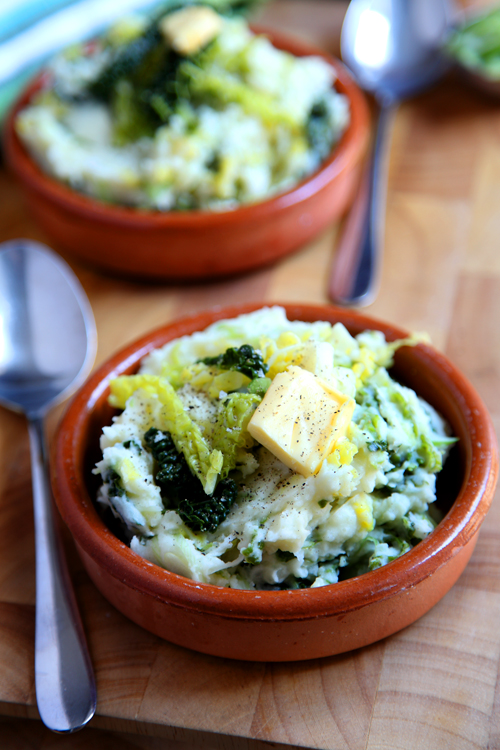
:: Lamb Shanks with Colcannon Mash
:: Traditional Irish Food: Colcannon and the inside scoop on last nights food demo!
:: Easy Quick Roast Chicken Dinner

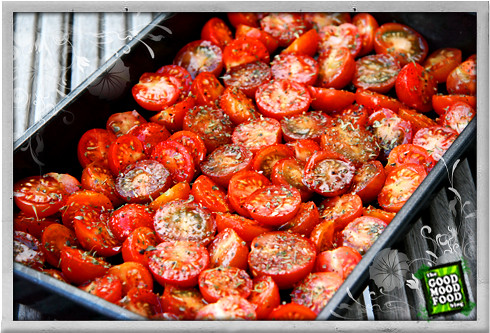
:: Basil Pesto and Roasted Balsamic Cherry Tomatoes
:: Oregano Lamb Chops and Carrot and Cabbage Salad

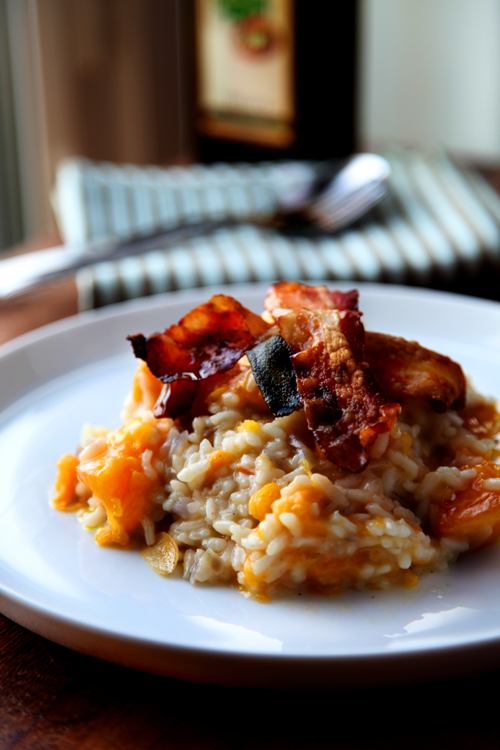
:: Pumpkin and Crispy Pancetta Risotto