We Love Cooking! [Search results for sea salt]
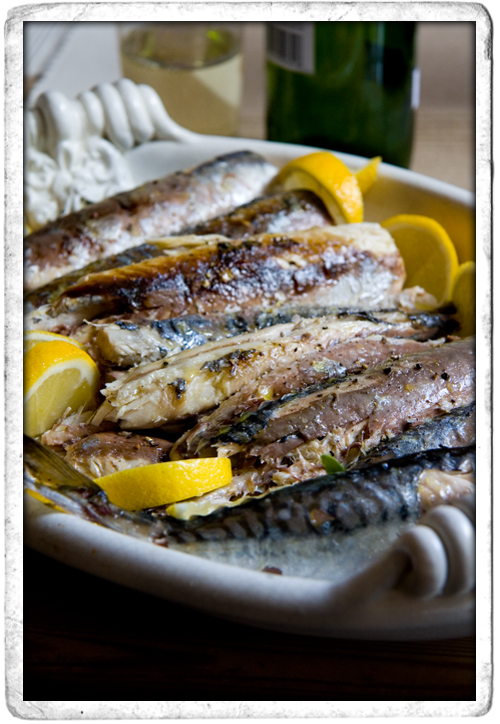
:: BBQ Mackerel with lemon and Smoked Sea Salt
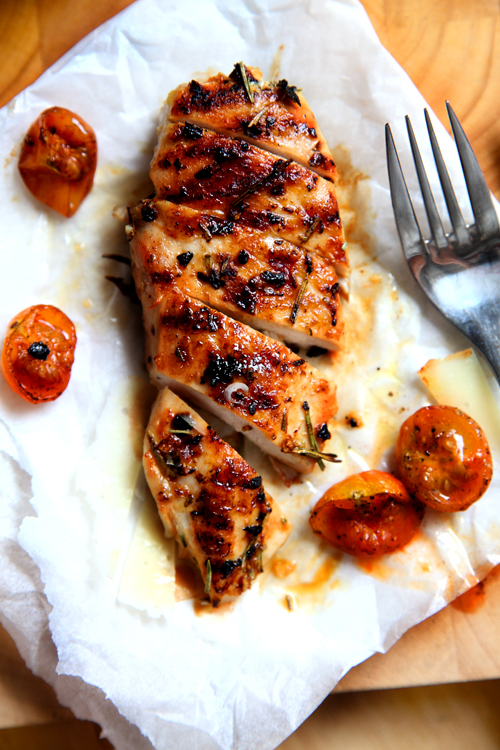
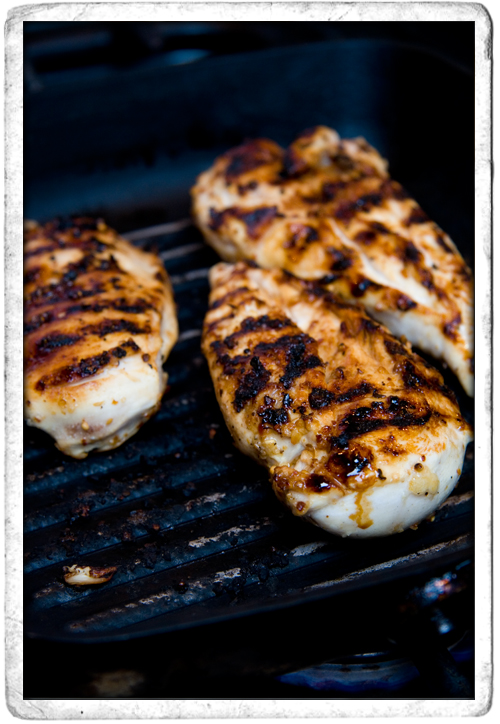
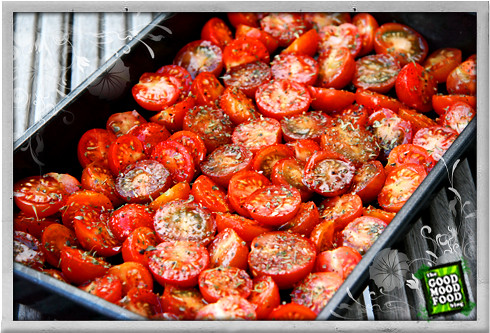
:: Garlic and Rosemary Chicken with Roast Cherry Tomato Salad
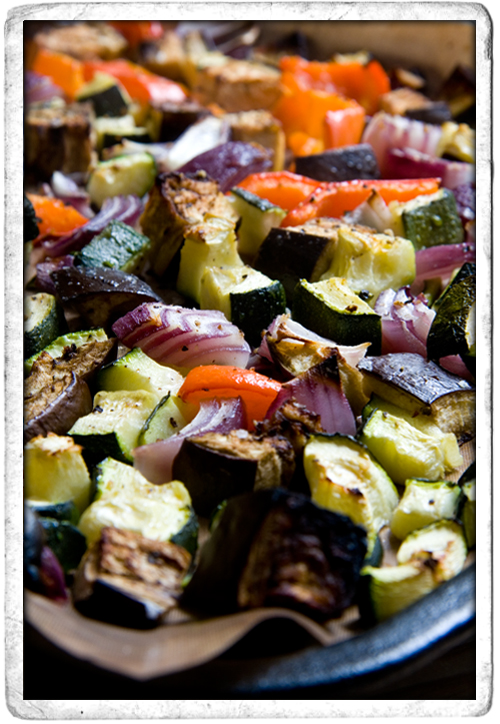
:: Mediterranean Roast Vegetables with Bulgar Wheat
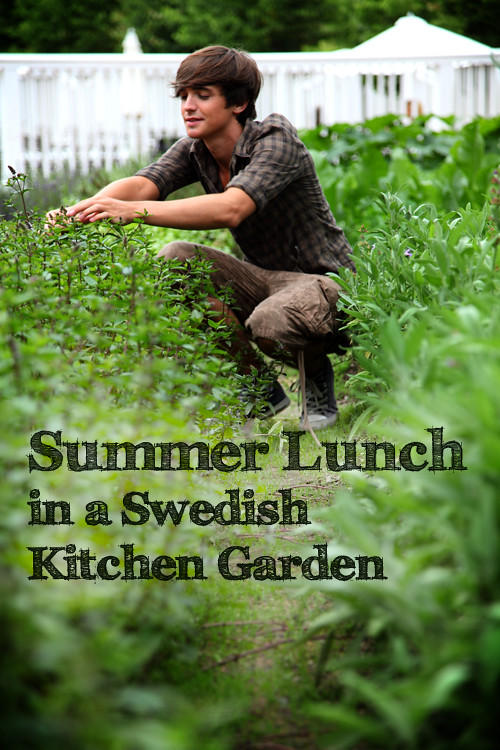
:: A Swedish Lunch: Roast Tomatoes with Mozzarella and Red Onion and Cucumber and Fennel Lentil Salad
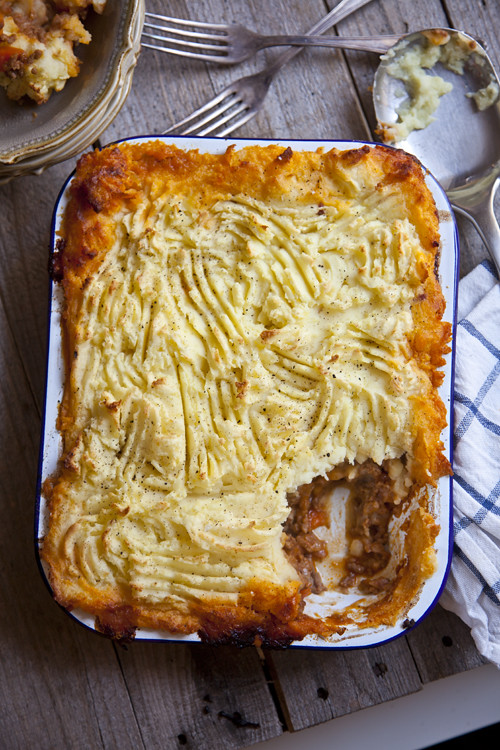
:: Roast Garlic Shepherd's Pie
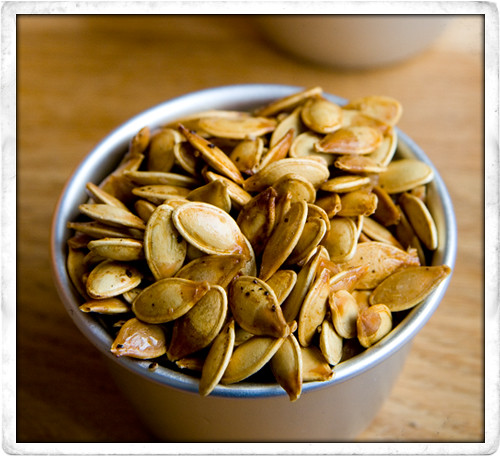
:: Carving Pumpkins and Toasted Pumpkin Seeds!
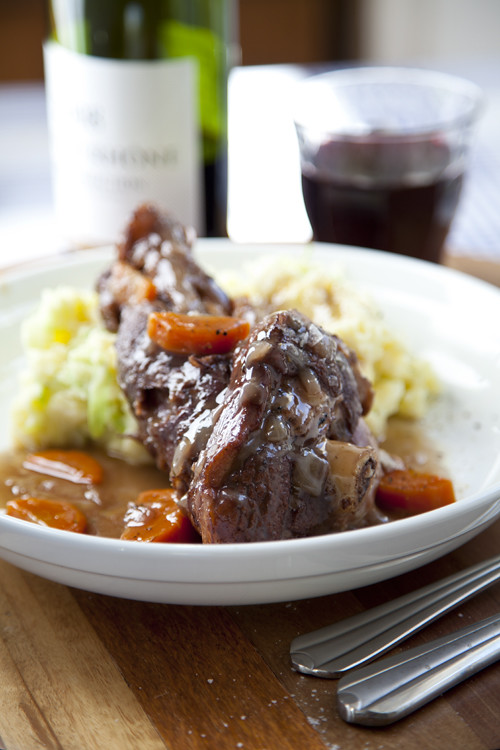
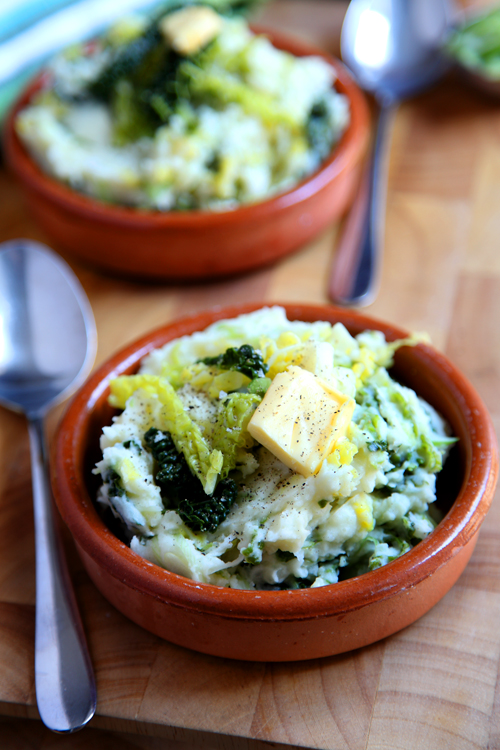
:: Lamb Shanks with Colcannon Mash
:: Traditional Irish Food: Colcannon and the inside scoop on last nights food demo!
:: Easy Quick Roast Chicken Dinner

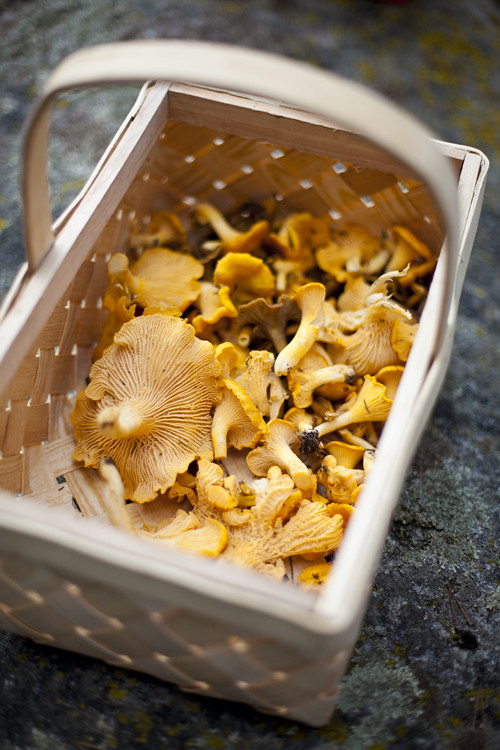
:: Swedish Mushroom Hunting and Simply Cooked Chanterelles with Garlic Toast!
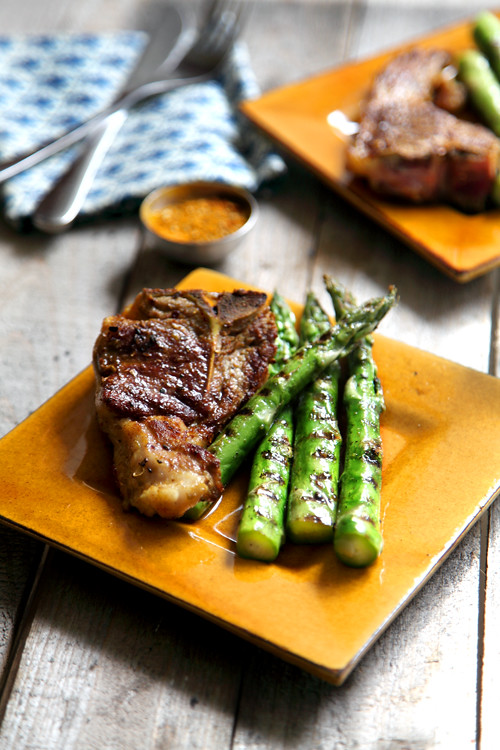
:: New Season Spiced Lamb with Simple Griddled Asparagus
:: Bulgarwheat Chicken Rocket and Parsley Salad
:: Basil Pesto and Roasted Balsamic Cherry Tomatoes
:: Oregano Lamb Chops and Carrot and Cabbage Salad

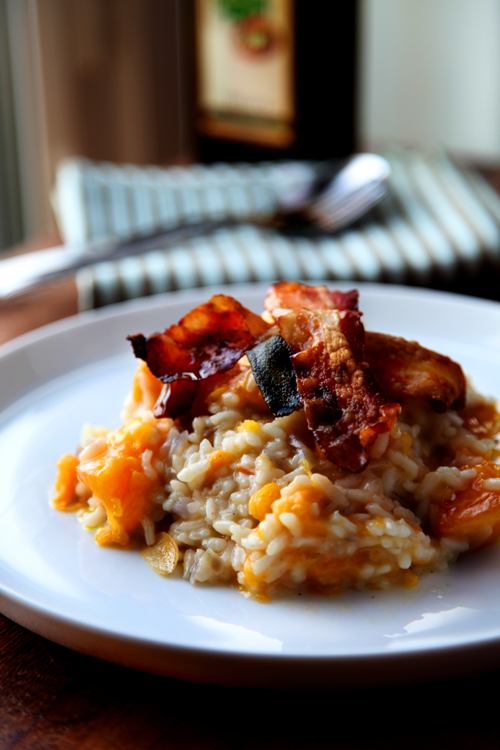
:: Pumpkin and Crispy Pancetta Risotto
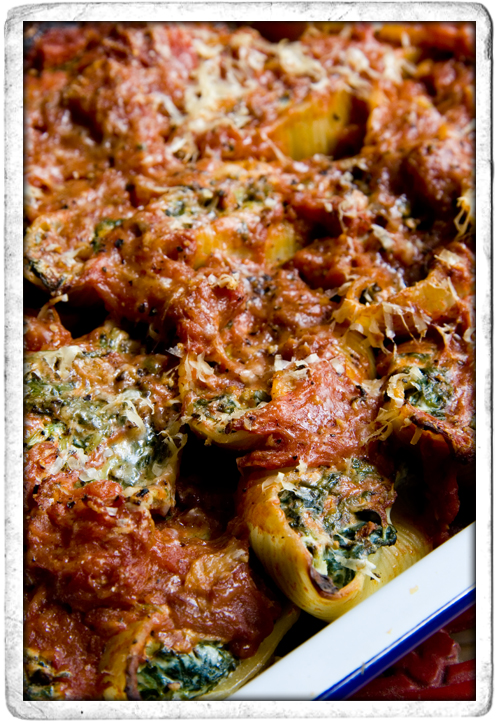
:: Spinach and Riccotta Stuffed Pasta Shells
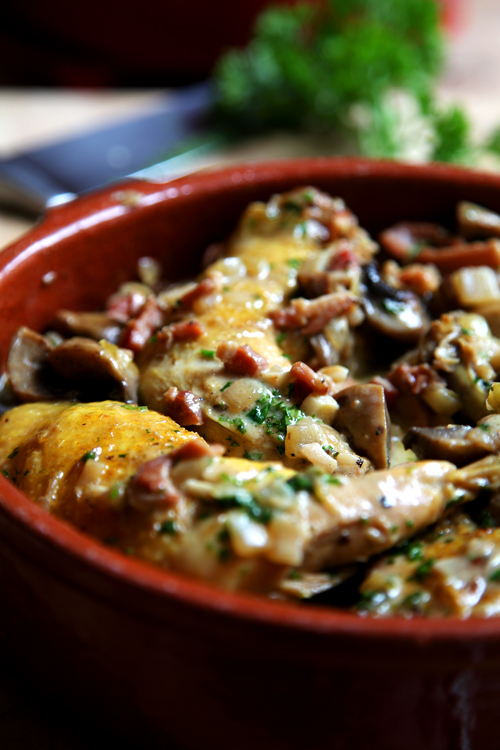
:: Coq Au Vin
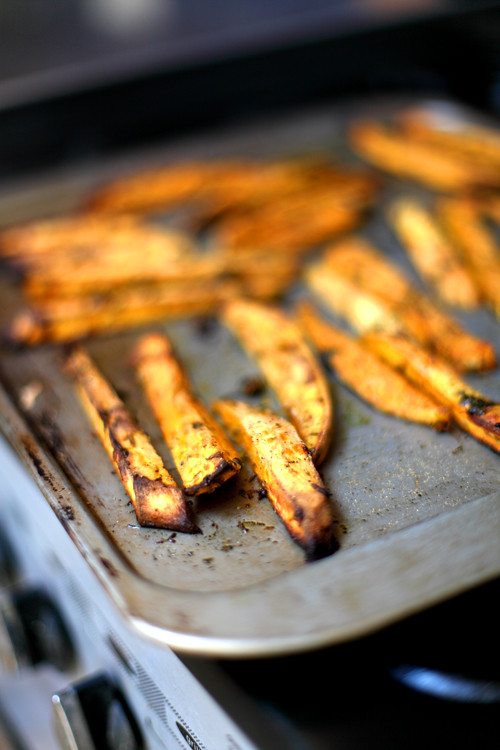
:: Herby Sweet Potato Chips
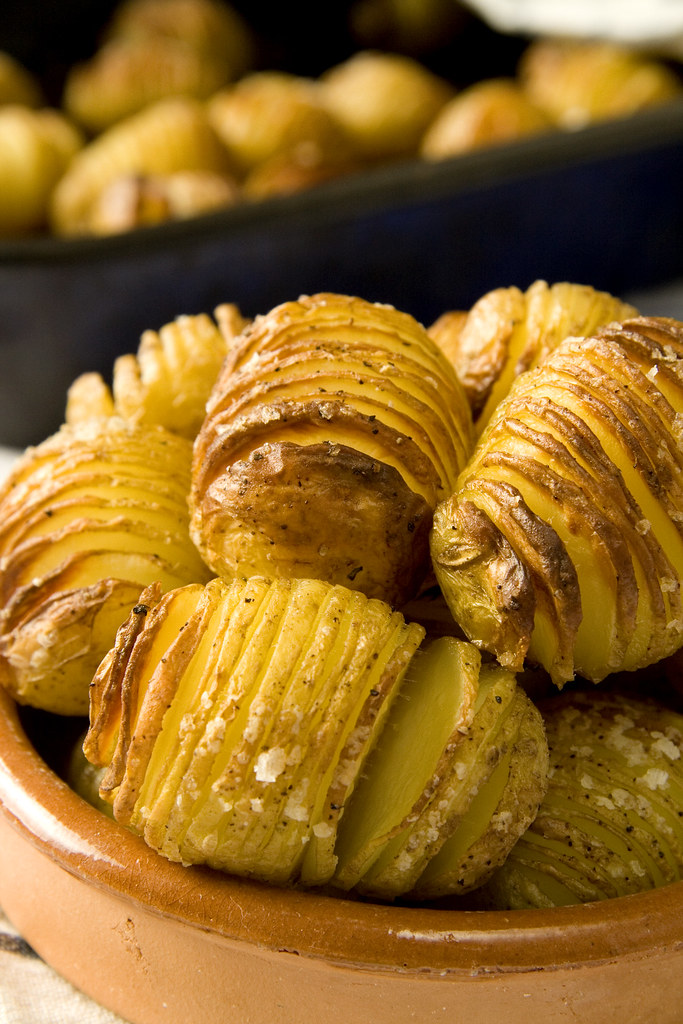
:: Crispy Hasselback Potatoes
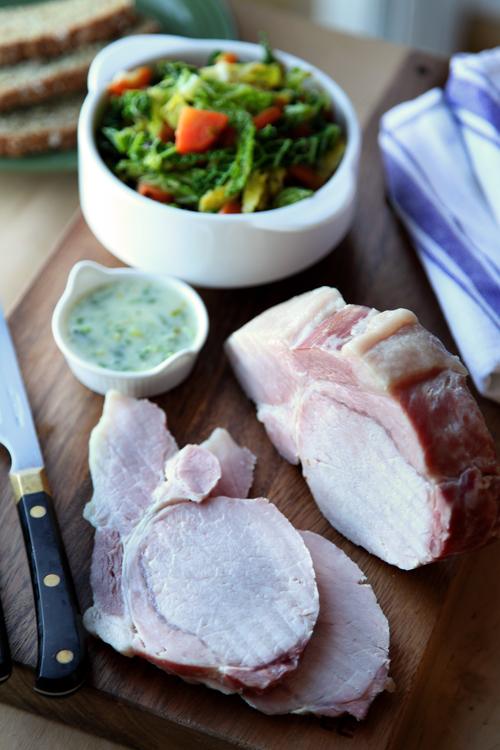
:: Good Auld Bacon and Cabbage! Exploring Traditional Irish Cooking!