We Love Cooking! [Search results for sunflower oil]
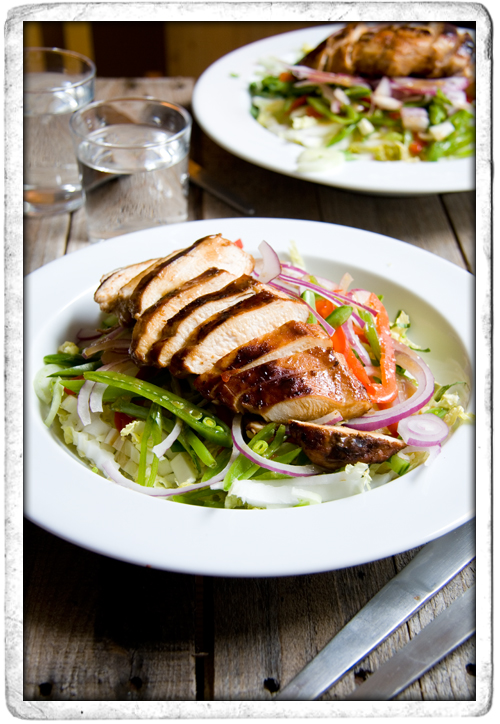
:: Asian Teriyaki Chicken Salad
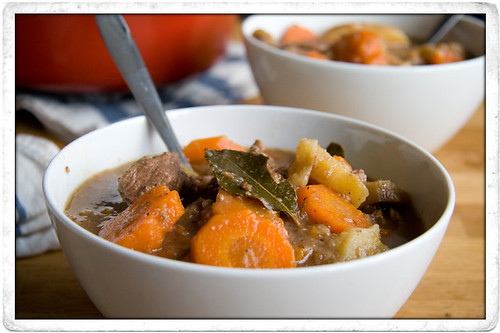
:: Good Mood Food Irish Stew
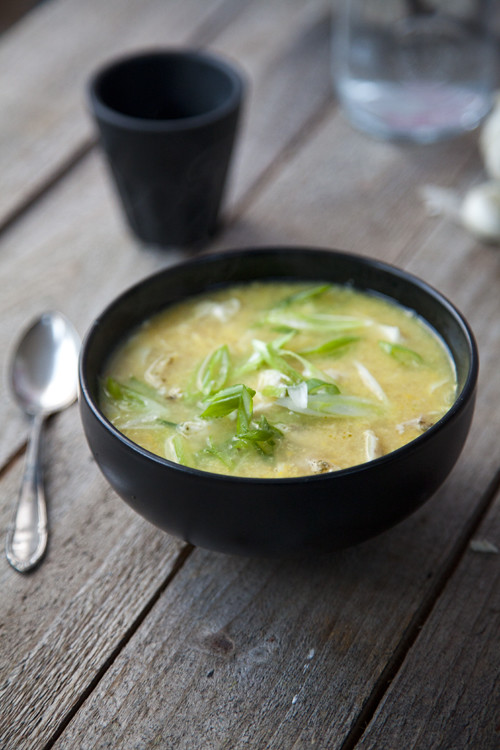
:: Stop Food Waste: Leftover Chicken & Sweetcorn Soup
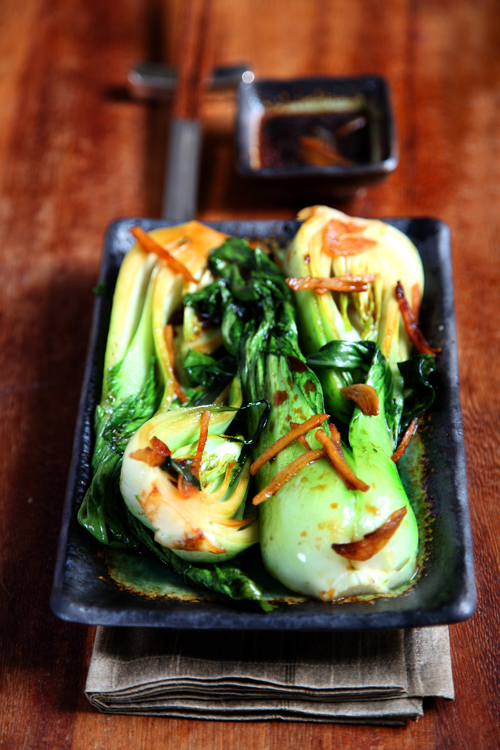
:: Ginger and Garlic Braised Bok Choy
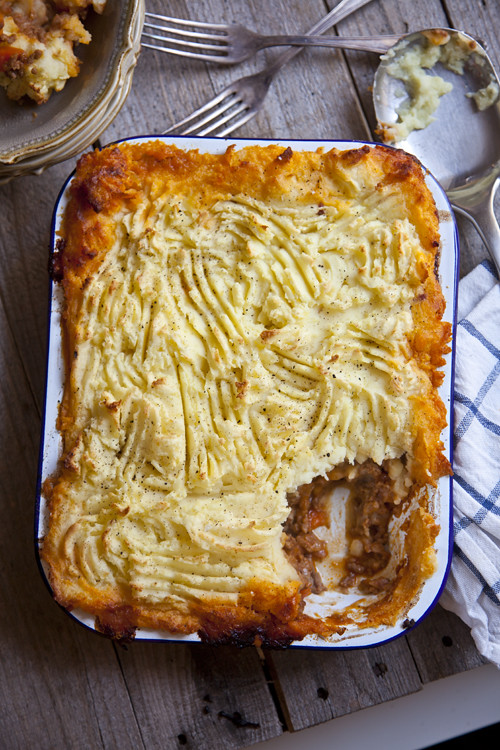
:: Roast Garlic Shepherd's Pie
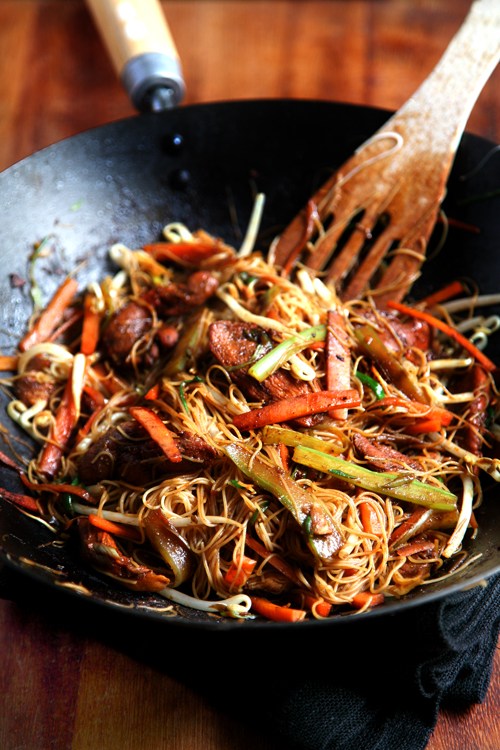
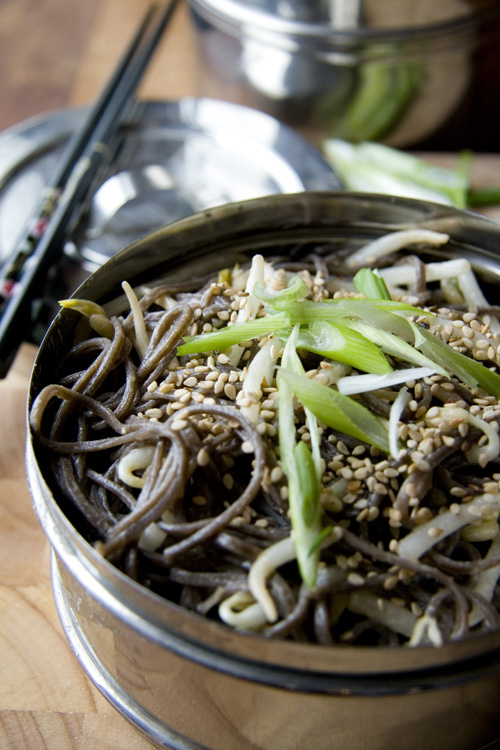
:: Healthy Singapore Noodles
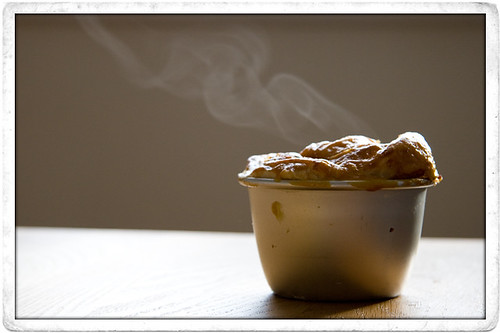
:: Mini Beef and Mushroom Pies!
:: Tahini Noodle Toss
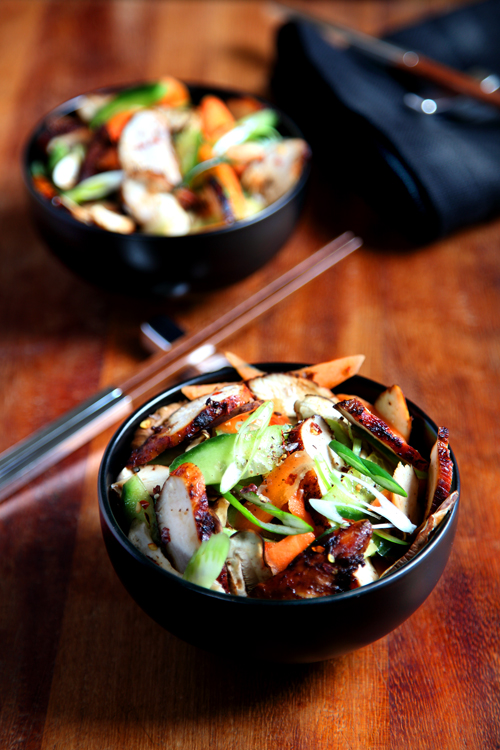
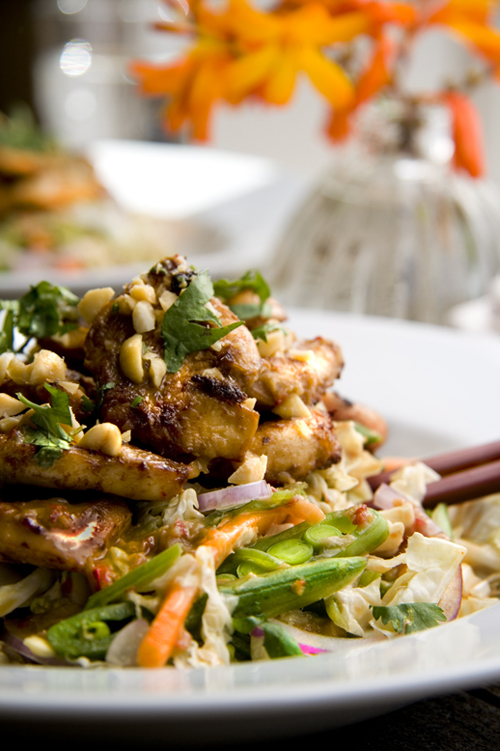
:: Spicy Sichuan Chicken Salad
::Stir Fry Lunch

:: NUT FREE PESTO

:: Blueberry and Banana Breakfast Muffins

:: Irish Tatler and Asian Chicken Salad with Chilli, Ginger and Lime Dressing
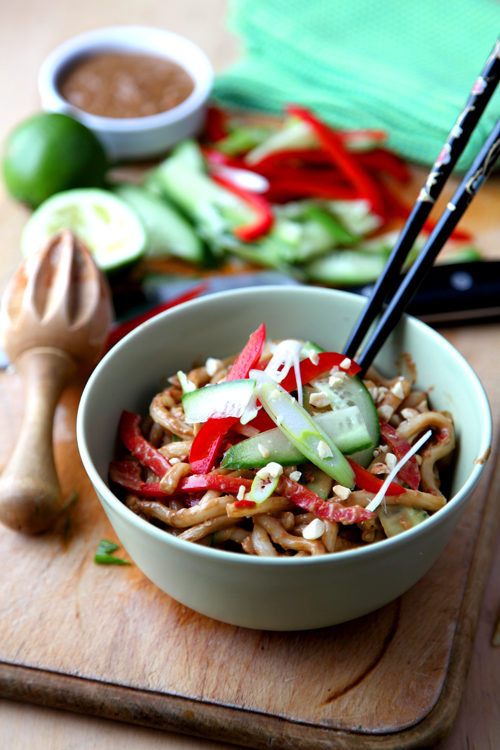
:: Crunchy Peanut Satay Noodles
:: Simply Sourced and Oriental Steak Salad

:: Fortune Cookies!

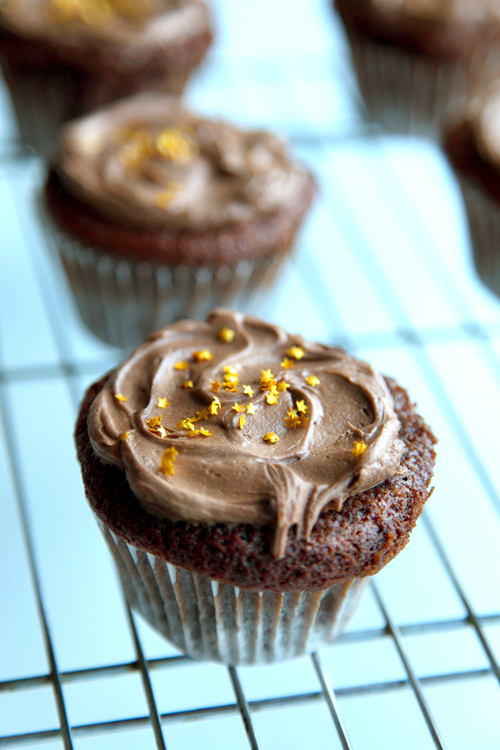
:: Chocolate Fudge Cupcakes and The Highs and Lows Of The Music Biz!
:: Naughty Chocolate Fudge Cake: Happy Birthday!

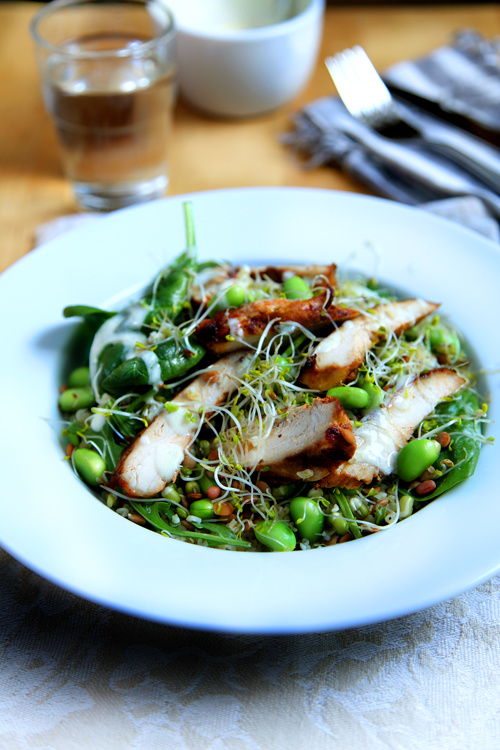
:: Rocket Power Chicken Superfood Salad
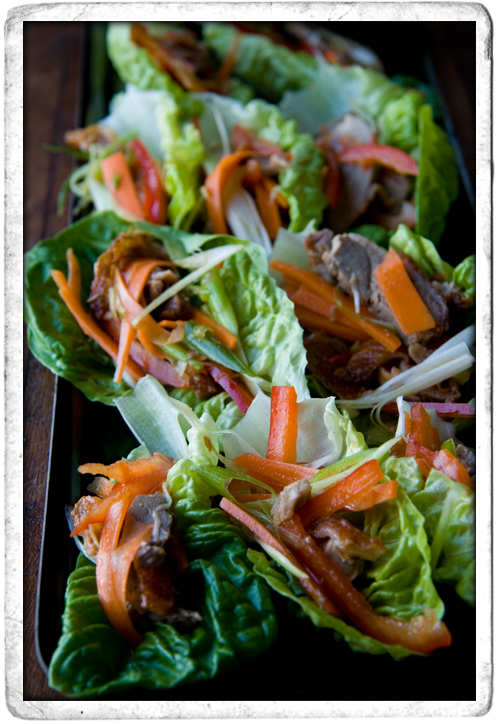
:: Mini Aromatic Duck Salads