We Love Cooking! [Search results for tea]
:: Halloween Barmbrack
:: Gizzi Erskine's Sticky Banoffee Pudding

:: Leila Lindholm's Baguettes

:: Winner of Lily's Eco Clean Products!

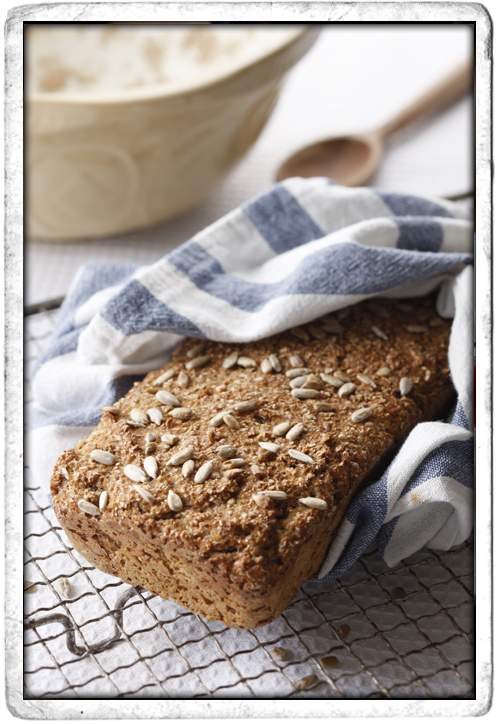
:: Irish Brown Yeast Bread
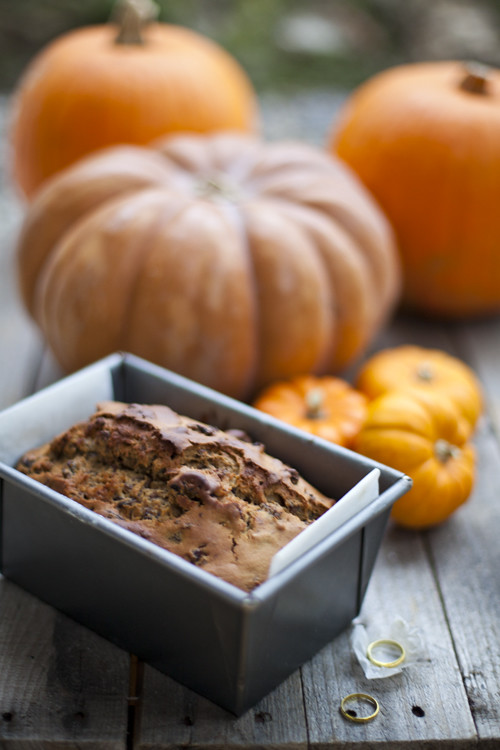
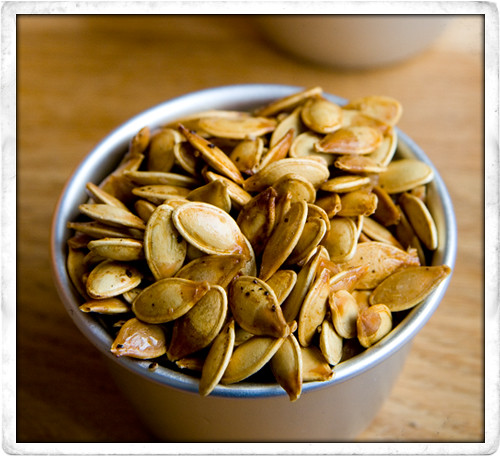
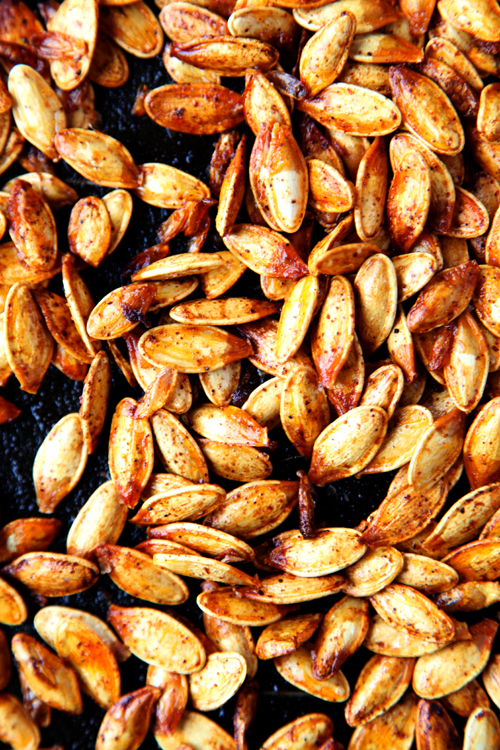
:: Carving Pumpkins and Toasted Pumpkin Seeds!
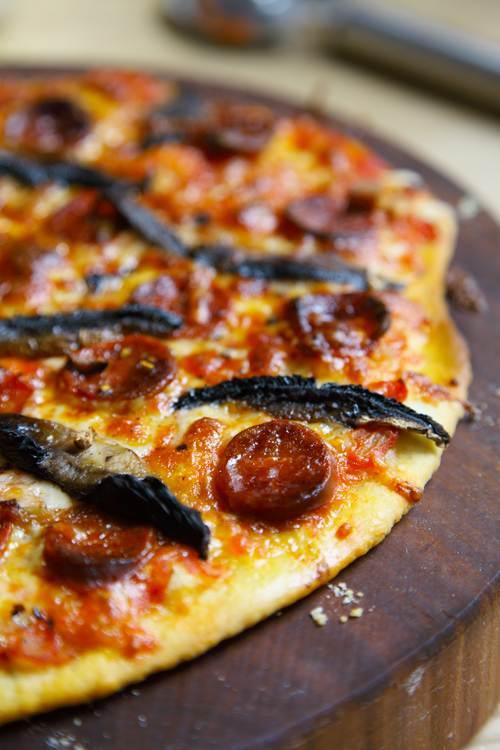
:: Chorizo and Mushroom Thin Crust Pizza
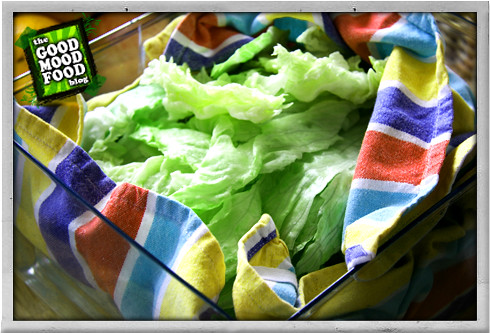
:: Easy Salad Preperation
:: Irish Food and Drink Blogs
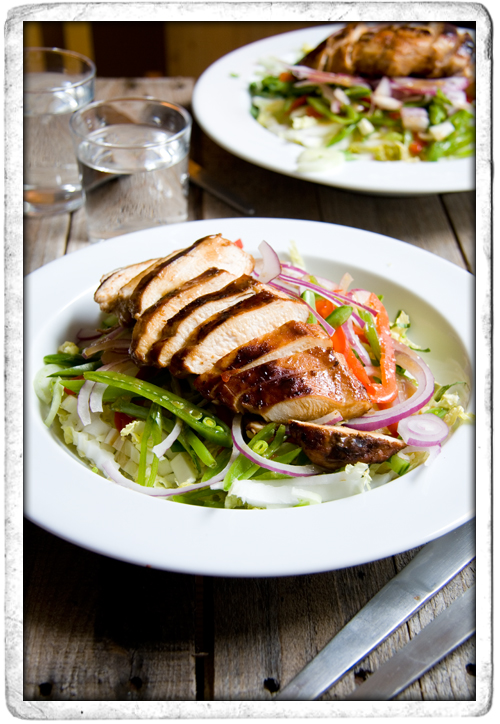
:: Asian Teriyaki Chicken Salad
:: Spicy Pumpkin Seeds
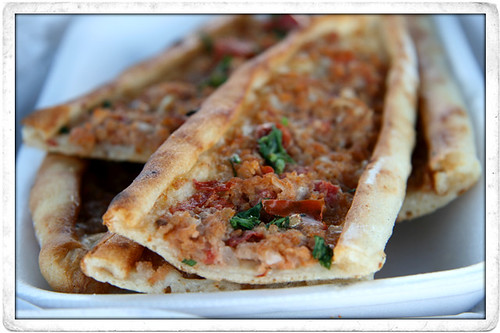
:: Turkish Pizza Recipe!
:: Kanel Bulle- Swedish Cinnamon Buns


