We Love Cooking! [Search results for vanilla sugar]
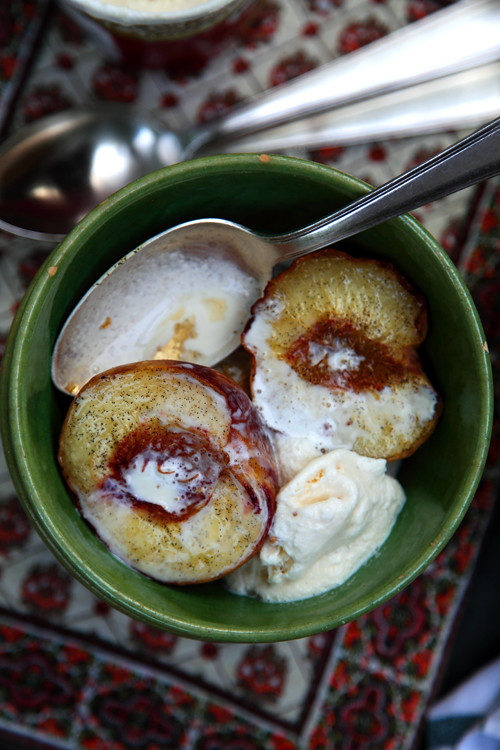
:: Baked Peaches with Vanilla Sugar
:: Leila Lindholm's High Hat Cupcakes
:: Leila Lindholm's Peanut Butter Cupcakes
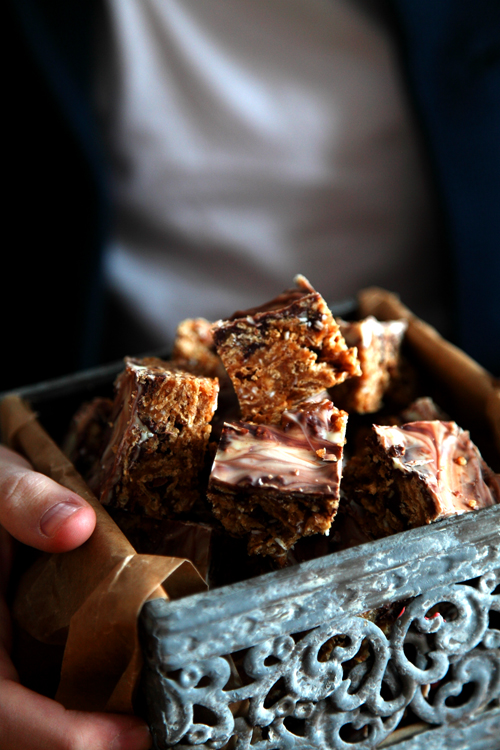
:: Peanut Butter Snicker Squares!
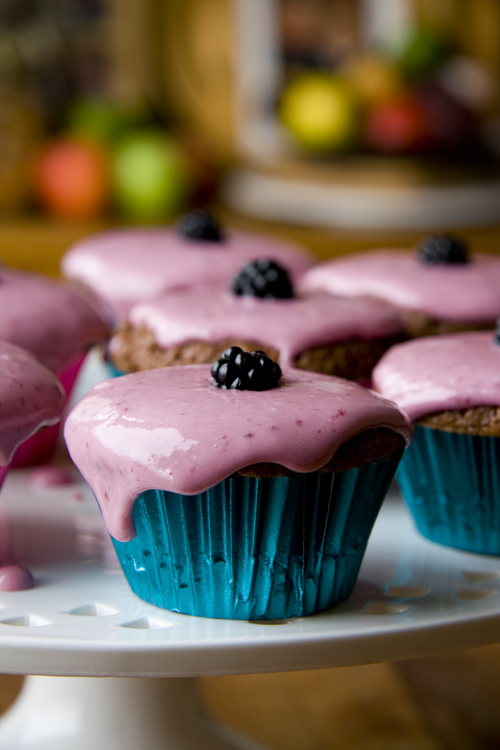
:: Blackberry Vanilla Cupcakes
:: Cherry Clafoutis

:: Gizzi Erskine's Sticky Banoffee Pudding

:: Deep Dish Chocolate Chip Cookies!
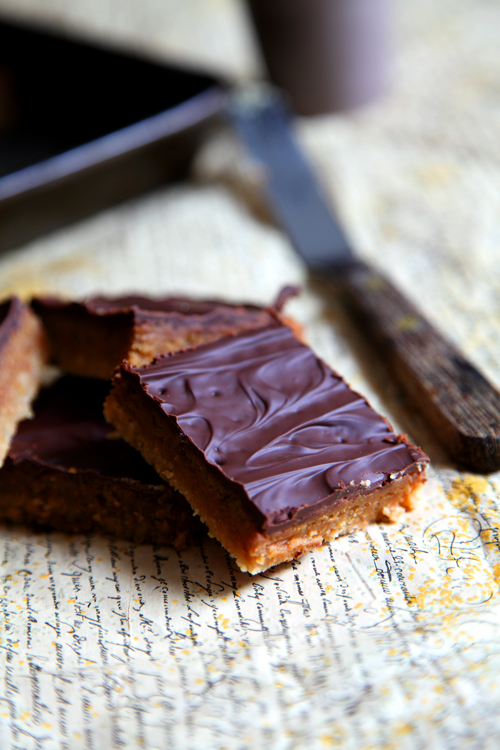
:: Bill Granger's Chocolate Caramel Slices
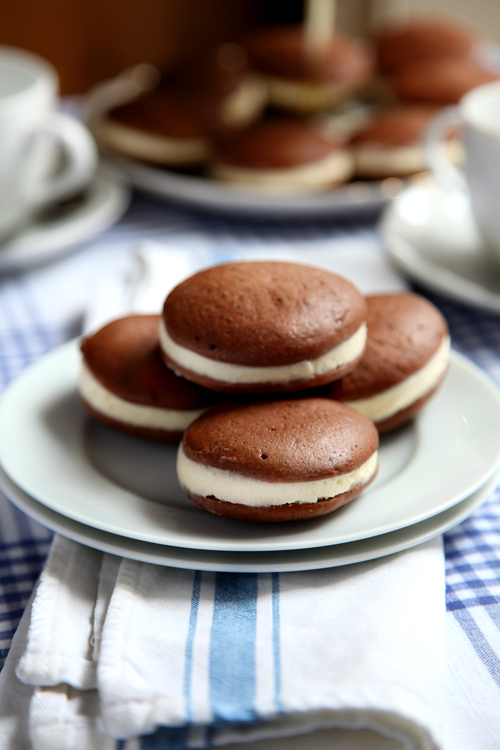
:: Whoopie Pies: The New Cupcake?
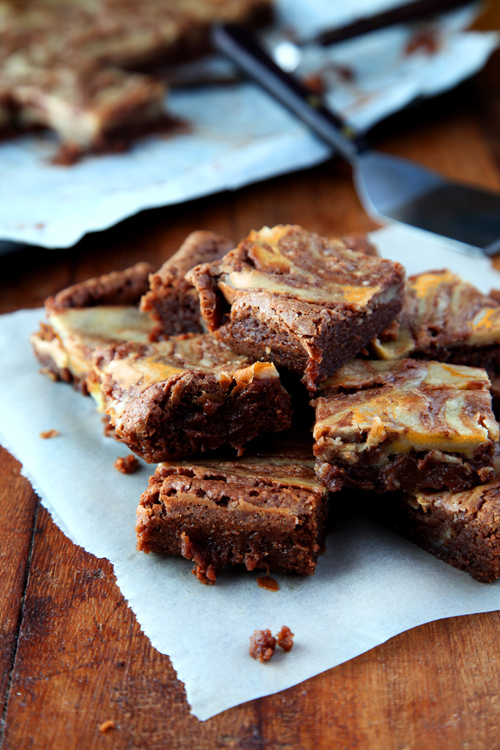
:: Chocolate Pumpkin and Pecan Brownies
:: Leila Lindholm's Butterscotch Pecan Pie
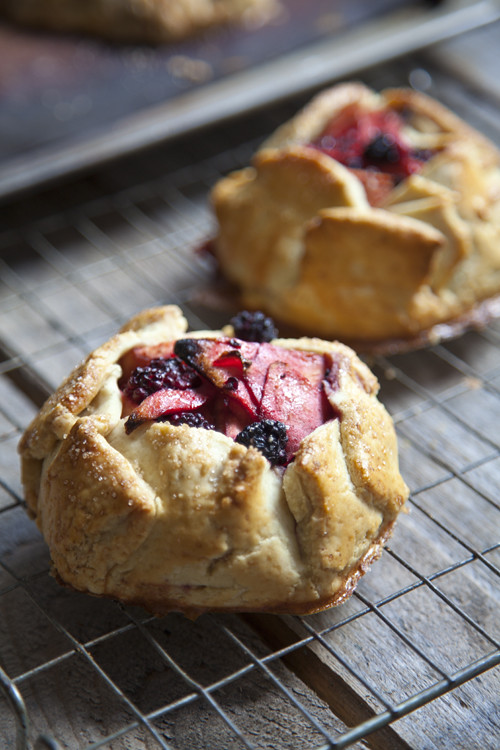
:: Rustic Apple and Blackberry Galettes
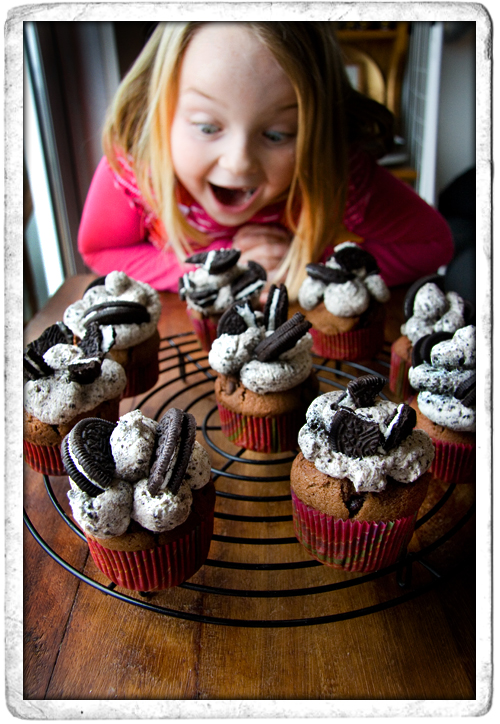
:: Chocolate Chip Oreo Cupcakes!
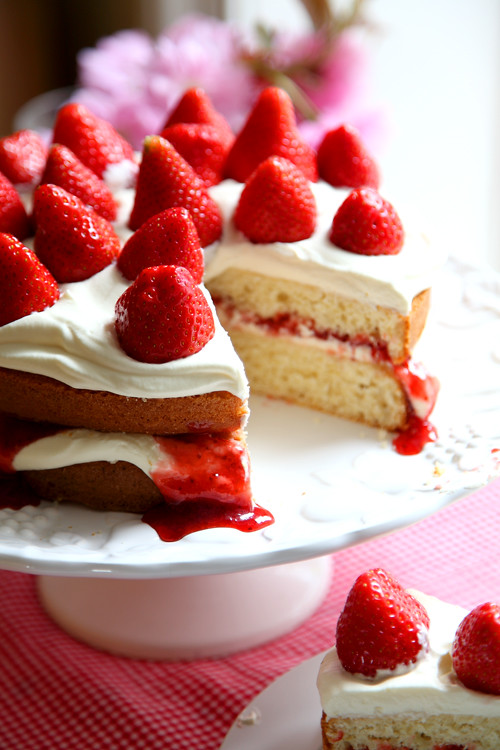
:: Mega Strawberry Summer Cake
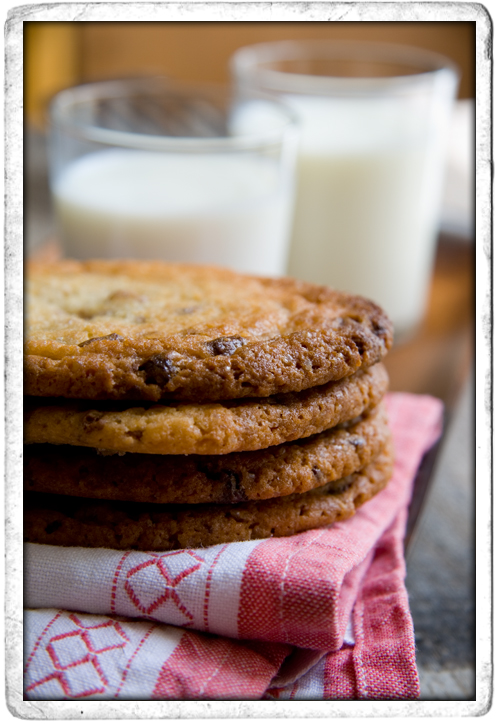
:: Chocolate Chip Cookies
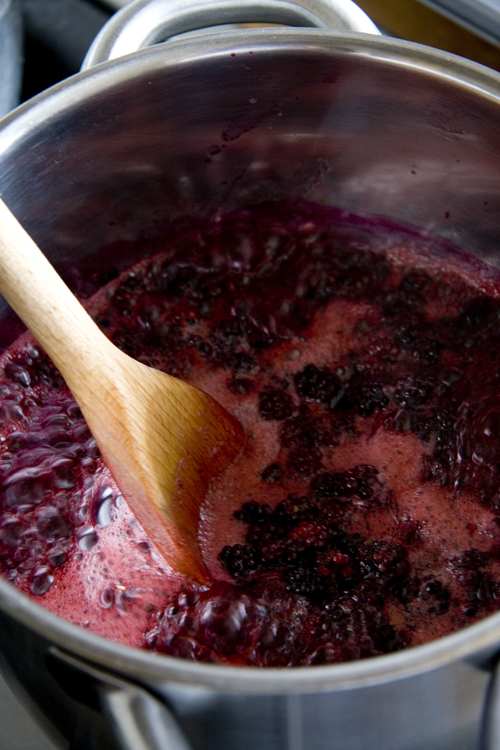
:: Blackberry Coulis
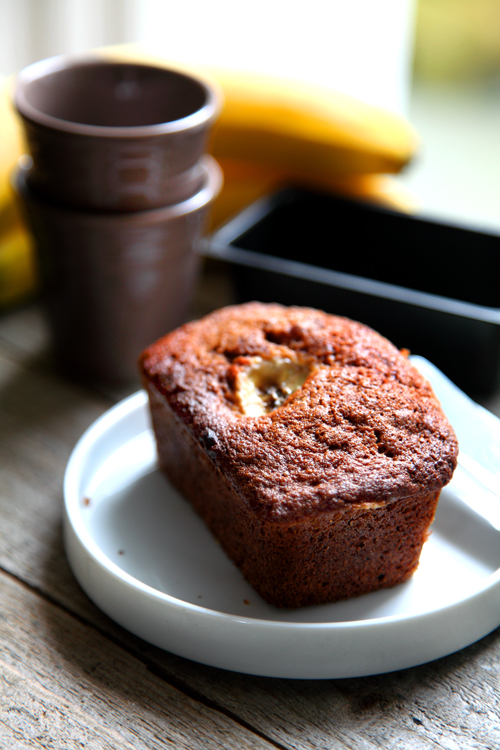
:: Auntie Ann's Banana Bread
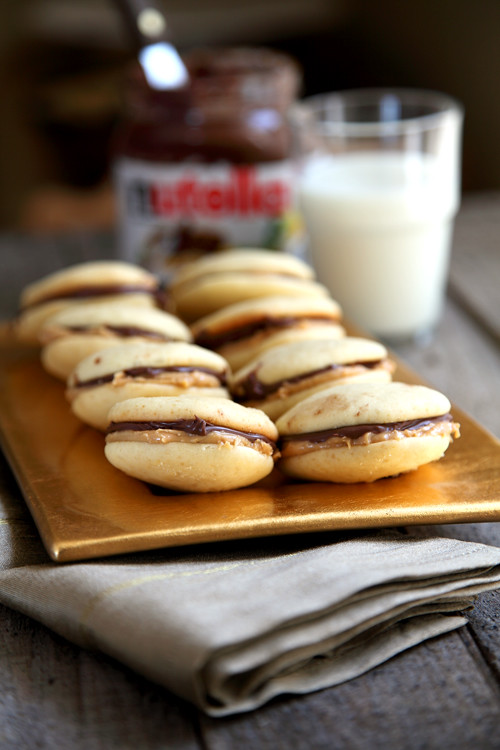
:: Go Nuts Nutella Whoopie Pies!
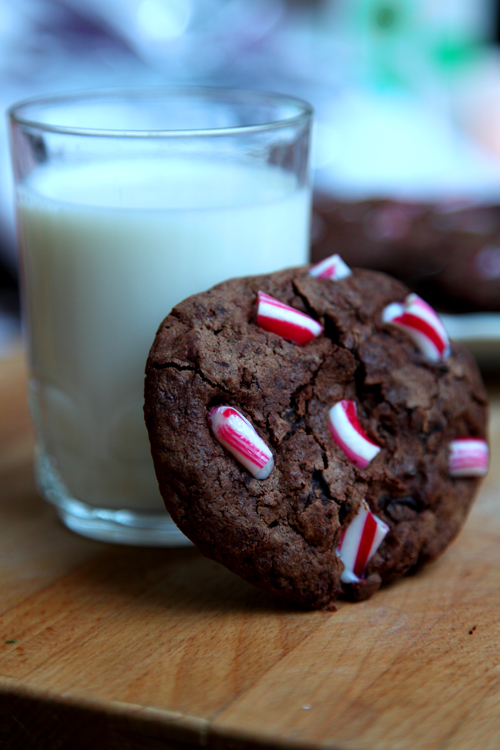
:: Chocolate Candy Cane Cookies