We Love Cooking! [Search results for ingredients]
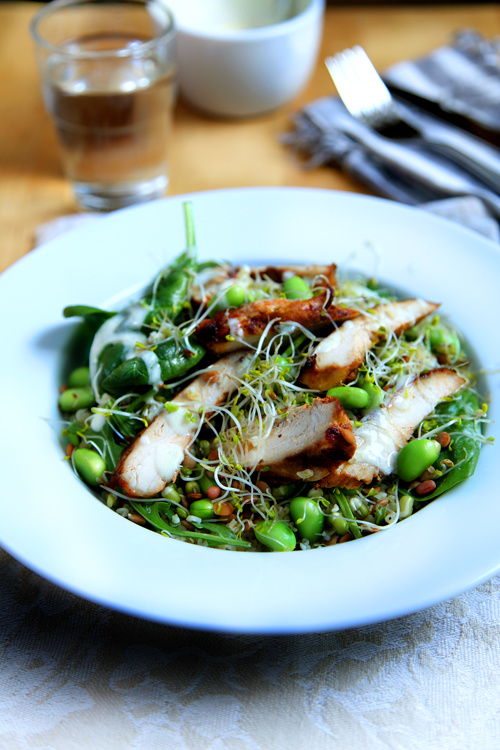
:: Rocket Power Chicken Superfood Salad
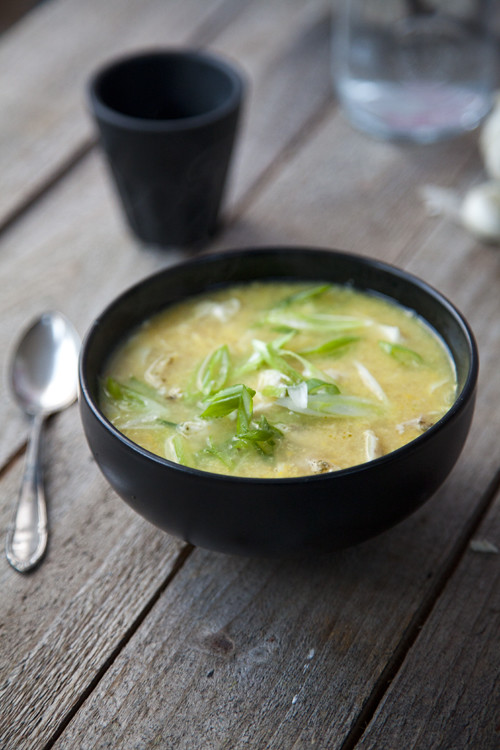
:: Stop Food Waste: Leftover Chicken & Sweetcorn Soup
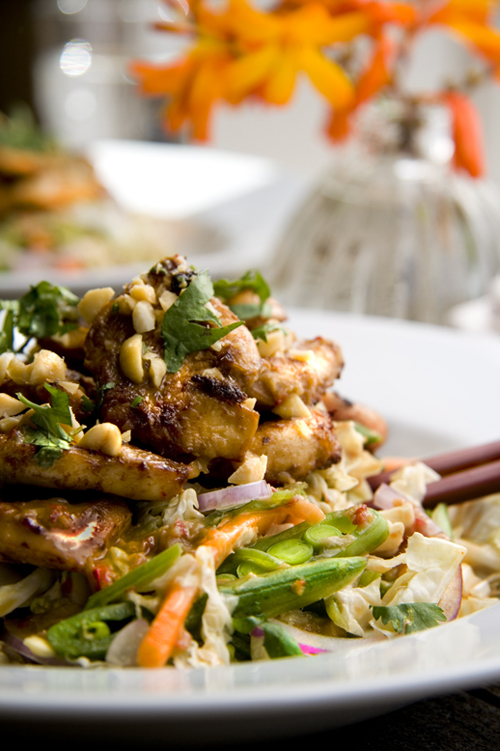
:: Irish Tatler and Asian Chicken Salad with Chilli, Ginger and Lime Dressing
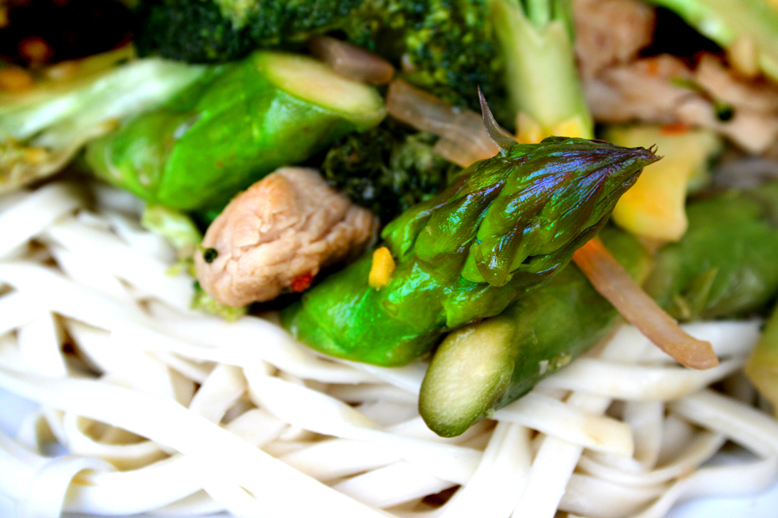
:: CHILLI CHICKEN BROCCOLLI ASAPARAGUS NOODLES
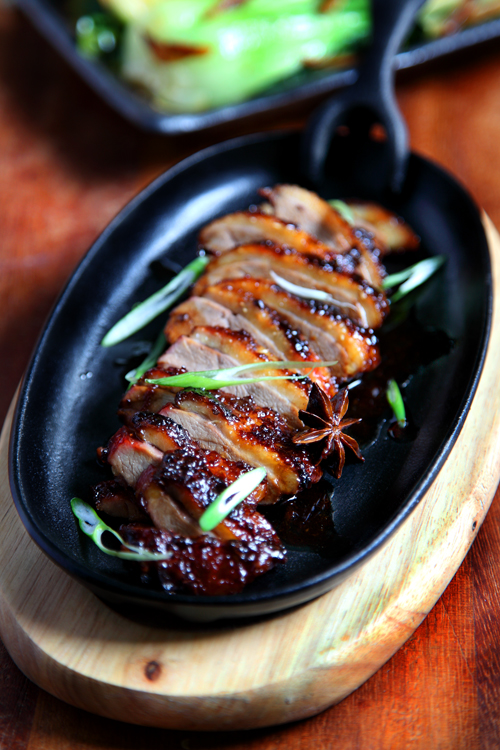
:: Sticky Star Anise Honey Duck
:: Avocado Lime and Tobasco Salsa

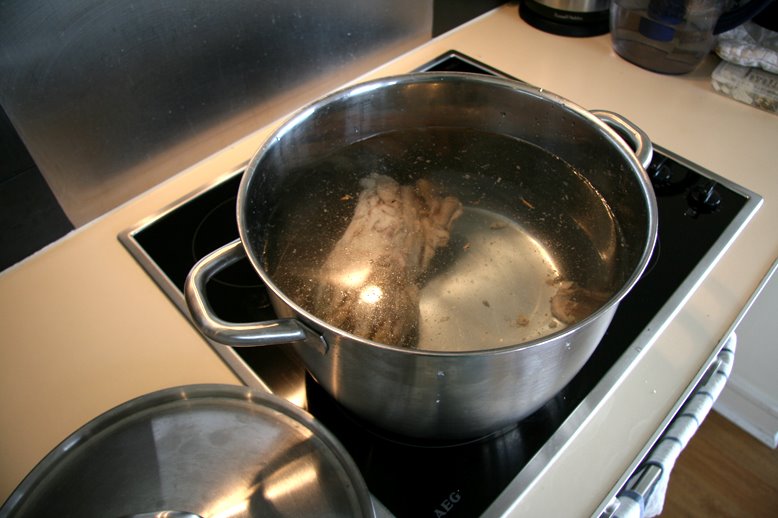
:: SIMPLE BASIC CHICKEN STOCK RECIPE
::The Asian Pantry

:: NUT FREE PESTO

:: The Afternoon Show Aftermath!
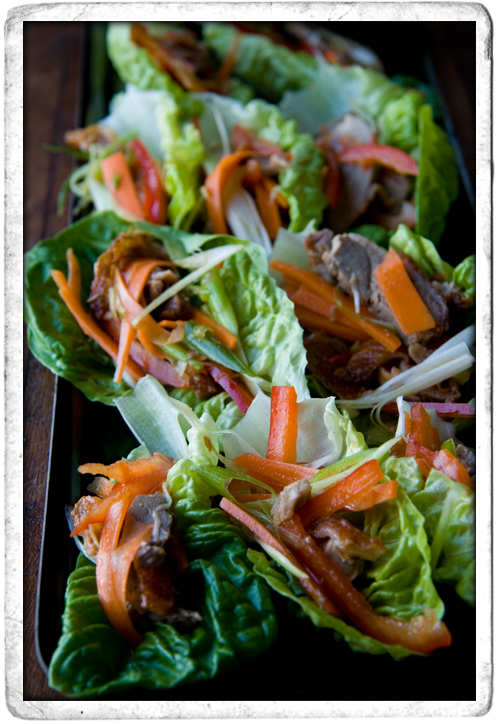
:: Mini Aromatic Duck Salads
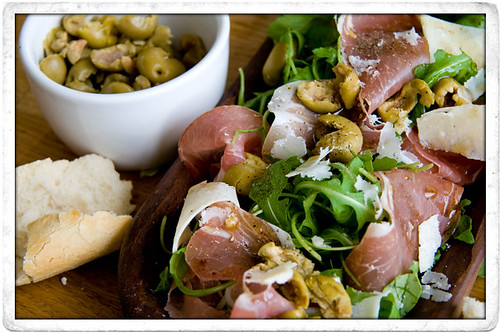
:: SIMPLE ANTIPASTO SALAD
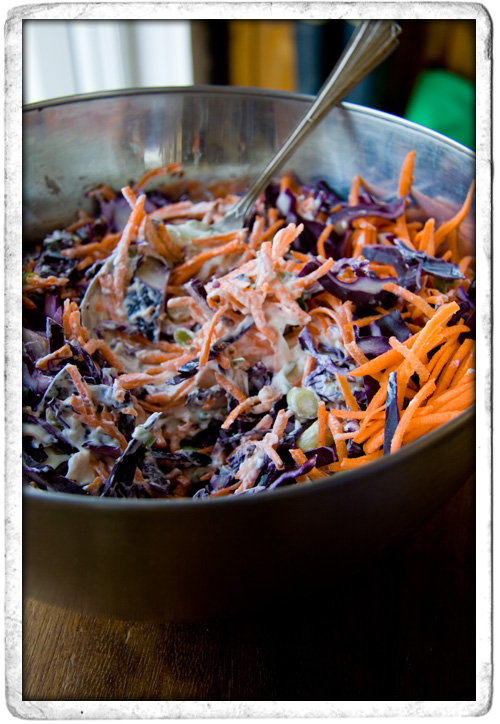
:: Red Cabbage and Carrot Coleslaw
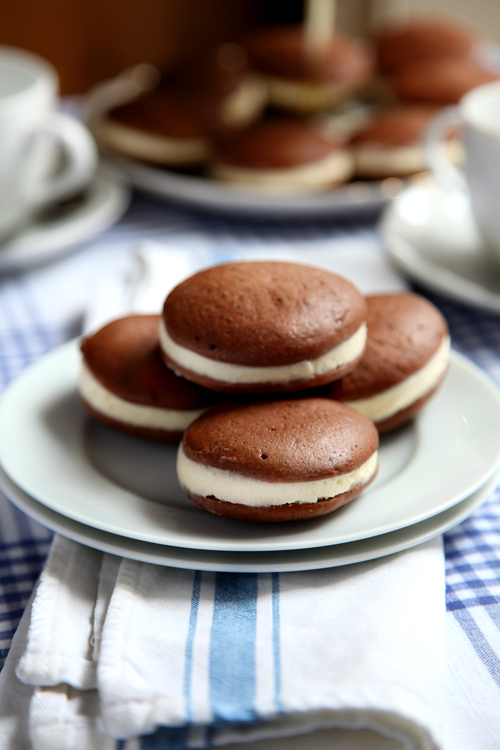
:: Whoopie Pies: The New Cupcake?
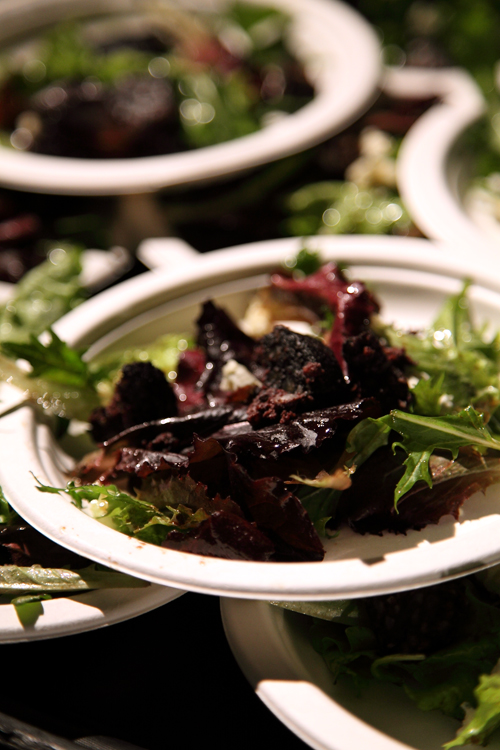
:: Cashel Blue Cheese and Kelly's Of Newport Black Pudding Salad
:: Blueberry and Banana Breakfast Muffins

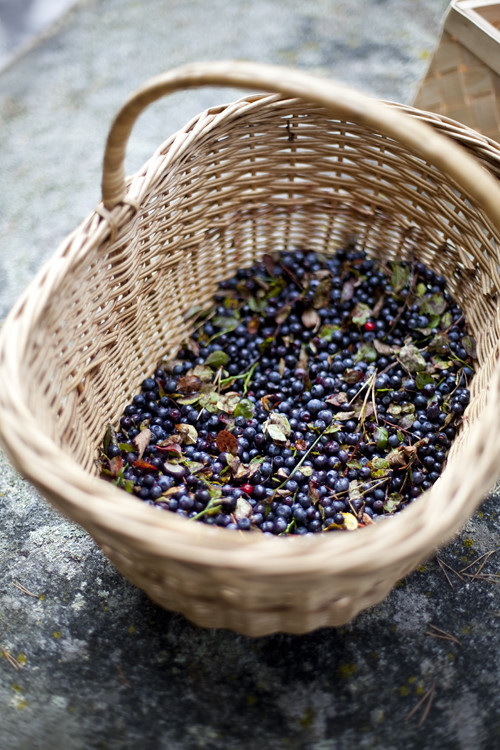
:: Wild Blueberry Picking and a Swedish Gooey Chocolate Cake
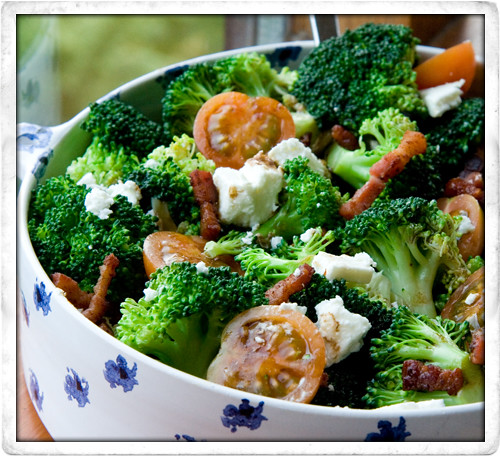
:: Broccoli, Feta, and Cherry Tomato Salad
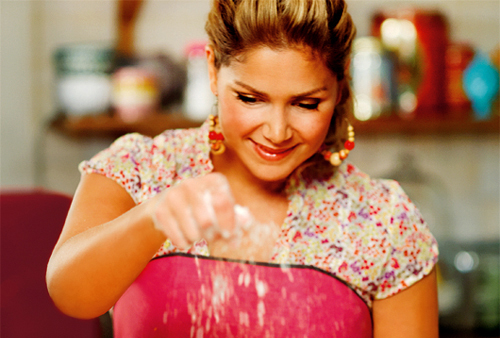
:: Leila Lindholm's Butterscotch Pecan Pie
:: Basic Cupcake Recipe