We Love Cooking! [Search results for recipe]
:: Highlights of 2009!

:: Basic Cupcake Recipe

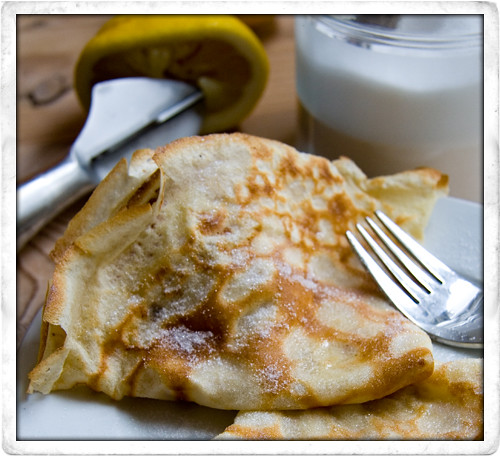
:: Basic Pancake Recipe
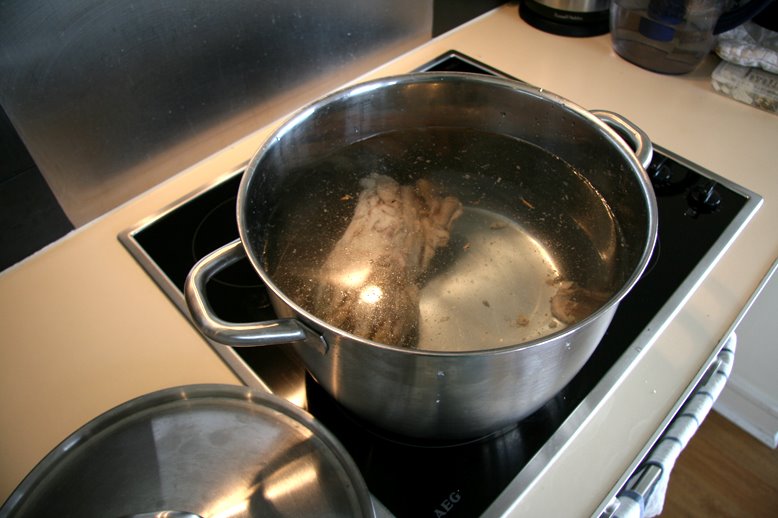
:: SIMPLE BASIC CHICKEN STOCK RECIPE
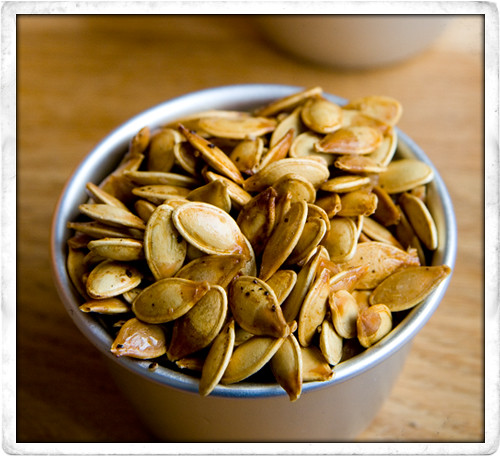
:: Carving Pumpkins and Toasted Pumpkin Seeds!
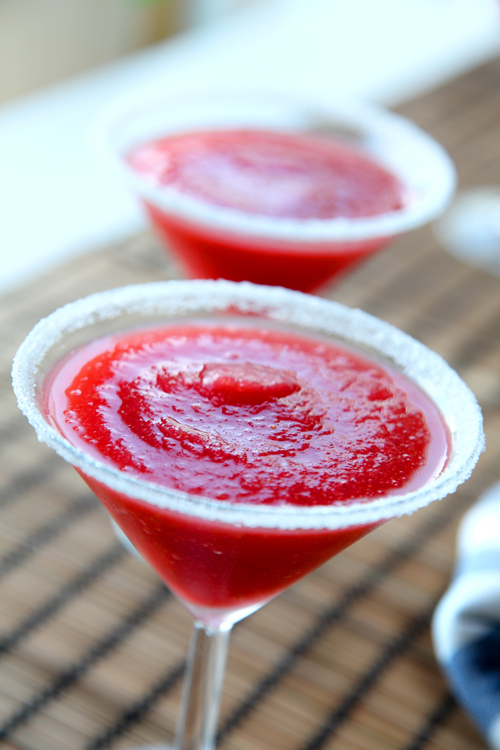
:: Simple Strawberry Daiquiris
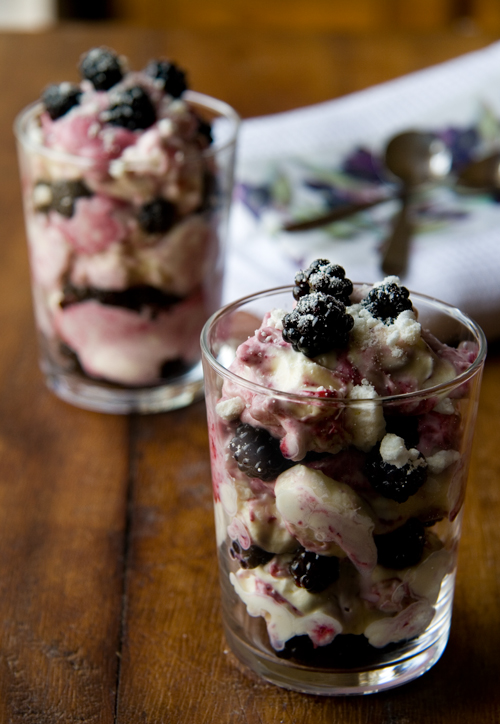
:: Good Mood Food Blackberry Mess
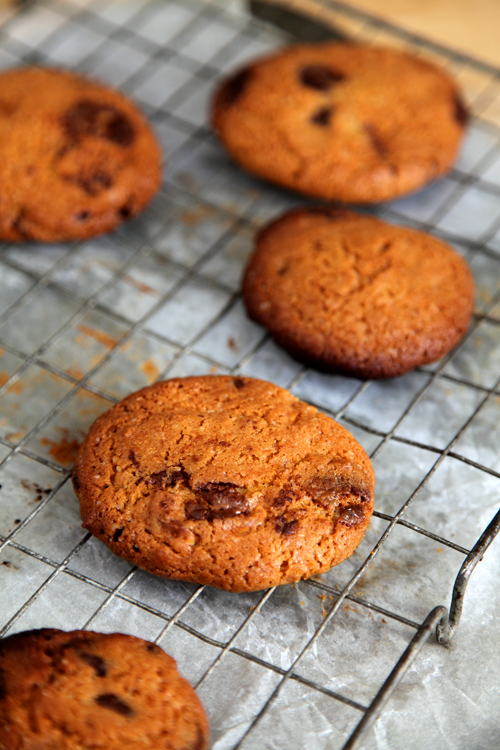
:: Sophie's Chocolate & Hazelnut Chip Cookies
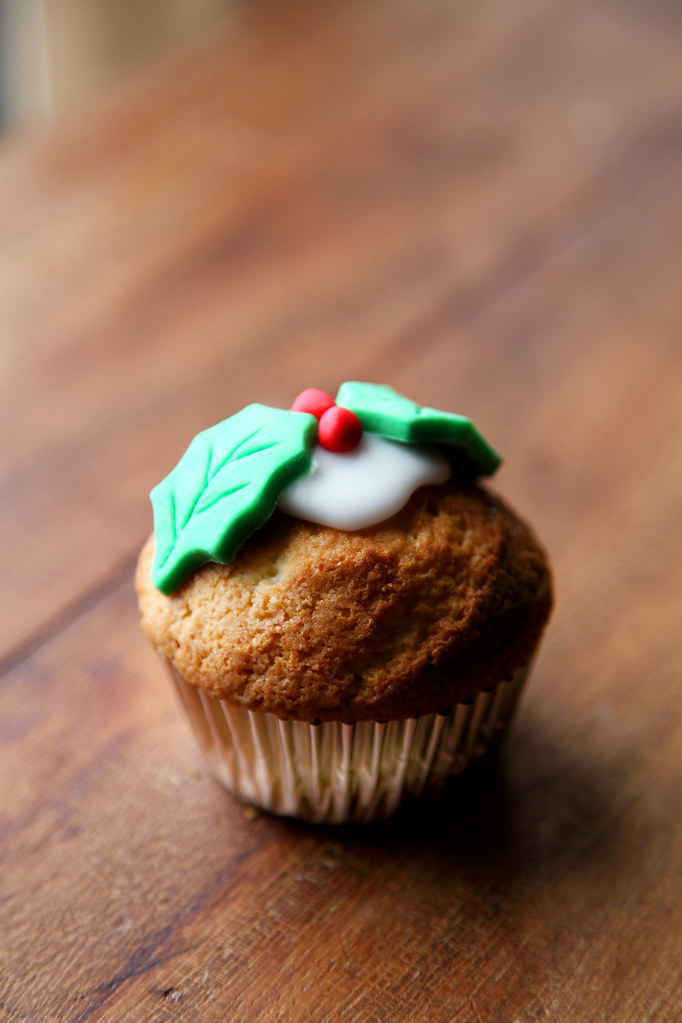
:: Christmas Cupcake Recipe from KISS Magazine!
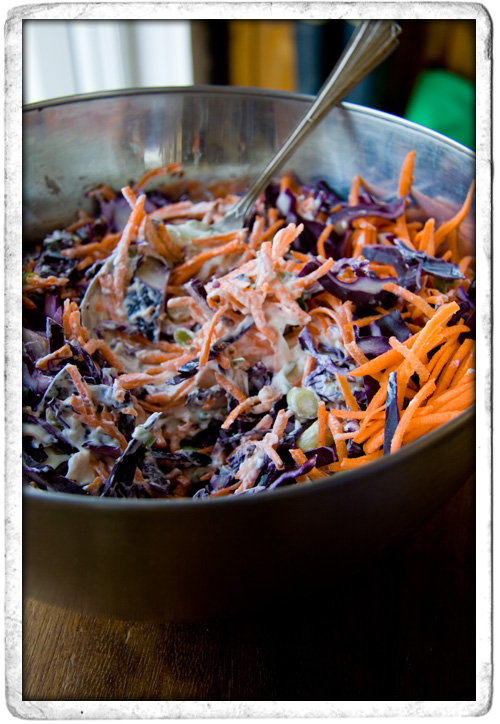
:: Red Cabbage and Carrot Coleslaw
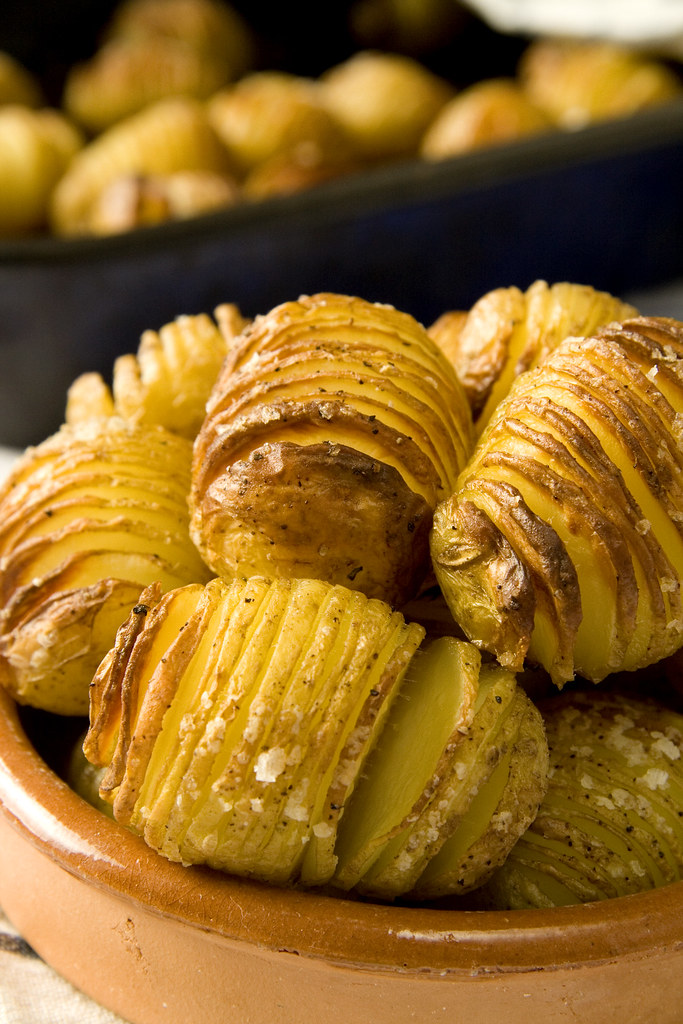
:: Crispy Hasselback Potatoes
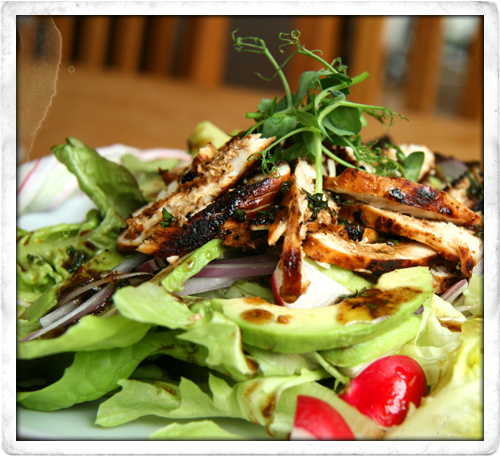
:: Balsamic Chicken with Avocado and Radish Salad
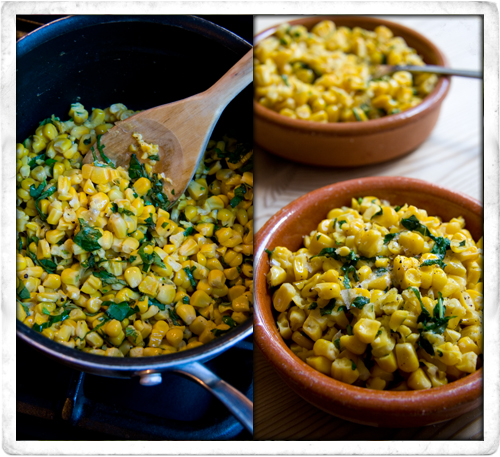
:: Basil and Sweetcorn
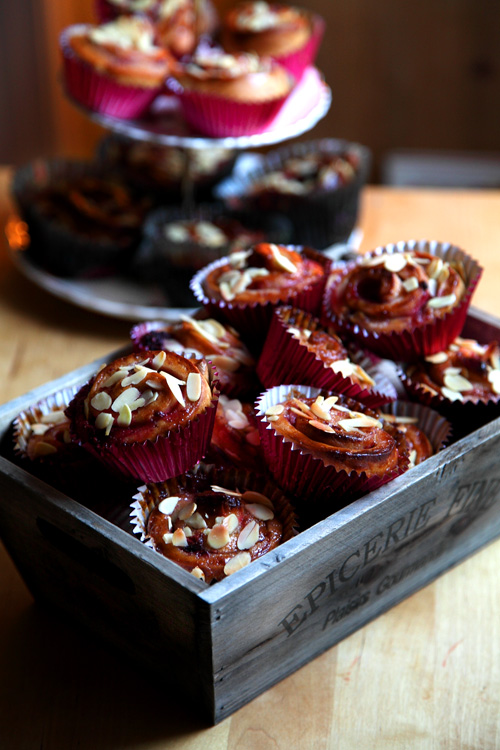
:: Pink Berry and Almond Swirly Buns!
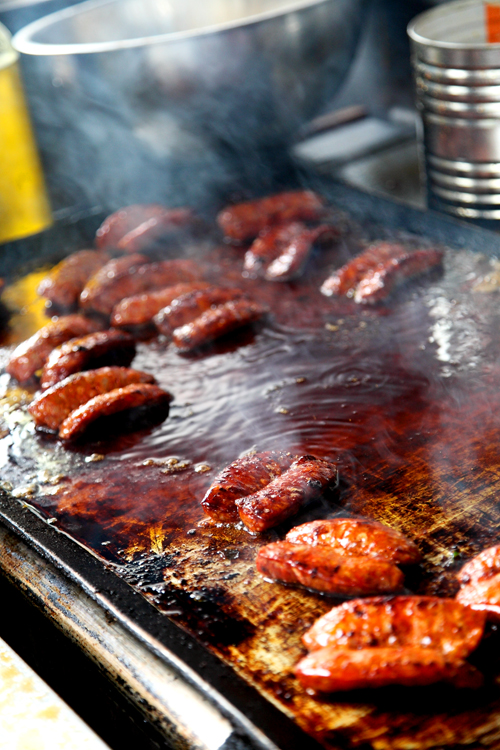
:: Brindisa Chorizo and Rocket Sandwiches
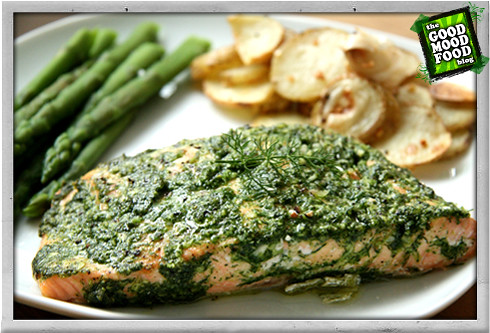
:: BAKED DILL AND GARLIC SALMON
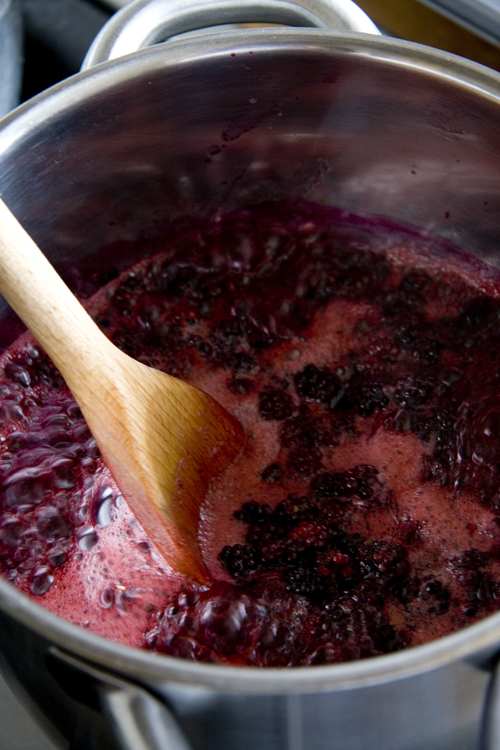
:: Blackberry Coulis
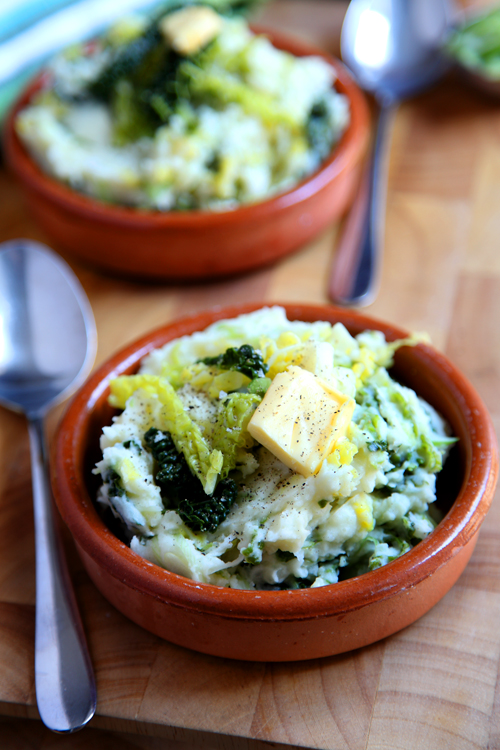
:: Traditional Irish Food: Colcannon and the inside scoop on last nights food demo!
:: CHEAP AND CHEERFUL FISHCAKES

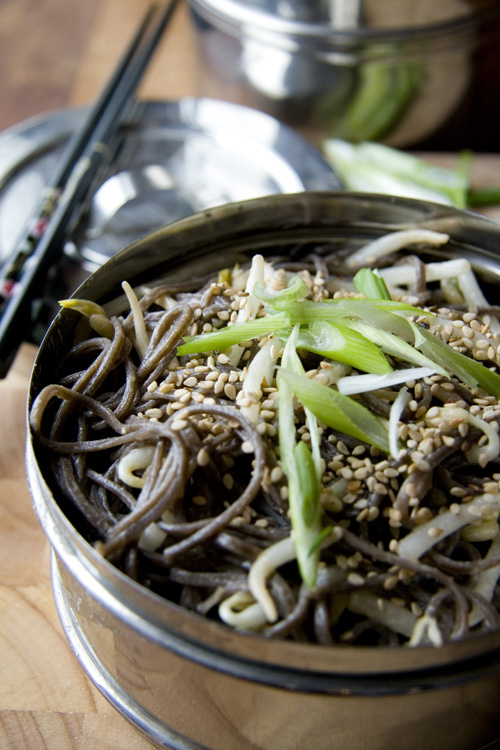
:: Tahini Noodle Toss