We Love Cooking! [Search results for seeds]
:: Spicy Pumpkin Seeds
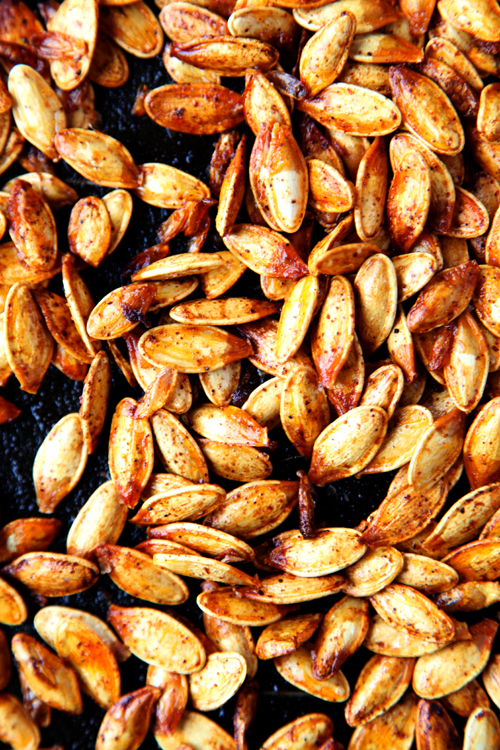
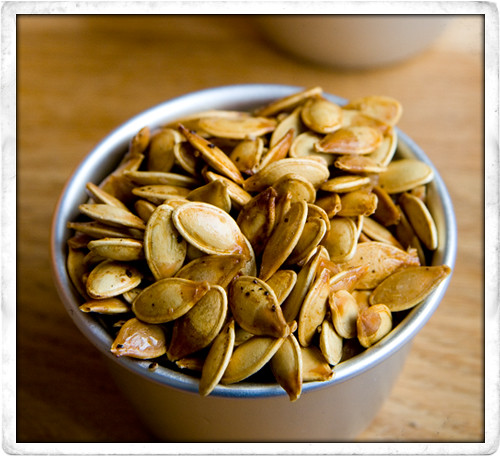
:: Carving Pumpkins and Toasted Pumpkin Seeds!
:: Good4U Goodie Bag and Juicer Competition!

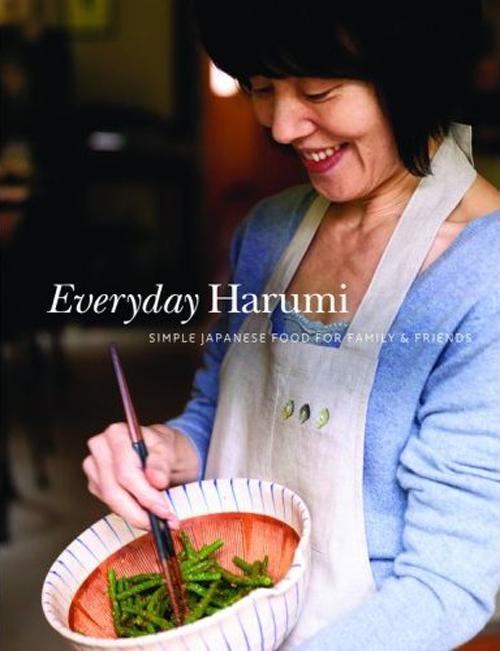
:: Harumi's Green Beans With A Sesame Dressing
:: Leila Lindholm's Baguettes

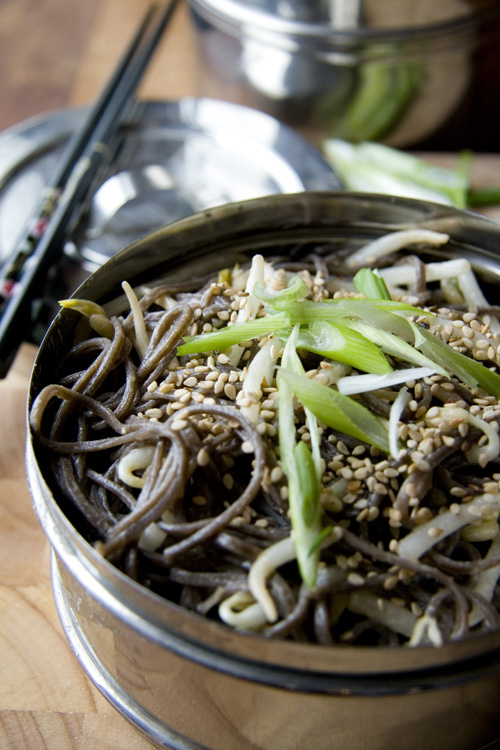
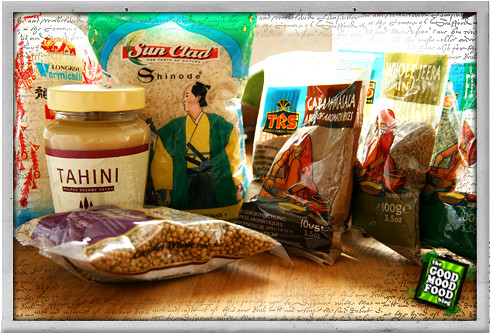
:: Tahini Noodle Toss
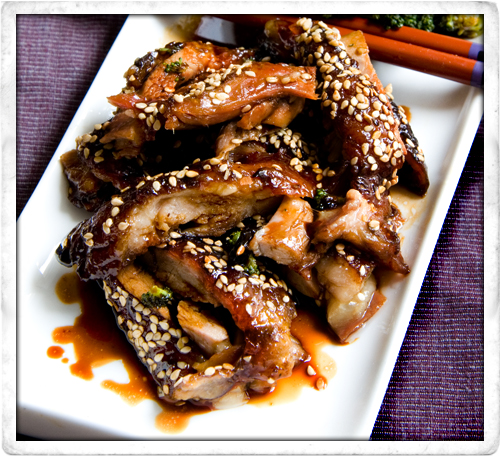
:: Honey and Sesame Duck
:: Kitchen Garden Diary: Spring 2010

:: Kitchen Garden Diary: An Update!
:: Asian Chicken Wings
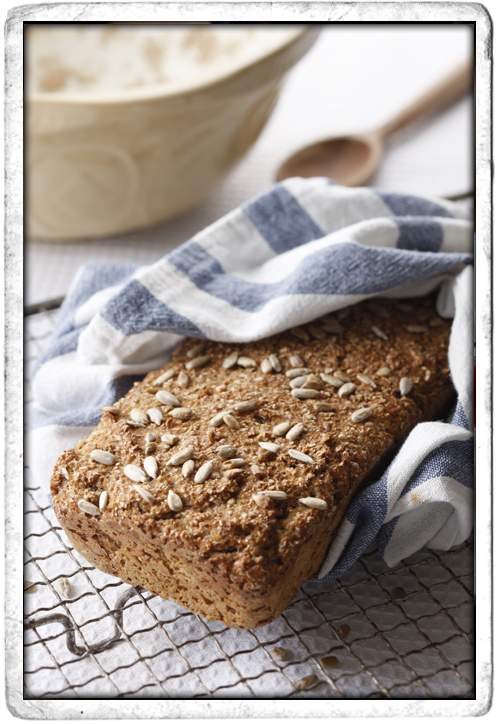
:: Irish Brown Yeast Bread
:: NUT FREE PESTO

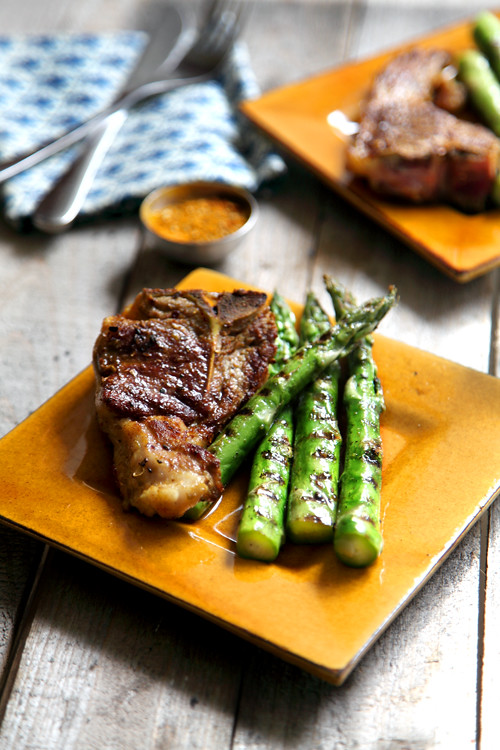
:: New Season Spiced Lamb with Simple Griddled Asparagus
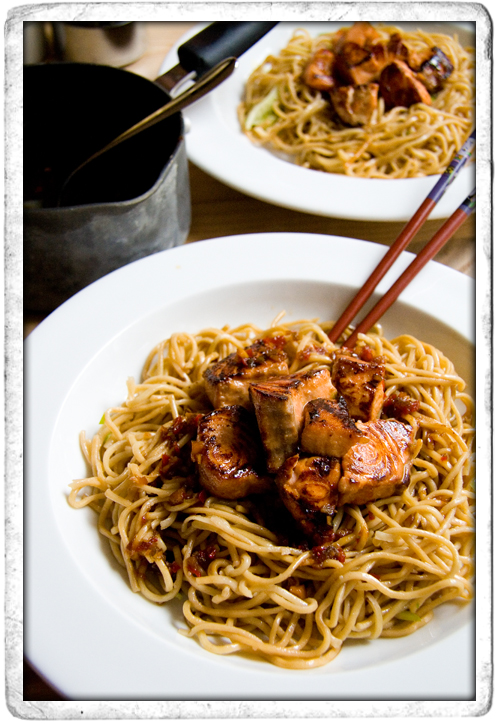
:: Teriyaki Salmon with Noodles
:: Sadhbh's Cookclub- Delicious Beef Pho!

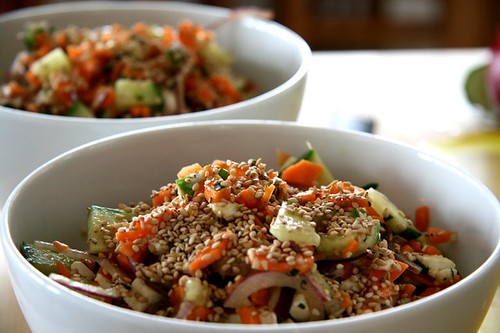
:: SESAME PASTA SALAD
:: Good Mood Food Recipe Archive

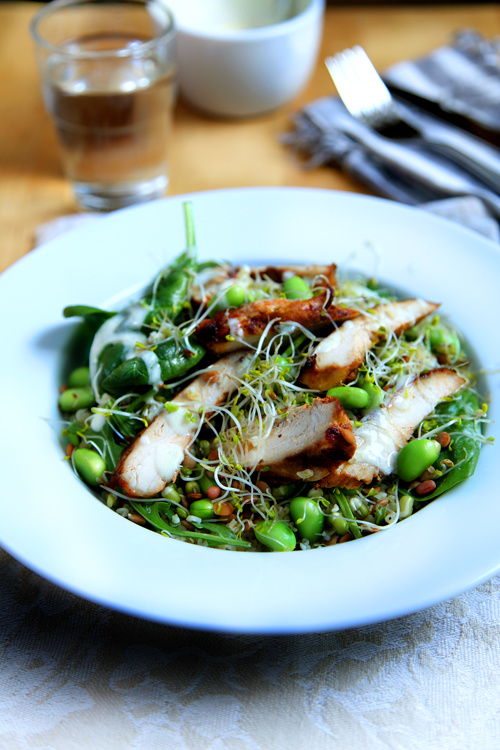
:: Rocket Power Chicken Superfood Salad
:: Leila Lindholm's Butterscotch Pecan Pie

::Spicy Sticky Roast Squash Salad!


